

Easy and simple how to make clay bowls using air-dry clay. Make this heart shaped bowl to give as a gift, use as a holiday decoration, or home decor.

This how to make clay bowls project is my second air-dry clay craft and I am hooked. There is something therapeutic about working with clay.
After making this heart garland DIY I knew I wanted to make another heart clay project. I thought a bowl would be a good idea and so cute, not just any bowl, but a vintage linen-textured heart-shaped bowl. My heart shaped cookie cutters are getting a workout this year!
So off to the work table I went to find the easiest, foolproof way for an easy DIY clay bowl to share with you. Let's get started making a vintage air-dry clay bowl.
This post contains affiliate links, meaning I receive a commission if you purchase using the links below at no extra cost to you. All opinions are all my own.
How to Make Clay Bowls
To begin, your first step is to gather all your supplies, and then we will dive into the steps on making these small bowls.
- Crayola air-dry clay
- Wood or acrylic dowel
- Large heart shape cookie cutter
- Loose weave fabric (I used a cheap dropcloth)
- Small bowl that is larger than the cookie cutter
- Flour for dusting the bowl
- Paint (I used Sherwin Williams Agreeable Gray but acrylic paint works great too). If you want to use your bowl with food make sure to use a food safe clear coat or paint.
- White paper or parchment paper to protect your work surface
- Artist paintbrush
Shop for supplies:


Now let's talk about how to make a simple clay bowl and then we will work on each step together.
How Do You Make a Simple Clay Bowl?
Probably the easiest way to make a simple clay bowl is with air-dry clay, also known as modeling clay, and that is the technique we are going to try today. This type of clay is easy to work with and the best part is you don't need any fancy equipment and your hands will do most of the work. Now here are the steps on making a beautiful clay bowl with air dry clay.
DIY Clay Bowls
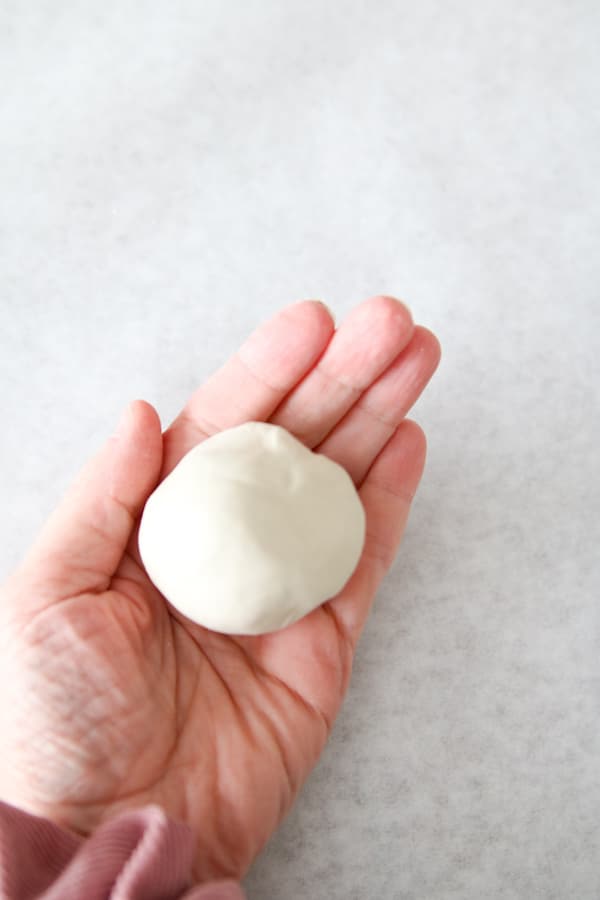
The first thing you will need to do is warm up the clay in your hands. The amount of clay should be about the size of a small orange and start rolling it around in your hand in a circular motion.

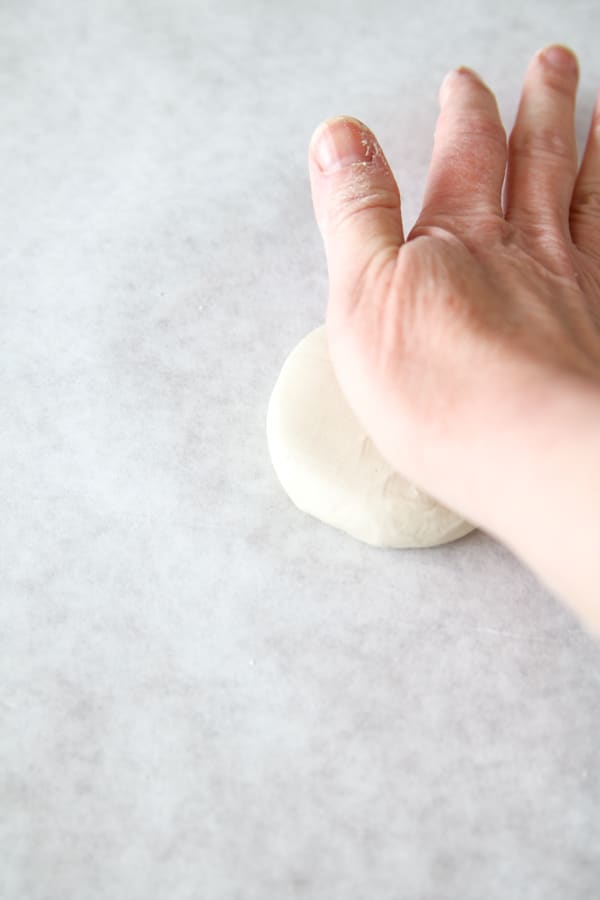
Next lay the ball of clay on the table or other nice flat surface and use the palm of your hand to pat it out. Keep pressing into the clay until it is around a quarter of an inch thick. You can lift it from the paper and turn it over while you press it out.

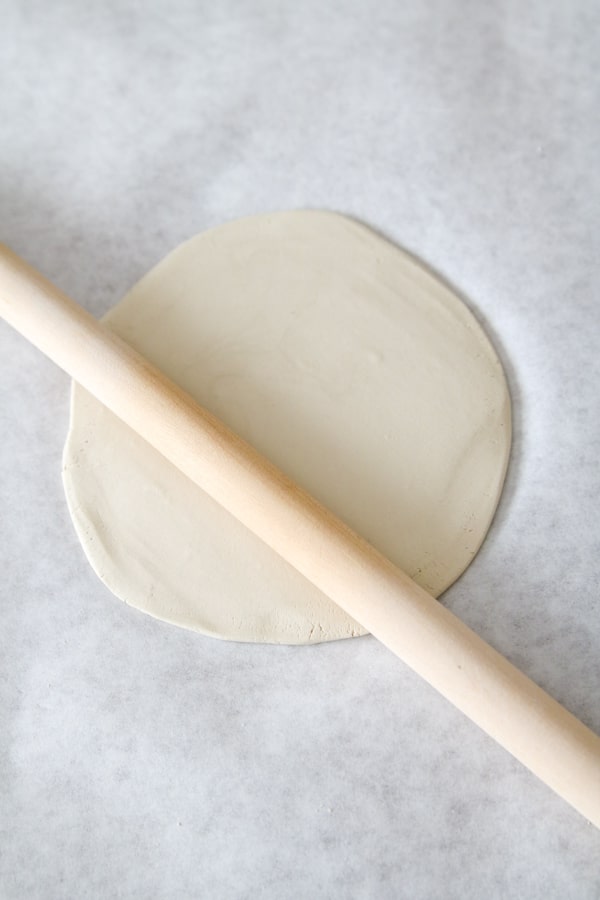
Now take your rolling pin and roll out the clay from the center. Keep rolling and turning the clay until you have it rolled out about 1/8″ thin, but no less.

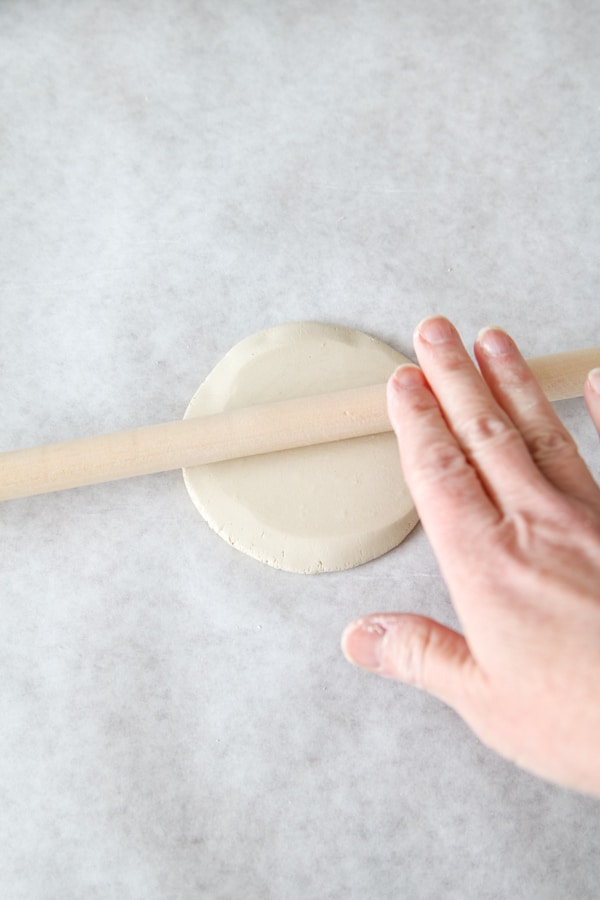
Turn the dowel in different directions to keep the round shape of the clay and keep rolling from the center until it is big enough for a cookie-cutter.


How to Cut Clay with a Cookie Cutter
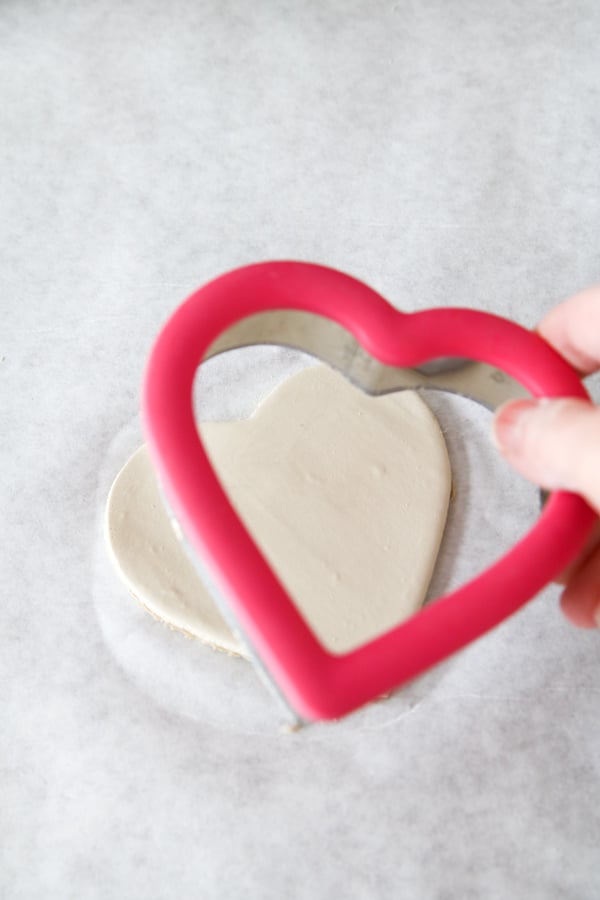
Once the clay is rolled out enough for the cookie cutter to fit into it, then you are ready to cut the heart shape. Simply sit the cookie cutter on the clay and press down. Then wiggle it right and left to help make the cut even.
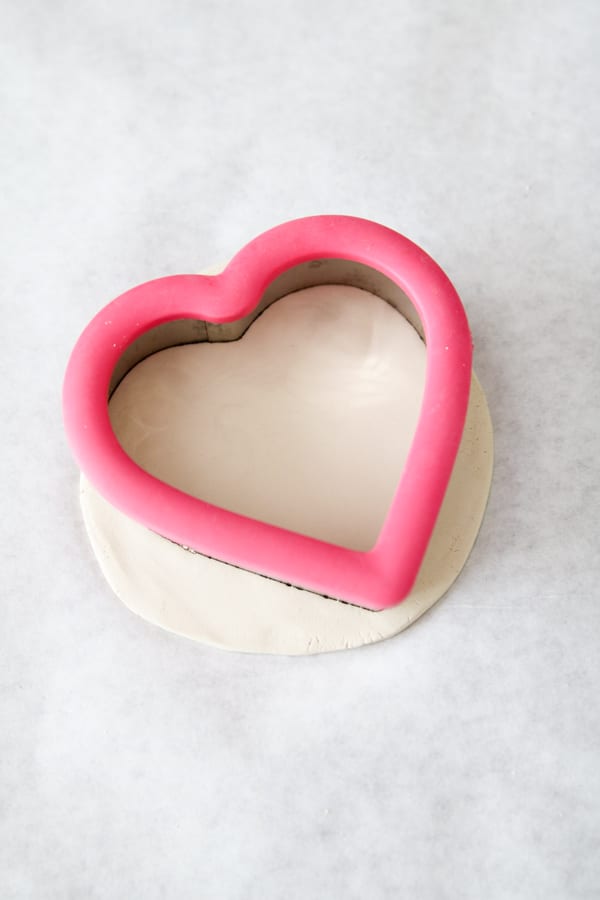

Next, remove the excess clay from around the edges of the cookie cutter. You can also remove the cookie cutter first and then remove the excess but this time I removed the excess first. Put the leftover clay aside to use another time.


Follow by removing the cookie cutter from around the heart. Pull straight up gently and carefully so you keep the shape of the heart.

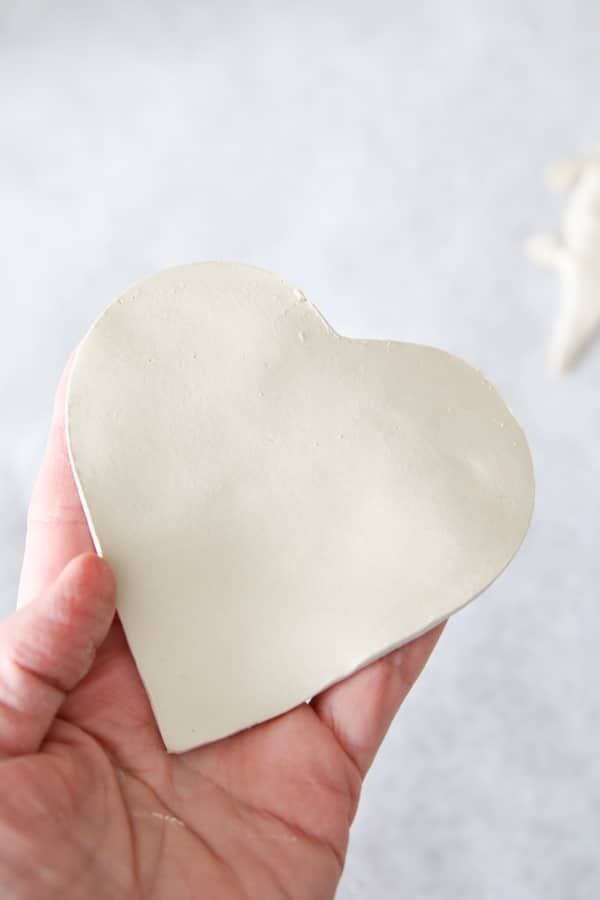
Now you should be able to pull the modeling clay heart from the paper. Use your finger to pat or smooth any loose edges. If it is rougher than you like you can dampen your finger and smooth it out even more.

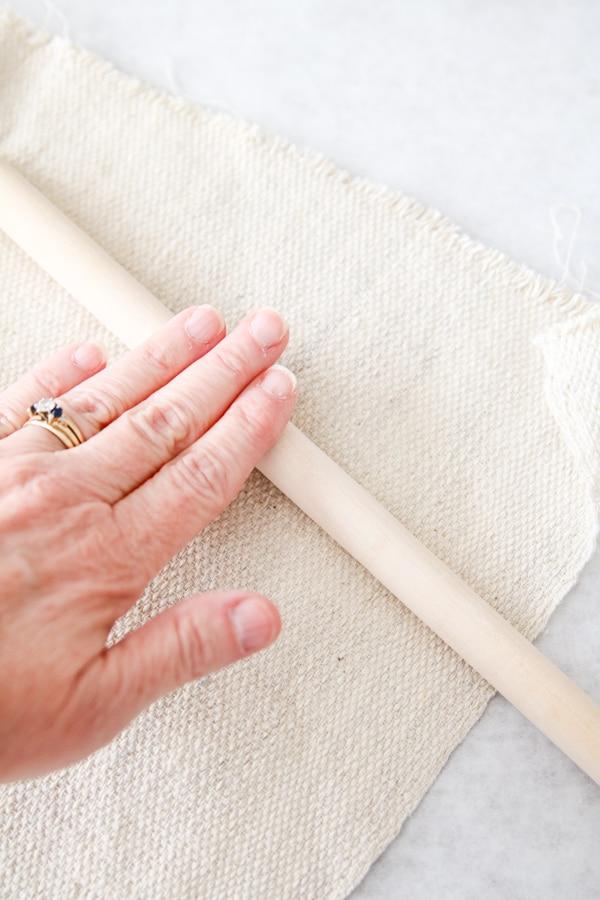
If you are happy with your clay heart now sit it back on the table and grab the loose weave fabric. Set the fabric on the clay making sure to cover the surface of the clay completely.
How Do I Add Texture to Clay

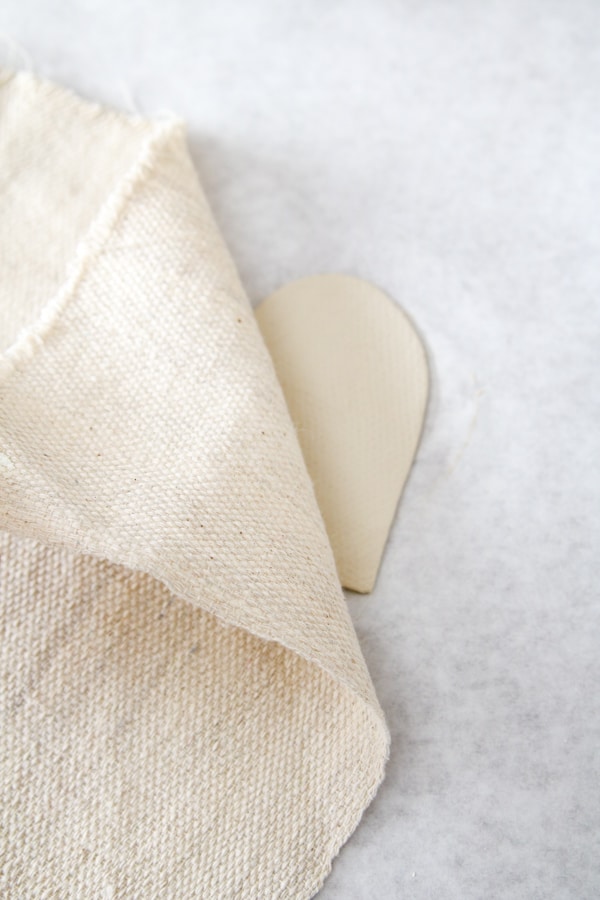
Now run the dowel over the fabric making sure to press into the clay but not so much you lose the shape of the heart. When you are finished pull the fabric up from one end to reveal the pattern on the clay. It's the small things like this step that are a wonderful way to make your heart shaped bowl unique.

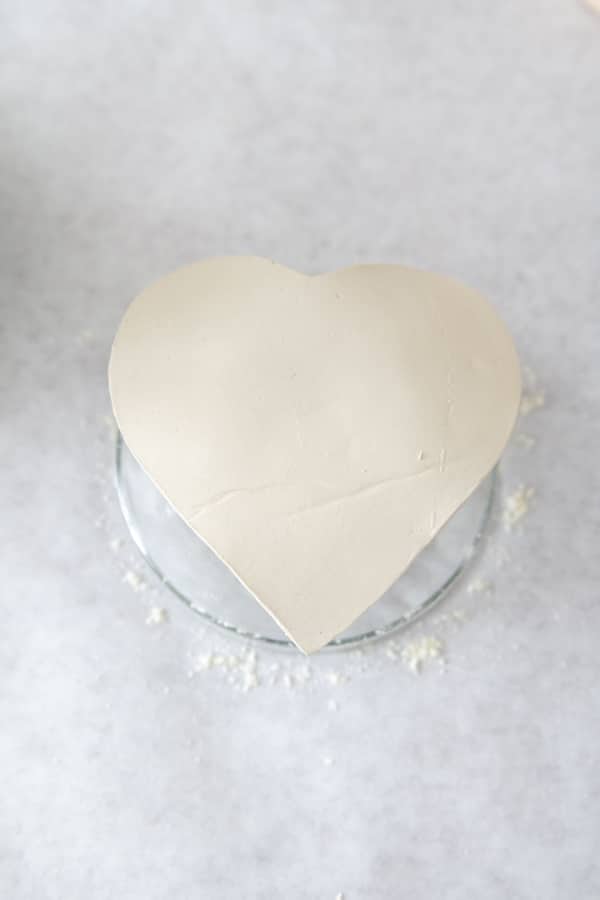
If your clay heart is ready, then it is time to start shaping it into a bowl. Sit your bowl upside down on the table and dust it lightly with flour. You do not need very much, just a little so the clay heart will not stick to the glass bowl. Now turn the heart upside down and center it on a bowl that is larger than the clay heart.
How to Make a Bowl Shape out of Modeling Clay

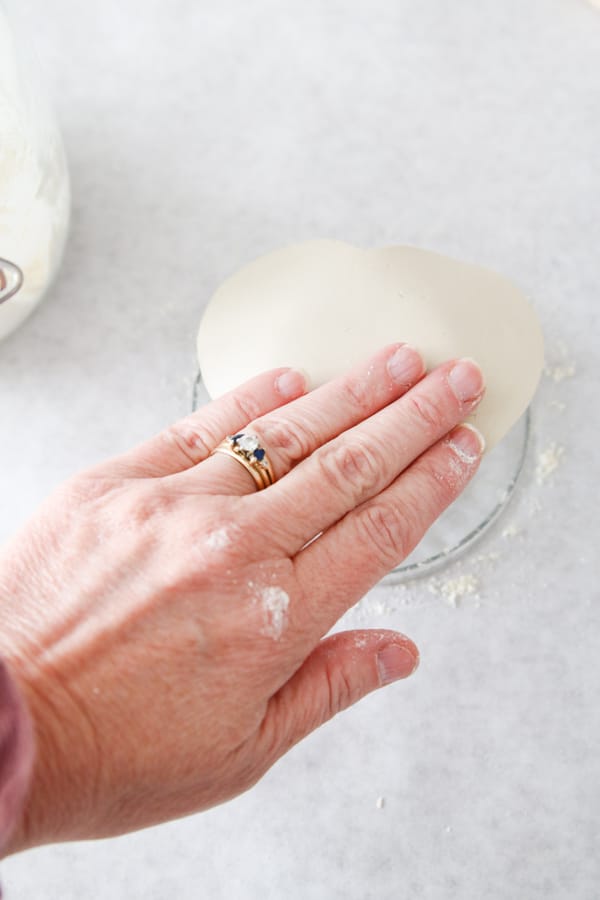
Next start working the clay around the edges. I did this gently and took my time. This will make a shallow bowl, do not stretch the clay simply mold it down a little at a time, turning the bowl as you go.

Once the clay is down over the bowl you will let it sit for 2 to 3 days.
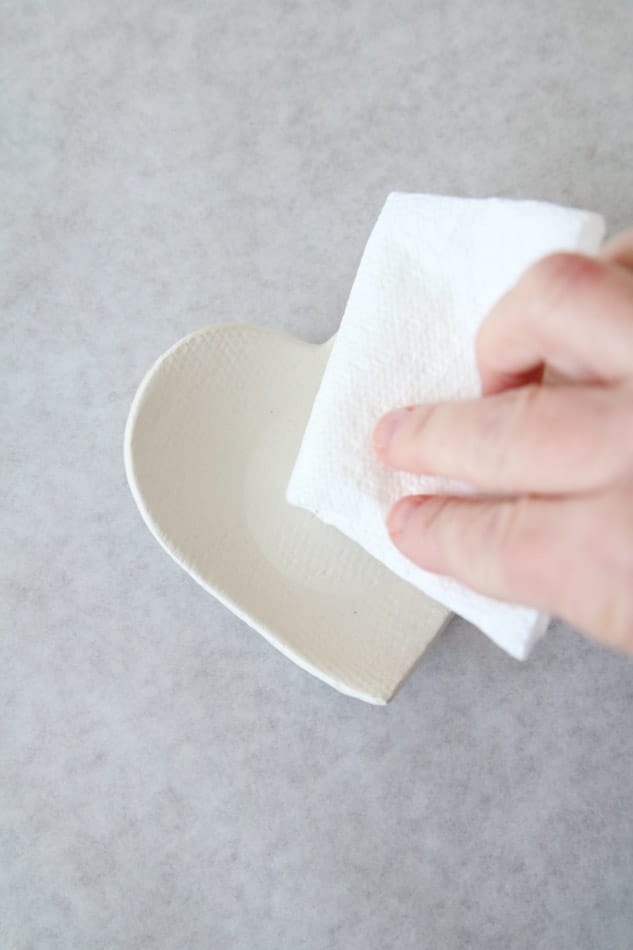
After the heart shape clay bowl is dry, remove it carefully from the bowl and turn it over. Dust it off with a dry cloth or clean dry artist paintbrush and you are ready to paint it.

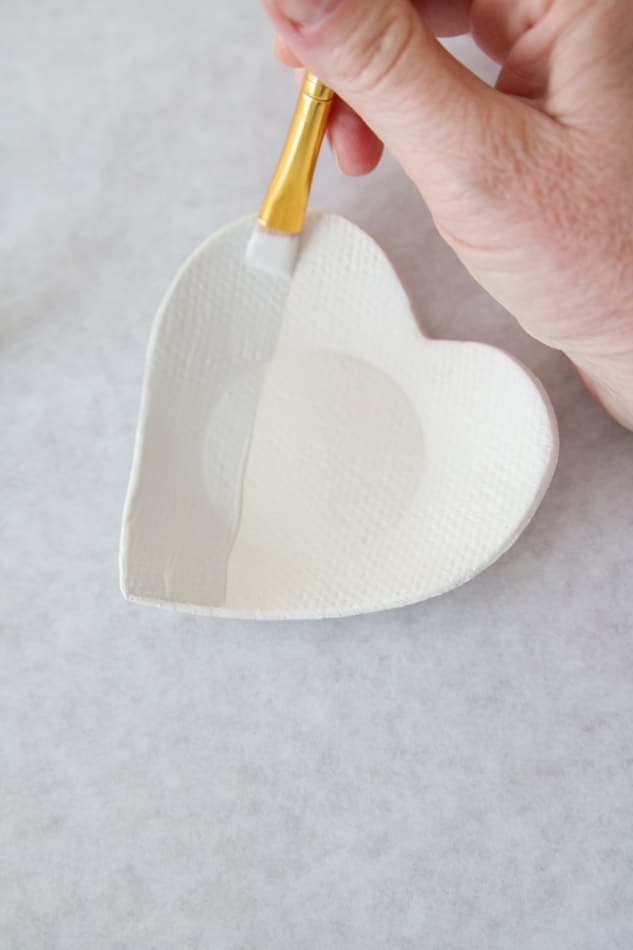
Next, simply add any paint you desire to the inside and outside of the bowl. I am using some wall paint I had laying around the house by Sherwin Williams called Repose Gray. But you can use chalk paint, acrylic paint, milk paint, or pretty much any kind of paint.

Now you can go one step further and add a design inside the bowl or another good idea is to brush on some Rub ‘n Buff like I did on the heart garland but I wanted a simple bowl that would show off the beautiful textured pattern. The fun part is all the different ways you can decorate your heart-shaped bowl. The end results are as unique as you are.
Conclusion
What did you think of this simple, how to make clay bowls, project? It is truly very easy and does not take a lot of time. I want to encourage you to give it a try.
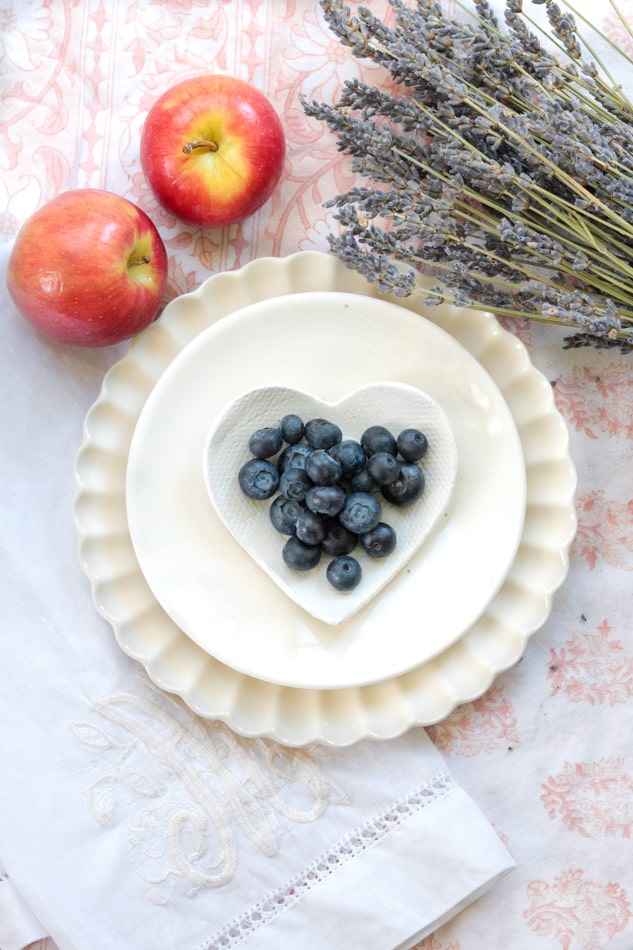
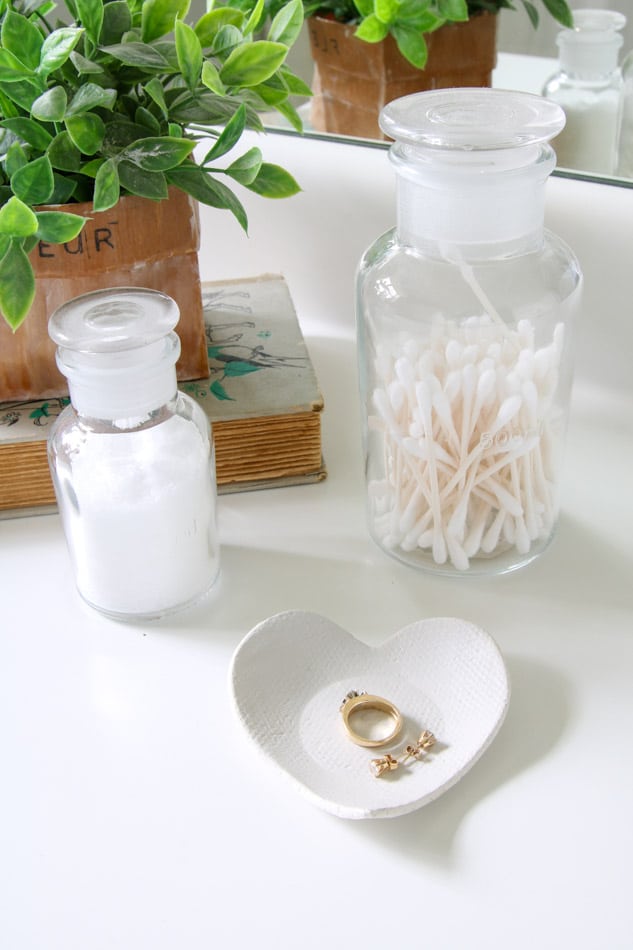
Here are a few fun ideas for decorating with your air-dry clay heart-shaped bowl. These little bowls are the perfect size to use in a bathroom as a jewelry bowl.

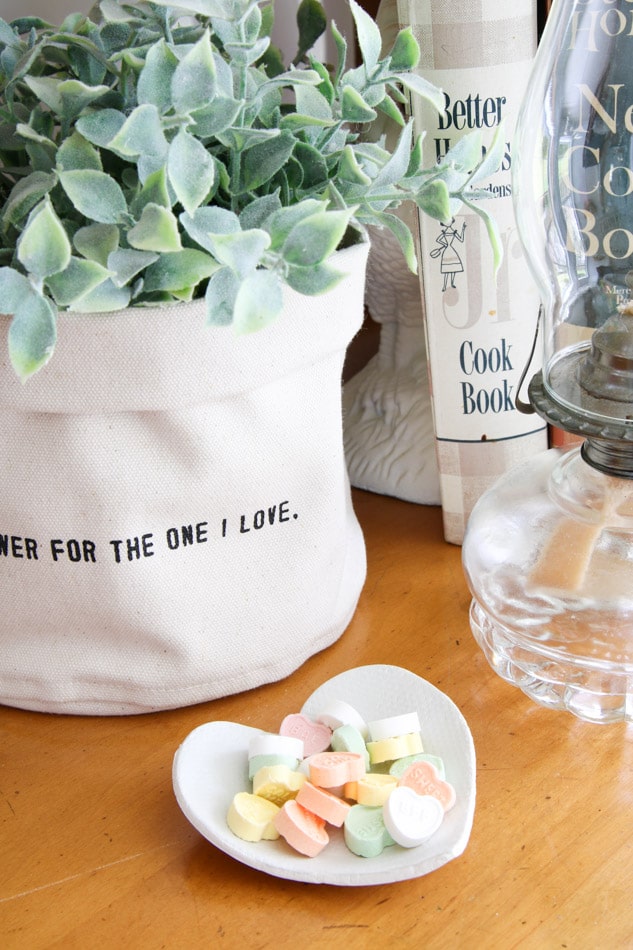
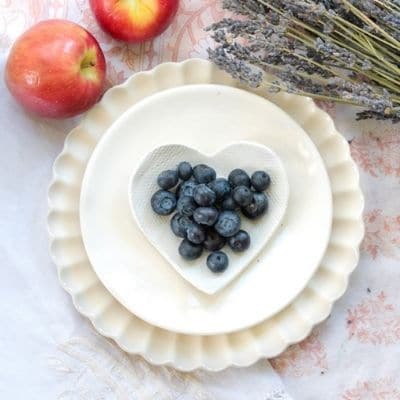
It would look adorable on an end table with candy inside of it or even a place to drop loose change. Another great idea is that it would make a charming handmade gift for Valentine's day. This is definitely one of my favorite DIY projects, so versatile!

Whether for decorative purposes or a handmade gift, I am so glad you are going to give this DIY project a try. If you're looking for more great gift ideas for Valentine's day, try my best Valentine gift guide.
And if you want more Valentine decoration ideas, try my best Valentine day decorations for the home post. It is full of ideas and DIYs.
Good luck and please share in the comments if you do make it. I would love to hear how it went and the wonderful ways you used the bowl.
Happy Decorating!


If you enjoyed this post, sign up to receive new decor ideas each week. FREE EMAIL SUBSCRIPTION
How to Make Clay Bowls

Easy and simple how to make clay bowls using air-dry clay. Make this heart shaped bowl to give as a gift, use as a holiday decoration, or home decor.
Materials
- Crayola air-dry clay
- Loose weave fabric (I used a cheap dropcloth)
- Flour for dusting the bowl
- Paint (I used Sherwin Williams Agreeable Gray but acrylic paint works great too). If you want to use your bowl with food make sure to use a food safe clear coat or paint.
- White paper or parchment paper to protect your work surface
Tools
Instructions
- The first thing you will need to do is warm up the clay in your hands. The amount of clay should be about the size of a small orange and start rolling it around in your hand in a circular motion.
- Next lay the ball of clay on the table or other nice flat surface and use the palm of your hand to pat it out. Keep pressing into the clay until it is around a quarter of an inch thick. You can lift it from the paper and turn it over while you press it out.
- Now take your rolling pin and roll out the clay from the center. Keep rolling and turning the clay until you have it rolled out about 1/8" thin, but no less.
- Turn the dowel in different directions to keep the round shape of the clay and keep rolling from the center until it is big enough for a cookie-cutter.
- Once the clay is rolled out enough for the cookie cutter to fit into it, then you are ready to cut the heart shape. Simply sit the cookie cutter on the clay and press down. Then wiggle it right and left to help make the cut even.
- Next, remove the excess clay from around the edges of the cookie cutter. You can also remove the cookie cutter first and then remove the excess but this time I removed the excess first. Put the leftover clay aside to use another time.
- Follow by removing the cookie cutter from around the heart. Pull straight up gently and carefully so you keep the shape of the heart.
- Now you should be able to pull the modeling clay heart from the paper. Use your finger to pat or smooth any loose edges. If it is rougher than you like you can dampen your finger and smooth it out even more.
- If you are happy with your clay heart now sit it back on the table and grab the loose weave fabric. Set the fabric on the clay making sure to cover the surface of the clay completely.
- Now run the dowel over the fabric making sure to press into the clay but not so much you lose the shape of the heart. When you are finished pull the fabric up from one end to reveal the pattern on the clay. It's the small things like this step that are a wonderful way to make your heart shaped bowl unique.
- If your clay heart is ready, then it is time to start shaping it into a bowl. Sit your bowl upside down on the table and dust it lightly with flour. You do not need very much, just a little so the clay heart will not stick to the glass bowl. Now turn the heart upside down and center it on a bowl that is larger than the clay heart.
- Next start working the clay around the edges. I did this gently and took my time. This will make a shallow bowl, do not stretch the clay simply mold it down a little at a time, turning the bowl as you go.
- Once the clay is down over the bowl you will let it sit for 2 to 3 days.
- After the heart shape clay bowl is dry, remove it carefully from the bowl and turn it over. Dust it off with a dry cloth or clean dry artist paintbrush and you are ready to paint it.
- Next, simply add any paint you desire to the inside and outside of the bowl. I am using some wall paint I had laying around the house by Sherwin Williams called Repose Gray. But you can use chalk paint, acrylic paint, milk paint, or pretty much any kind of paint.
- Now you can go one step further and add a design inside the bowl or another good idea is to brush on some Rub 'n Buff like I did on the heart garland but I wanted a simple bowl that would show off the beautiful textured pattern. The fun part is all the different ways you can decorate your heart-shaped bowl. The end results are as unique as you are.
Notes
Here are a few fun ideas for decorating with your air-dry clay heart-shaped bowl. These little bowls are the perfect size to use in a bathroom as a jewelry bowl.
It would look adorable on an end table with candy inside of it or even a place to drop loose change. Another great idea is that it would make a charming handmade gift for Valentine's day. This is definitely one of my favorite DIY projects, so versatile!