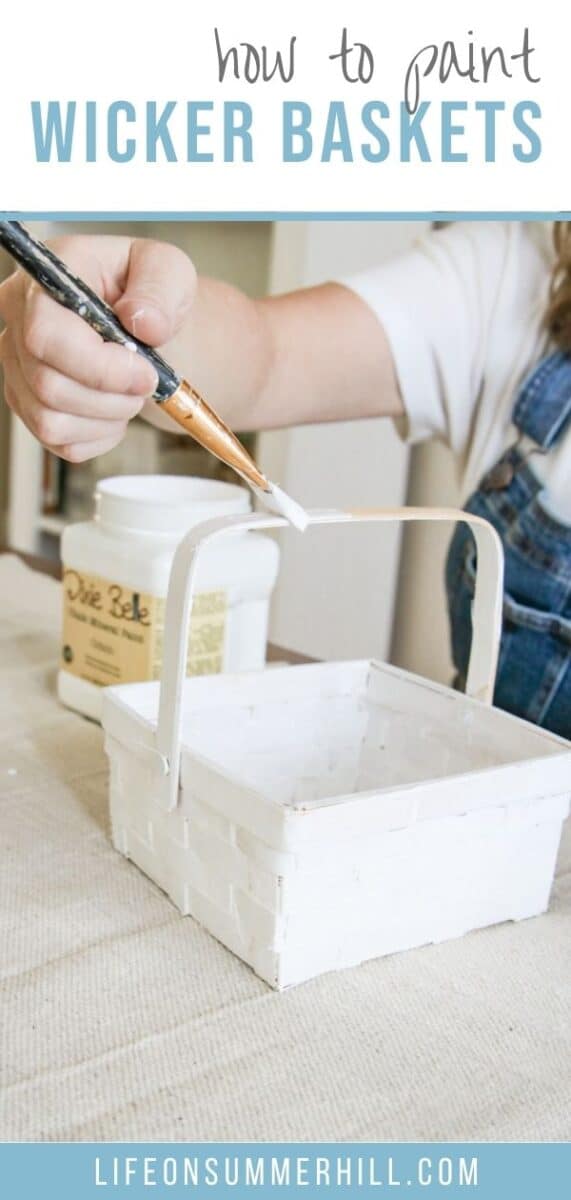
Have you ever wanted to give your wicker baskets a new look, but didn't know how to paint them? Well, not to worry! In this blog post, I will show you how to paint wicker baskets using simple methods and supplies. So get ready to transform those boring baskets into beautiful pieces of art!
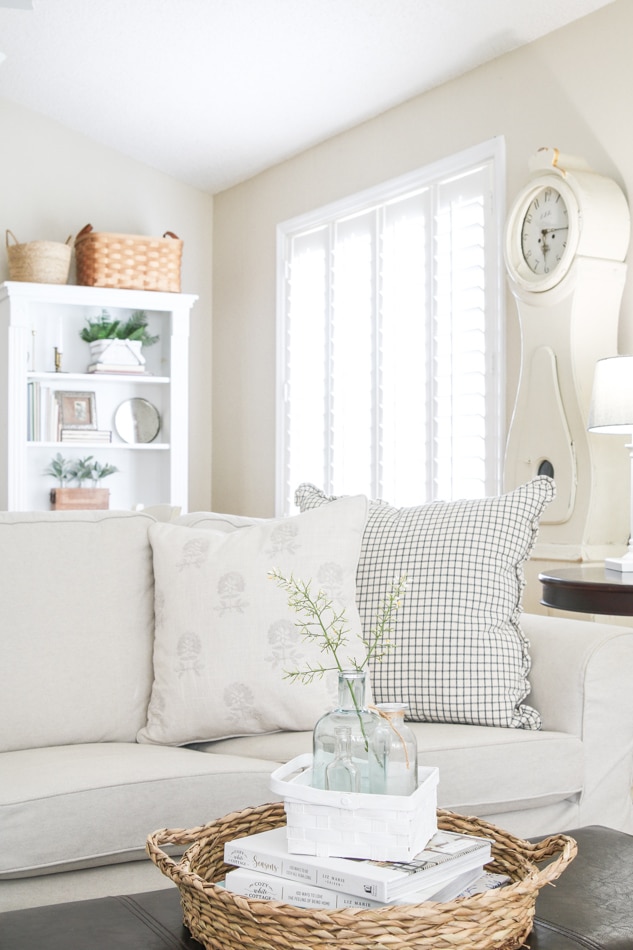
After painting a few baskets I couldn't wait to share how to paint wicker baskets using two of my favorite methods.
For years I have been painting wicker baskets and decorating with them. Baskets are a great way to add texture and character to your home decor but sometimes you need to change the color to fit your style. Maybe your old wicker baskets are weathered and need a fresh new look. Maybe you have thrift store baskets that need a basket makeover. Or maybe you have new baskets that are a great shape but not the lovely color you want.
This post contains affiliate links, meaning I receive a commission if you purchase using the links below at no extra cost to you. All opinions are all my own.
How to Paint Wicker Baskets
The two best ways to paint wicker baskets are spray paint and chalk paint. Both are easy to apply and you can paint a basket in one day. Simply clean the basket. Then paint the basket. Let it dry and it is ready to use.
But let's break this down even more and I will share a few tips and tricks to make your old basket turn out looking fresh and new with just a few craft supplies.
Painting Basket Supplies
- Basket
- Drop cloth
- Spray paint (if you are spray painting)
- Chalk paint (if you are chalk painting)
- Paintbrush and possibly artist brush (if you are chalk painting)
Shop the post:
Get a Fresh Start
Spray painting wicker baskets is easy and you don't need many supplies. Gather spray paint, the basket, and a location where you don't have to worry about the spray paint getting on anything else. I find it's a great idea to spray paint your basket in an outdoor space.
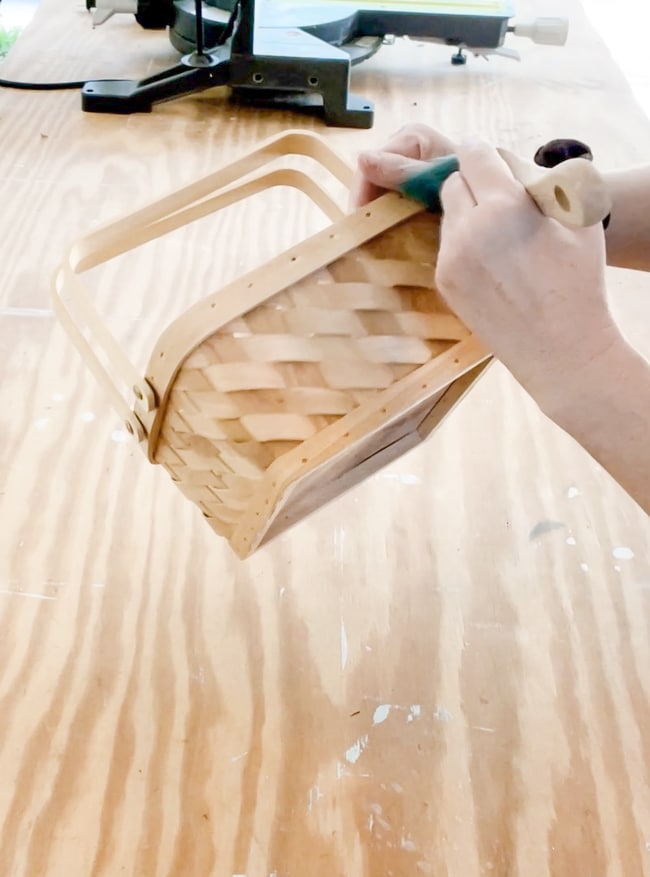
You need to start with a clean basket. The first step is to brush off the basket. If it is really dirty clean the basket with water and mild soap. Rinse it off, then let it dry. You can find detailed instructions on how to clean a wicker basket here. Now let's paint the basket. In this case, I'll be using a white paint color.
How to Spray Paint Wicker Baskets
Start by spray painting the inside of the basket. Use even strokes holding the can of paint away from the basket about 8 inches. I find placing the basket on its side helpful.
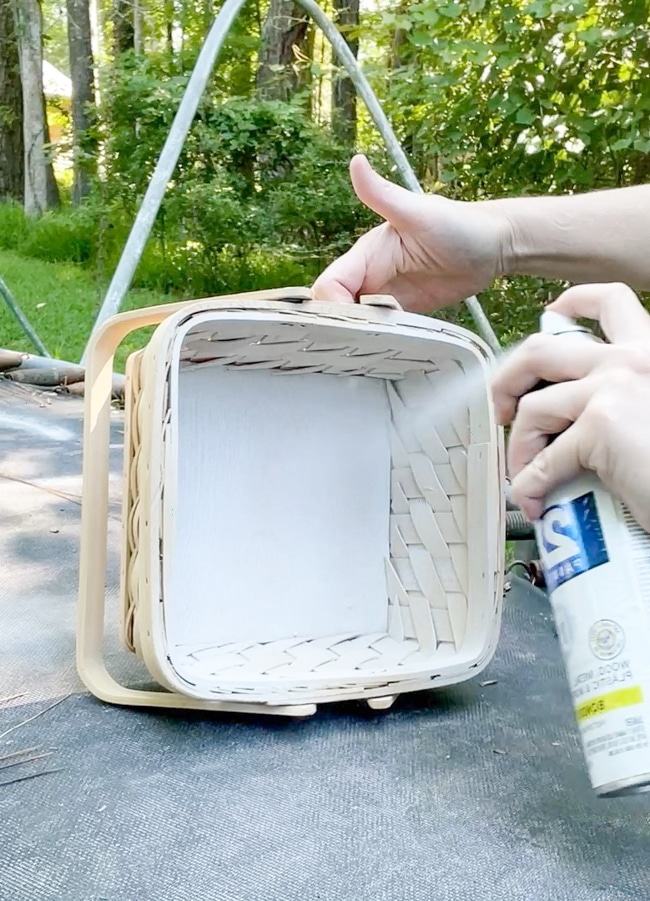
Let the inside dry for 5 minutes and spray paint another coat. I usually have to paint three coats if I am using white spray paint.
For the next step, let it dry for 5 minutes then turn the basket over and paint the outside. If you do not need the bottom painted and you have a handle, go ahead and leave it sitting uprights and paint the outside.
When painting the outside I start spraying slightly away from the basket and move the paint in long even strokes across the basket. This helps get a more even finish. Apply a second and third coat if necessary.
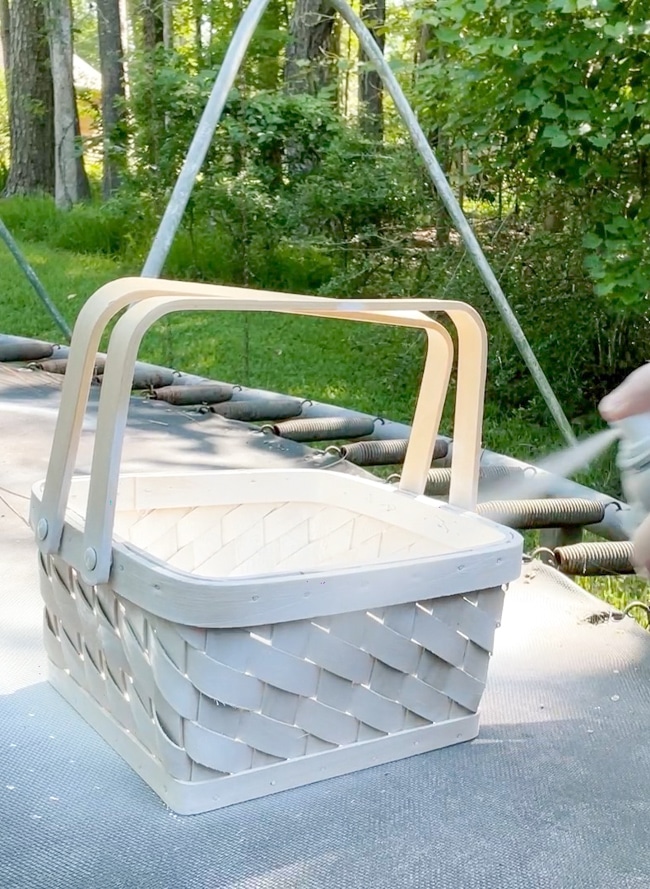
If you have a handle on the baskets leave it to paint last. Once you have finished spray painting the body of the basket, now paint the handle.
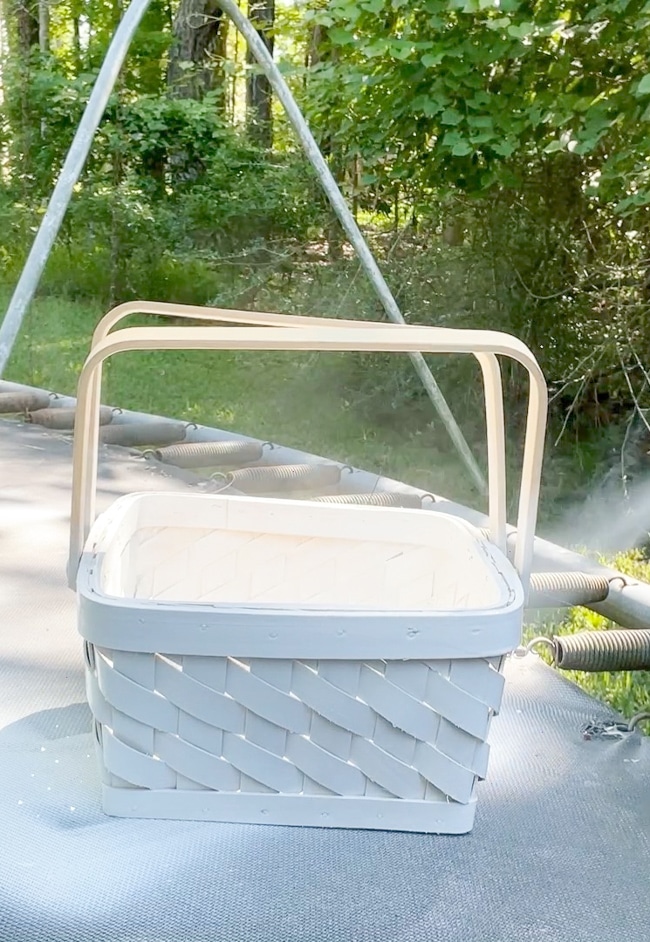
Let the paint dry completely before using the basket. This usually takes about 30 minutes to an hour depending on how hot or humid it is outside.
I like spray painting baskets because the paint adheres very well. And it is very easy and cheap. As far as what paint I like to use, I like to use matte finish paint. You can find a matte finish by looking at the cap of a can of spray paint.
Also, I am not picky about what brand of spray paint I use. I have used different kinds of spray paint like this Rust-oleum brand and I have used Behr spray paint chalk paint before, too.
Chalk Paint Wicker Baskets
You can also chalk paint wicker baskets following these simple steps. I like to use this painting technique indoors so first place a drop cloth on your work area, you'll need chalk paint, a cup of water, and a paintbrush.
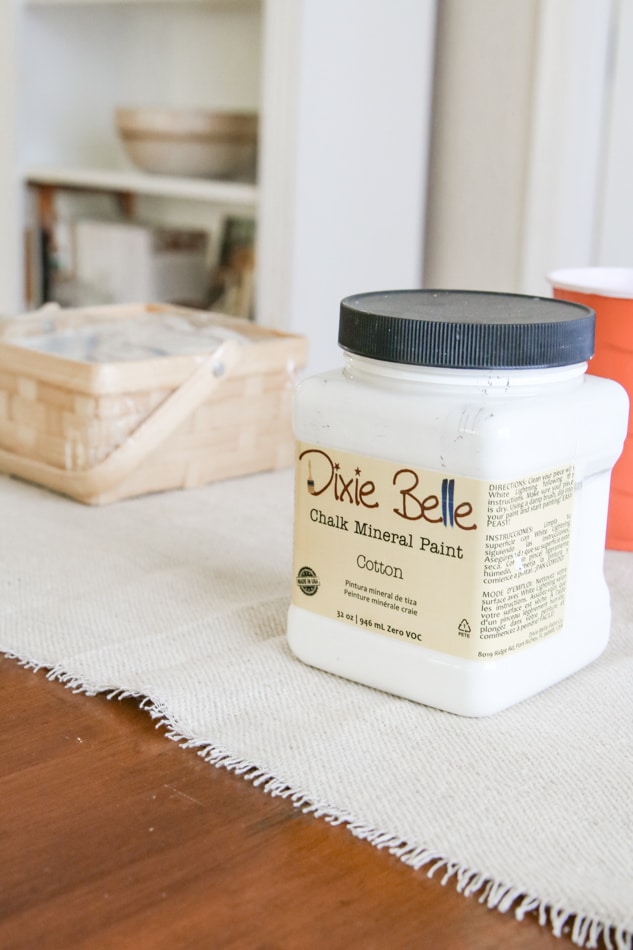
Begin chalk painting with a brush on the inside of the basket. Use a little water on the end of the paintbrush and then dip the brush into the chalk paint. Next, chalk paint on the inside of the basket starting on the bottom and working your way up.
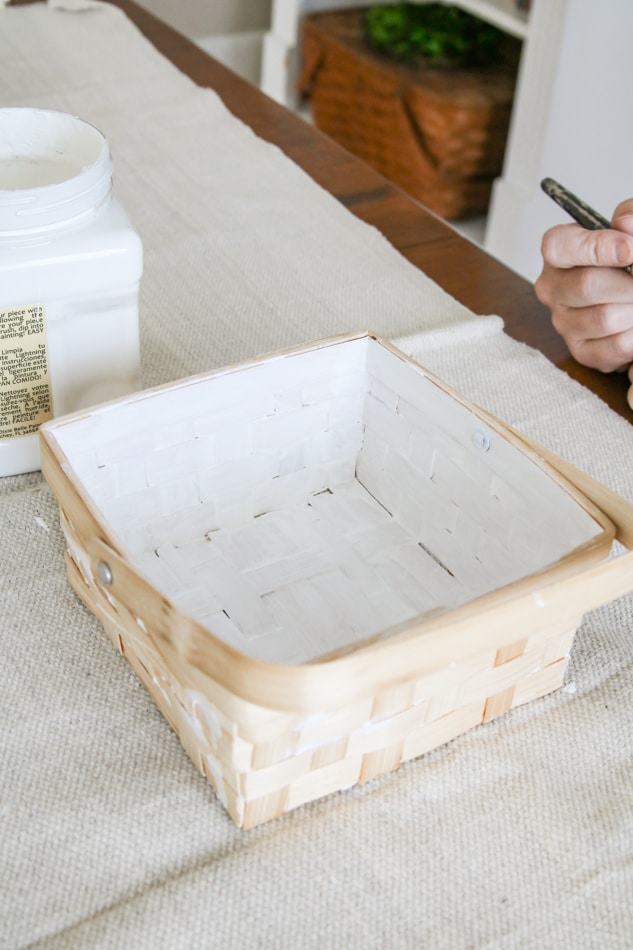
You may need to work the paint into the little nooks and cracks. Also, a little paint will come through the cracks onto the outside of the basket.
When you have finished painting the inside, smooth out where the excess paint has come through on the outside.
After it is dry, turn it over and chalk paint the outside of the baskets. If your basket is going to sit on a table and no one will see the bottom I wouldn't paint the bottom.
If you need to paint the bottom, I would wait until the inside is dry and turn the basket over. For this particular project I am not planning to paint the bottom of my basket so it will be painted upright.
Start painting from the bottom up. If your basket has a handle like mine, you can hold the handle to help paint around the outside of the basket.
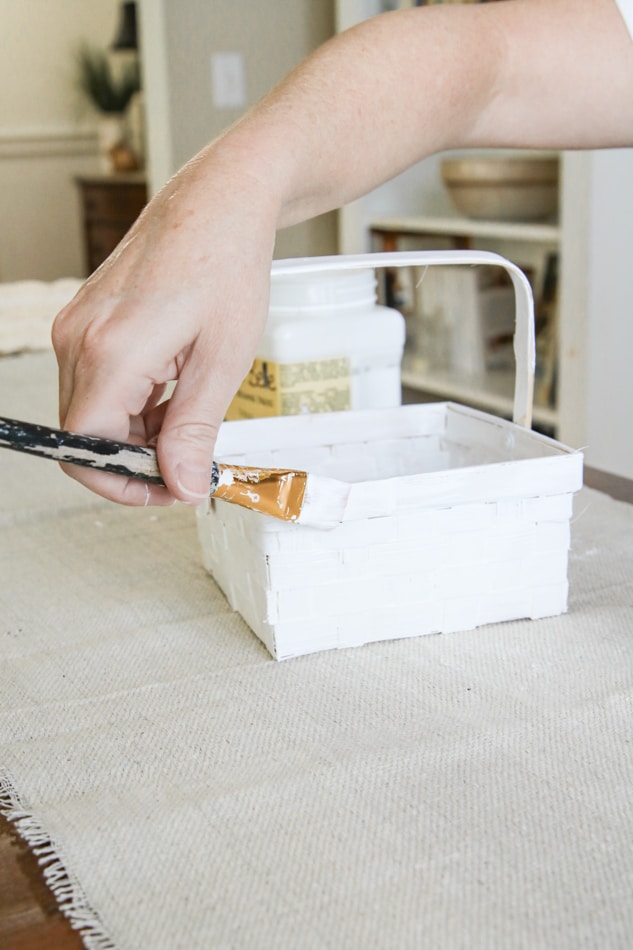
Now if you have a handle, paint it last. And don't forget to smooth out any paint that has squeezed through the cracks onto the inside.
Your Basket is Almost Done!
You may need more than one coat on your basket for full coverage. If so, let it dry for about 15 minutes and then apply another coat. I love how my basket looks with one coat so we are going with one coat.
Now let the entire basket dry for 30 minutes and then you are ready to decorate with your freshly painted basket.
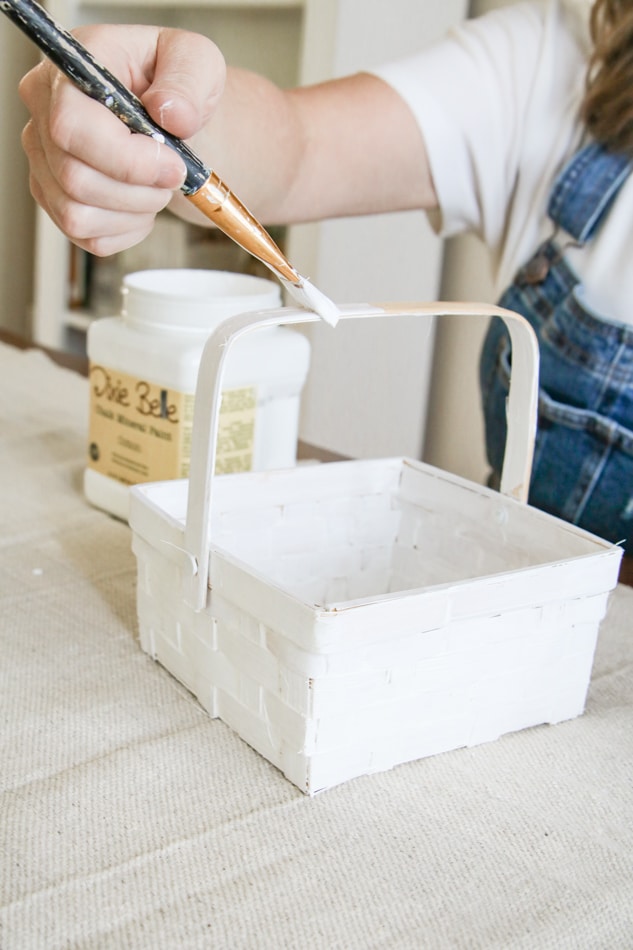
I love the look of chalk paint on baskets. It gives it a beautiful chalky finish. My best advice on chalk painting baskets is to take your time and use an artist brush if needed to get the paint down into the cracks.
Between the two techniques, I find spray painting a basket provides and easy makeover and is quicker. But I love the old-fashioned vintage farmhouse look of a chalk-painted basket. They both look amazing!
Final Thoughts!
Now that your basket is painted, you can display it in your home decor. Here are some ideas for decorating with baskets.
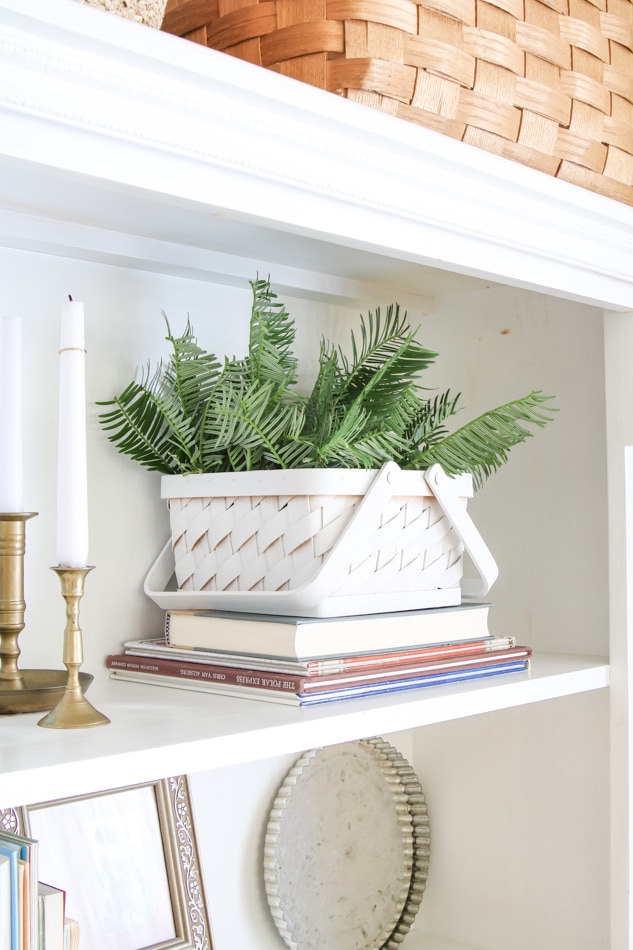
You can place them on a bookcase with other decorations.
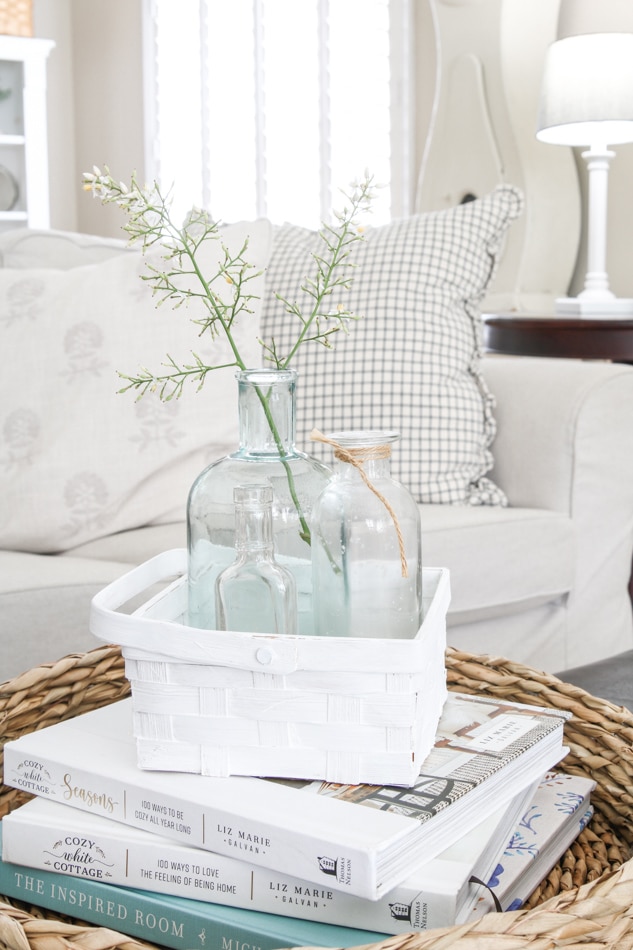
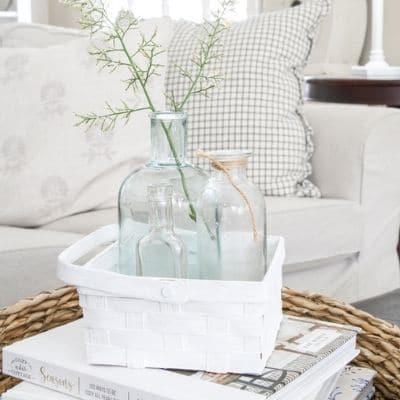
Or you can set it on a coffee table on top of books and fill it with bottles and a sprig of flowers or greenery.
You can also use baskets for storage in your kitchen, bathroom or any room. Get creative and have fun!
If you need more ideas try how to decorate with wicker baskets or how to hang wicker baskets on walls. Both of these posts will inspire you and give you lots of ideas.
Now that you know how to paint wicker baskets, go forth and give those boring baskets a makeover! You can paint them all kinds of lovely colors or go with simple white like I did today.
Baskets are a great way to add texture and character to your home decor. And this quick project is an easy way to give your baskets a makeover. If you have any questions, feel free to leave a comment below or contact me. I love hearing from you!
Happy painting!

How to Paint Wicker Baskets
I will show you how to paint wicker baskets using simple methods and supplies.
Materials
Tools
Instructions
- The first step is to brush off the basket. If it is really dirty clean the basket with water and mild soap. Rinse it off, then let it dry.
- If spray painting, start by spray painting the inside of the basket. Use even strokes holding the can of paint away from the basket about 8 inches.
- Let the inside dry for 5 minutes and spray paint another coat. I usually have to paint three coats if I am using white spray paint.
- Let it dry for 5 minutes then turn the basket over and paint the outside. If you do not need the bottom painted and you have a handle, go ahead and leave it sitting uprights and paint the outside.
- Start spraying slightly away from the basket and move the paint in long even strokes across the basket. This helps get a more even finish. Apply a second and third coat if necessary.
- If you have a handle on the baskets leave it to paint last.
- Let the paint dry completely before using the basket. This usually takes about 30 minutes to an hour.
- If you'll be using chalk paint, you'll want a drop cloth on your work area, you'll need chalk paint, a cup of water, and a paintbrush.
- Use a little water on the end of the paintbrush and then dip the brush into the chalk paint. Next, chalk paint on the inside of the basket starting on the bottom and working your way up.
- You may need to work the paint into the little nooks and cracks. Also, a little paint will come through the cracks onto the outside of the basket.
- When you have finished painting the inside, smooth out where the excess paint has come through on the outside.
- After it is dry, turn it over and chalk paint the outside of the baskets. If your basket is going to sit on a table and no one will see the bottom I wouldn't paint the bottom.
- If you need to paint the bottom, I would wait until the inside is dry and turn the basket over.
- Start painting from the bottom up. If your basket has a handle like mine, you can hold the handle to help paint around the outside of the basket.
- If you have a handle, paint it last. And don't forget to smooth out any paint that has squeezed through the cracks onto the inside.
- If you need more than one coat, let it dry for about 15 minutes and then apply another coat.
- Let the entire basket dry for 30 minutes and then you are ready to decorate with your freshly painted basket.
