Bookcases can be functional or aesthetic but with these tips, your bookcases will never have looked better. Here is how to decorate a bookcase in six easy steps.
How to Decorate a Bookcase
If you have beautiful shelves but need help on how to decorate a bookcase then you have come to the right place. Let's waste no more time and jump right in on decorating your bookshelves.
This post contains affiliate links, which means I receive a commission if you make a purchase using the links below. All opinions are all my own.
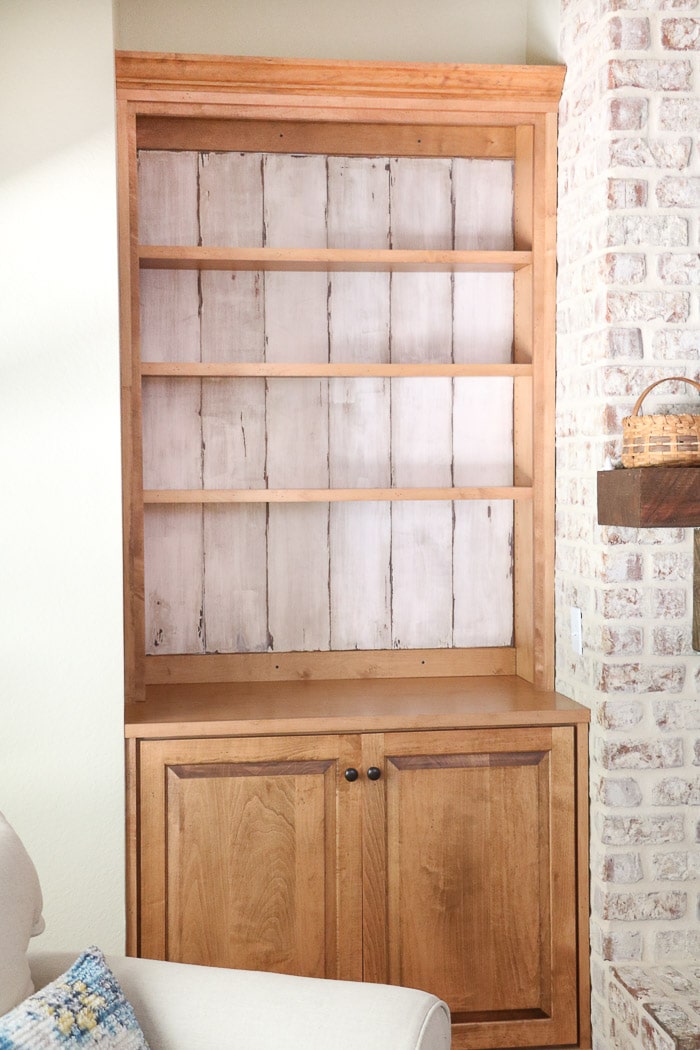
But before we get to the stage of actually putting items on the shelves let's collect accessories to go on the bookcases.
Bookshelf Decor Ideas
Begin with a little research and look for bookshelf decor ideas on Pinterest, google images and my website under the home decor category.
Once I have pulled all my bookshelf ideas create a list of items that you see on the bookshelves in the photos and do some shopping at home and in the stores.
Next, start with your home and collect items that you feel would work on your bookshelves. Lay them out on a table, cross those items off your list and then do some shopping online or in stores.
Clear the Bookcases
Now clear the bookcases unless they are already cleaned off. Make sure there is nothing on the shelves.
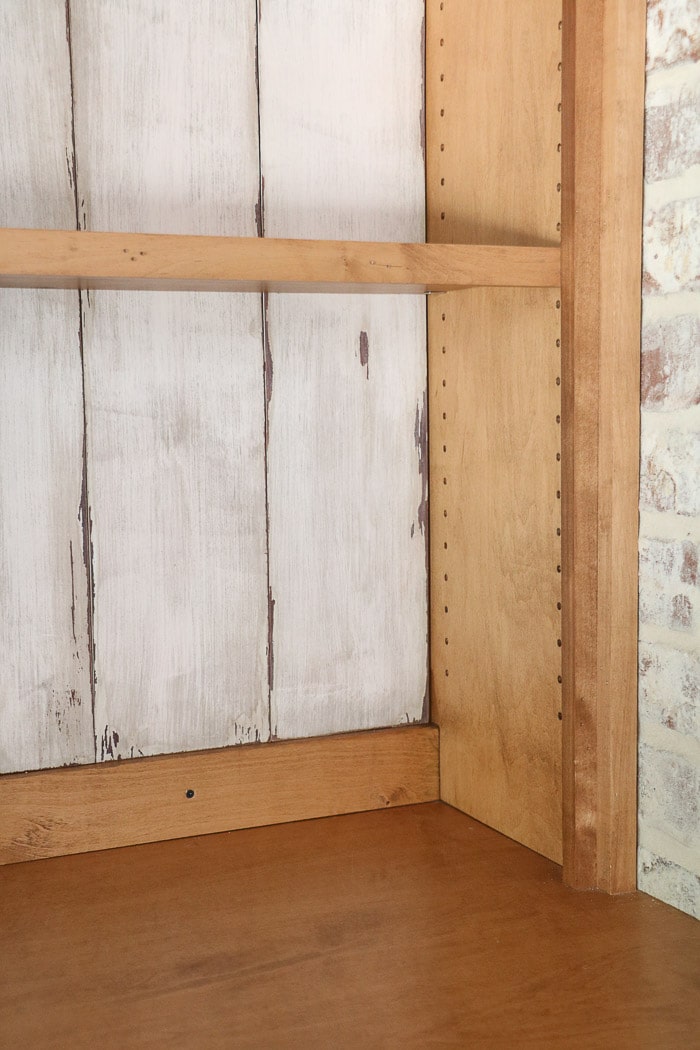
This is a great time to do a bookcase makeover on the back of your bookcase as Susan did with these rustic farmhouse style boards. For more information on this shelf, background DIY check out this bookcase makeover post.
It is also a great time to clean your shelves. 😉
Position Large Items
Now that you have all your items laid out on a table or floor nearby start with the larger items first.
Position them on the shelves balancing them from shelf to shelf along the way like in this photo.
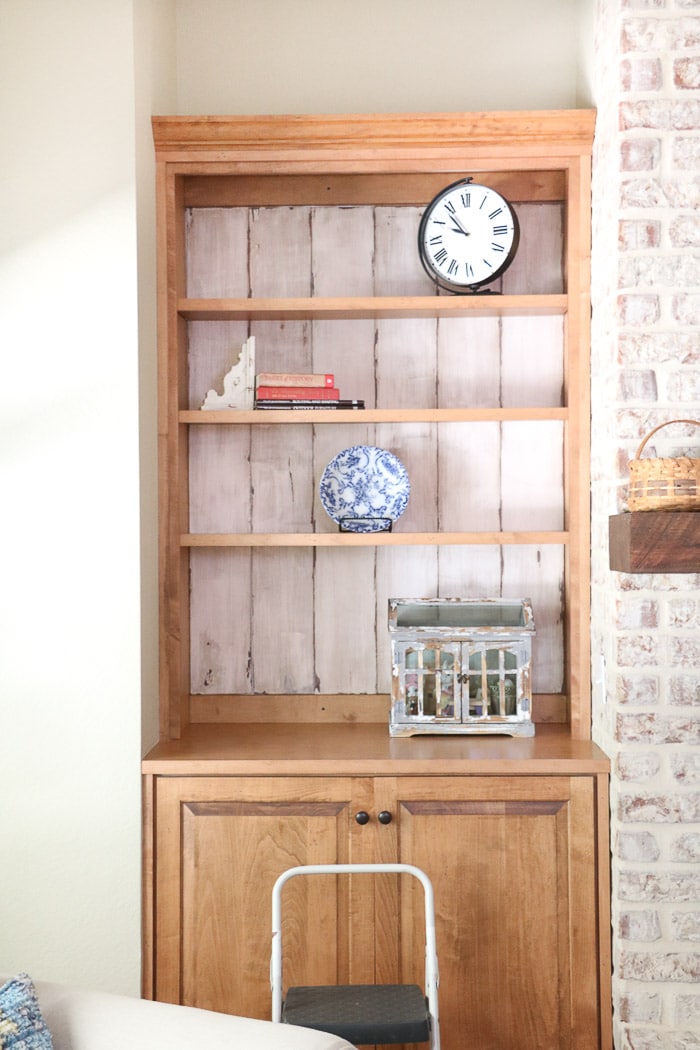
I like to do a criss-cross design at first starting with the top shelf and placing a large item like this clock.
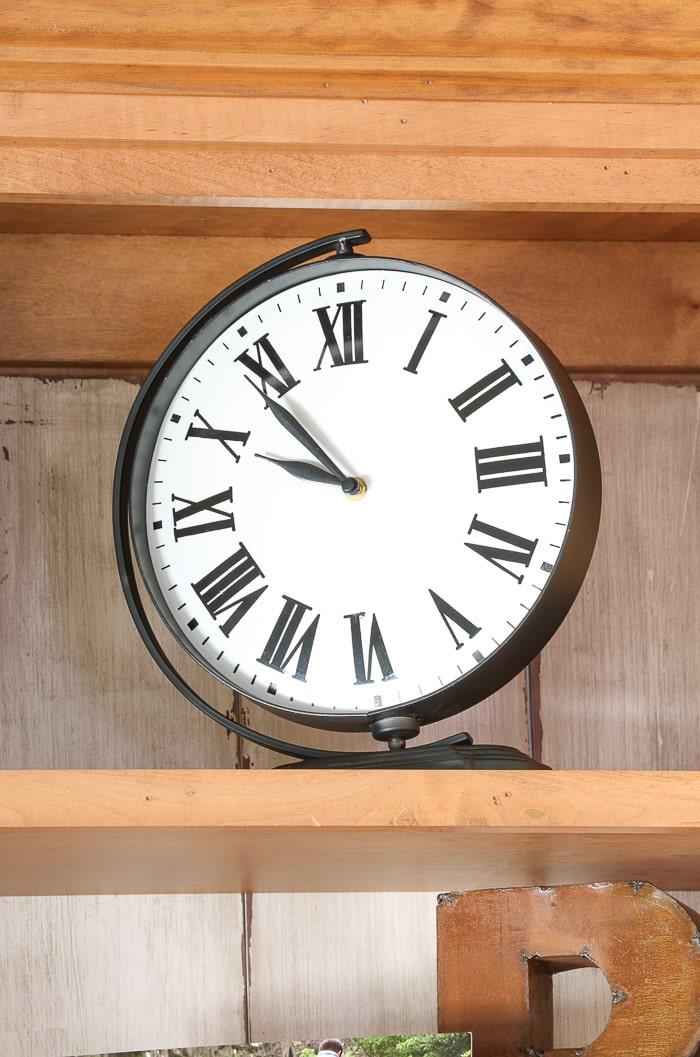
Keep moving your way down until you get to the bottom piece.
One thing to remember is to give yourself some grace and allow yourself the right to move things around as you go or at the end when you stand back and access everything.
As you place items you might find that something you already placed would look better somewhere else. Or you may come across something better later when you do more shopping.
Medium Size Pieces
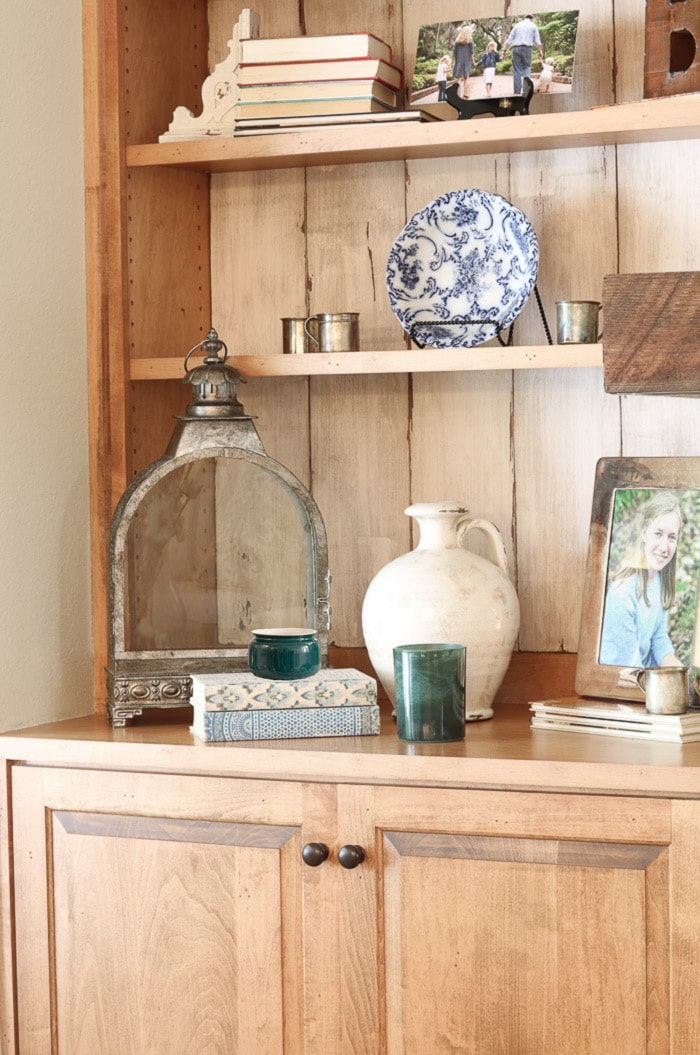
Now I like to introduce medium size items. Medium size items work nicely nestled together like this letter B and picture on an easel.
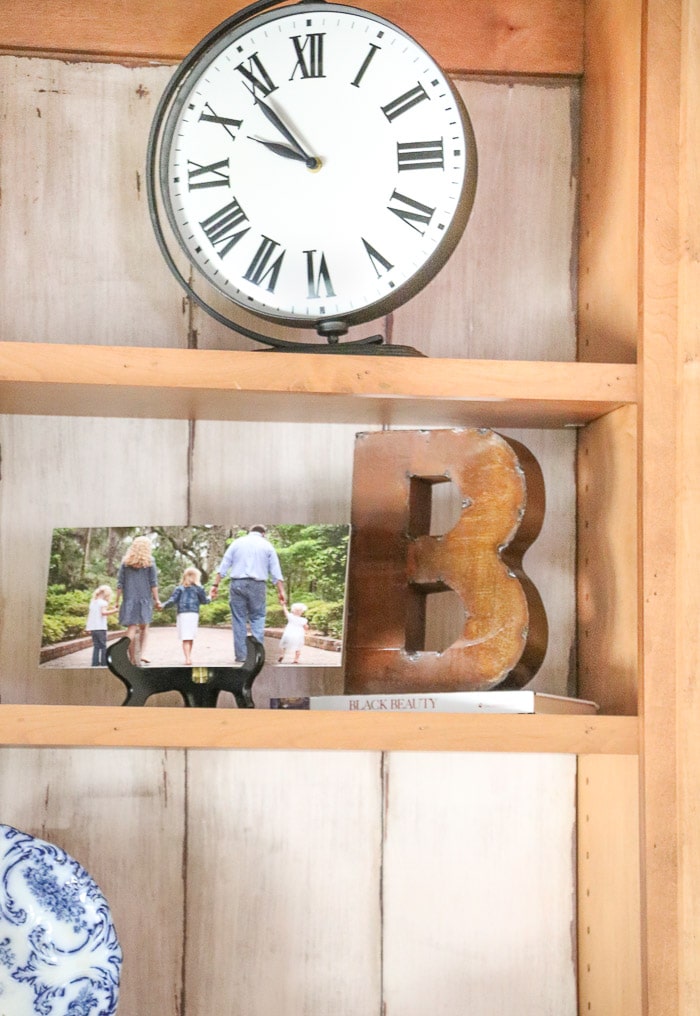
The letter B wasn't quite tall enough so we added a book under it to give it height. This is a decorators trick when they need an item to be taller.
Also, later we decided to turn all the books around so they were all uniform. Look closely at the picture of the finished product when you get to the end. It gives a nice uniformed look when the books are turned around and all you can see are all the pages.
Small Items
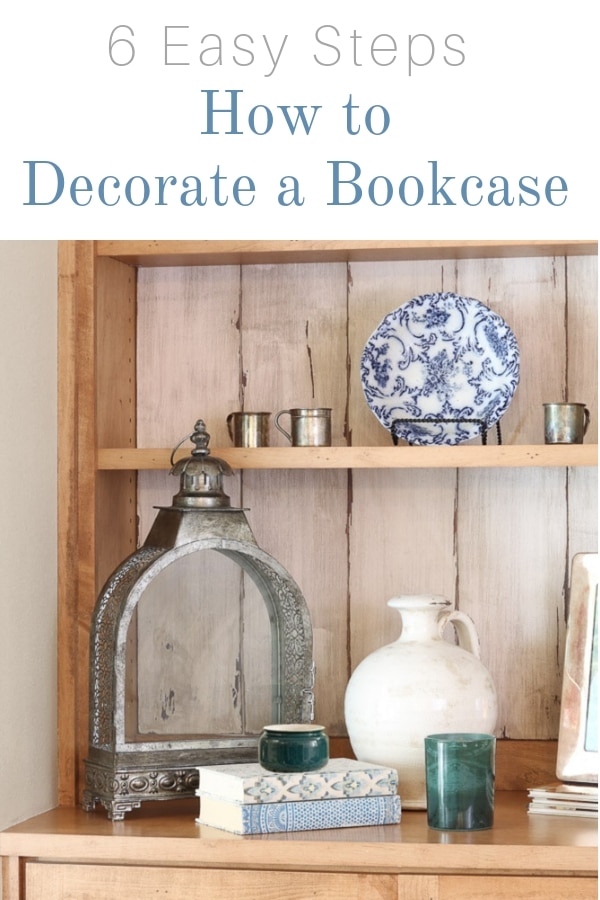
Now for those little items especially those with sentimental value like these sweet sterling baby cups.
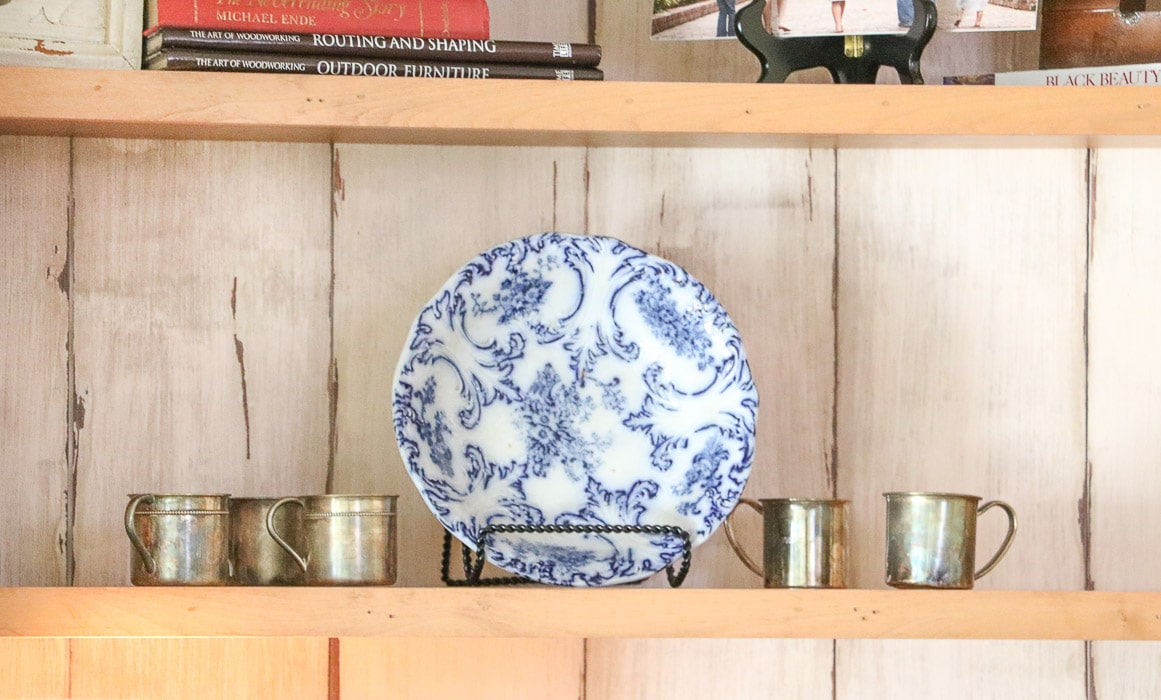
Small items can get lost very easily if you are not careful. Placing these cups on a shelf with a single plate helps people to see them well.
I love that many pieces in Susan's home have a story and are meaningful.
Products from Amazon.com
A cheap and easy way to add decor to your bookshelves is with one of our free printables. Check out the botanical print that has been used in this picture frame.
If you're interested in seeing all the free printables simply sign up for emails to get access to the free printable library or go check out this farmhouse framed botanical print post.
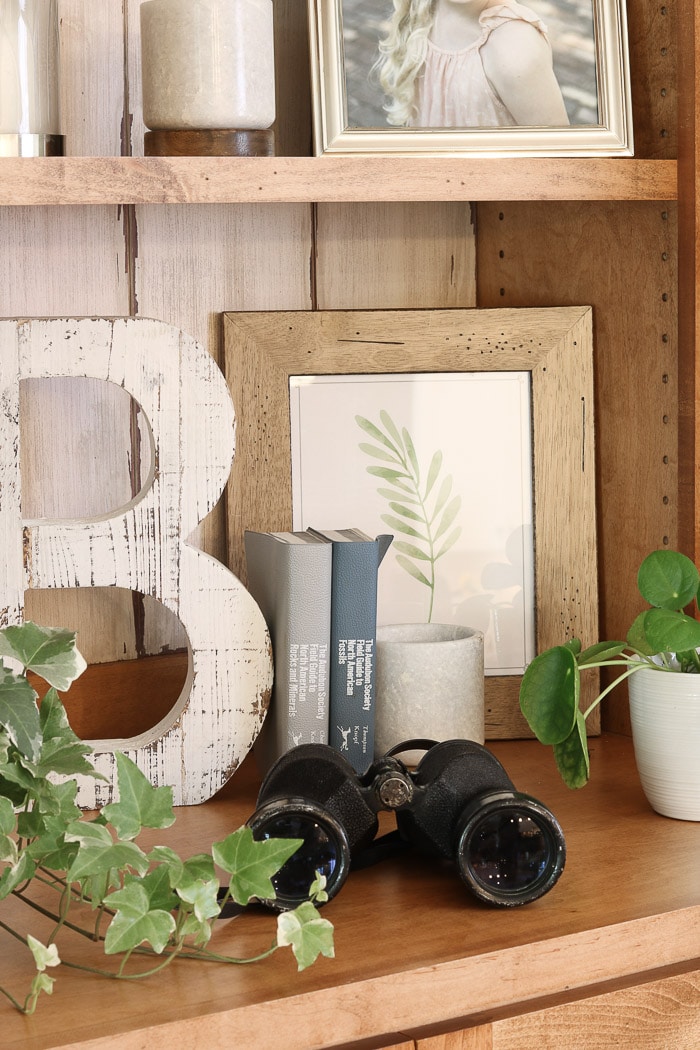
These binoculars are another smaller and meaningful piece. They belonged to a loved one. We paired them with some field books that also belonged to that same loved one.
Keep in mind when you are placing items to let negative space work into the design too. It helps the flow of your pieces and allows light to travel around accessories so that the eye can see each item carefully.
Using up all the negative space can create an overwhelming design and each piece gets lost.
Plants
Whenever you are decorating your bookcases think about plants. Susan wanted to use real plants so here is an example where we moved things around and took down the artificial plants on the top shelf.
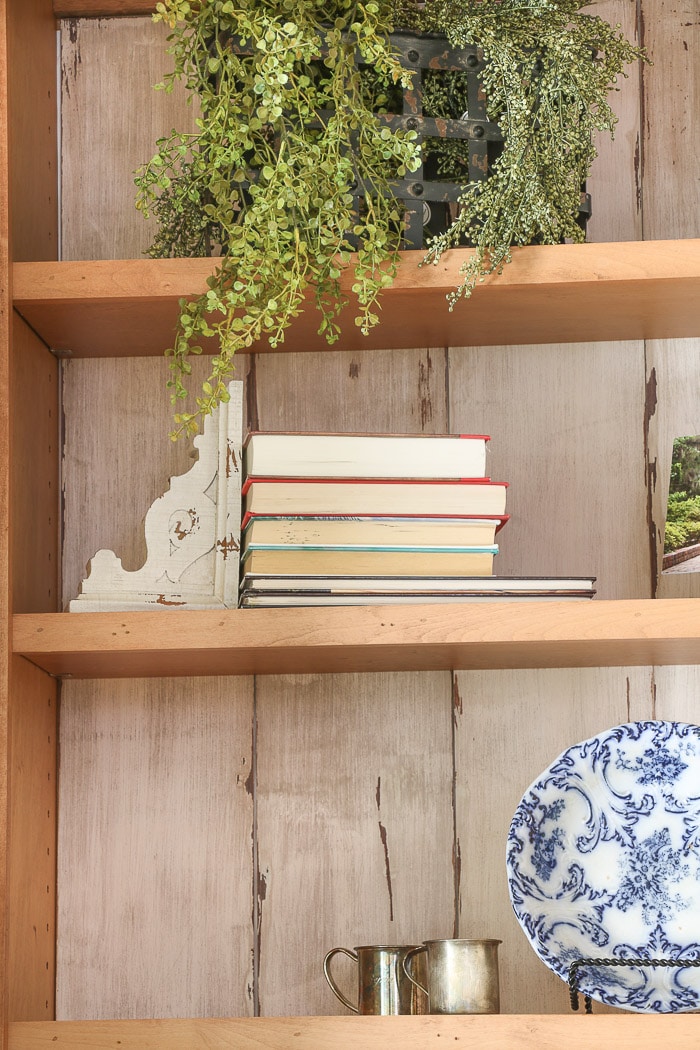
I didn't love this artificial plant to start with so when Susan said she wanted to go with all real plants I was glad to change it.
So we moved the suitcases from the other side to this side which helped balance out the two bookcases.
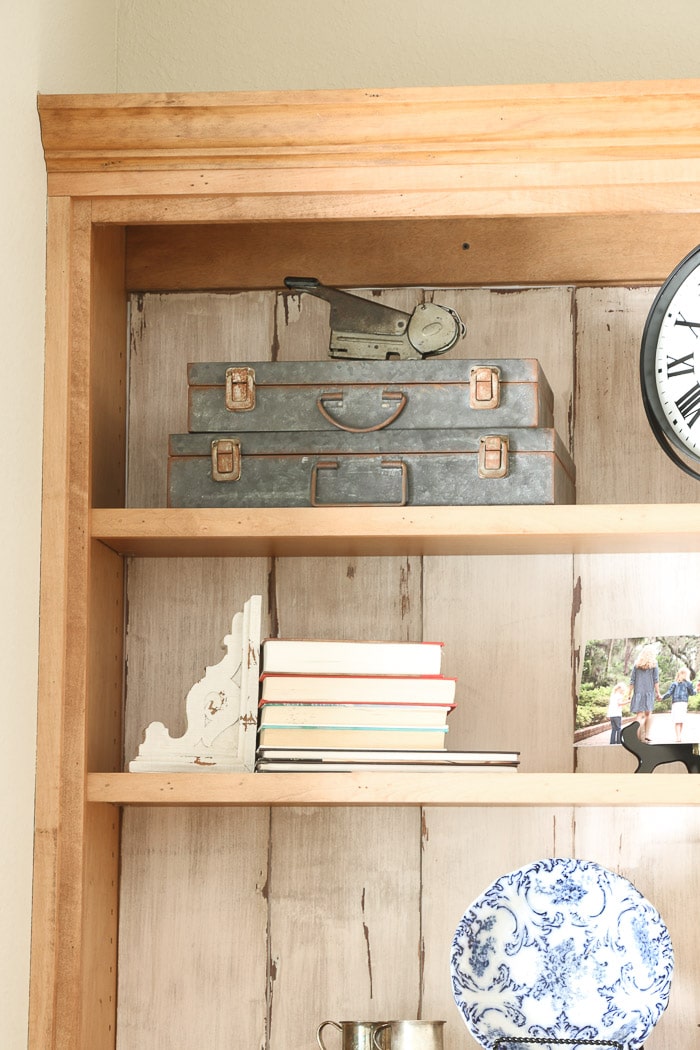
Doesn't that look better? And then we added plants to the bottom row of shelves so it would be easy for Susan to care for them.
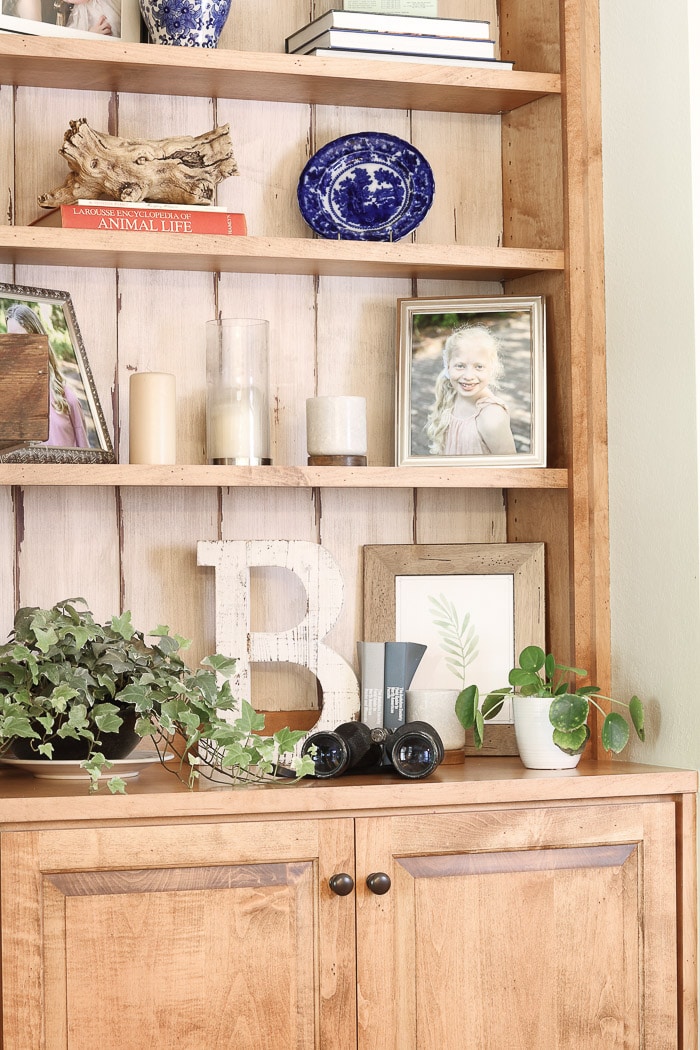
I love that Susan has real plants on her bookcases!
I recently added real plants with the help of a local nursery to my screened in porch. For more help on shopping for plants check out my screened in porch decorating ideas post.
Decorating with NestSet
Now for the best part!
If you have your doubts about styling your shelves even after reading this post and you want that designer look well, I have an idea for you.
NestSet is a website that offers help in many ways but my favorite is their decor sets.
Okay, let me explain. Let's say you have a bookcase or end table you want to decorate with accessories. Go to NestSet and click on Shop Decor Sets on the menu. You will find some of the most beautiful accessory ensembles to choose from.
Now simply pick one out that will work with your home decor style, fit on the space you are considering and once it arrives set it up just like the photo.
Here is an example of a set we received for this bookcase. Isn't it stunning! And it is such a great deal because you are getting many pieces in the set, great quality accessories and a designer has planned it out for you.
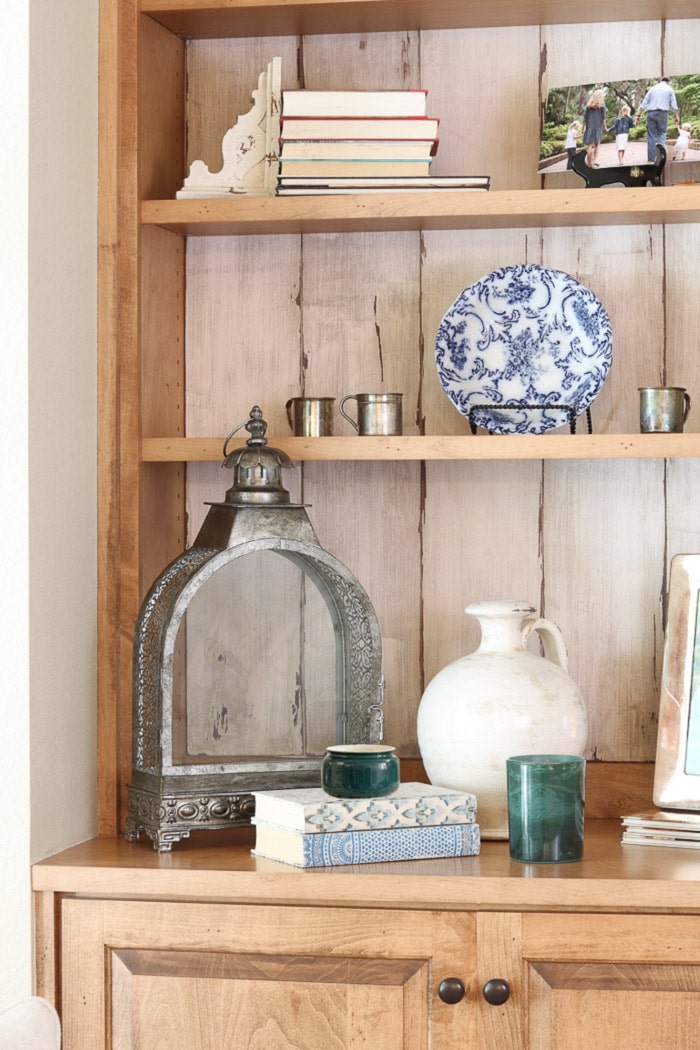
Decorate Bookshelf
Before we wrap up this tutorial here is a checklist on how to decorate bookcases.
- Look for bookshelf ideas and save photos
- Shop for large, medium and small items
- Place all items on the table or floor near bookcases
- Sit large items first one on each shelf
- Place medium size items (nest items in odd numbers)
- Sit small items (make sure they don't get lost)
- Remember it's is okay to move things around until you get just the right feel and look.
- And use the website NestSet if you have doubts.
Products from Amazon.com
Conclusion
Now that you have all the basics you are all set to start decorating your bookcases. See how beautiful Susan's bookcases turned out! The background design gave them character and the decorated bookshelves are filled with warmth and are meaningful.
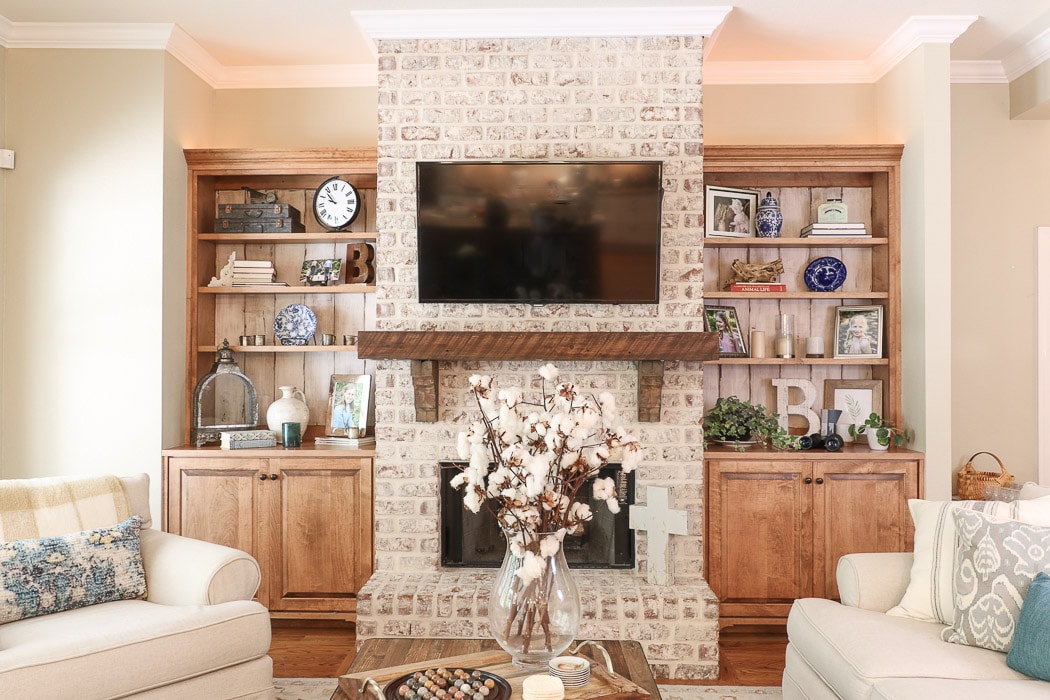
Use these tricks to change up your bookcases seasonally too.
I love to see people add holiday items to their bookcases. A fun idea is adding holiday books at Christmas and change out some of the larger items. For more information on how to style your shelves for the holidays check out my favorite Christmas books that are fun to use in decor.
Also, you can use these tips to accessorize sofa tables, armoires, and so much more. I hope this post has inspired you to decorate your bookcases and given you the confidence to change things around.
Happy Decorating!

If you enjoyed these ideas, please sign up for emails, so you don’t miss out on more fun decorating tips and ideas HERE.
8 IDEAS FOR PERFECTLY STYLED SHELVES | LIFE ON SUMMERHILL
Sunday 25th of October 2020
[…] if you want to style your shelves and need a few decorator tips then check out my how to decorate a bookcase […]
HOW TO ACCESSORIZE YOUR HOME LIKE A PRO | LIFE ON SUMMERHILL
Friday 23rd of October 2020
[…] hope you have found this to be helpful. I have more information on how to decorate a bookcase along with lots of photos. And did I mention that this how-to accessorize page is filled with so […]
Cindy
Sunday 5th of May 2019
This was so helpful that I shared it on my Old Age is not for Sissies blog Facebook page. It has also made me want to go back and redo the bookshelves with my genealogy photos.
Linda McDonald
Sunday 5th of May 2019
Fantastic! I am so glad this has helped you.
Pamela Martin
Saturday 4th of May 2019
What a fabulous post, Linda. Thank you so very much. Do you have any suggestions for me, I have 2 tall 12 inch wide book shelves that flank my armoir. I don't think the first step of criss crossing the large items would work. They only hold one large item or a few smalls. Any help would be appreciated. *Smiles*
Linda McDonald
Sunday 5th of May 2019
This is a very good question, Pamela. Here are a few ideas. On the bottom row of each side, you can stack some logs where the end of the logs shows. Here is a Pinterest pin where I saw that idea. https://www.pinterest.com/pin/AVWMZ9ny8vhWmPmnT4ELNbHuZtk0dRwEjqvH1Ju_bkaCtBr_N6BFbNw/ Also, consider stacking some books from the wrong side so they match or paint the books with chalk paint and place a plant or small bouquet of flowers on them. And always consider large pieces like vases, plates standing on an easel and such. I hope this helps. Send me a pic once it is finished. I would love to see it.