Today I am sharing how to build a farmhouse table for beginners. Making a farmhouse table is very easy to do and inexpensive. I am going to show you step by step how to build a dining table or kitchen table or outdoor table. The best part about this project is deciding where you will put this small farmhouse table.
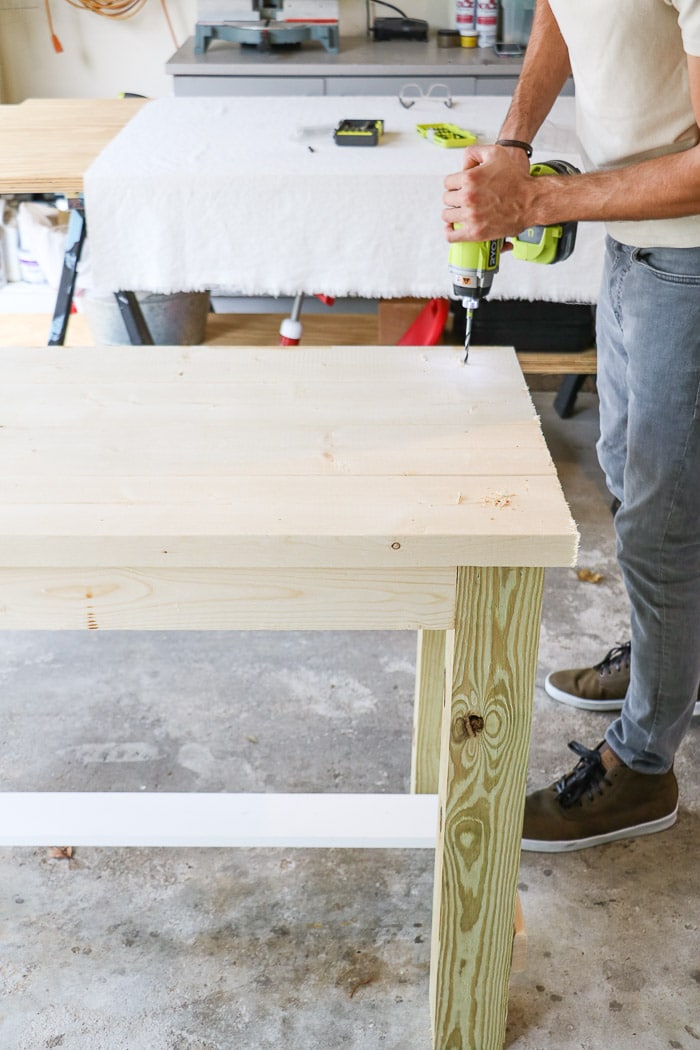
When I was thinking through how to build a farmhouse table I envisioned each board and how they would go together. But what I didn't envision was that I would have a helper.
This post contains affiliate links, meaning I receive a commission if you purchase using the links below at no extra cost to you. All opinions are all my own.
So, let me introduce my future son-in-law Jesse who basically ended up making a farmhouse table. All I did was take pictures.
LOL! He is awesome!!!
How to Build a Farmhouse Table
With most farmhouse projects the end product is forgiving which is why I think anyone can build this small farmhouse table. Just think about it. Farmhouse style has it imperfections, it's distress, weather, vintage beauty.
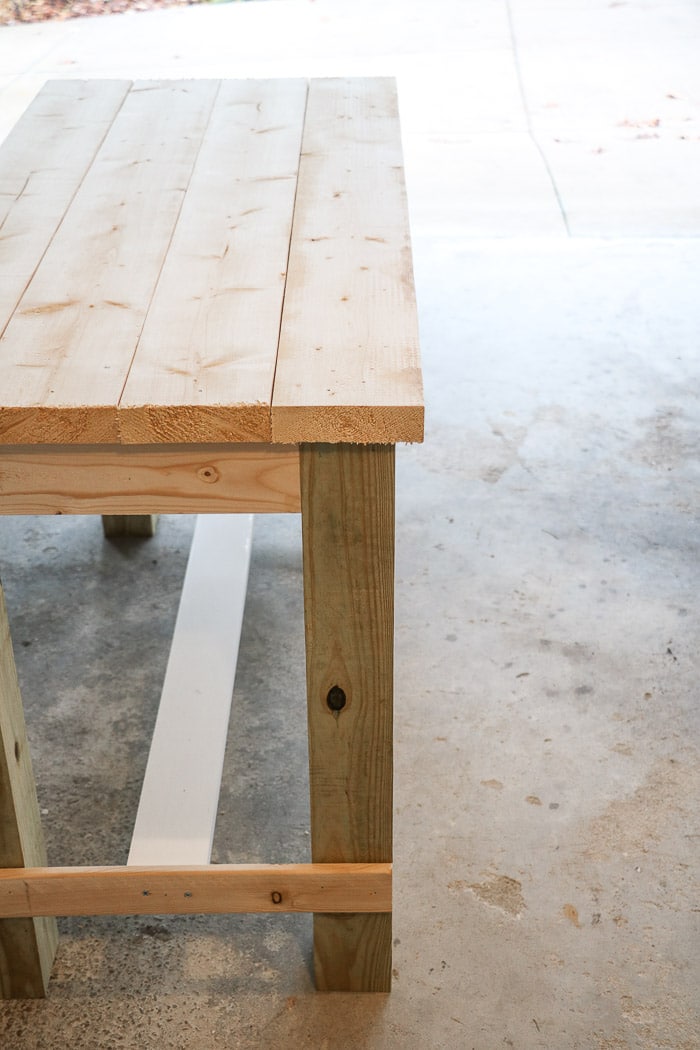
Okay, I think you get the picture. This is an easy table to build but did I mention cheap?
Are you sitting down? Because you might faint when I tell you how much I spent on this project. I spent $30.00 on lumber.
You see in addition to making a farmhouse table that is forgiving you can also be creative and use used wood, wood with imperfections and so on.
So look for the deals! I found all my wood at Home Depot just by looking for the deals. And I had a few pieces at home. I will point those out when I get to them.
Farmhouse Table Plans & Supplies
Before you start any project you need some plans. Here is a breakdown of all the boards and cutting sizes. Be creative with these and go for longer boards and have Home Depot cut them.
- 4 2x6x48″ (top)
- 4 4x4x29″ (legs) (I used fence posts)
- 2 1x4x48″ (apron on long size) (you will be cutting these some more)
- 2 1x4x24″ (apron on short size) ( you will be cutting these too)
- 1 1/2x2x96″ (under the top for support)
- 1 1/2x3x48″ (connector for legs on ends) (I had this piece at home)
- 1 1x4x48″ (center bar on bottom)
- 4 3″ wood screws with a flat top
- 8 1″ wood screws with flat top (connect the boards on bottom side of legs and center bar)
- Nail gun with 2″ and 1″ nails
- Drill, drill bits and screw drivers
- Hammer
- Wood glue
- Sanding block
- Pencil
- Level
- L framing square measuring tool (ruler)
- Kreg Jig (optional) (it comes with screws you will use for the project)
- Saw
Products from Amazon.com
Making a Farmhouse Table
Now it is time to start making your small farmhouse table. Grab your tools and let's get started!!
Step One: Top
Begin with laying the top boards face down on your table.
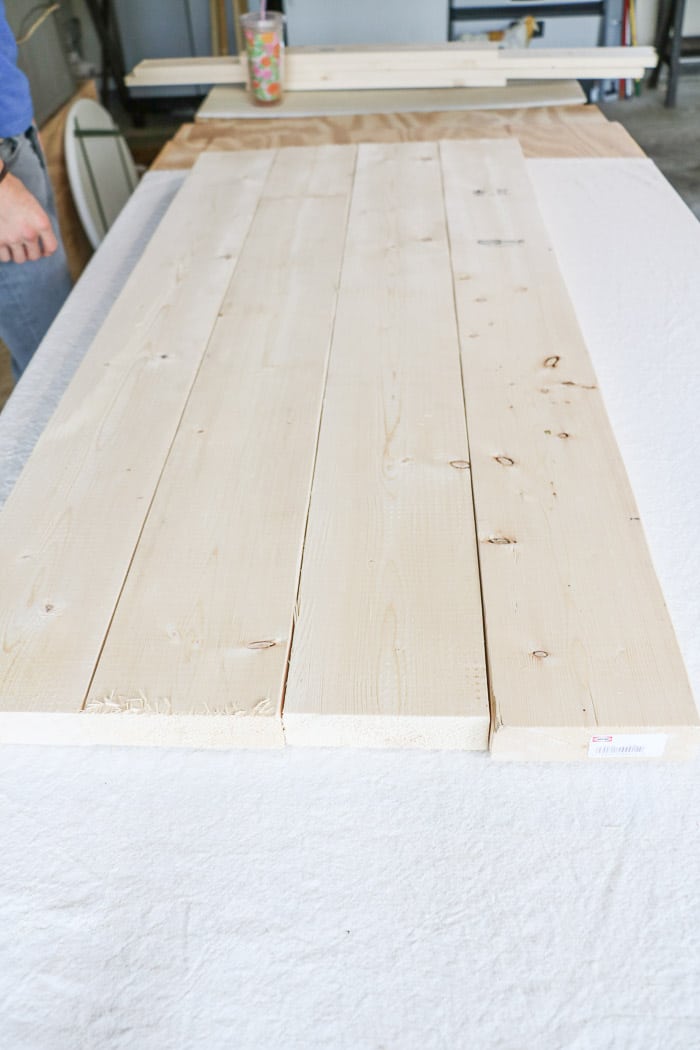
Next use a board to line up one end.
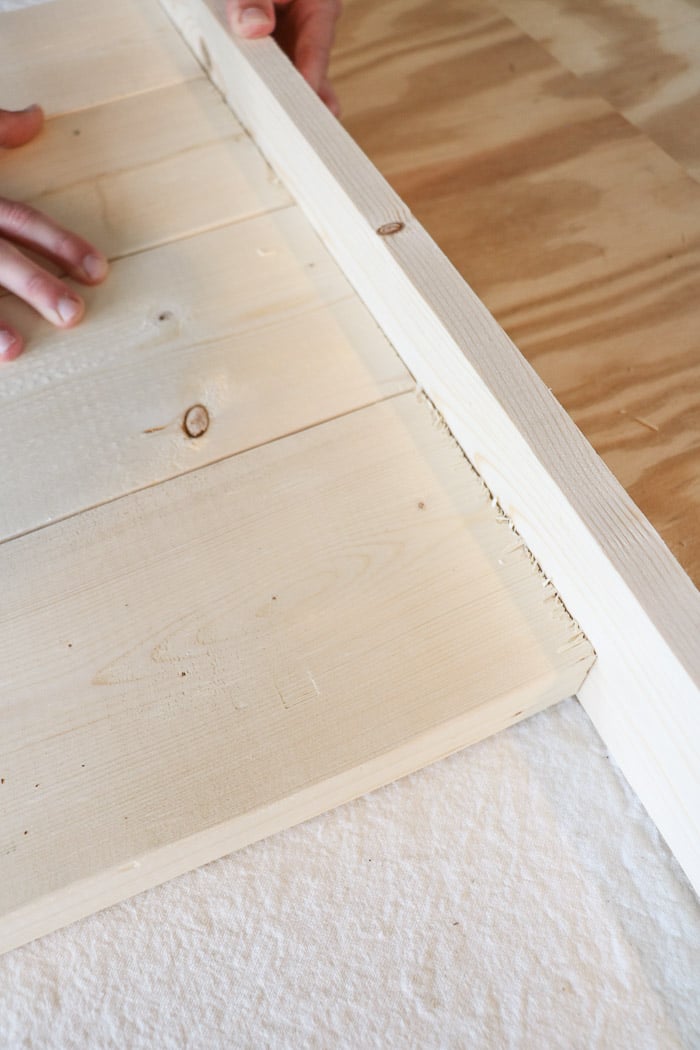
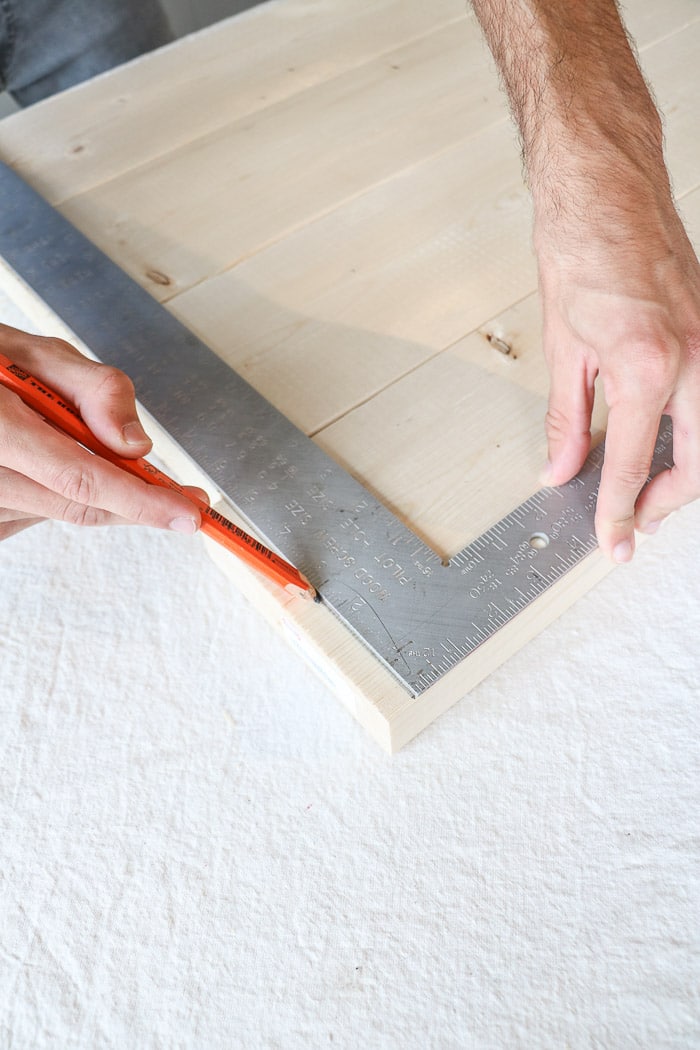
Now use a 90 degree ruler to mark a straight line across the boards for cutting.
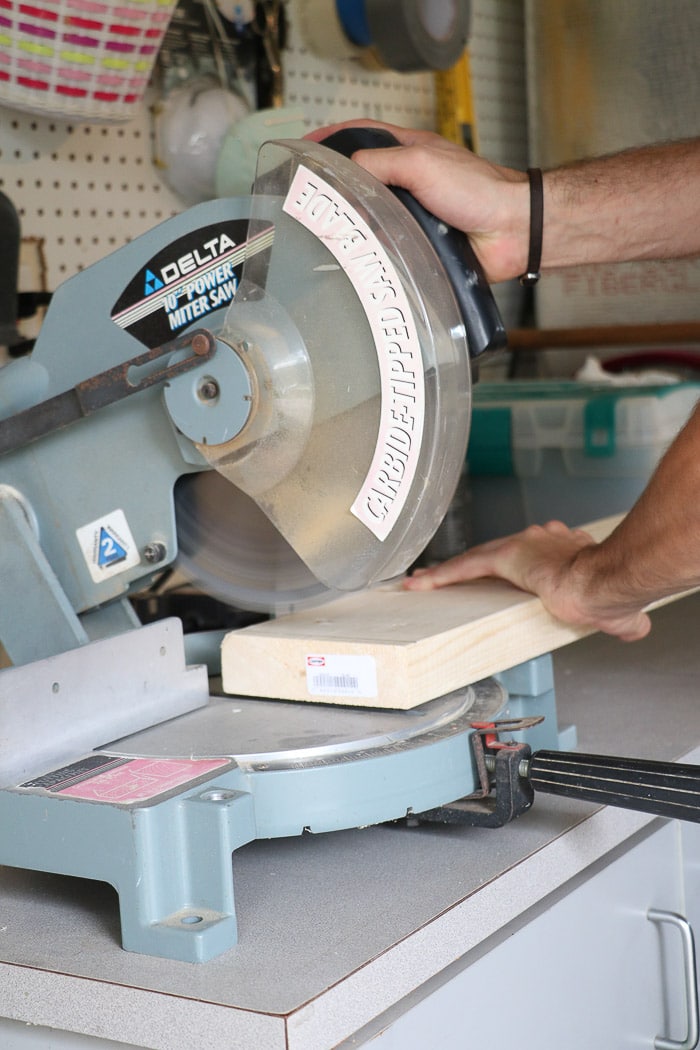
Cut the boards on a miter saw.
Step Two: Legs
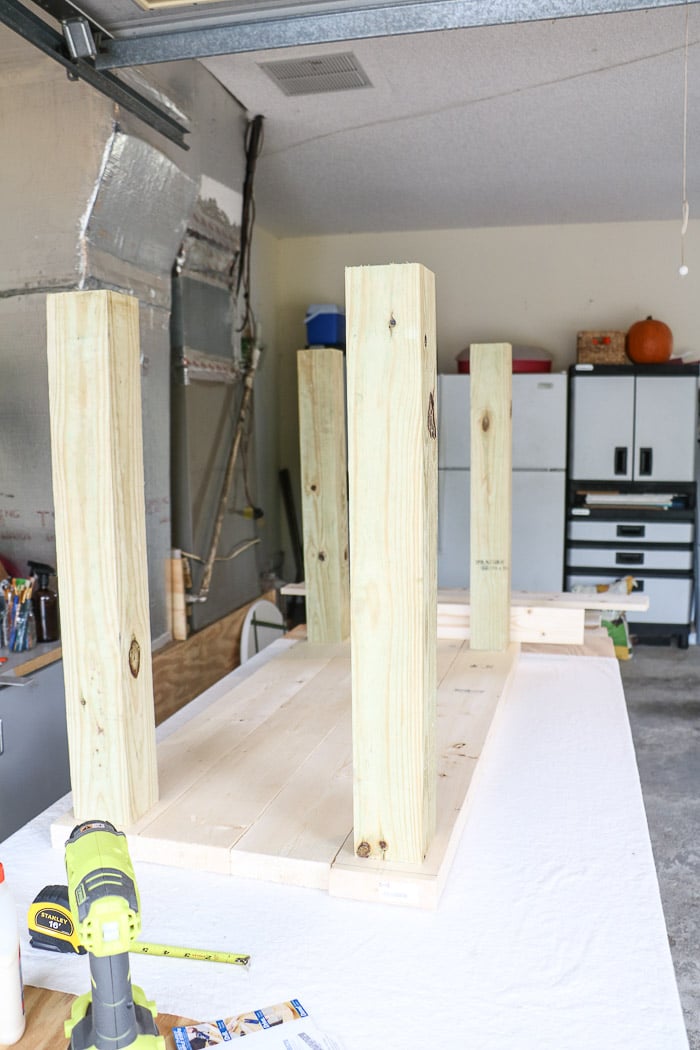
After all your boards are cut line up the boards again with another piece of wood and sit your legs on top after you make sure they are all the exact same length.
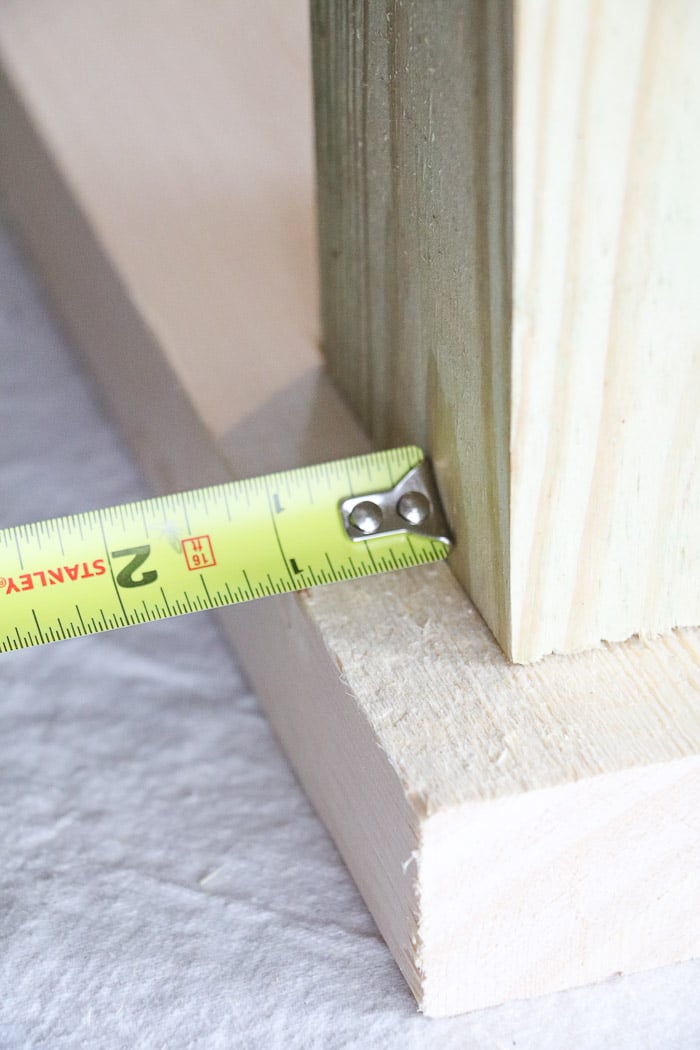
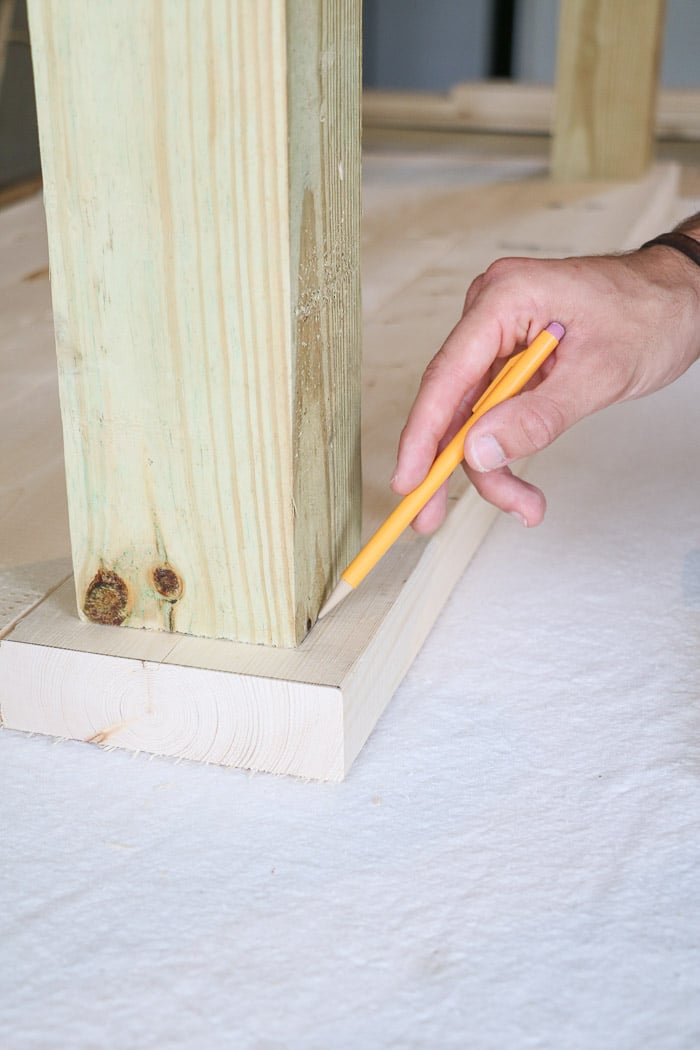
Measure in one inch on each side so the legs are perfectly positioned.
Now draw a line around the board so you don't loose your spot.
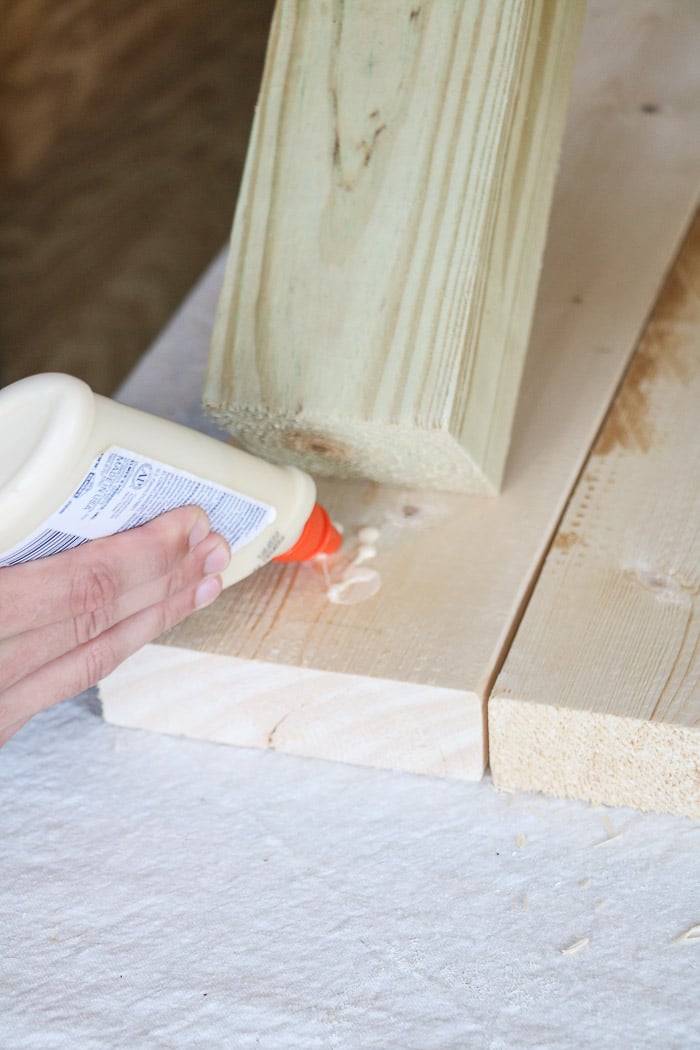
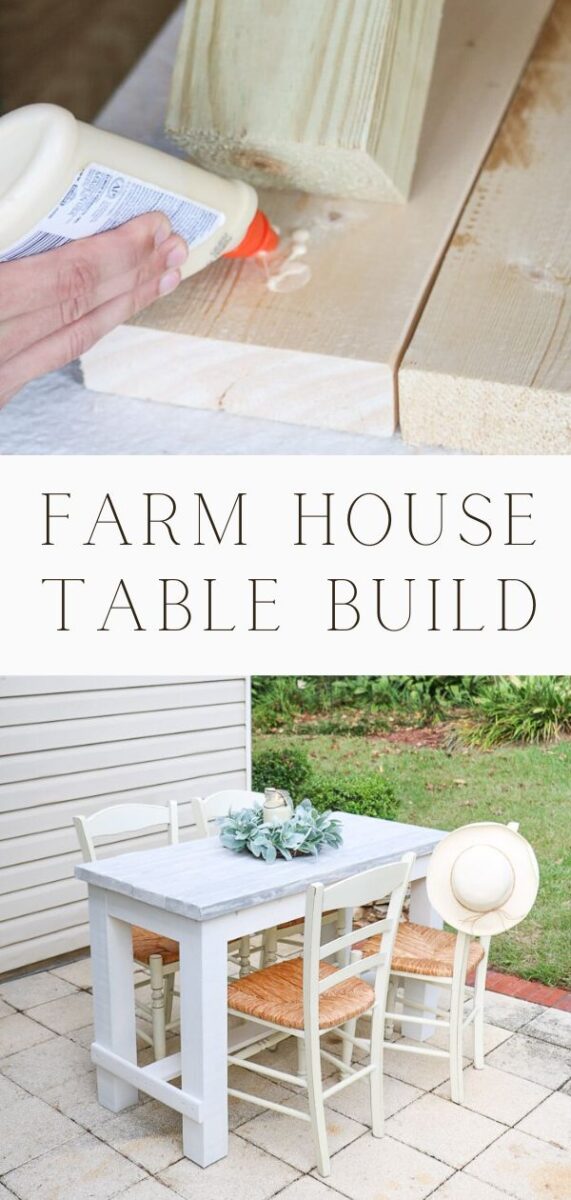
Next tilt the legs over and put some wood glue underneath and sit it back down making sure it lines up with your lines.
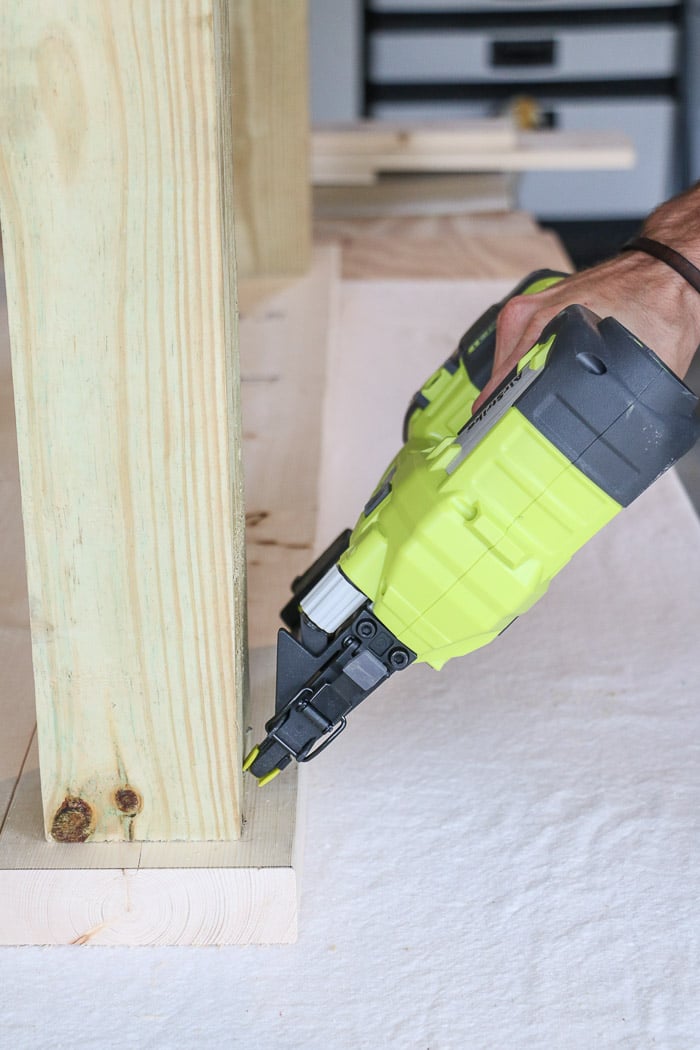
Follow the last step by shooting some nails at a diagonal into the legs. This will keep them in place for now.
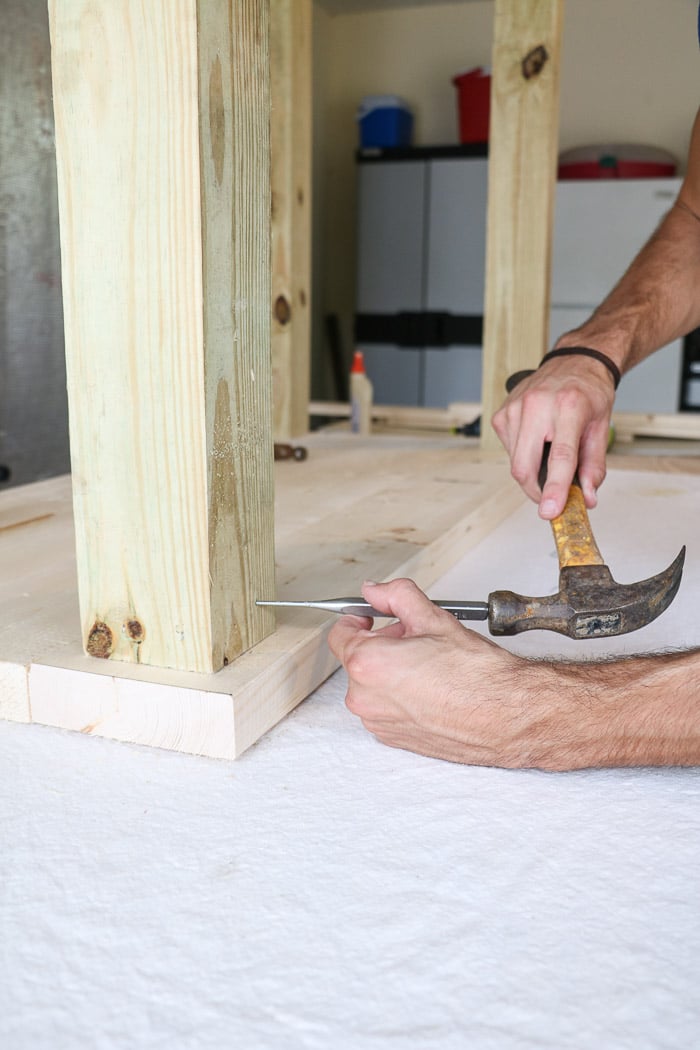
If the nails stick out some use a tool to hammer them into the wood.
Step Three: Secure Top
Next cut three of the 1/2 x 2″ boards around 20″ each and place them down over the boards like in this photo.
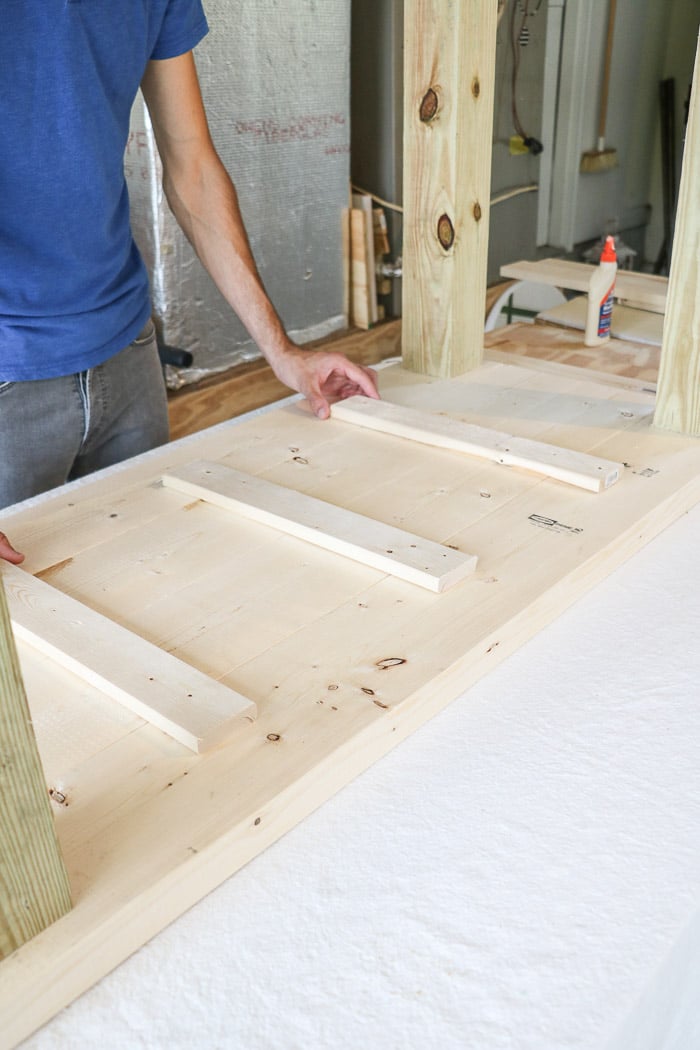
This is going to help keep the top together nice and snug. Next nail in the boards making sure a nail goes into each board.
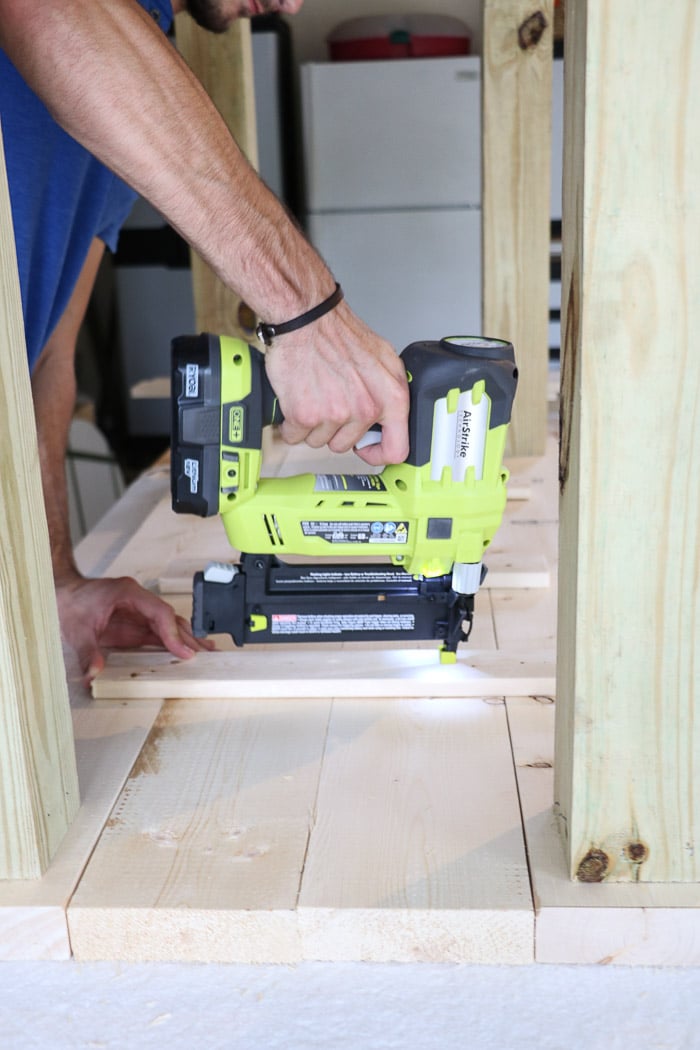
Step Four: Apron
Now site a 1 x 4 x 48 on one long side and mark with a pencil where to cut the board. We looked carefully at each side to find the one with the least knots and then placed that one on the outside.
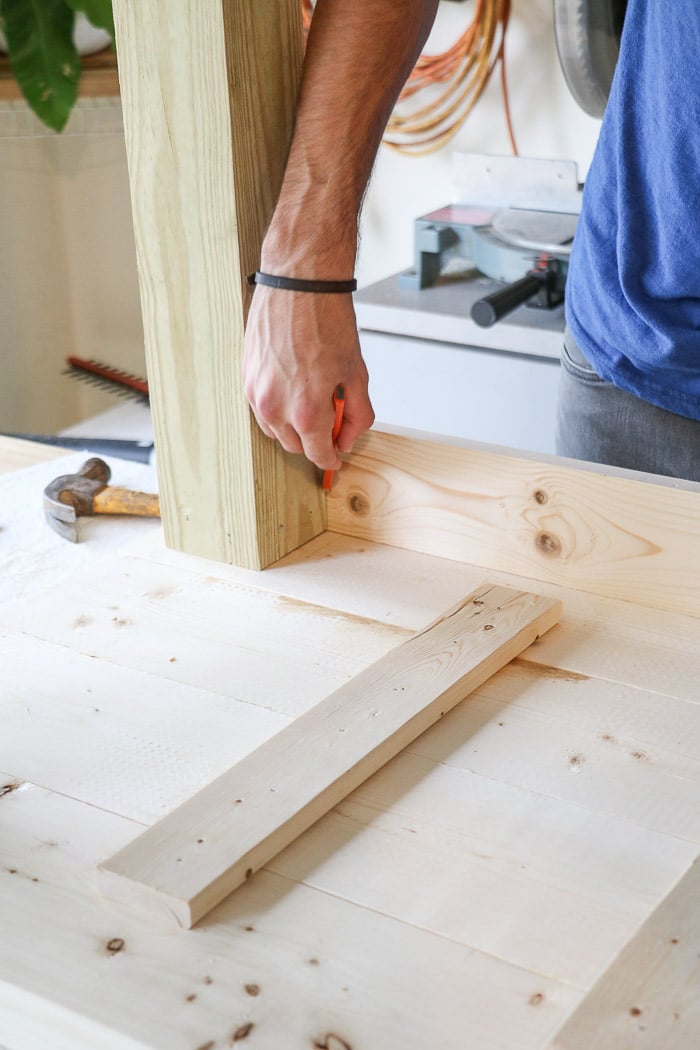
Sand down the edges and using a clamp and a Kreg jig clamp the board to your work table and drill in the hole.
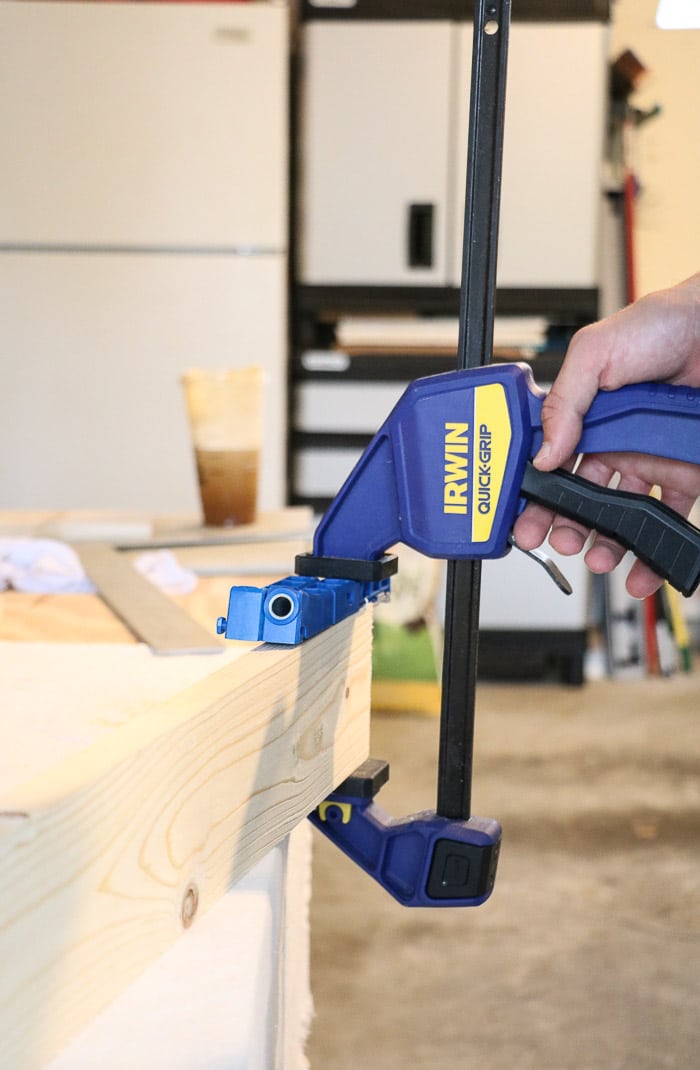
You do not have to do this step if you don't have a jig but it helps with stability. You can nail the board into place at a diagonal or nail in from the top.
This was our first time using a jig and the instructions that came with it were easy to follow. If you are still having trouble there are many YouTube videos too.
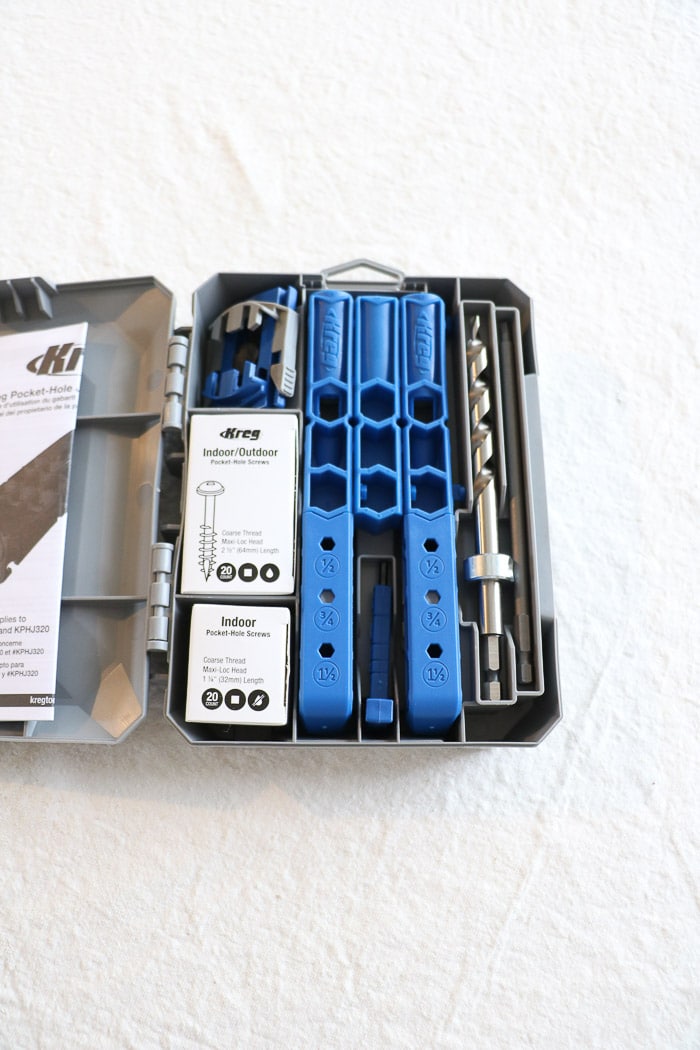
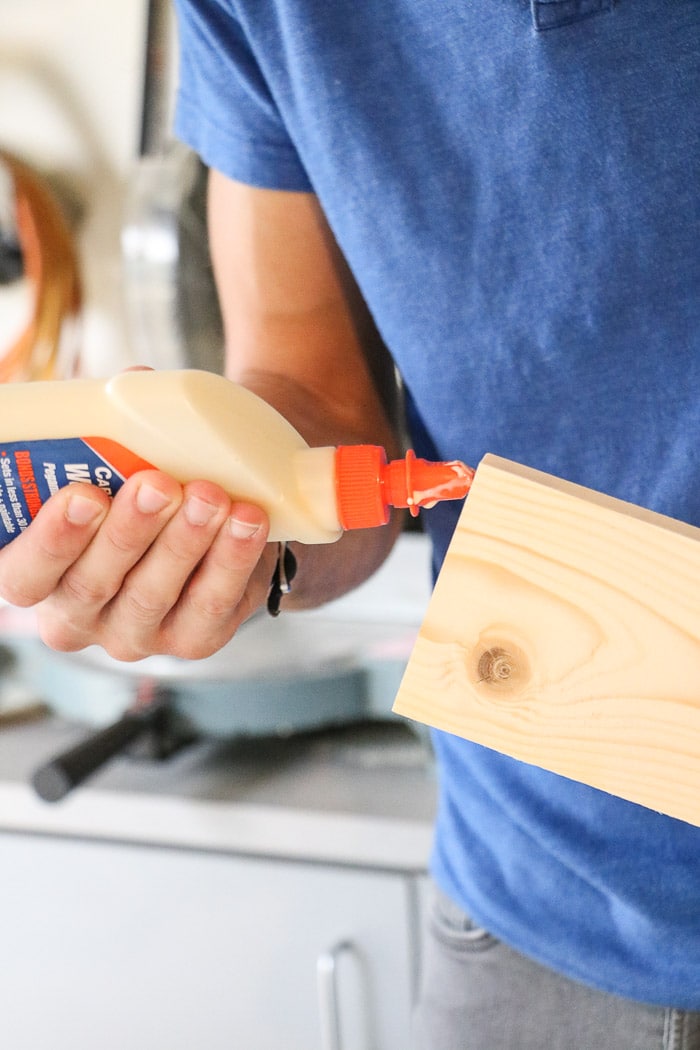
So after you drill your angled hole put some wood glue on the end.
And slide the board into place and screw it in. The Kreg jig comes with screws so you will not have to buy some if you are using it for the first time.
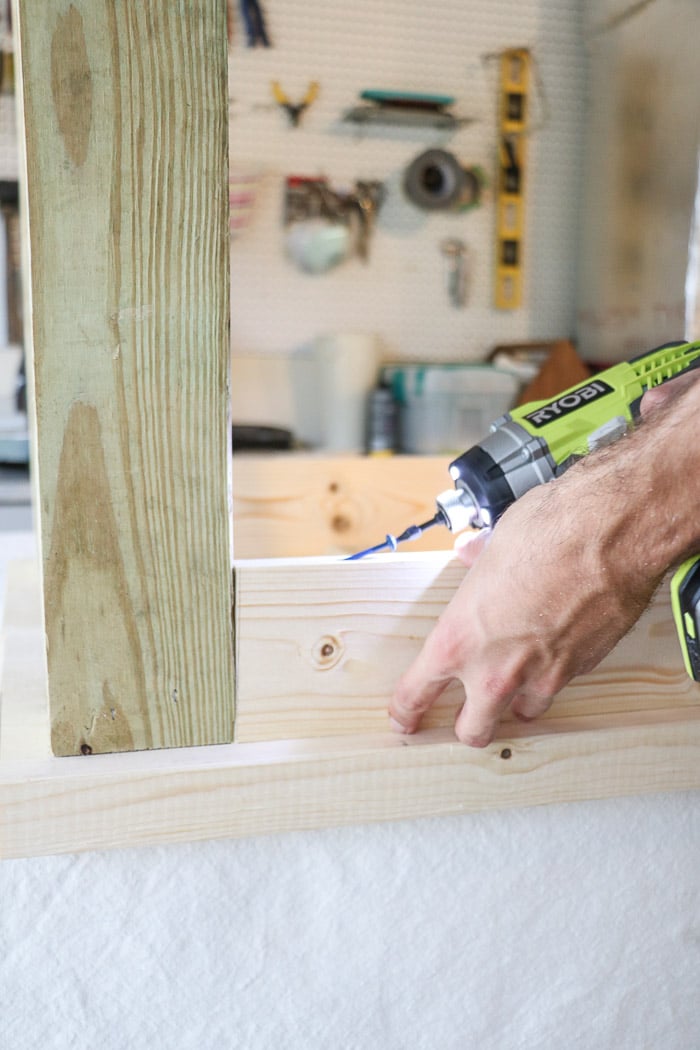
Once you have all the apron boards in place it is time to turn your table over and work bottom.
Step Five: Turn Table Over
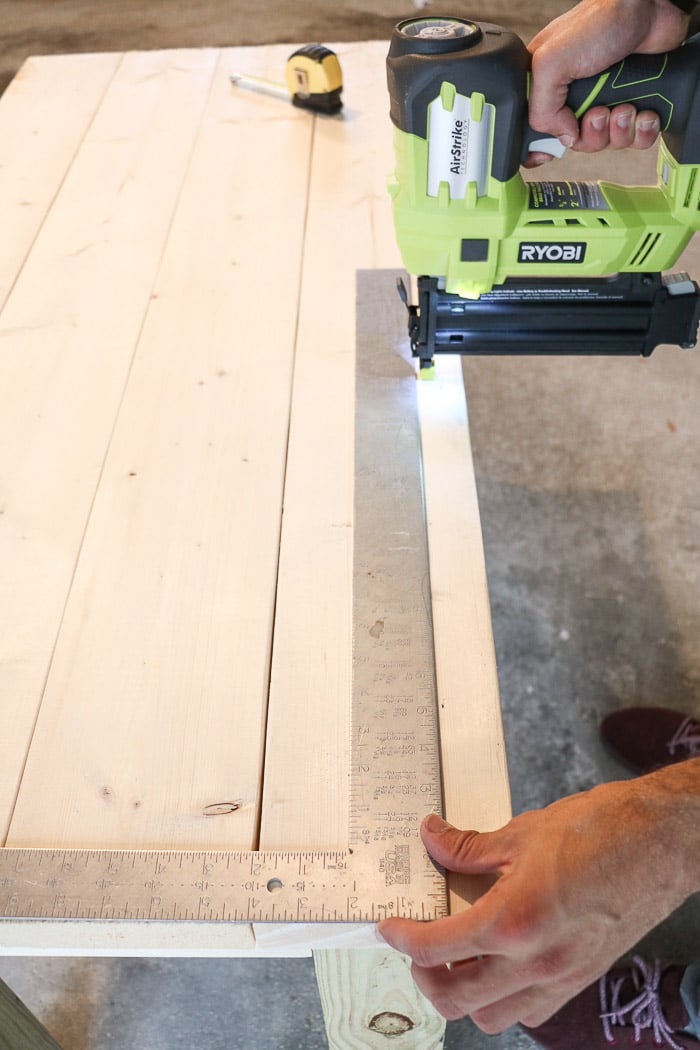
For extra support line run some nails down into the aprons. Make sure your nails will reach. Also, if you didn't use the Kreg jig this is a good way to secure your aprons.
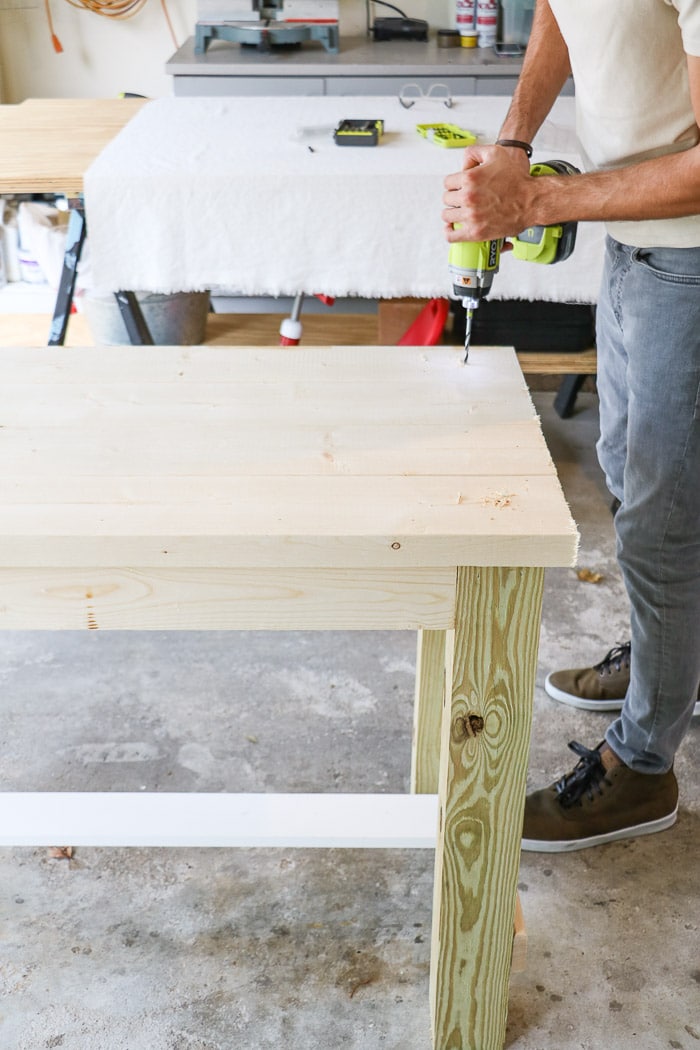
Next drill some holes into the center of each leg and drive in a 3 inch screw making sure the screw goes down below the wood. You may need to use a larger drill bit first to make an indention and then sink your screw into that hole.
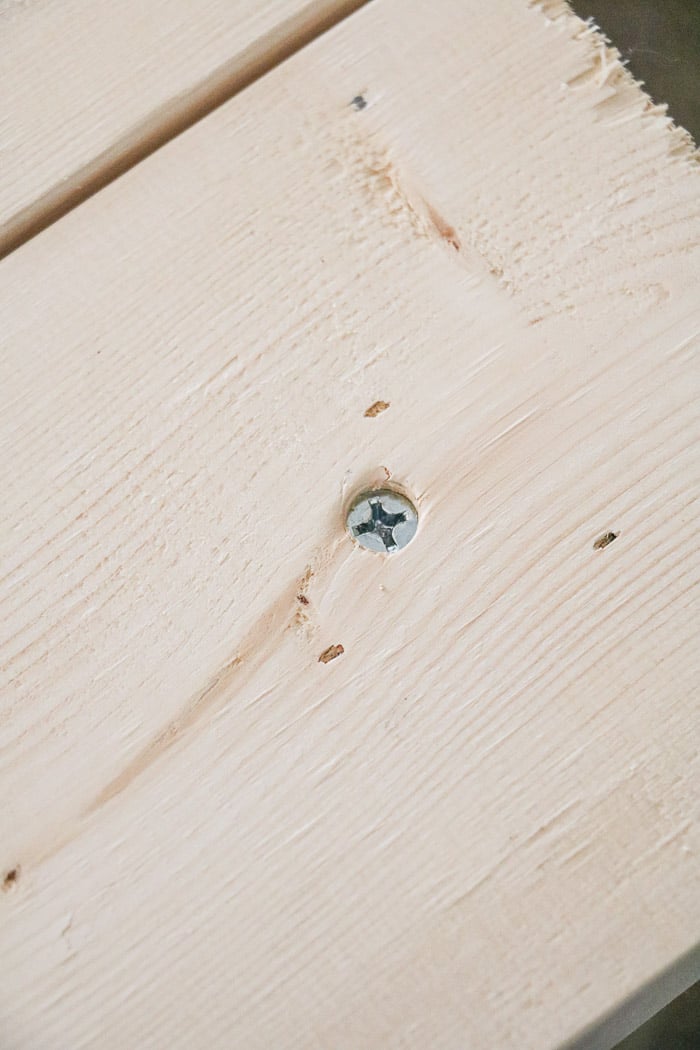
We are planning to paint this table and do a farmhouse faux wood technique on the top so I plan to fill the hole with wood putty later.
Next on the agenda are the supports for the legs.
Step Seven: Leg Support
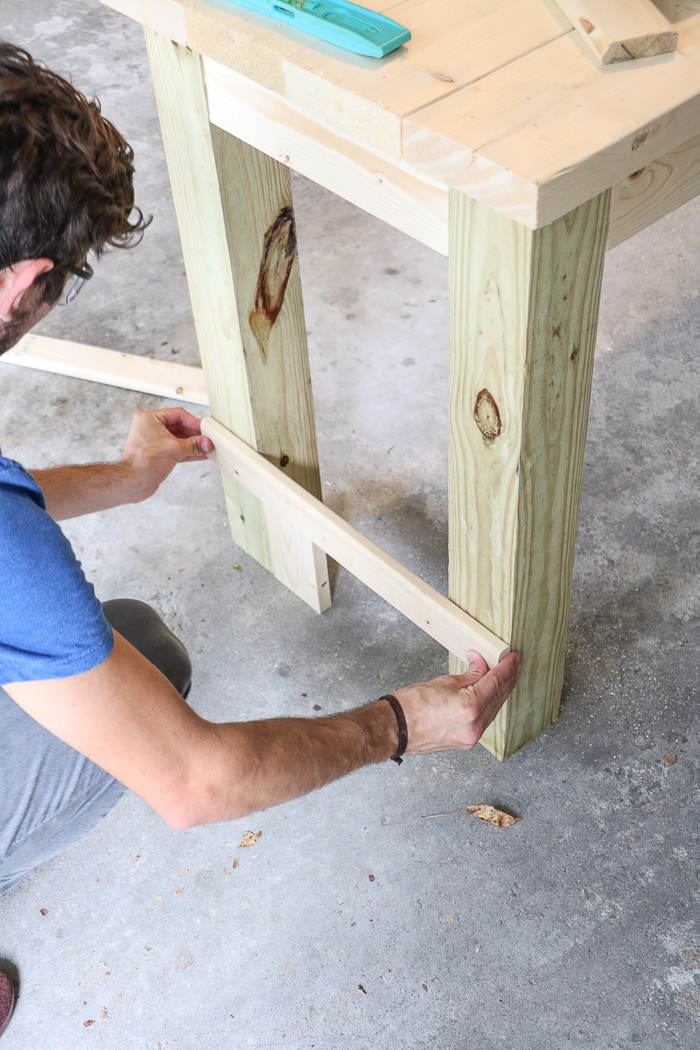
Begin by measuring and cutting the 1/2″ x 2″ boards.
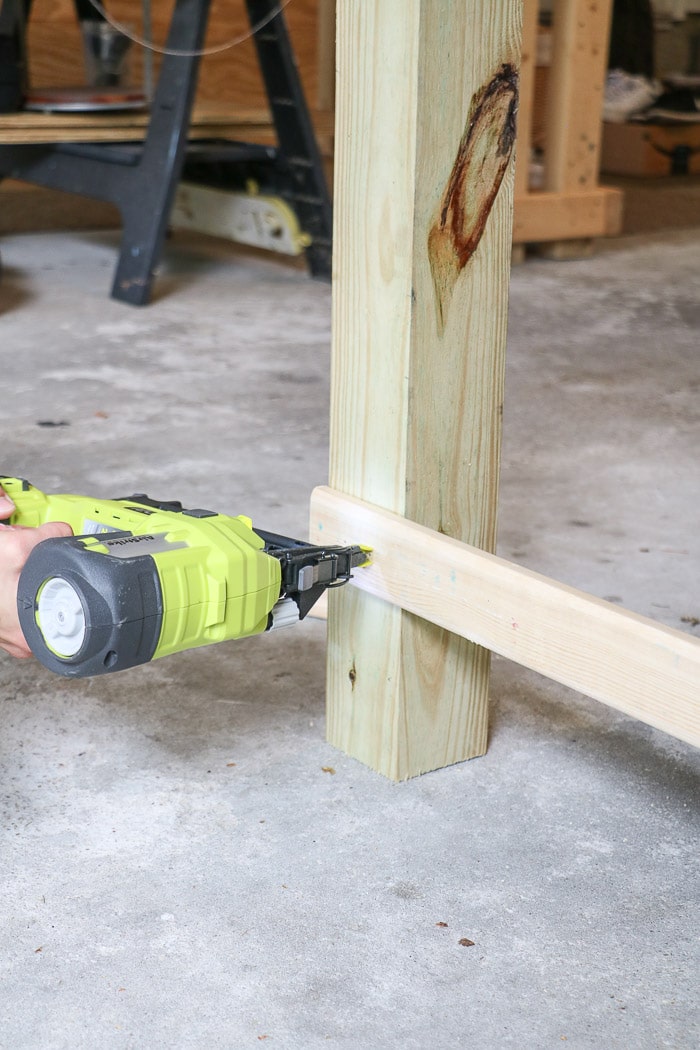
Place the board how high you want it to go and use a level to make sure it is nice and level. Nail them in to hold them in place first. We will screw them in later.
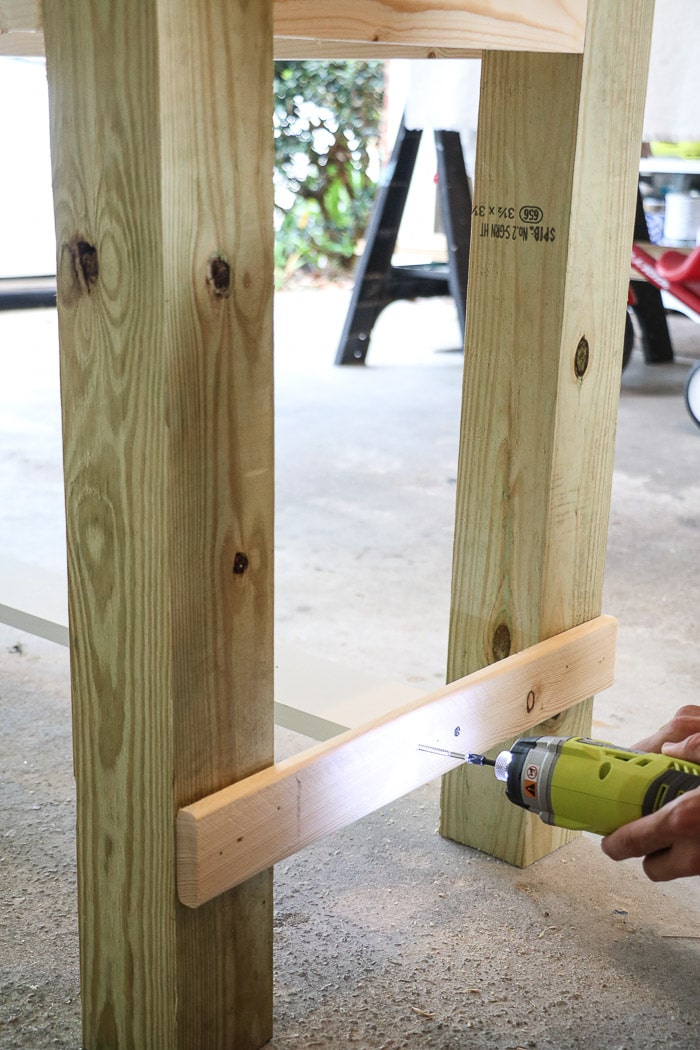
Next measure and cut the 1 x 4 and using some wood glue on the end nail it in first to hold it into place. Then screw it in along with the side board into the legs.
Remember to sink the screws.
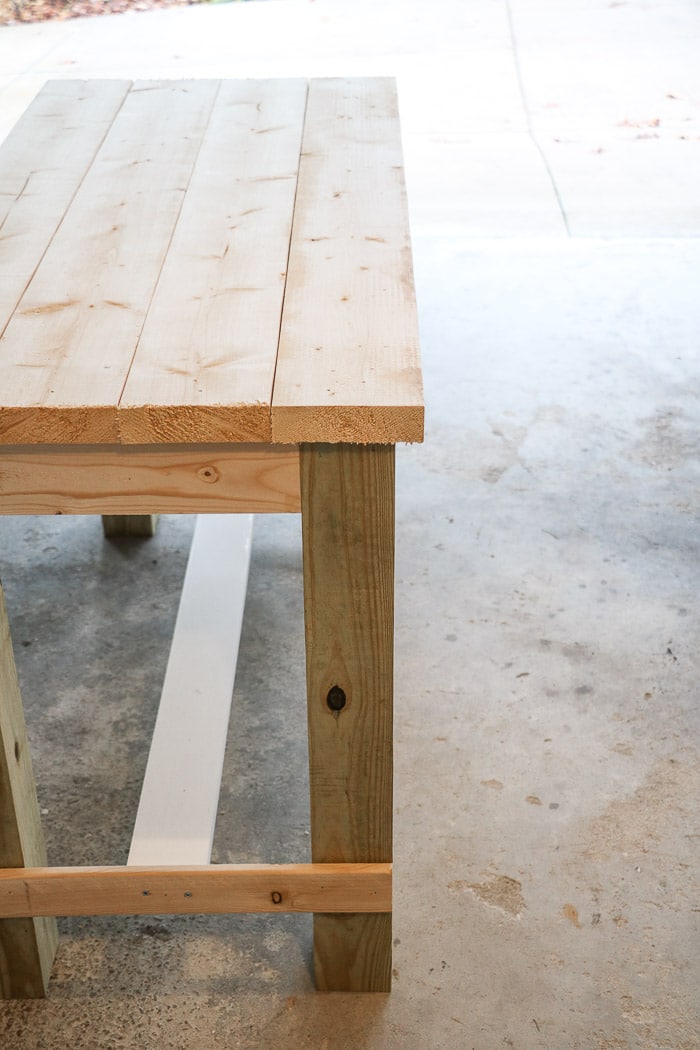
Wait a minute! We are finished! Can you believe it?
Making a farmhouse table is kind of like putting together a puzzle. If you have the right kind of tool then this is a very easy project.
Now you need to decide what finish to create on your table. I plan to paint this small farmhouse table in white and do a grey faux wood finish on the top.
Here is the final product and where I plan to put the table.
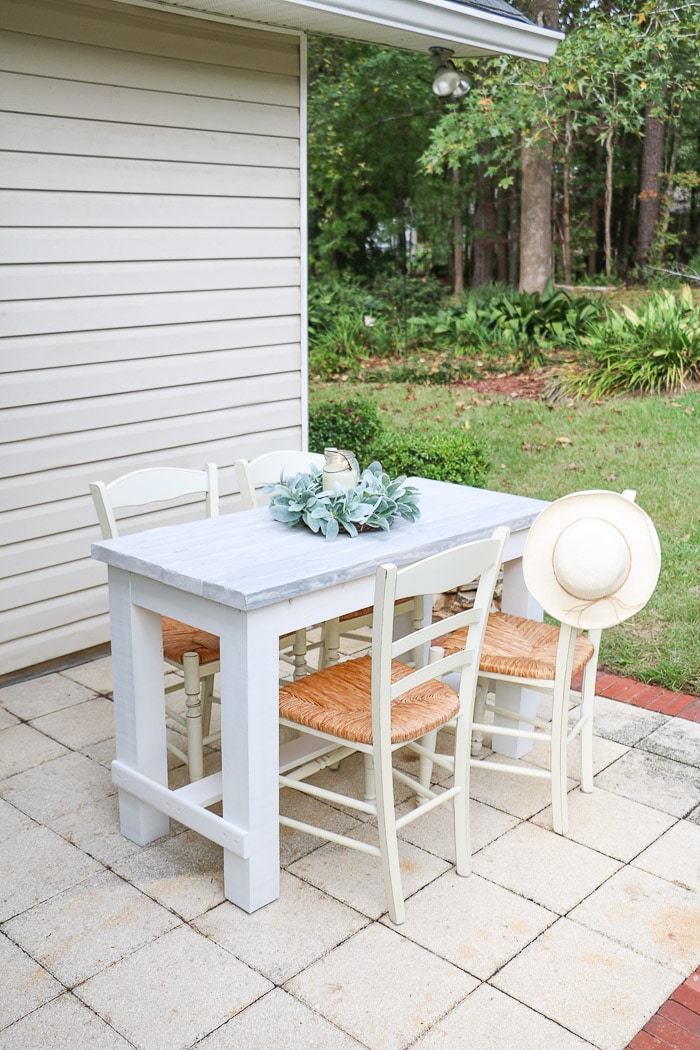
SHOP THE LOOK:
Conclusion
Well, that sums up how to build a farmhouse table. Just building the table probably took us two hours to make. But if you include my trip to Home Depot and the time they cut the boards I would say you can have this table done in one day.
Now if you want some tablescape ideas I have load of ideas from events like graduation party decorations to holiday decor like Thanksgiving tablescapes, Christmas, Patriotic tables and more.
And for tips on how to paint furniture check out my how to paint with chalk paint and how to paint with milk paint. Soon I will share how I painted this cheap and easy farmhouse table for the outdoors.
Happy Decorating!


If you enjoyed this post, sign up to receive new decor ideas each week. FREE EMAIL SUBSCRIPTION

Easy Patriotic Table Setting Idea for a 4th of July Party
Wednesday 26th of May 2021
[…] son-in-law and I made this table and I have the details on how to build a farmhouse table. So now you have your July party table set let's start decorating the table going step by […]
SIMPLE DIY BENCH MADE OF WOOD YOU CAN BUILD TODAY
Monday 22nd of February 2021
[…] I love woodworking! If you do too you will love how to build a farmhouse table. […]
Teresa Hamilton
Sunday 20th of October 2019
Great post and very easy to follow plans.
Linda McDonald
Tuesday 22nd of October 2019
Thank you!