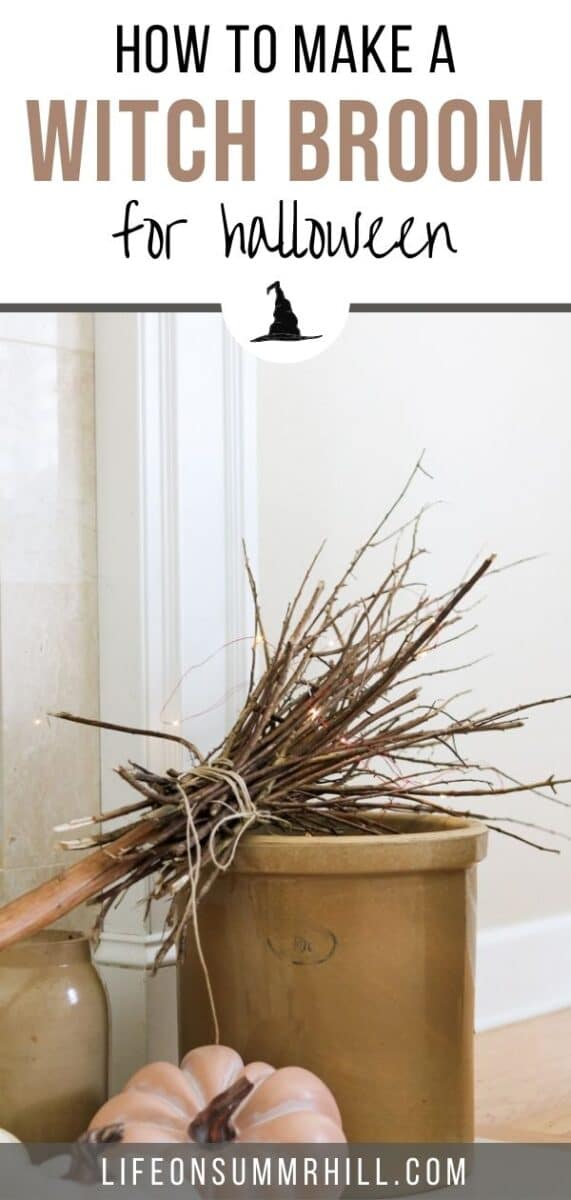
Learn how to make a witch broom for your Halloween decorations using items around your house and yard. This simple DIY witch broom project only takes about an hour to make and is a fun Halloween project to do with friends and family.
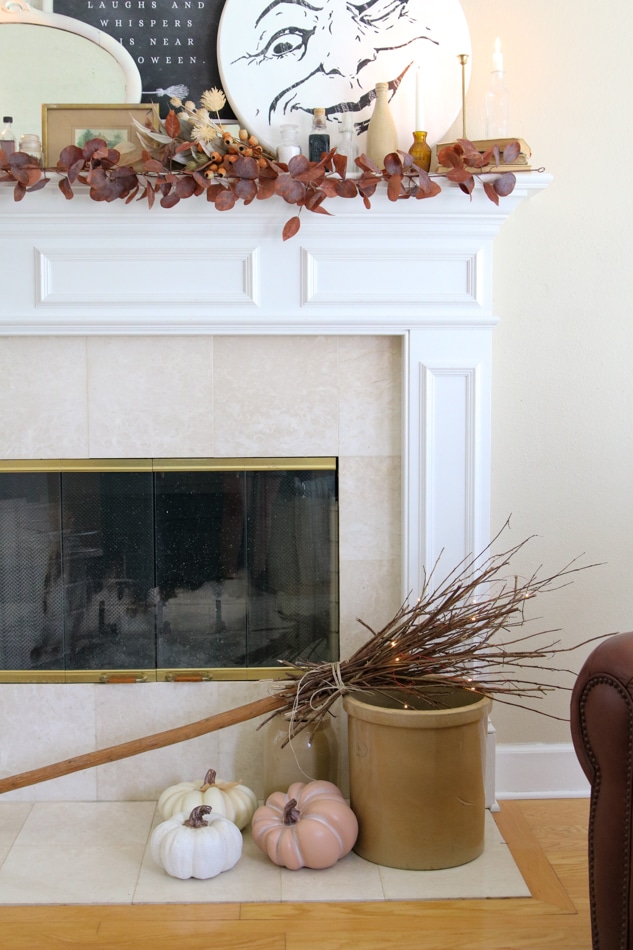
This year we went all out decorating our vintage Cottagecore Halloween mantel but as we were finishing the final touches my daughter said “how do you make a witch broom.” We put our heads together and literally threw one together using branches and twigs.
It was so easy until I knew you would want to know how to make decorative witch brooms too. Witch decor is the quintessential decoration for All Hallows Eve so if you could have a witch's broom in your decor and it didn't cost you any money wouldn't you want one too?
Let's get started making DIY brooms by collecting five items from your yard, craft closet, and pantry.
This post contains affiliate links, meaning I receive a commission if you purchase using the links below at no extra cost to you. All opinions are all my own.
How to Make a Witch Broom
Can you believe all you need is five items on making a witches broom? I still cannot believe how quick and easy we threw this broom together and it was the one thing that polished our Halloween fireplace decoration.
- Broom handle or walking sticks
- Twig and branches
- Twine or string
- Scissors
- Gardening cutting tool like loppers (optional)
If you don't have twigs and branches lying around you may need to cut a few from trees. We used old crepe myrtle branches from my husband's last cutting. They were laying in the woods behind our fire pit. Anyways, let's break this down into simple steps so you can get your witch broom completed too.
Making a DIY Witches Broom
Witch's Broom Stick
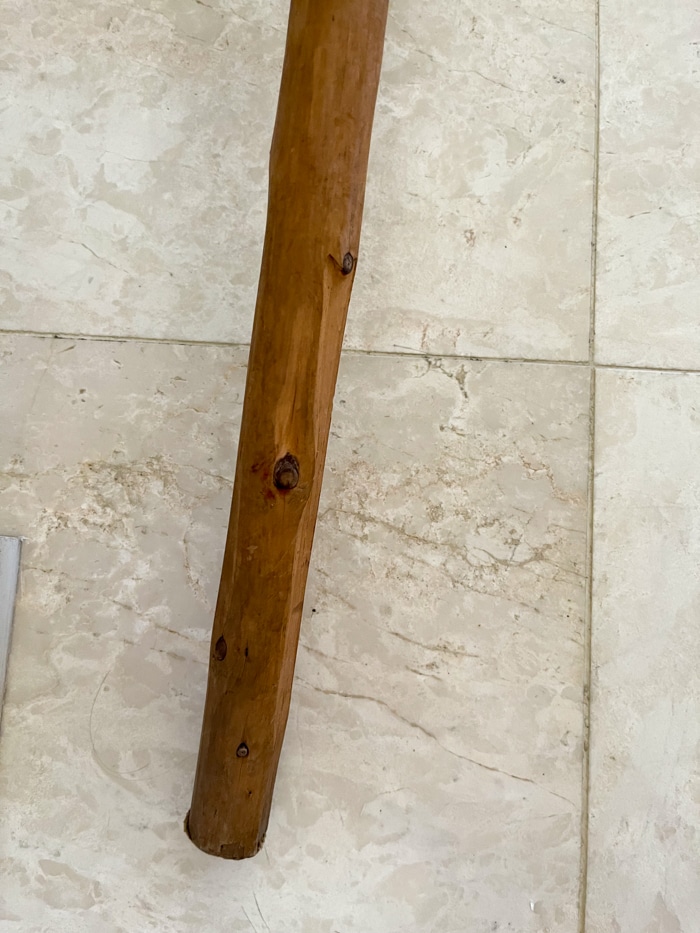
To begin grab a long stick. We used an old wooden walking stick for hiking but you can use unscrew a broom or mop handle from the broom base or if you need to you can cut one off a dollar store broom.
A wood stick from a tree branch for the broom handle will look the best. Another option is looking for a long stick and slicing off anything on the trunk with an ax or knife. Be very careful if you do this and make sure you are cutting far away from your hand that is holding the stick. The main thing is that you want the wood somewhat smooth.
Keep in mind that witches' brooms are typically rustic looking so it doesn't have to be perfect.
Twigs or Branches
Next, collect lots of twigs or branches for the broom bristles. We used crepe myrtle branches. The end of the crepe myrtle grows out to a nice narrow point which makes it perfect for this rustic broom.
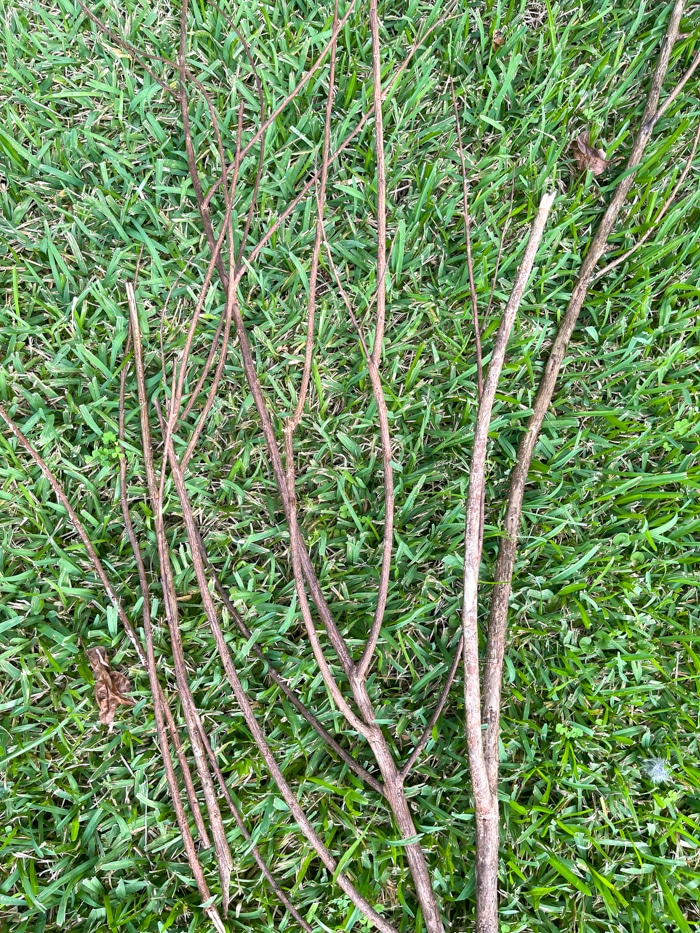
We pulled about 10 branches that had smaller limbs. Our branches have been sitting out in the weather for some time so they were nice and crispy — meaning they snapped into without needing any loppers or gardening cutting tools.
If your branches are newer you will need something to cut them.
Now that you have your branches let's cut them or break off the limbs. We did not measure here but basically broke off small pieces of limbs from the myrtle branches. We looked for the skinner branches, the ones that were long enough and thin enough.
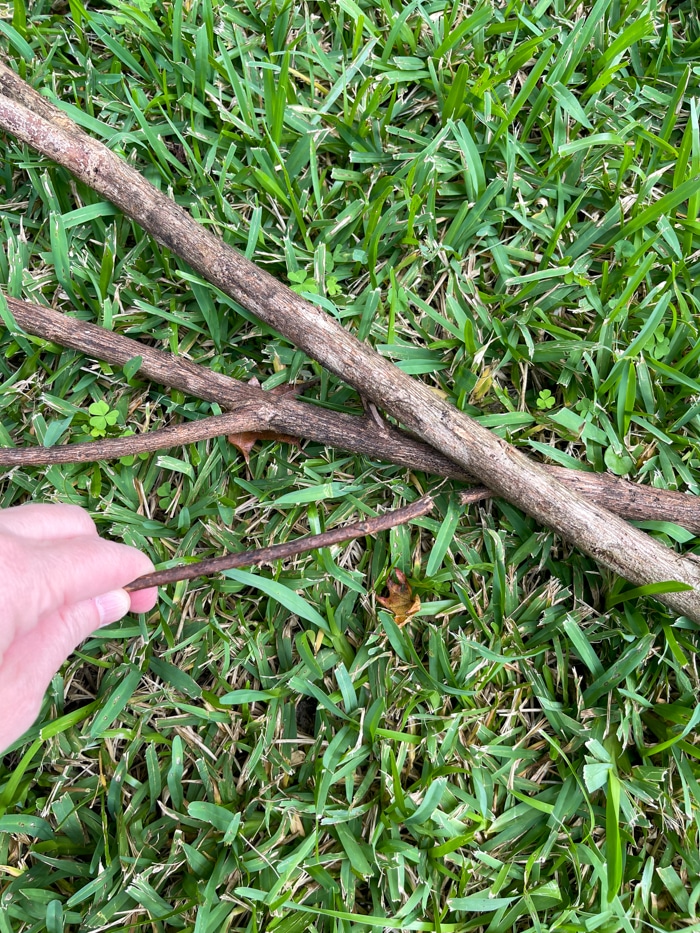
Some limbs were shorter and others were longer. Remember it is okay to be flexible and not perfect because this is a rustic witch's broom.
Once you have about 50 limbs trimmed lay them in the bundle to attach to the stick.
Twine to Attach Broom Branches
First cut a piece of twine 48″ long. Then lay it down on the ground or work table. Then sit about half the branches on the twine. We placed our twine up from the base of the limbs about 5 inches.
Now lay the end of the stick on top of the stack of branches. Next lay the rest of the branches on the top of the broomstick and start wrapping the twine around the branches and broomstick.
It helps to tie the twine as you wrap it around. Once you get towards the end of the twine tie it in a knot.
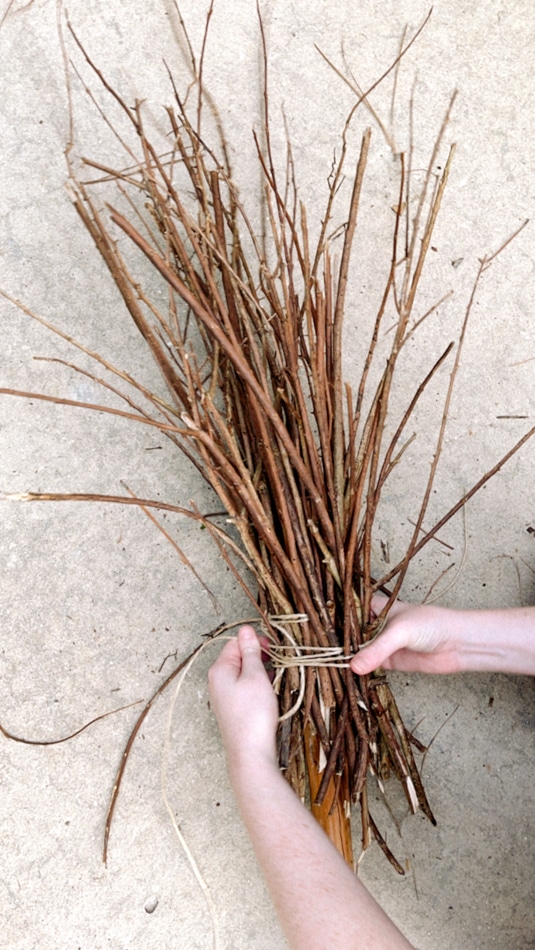
After you finish tieing the top of the broom look for extra long pieces and break or cut them off. This will make your bristles look somewhat more even.
Now guess what? You are all finished making a witch broom. Wasn't that fun! Now that you have your own witch broom let's talk about decorating with a witch's broom.
Vintage Halloween Mantle Decorations
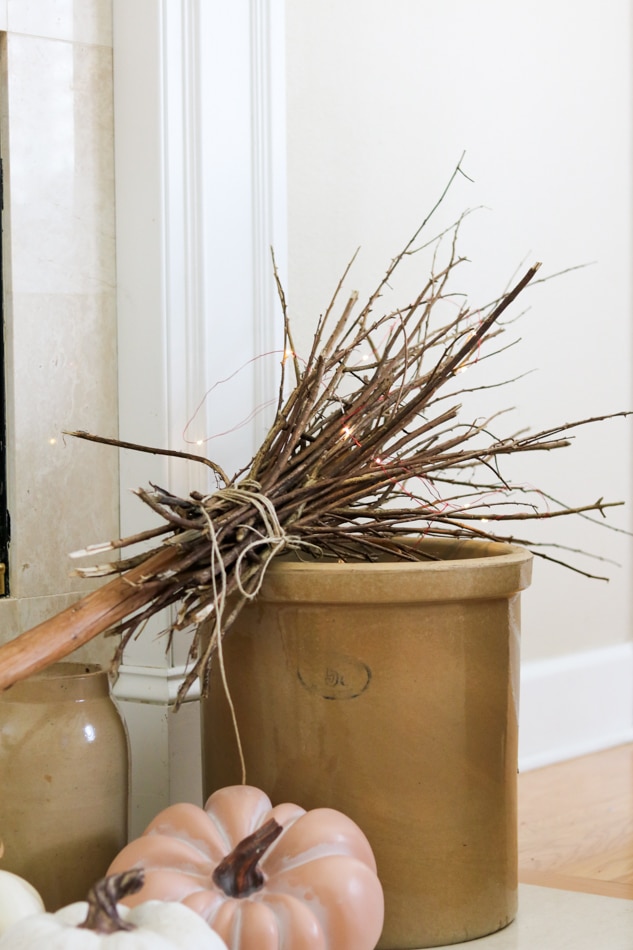
Once our broom was finished we added it to the hearth propping it up on an old crock with cinnamon brooms inside for that fall scent. For fun, I added battery-powered mini lights to the bottom of the broom. It was so easy to place the light box down in the crock to hid it.
Decorating a mantle for Halloween is easy. You can pick a theme or just go vintage and add old apothecary jars, the man in the moon, jack o'lanterns, Etsy cute sign of Halloween digital art, or anything that fancies you. But there are so many places you can decorate with your witches' broom.
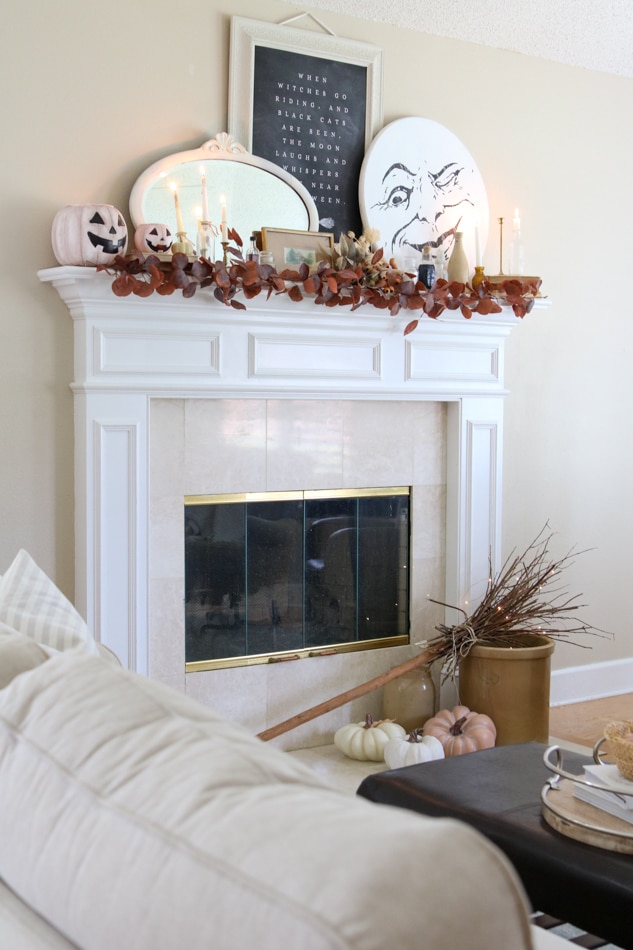
We have loads of Halloween mantle ideas that will give you inspiration on where to place your rustic broom. And we talk in more detail about how to decorate with old fashioned Halloween decorations for a mantel in a Cottagecore style or maybe I should say I — Witchcore.
Conclusion
There are so many fun ways you can decorate with witches' brooms. You can stand it up on your front porch, front door or hang it on the wall including over the fireplace. And you can leave it out for fall decor too.
It would be cute to add a black cats silhouette by the broom. We have a post on how to make a silhouette in last year's Silhouette Halloween mantle idea. And you can call this a Harry Potter broom and add it to decorations like my Halloween decorations for a Harry Potter celebration.
Or you can suspend it from the ceiling with a fishing line like it is flying around the room. It would even be magical if you made more than one and hung them from the ceiling along with these adorable floating witch hats. You can also make these cute paint and stencil Halloween decorations and create a cute Halloween fairy garden. The options are endless.
We had so much fun making the witch's broom and decorating the mantle for Halloween. Well now that you know how to make a witch broom where do you plan to decorate with the witch broom?
Happy Decorating!


If you enjoyed this post, sign up to receive new decor ideas each week. FREE EMAIL SUBSCRIPTION
