
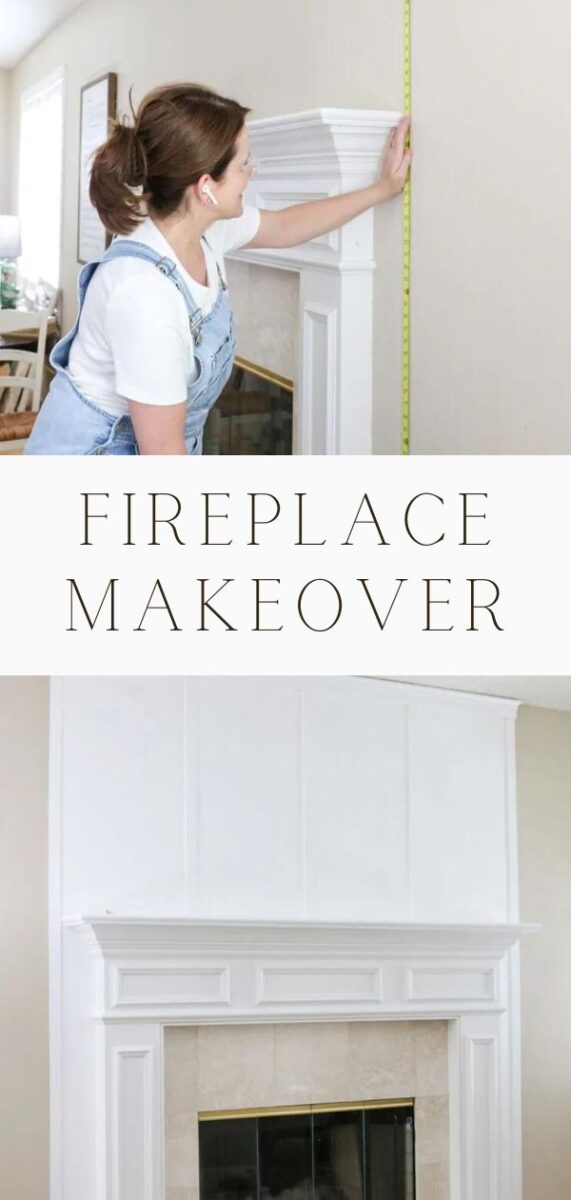
Simple steps for a DIY board and batten fireplace design over your mantel. This easy project installs and paints up beautifully when matched to the chimney mantel color.
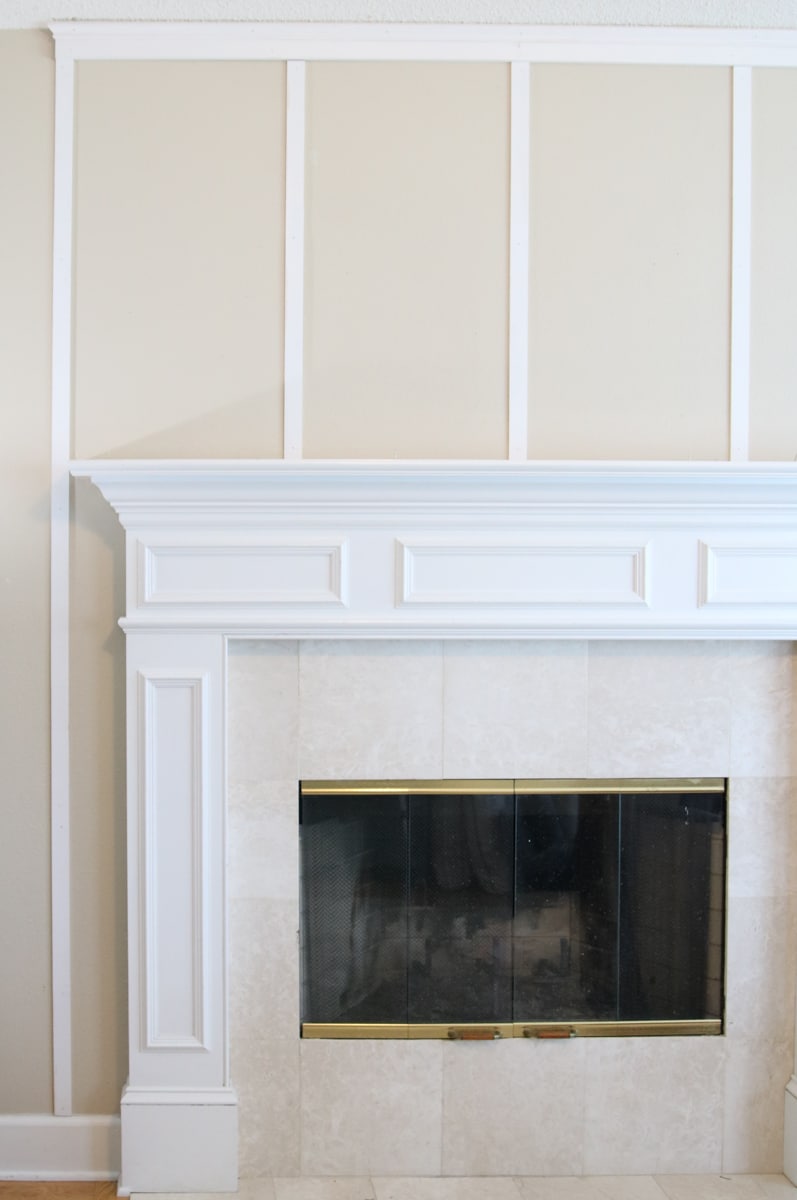
I love the look of a board and batten wall treatment above a fireplace! A fireplace that is finished with trim from the ceiling to the floor looks amazing. Something about the wood details gives it a polished look and reminds me of old homes.
I have been eyeing different designs all over the web but I wanted something that was very simple and where I wouldn't need to remove the baseboard if I wanted to carry it all the way to the floor. This DIY board and batten fireplace makeover fits all the categories.
The holidays are coming soon and I am getting my living room ready for all the decorations. This project was on my list of things to do before I break out all my Christmas decor. With the help of Home Depot, I got the focal point of my family room ready to garnish with Christmas decorations.
This post is sponsored by The Home Depot. This post contains affiliate links, which means I receive a commission at no cost to you if you make a purchase using the links below. All opinions are my own.
DIY Board and Batten Fireplace Makeover
With all projects, I recommend gathering all your supplies first. Here is a list of what you will need after you do some measuring to figure the dimensions of each item you'll need.
- 1 x 3 x 8″ whitewood board (This is your top board along the ceiling)
- Decorative base cap trim (you can use a mini crown or a piece like I have in the photos)
- Lattice trim
- Ryobi brad nailer or hammer
- 1 1/2″ 18 gauge nails for Ryobi nail gun or finishing nails
- Paintable latex caulk and caulk gun
- Behr Ultra Pure White Dynasty paint
- Ryobi orbit sander
- Sandpaper for sander
- Ryobi miter saw
- Ladder
- Level
- Tape measure
Next, let's talk about measuring and how to get the amounts of wood you will need.
How to Measure for Wood for Fireplace Mantel
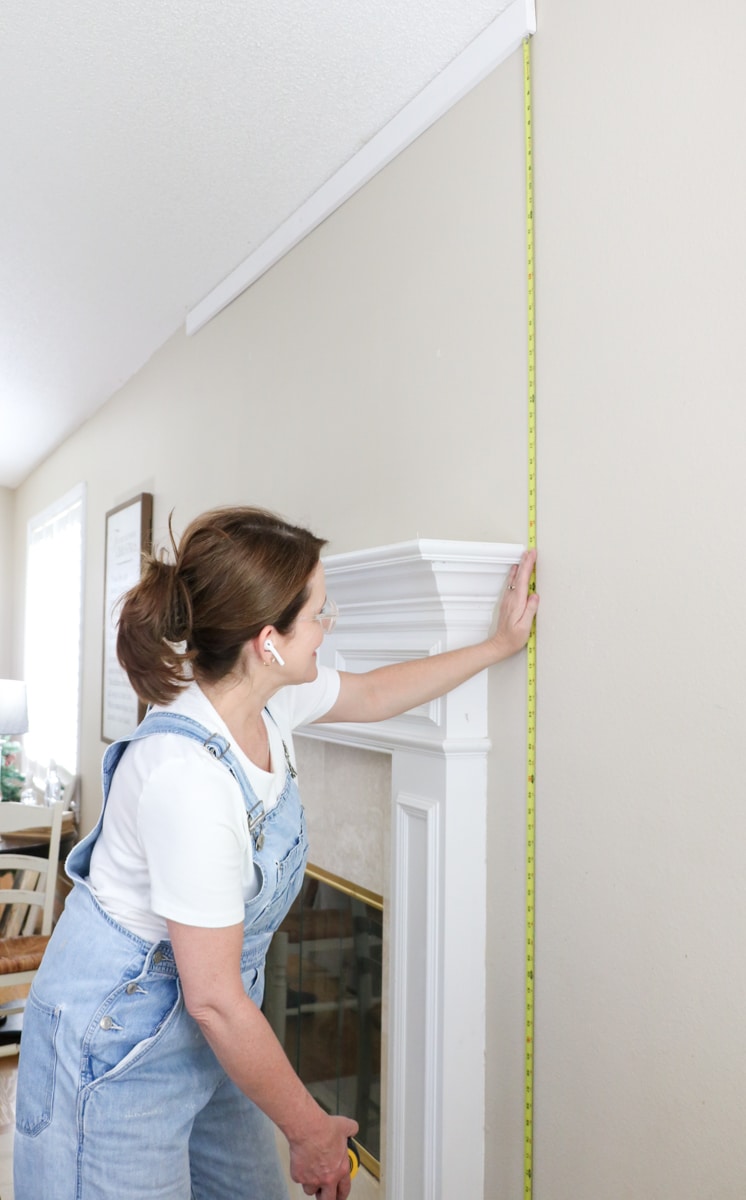
First, let's measure the top boards. Begin by measuring the width of the top of the mantel shelf. Take that number and add 3 inches. This is the minimum width of your top board.
Now take the same number and 4 more inches and that is the minimum of the decorative piece that sits on the top board. You can add more to these numbers if you want your top board to go past the end vertical pieces of the lattice. I think it will look nice to go past also.
Next, you need to figure out the lattice strips. Simple measure from the floor to the ceiling to get the two long batten pieces that will go on each side. Then determine how many vertical boards you want to go above the mantel shelf and times that by the measurement from the top of the shelf to the ceiling. After you have all those numbers, the long sides and the top of the shelf add them together to get your total lattice strip number.
I usually add about a foot to all my numbers just in case. I also make note of the total number for each cut. That is important because you don't want shorter than long side pieces. In other words, I bought two 8′ pieces for the side and then made sure my over-the-mantel pieces would be one cut too.
Mantel Fireplace Crown
Once I have all my wood home I remeasure one more time before cutting each piece for the mantel. This little detail is important and I wanted to remind you upfront before we dive in. Always measure each area because one side of the fireplace may be off by a quart of an inch. By measuring each place you get a perfect cut each time. Now let's get started cutting the top board.

Cut and Install Fireplace Ceiling 1 x 3 Board
I started with the top horizontal boards beginning with the 1 x 3 x 8″ wood piece. I measure the top of the mantel shelf one more time and add the lattice strip on each side and then cut my board.
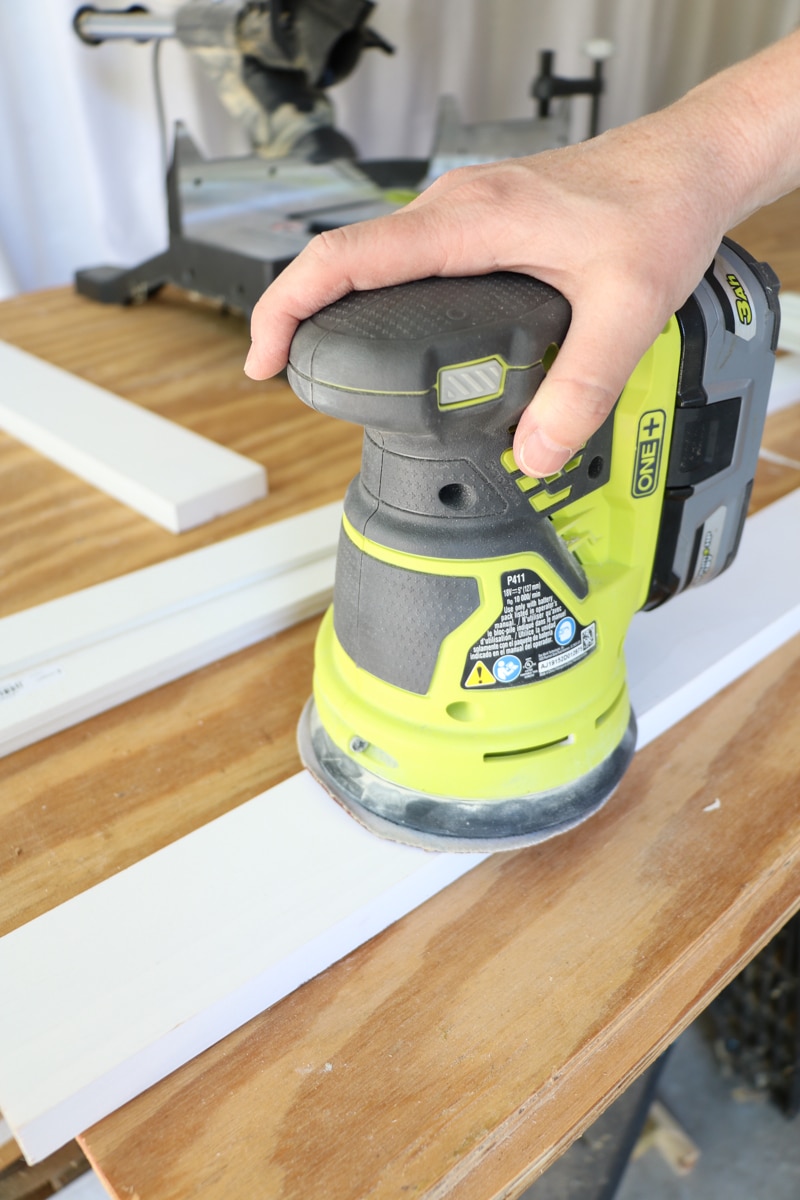
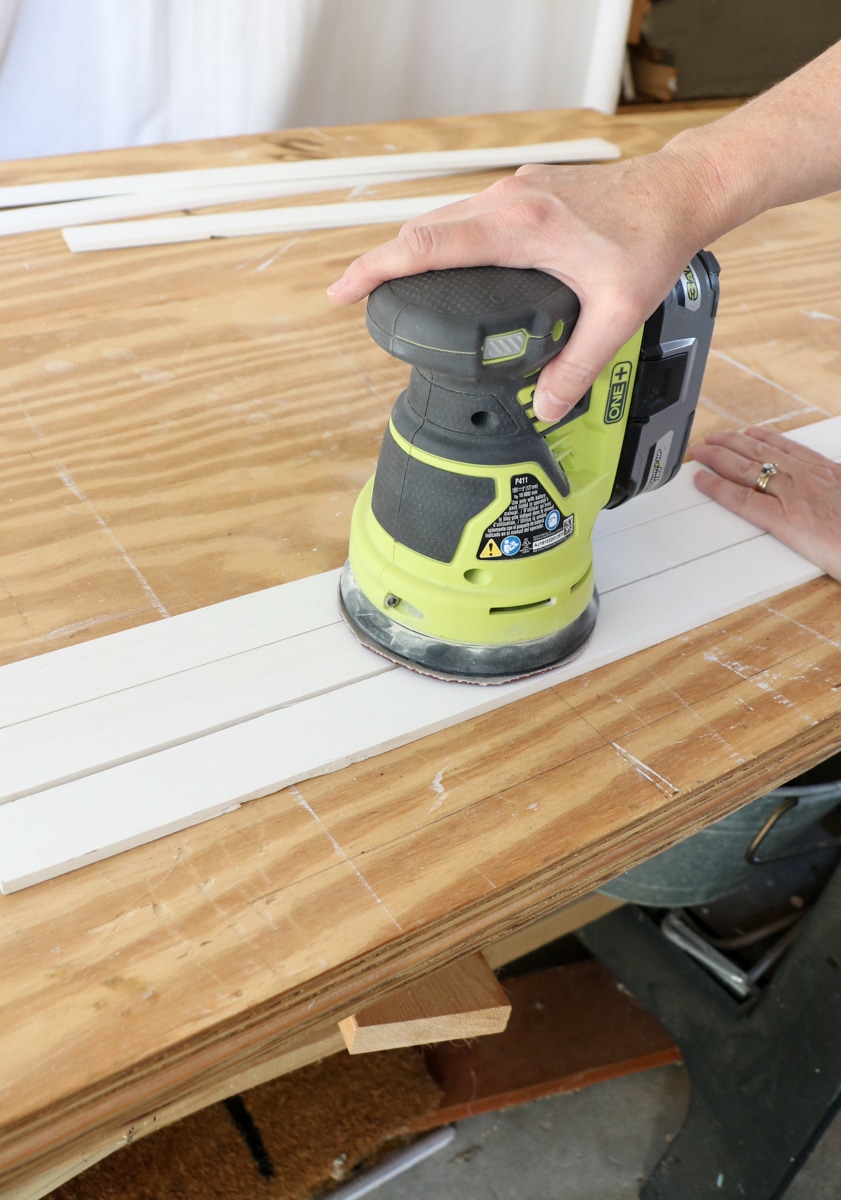
Next, I sand it including the cut edges. This Ryobi sander has come in so handy on many projects. I used this sander to make this simple DIY bench that I used on my cottage farmhouse Christmas porch decor.
Now that the board is cut and sanded I started by finding the center of the mantel. After I made a mark with a pencil I used a level to find the center at the top of the fireplace wall. Again I made a mark.
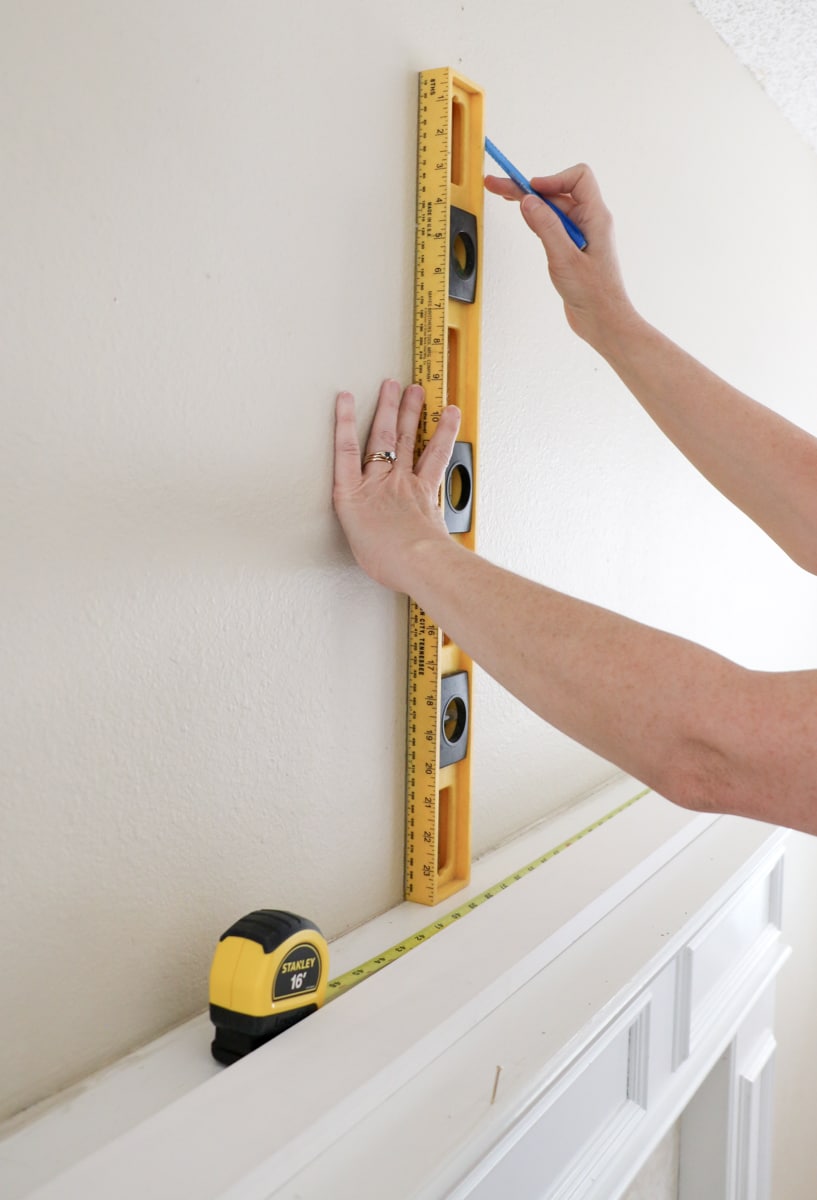
Now I measure and find the center of the wood and make a mark there too. One thing to consider is where you are making marks. I like to mark on the small side of the wood and I make a mark down about 3 to 4 inches on the wall from the ceiling. This way I can see clearly where to line up the marks.
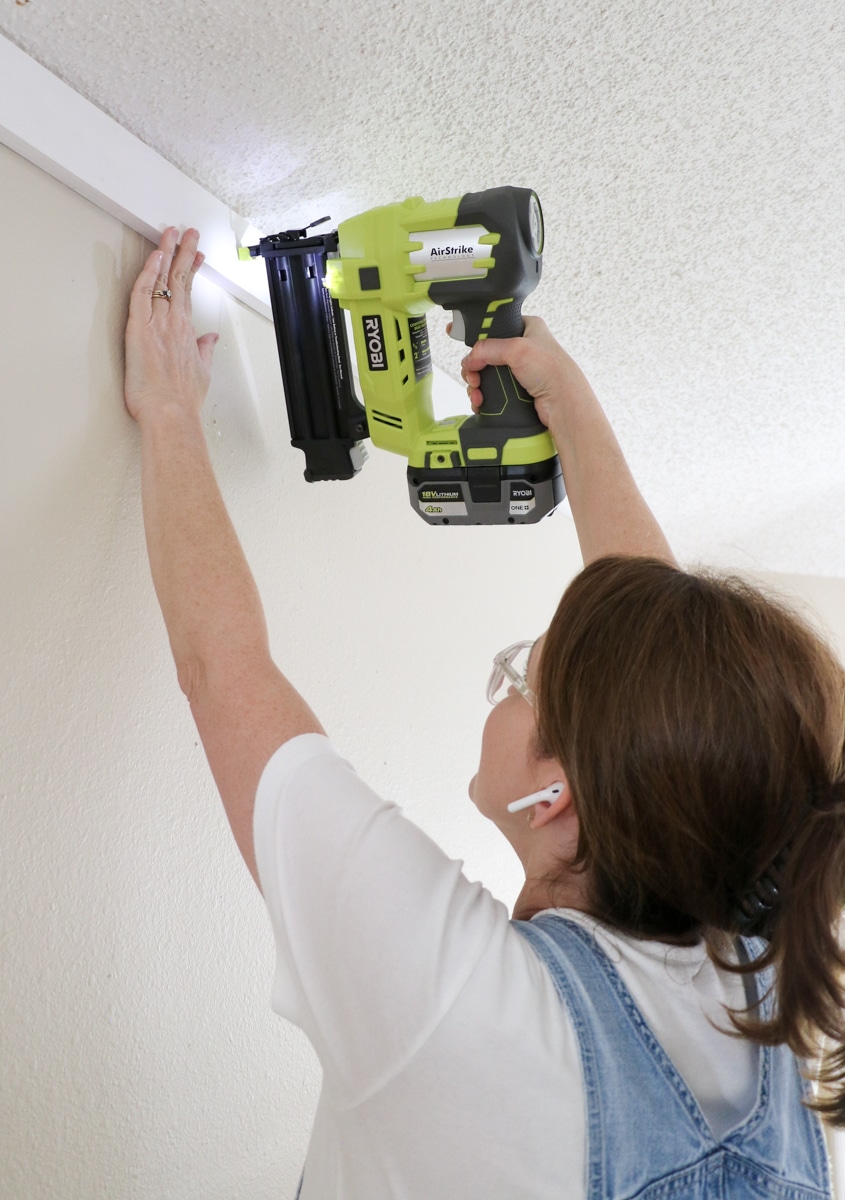
Next, I hold the board up against the ceiling and use the Ryobi nail gun to put one nail in the center. Once I have that nail I hop down from my ladder and stand back to make sure it all looks good. If everything is good I add more brad nails including the ends and in between.
Cut and Install Fireplace Ceiling Decorative Trim
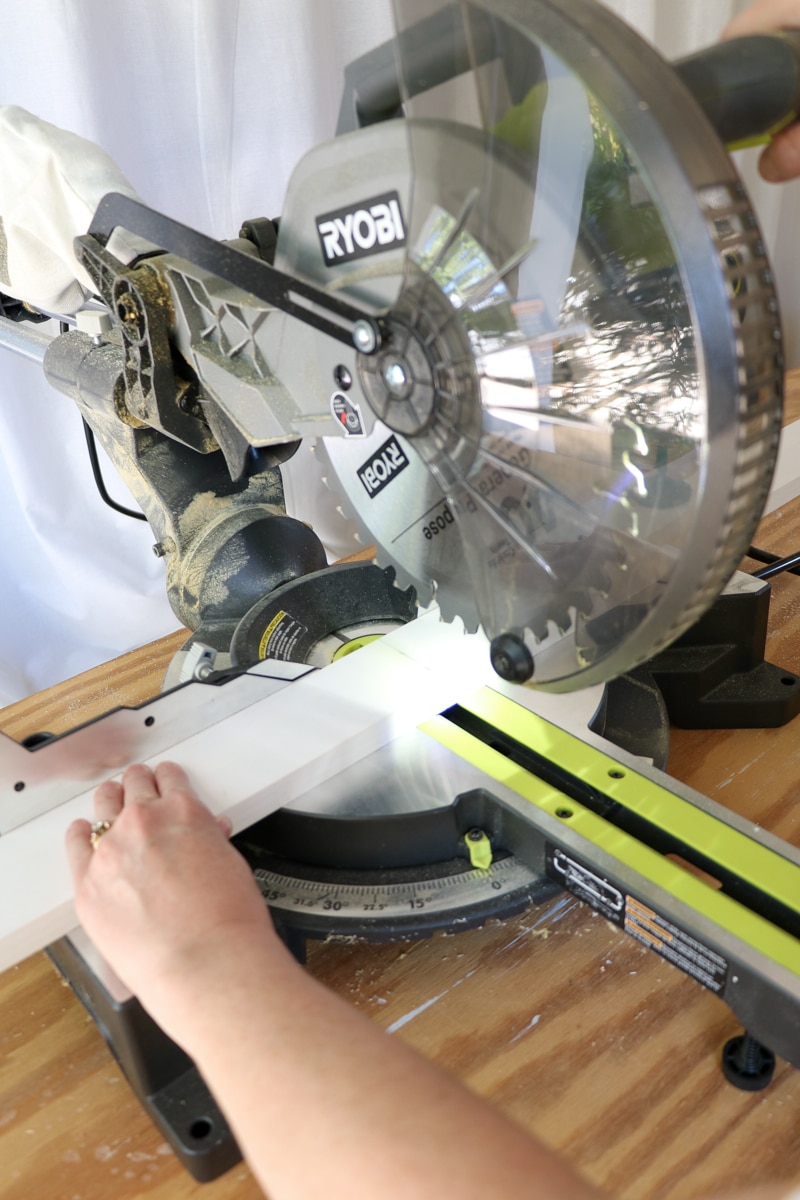
Now that the 1 x 3 is up it is time to cut the decorative trim pieces. Since I already have the measurement I am good to go. Simply cut your decorative trim at a 45-degree angle. Make sure to place your trim standing up if you are doing the same kind of trim that I am.
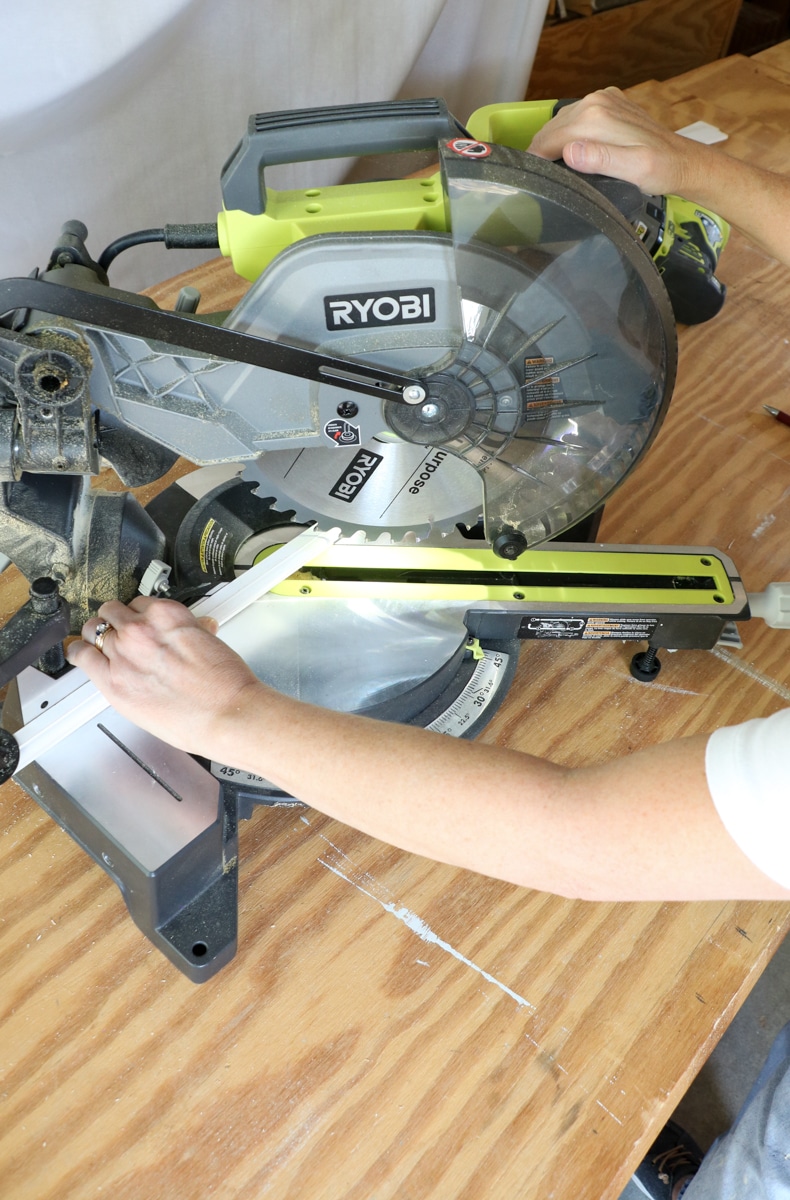
Also mark on the top backside of the trim because that is where it will meet the edge of the 1 x 3. Once you have your board cut, give it a sanding, and let's nail it to the 1 x 3.
Again measure for the center and place it on the 1 x 3. Shoot one nail in the middle and check to see if your board is lining up on the edges. If all is good go ahead and nail the rest in.
Next, you will need to cut returns on the ends. Cut the decorative trim on a straight cut then a 45 degree left for one and a 45 degree right for the other side. Place them on the sides and shoot one nail into them.
Because my ceiling is at an angle I had to chisel some sheetrock to get it to go into place. The vaulted ceiling made it a little challenging but I kept cutting away until the molding fit.
Now that the top board is done let's move on to the sides.
Floor to Ceiling Fireplace Mantel Trim
You will find this part to be very easy. Measure from the bottom of the top horizontal pieces to the baseboard on one side.
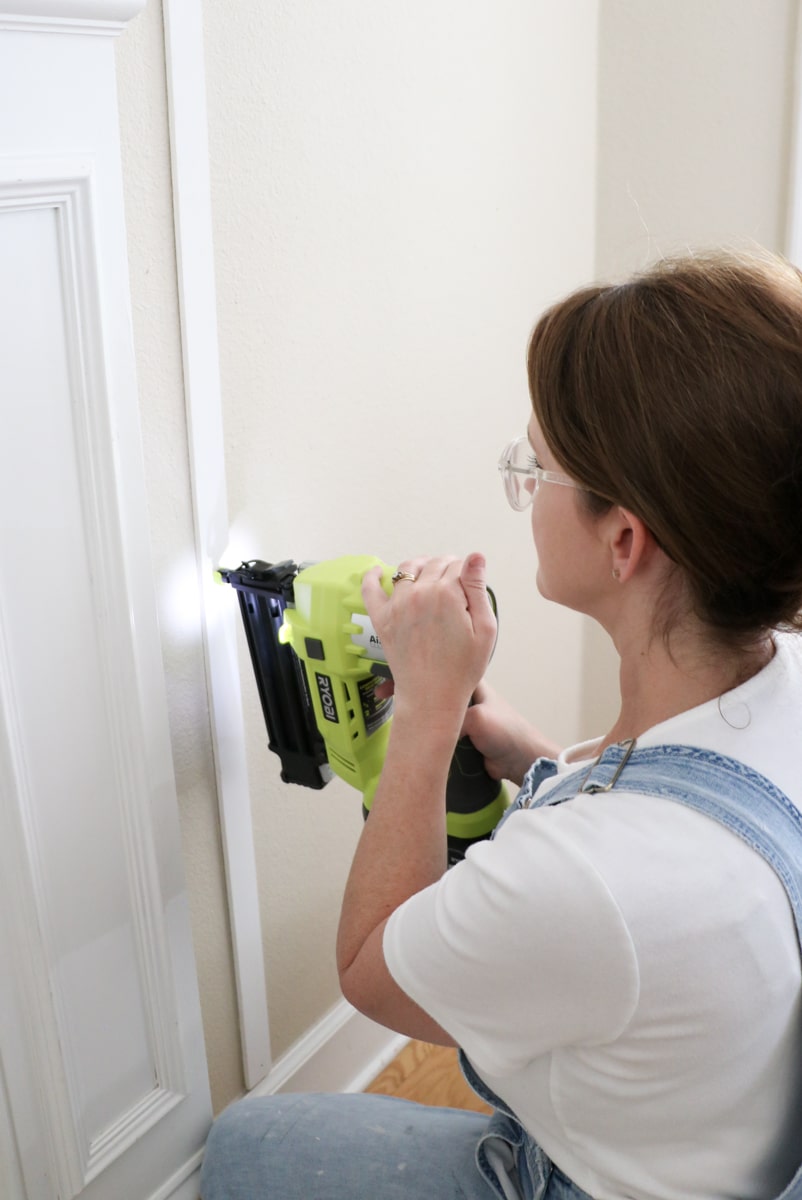
Then cut the board and take it back inside to make sure it works. If it fits nicely simply nail one nail in the middle and then use your level and position the trim perfectly up and down.
Now add more nails but when you get to the top if it is not lining up exactly with the edge or where you want it simply push the board over and nail it in. These wood lattice strips have a little give which makes them nice for a batten project like this. Plus it is an inexpensive board which makes this DIY project low cost.
Next, repeat this step on the other side of the fireplace.
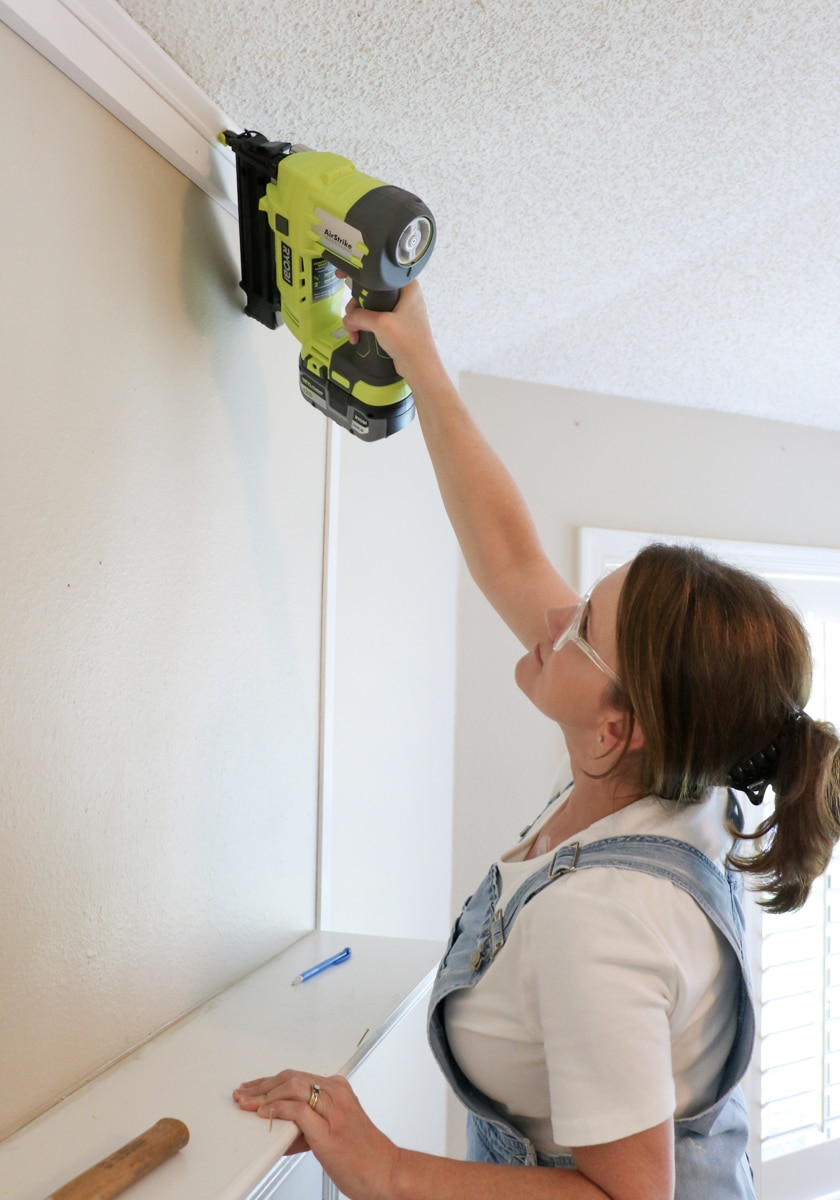
Now that the sides are done let's do the same thing over the mantel-shelf but cutting smaller pieces. Again measure and cut your board and sand them.
Then nail one in the middle and use the level to make sure it is straight up and down.
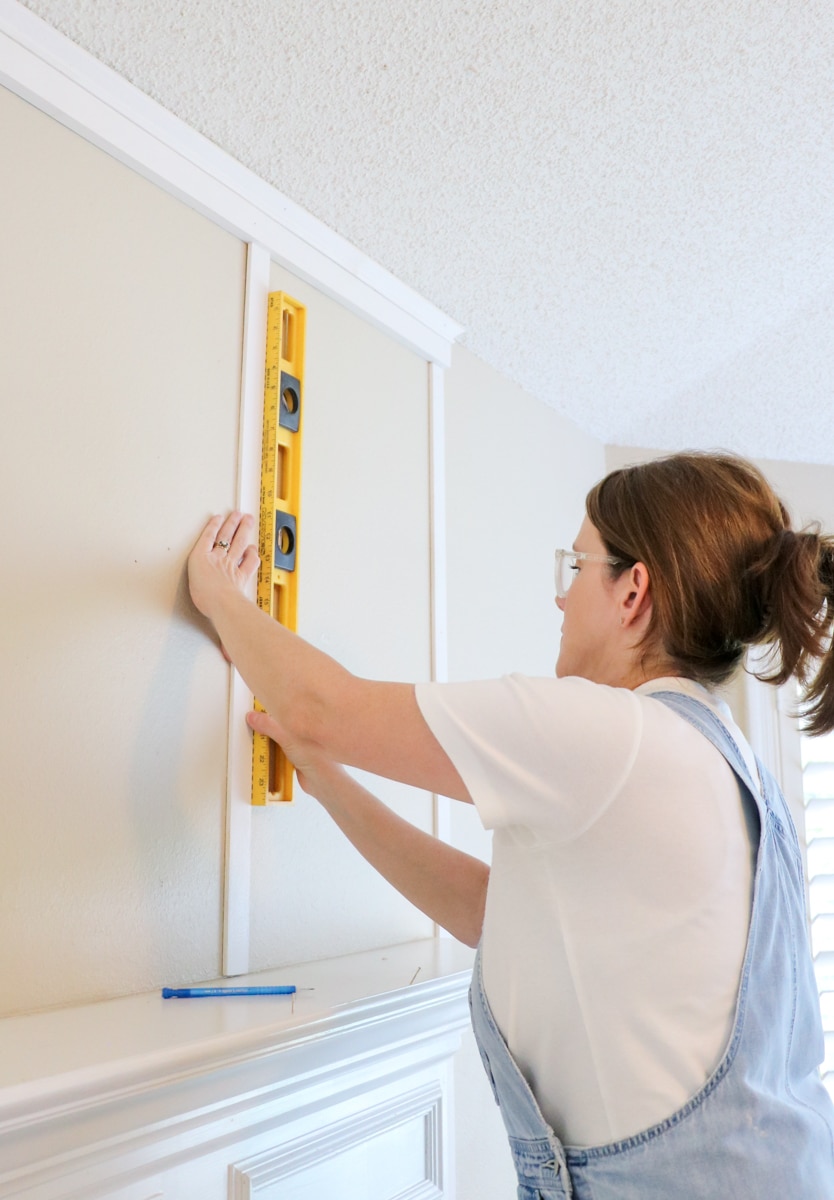
Do the other vertical battens and your board and batten fireplace chimney mantel is finished and ready to be painted.
How to Paint a Fireplace Mantel
All the wood has been installed and now it is time to paint. If your walls are textured you can sand them down first before you remove debris to get smooth walls. I decided to keep my textured walls for now.
Next take some paintable caulk or wood filler and fill in all the nail holes and along the edges where the wood meets the walls. Let that dry for a couple of hours and go back and sand any rough areas.
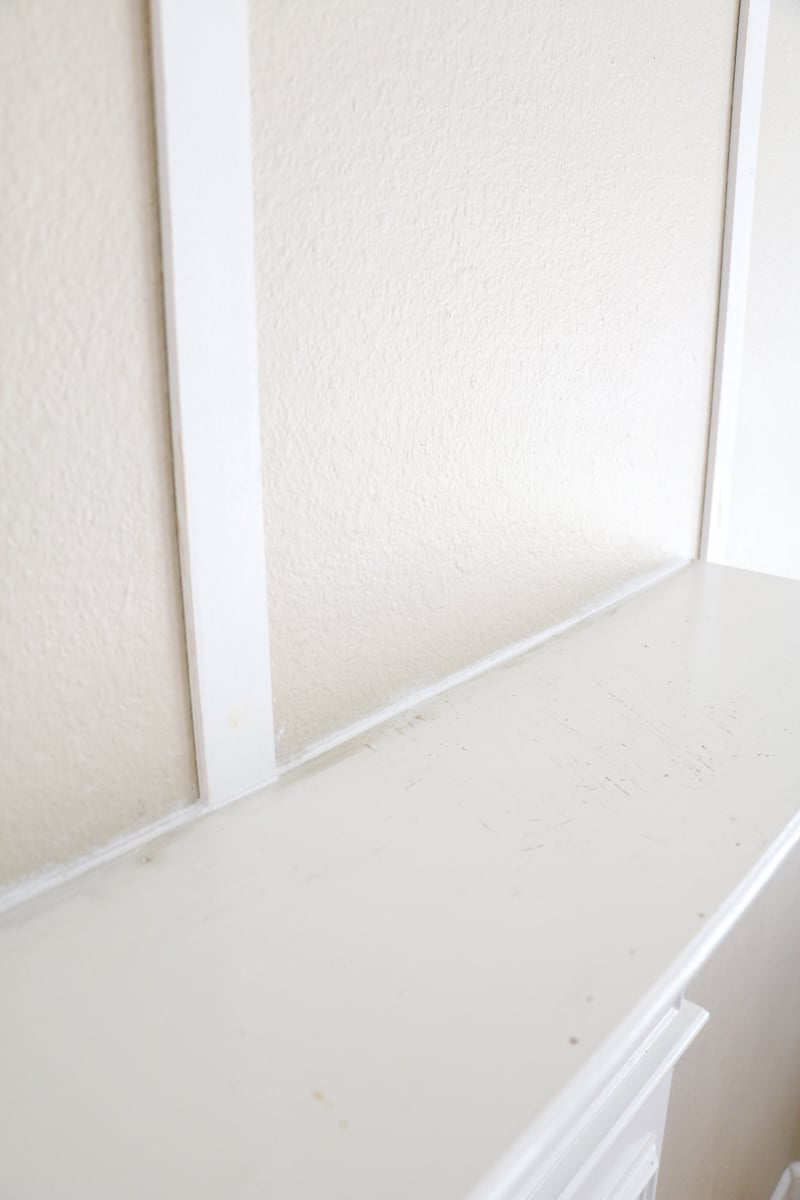
Once everything has been caulked and sanded take a tack cloth or a lightly damp paper towel and wipe down all the wood and the wall removing any dust or debris. Now we are ready to paint.
Begin by painting from the top down. I used Home Depot Behr paint Dynasty in Ultra Pure White. This paint is perfect for all the decoration changes that I do throughout the year. The wall over my mantle needs to be tough and this paint is designed for that. It would be great for any high traffic area, on cabinets, or on any furniture that takes a beating like a kids art table.
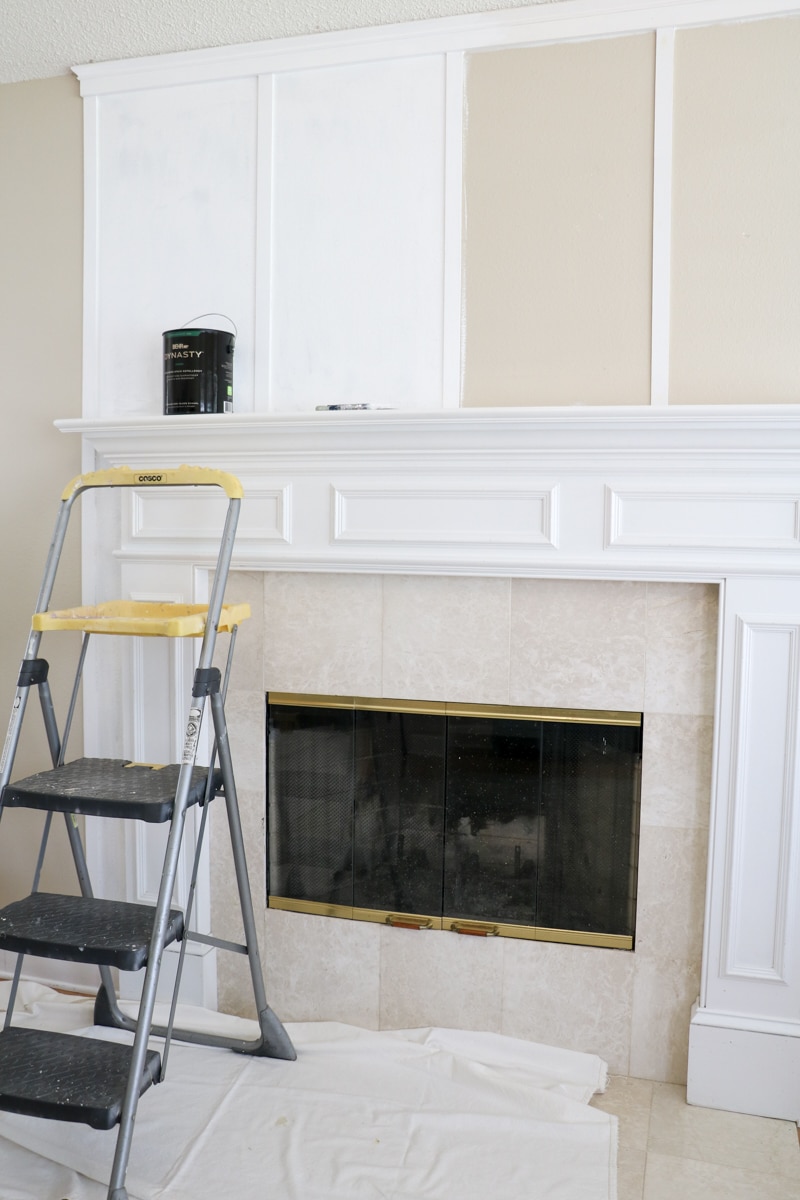
I used a paintbrush and brushed it on starting at the top and working my way down. The paint is a one-coat paint if you are using darker colors but on my textured wall, I needed to do two coats of paint to get the crisp white look I was wanting.
Once you have finished painting, let it dry for 24 hours before decorating your mantel. You want to give the paint time to set before putting anything on it. In fact, if you plan way ahead I would wait 6 days. This will give the paint time to cure and you won't have anything stick to the paint finish when it sits on the mantel shelf.
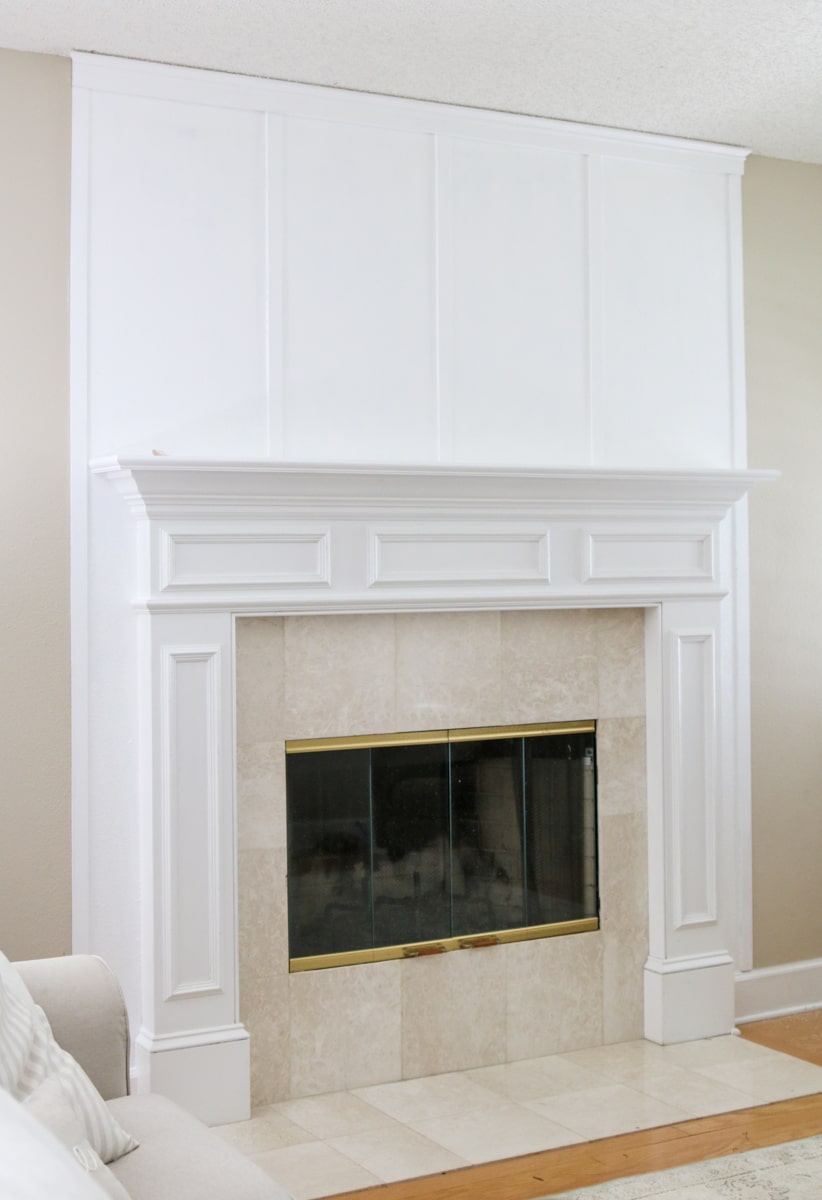
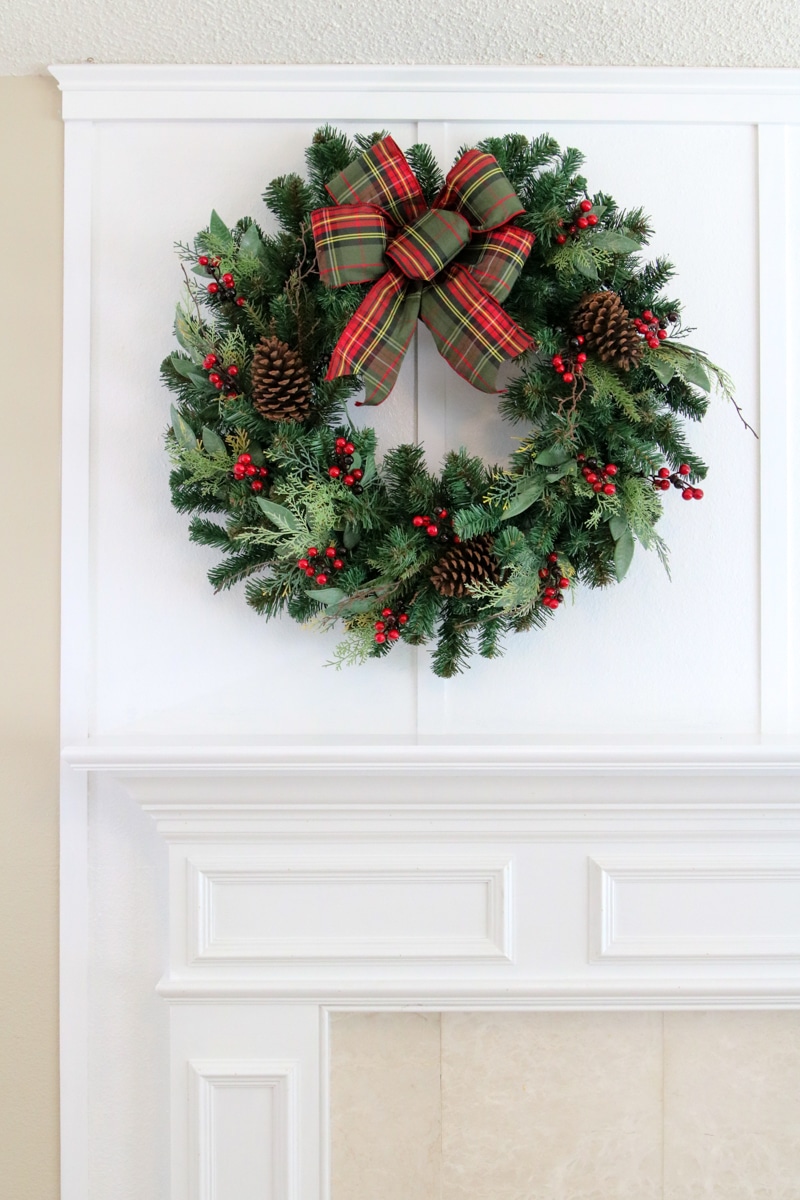
A white mantel is so easy to decorate. It makes colors in decor stand out better and has a light and airy feeling.
Well, guess what? We are done making this easy DIY board and batten mantel.
Conclusion
I hope you give this DIY board and batten fireplace mantel a try. It is a very good beginner's woodworking project.
This holiday season I came up with this mantel idea to get ready for Christmas decorating, and entertaining friends and family for Christmas. After the paint dried, I created this simple farmhouse Christmas mantel idea. This was the icing on the cake for this fireplace makeover.
I have all the details in another blog post but hanging your mantel decor by season can be a fun way to change the feel of your room. Check out my Decorating a Mantel for Spring post to see how it can transform a room.
Also with the help of the Home Depot, I show you how easy it is to get a designer look on your fireplace for Christmas by walking you through step by step.
I am excited to have a floor-to-ceiling vintage wood mantel. I look forward to creating more decorative ideas on our mantel for other holidays to come to share with you.
Happy Decorating!

If you enjoyed this post, sign up to receive new decor ideas each week. FREE EMAIL SUBSCRIPTION