Here are directions on how to make an easy DIY basket pendant light. You do not need electrical experience to create this light and this particular design is a hanging basket light fixture. However, this DIY can be used for a flush mount basket light, and woven basket chandelier too.
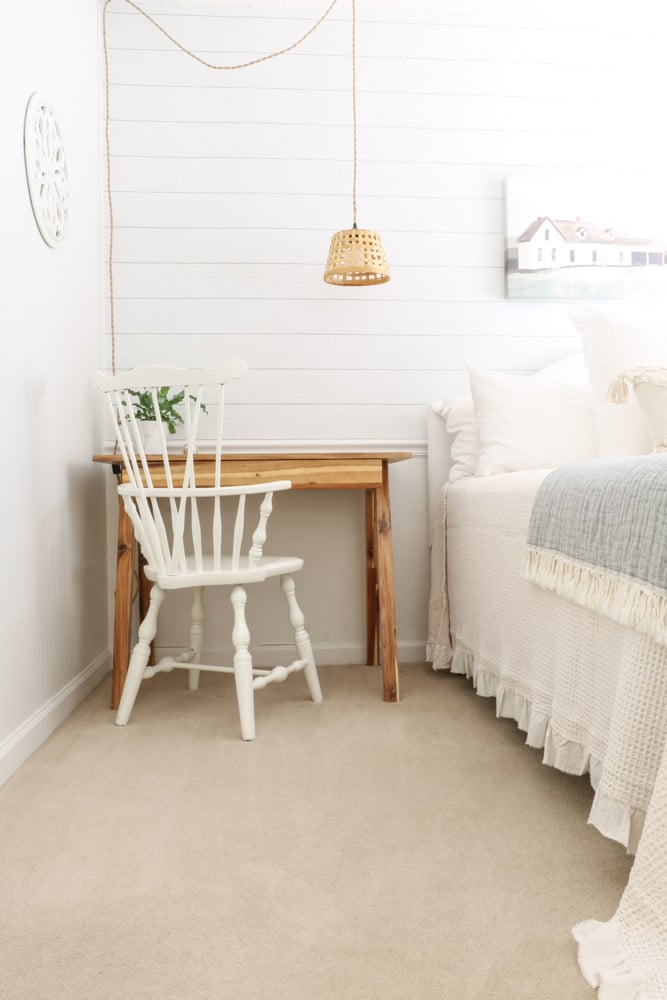
Did I mention that this DIY basket pendant light is easy to create? Well, you will be surprised at how cheap and simple this light is to make.
This post contains affiliate links, meaning I receive a commission if you purchase using the links below at no extra cost to you. All opinions are all my own.
DIY Basket Pendant Light
You may be wondering why I decided to make my own light instead of purchasing one? Well, I wanted a unique nightstand light with farmhouse charm. When I came across a basket light my wheels started turning and I thought I can make that.
So off to Target I went to look for a basket and lucky for me I found this basket in the dollar spot for three bucks. This light was getting sweeter by the minute.
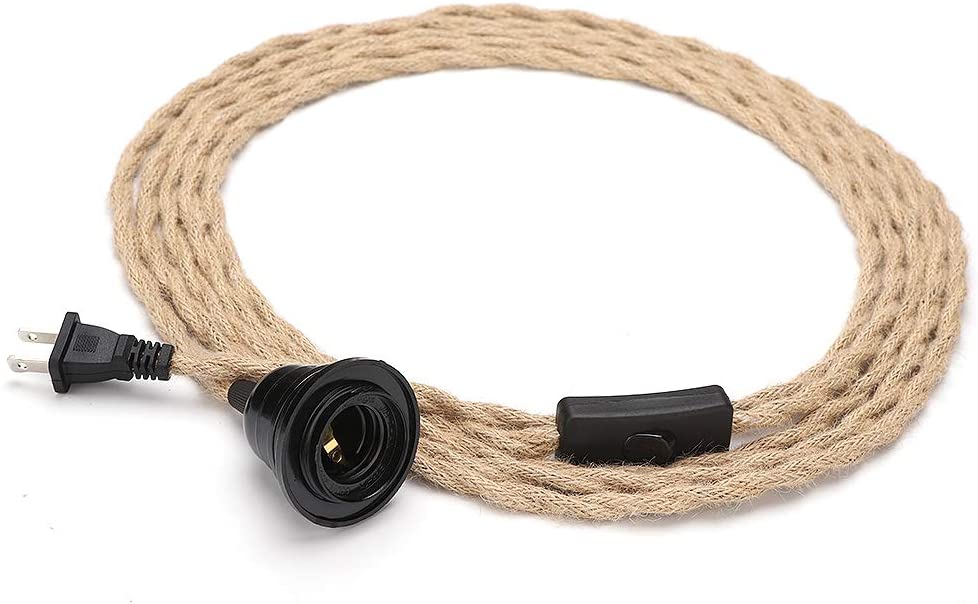
Next, I searched Amazon for a hanging pendant light kit and again was surprised. Hang around to see why my Amazon find was even better than the Target find.
What do you need to make a basket pendant light?
- Basket with a flat bottom
- Dremel (multipurpose bit) or utility knife
- Duct tape
- 150 grit sandpaper
- Paper towel
- Pendant light kit
- Pencil
- Ruler
- Hooks to hang the light
Now that you have your materials and tools let's get started.
How do you make a hanging light?
It is easy to make a hanging light and I will get to more fine details below but for the most part its is a matter of screwing in a bulb socket into a shade or basket and then hanging it from the ceiling and simply plugging it in.
But before we jump into how to make a hanging light let's retrofit a basket shade to go on the hanging light.
Remove Handles on Basket
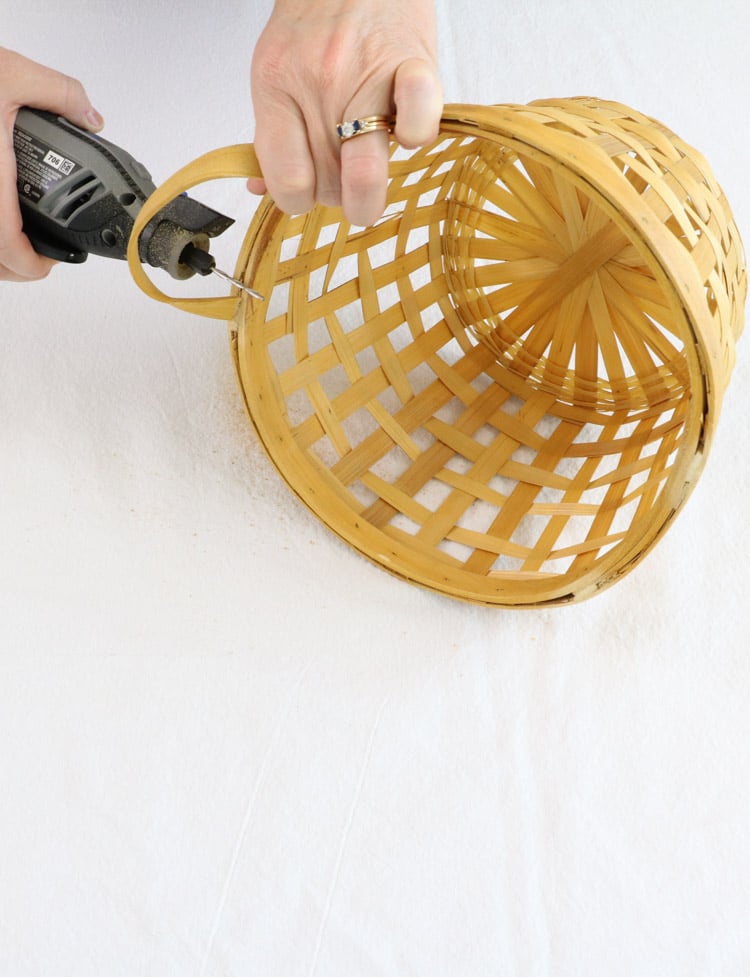
If you have handles on your basket you will need to remove them. I found a Dremel to work great. Simply trim the handles off running the multipurpose bit parallel to the mouth of the basket.
I used the multi-purpose bit on the Dremel and adjusted the speed between 15 and 20.
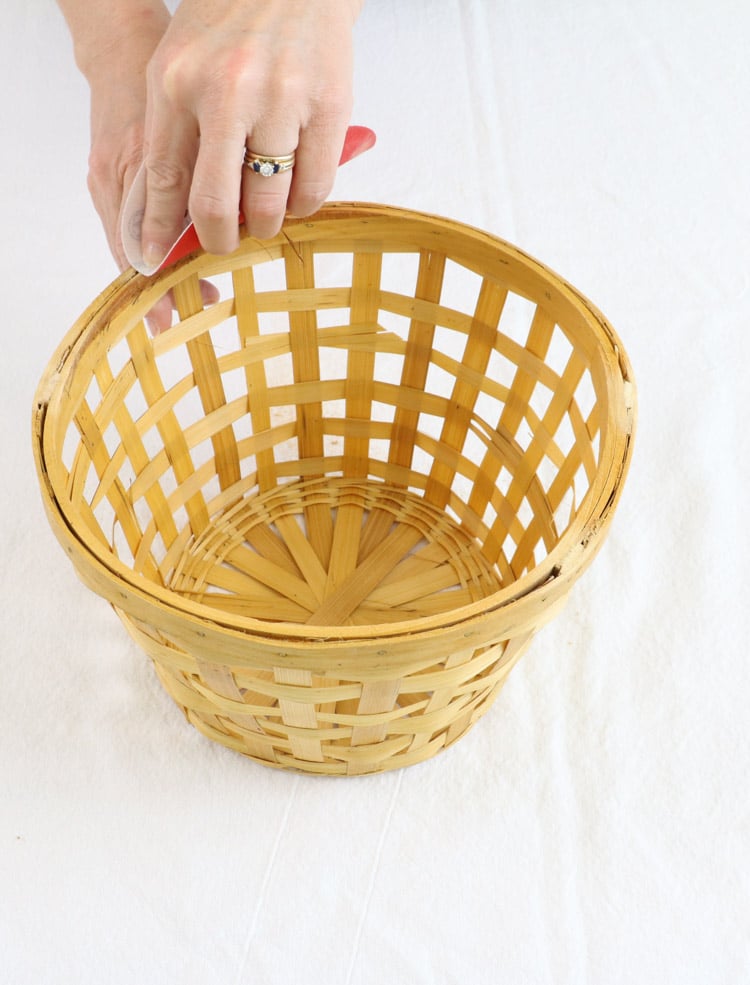
Next, take the 150 grit sandpaper and sand down the rough edges of where the handles were. Rub your finger across it to make sure it is smooth.
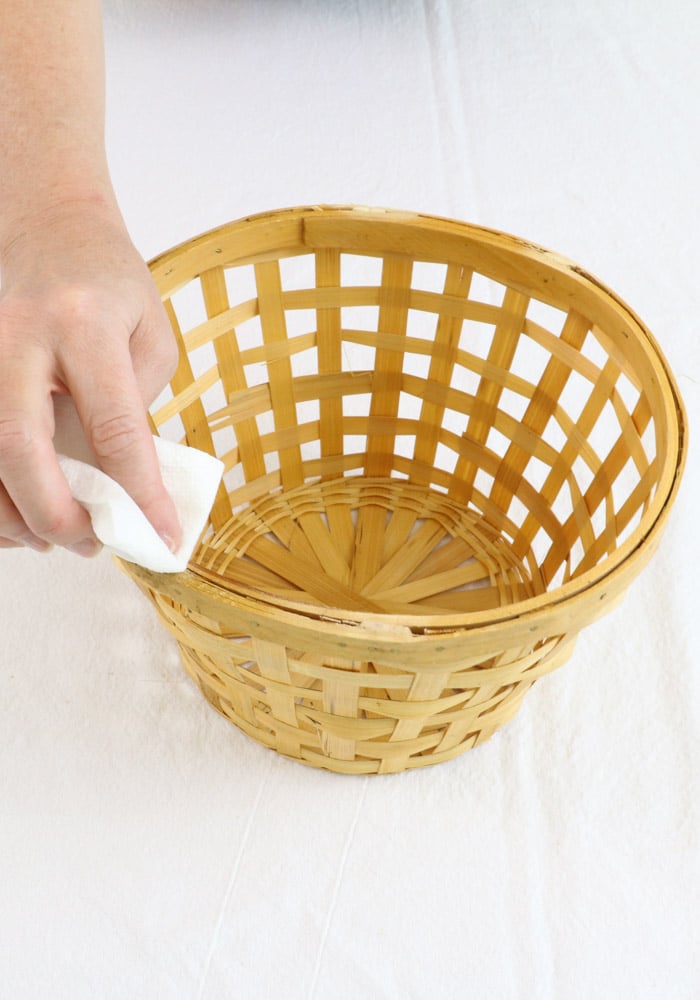
Then take a damp paper towel and wipe across the smooth handle to bring back the bamboo color like the basket.
Mark the Center
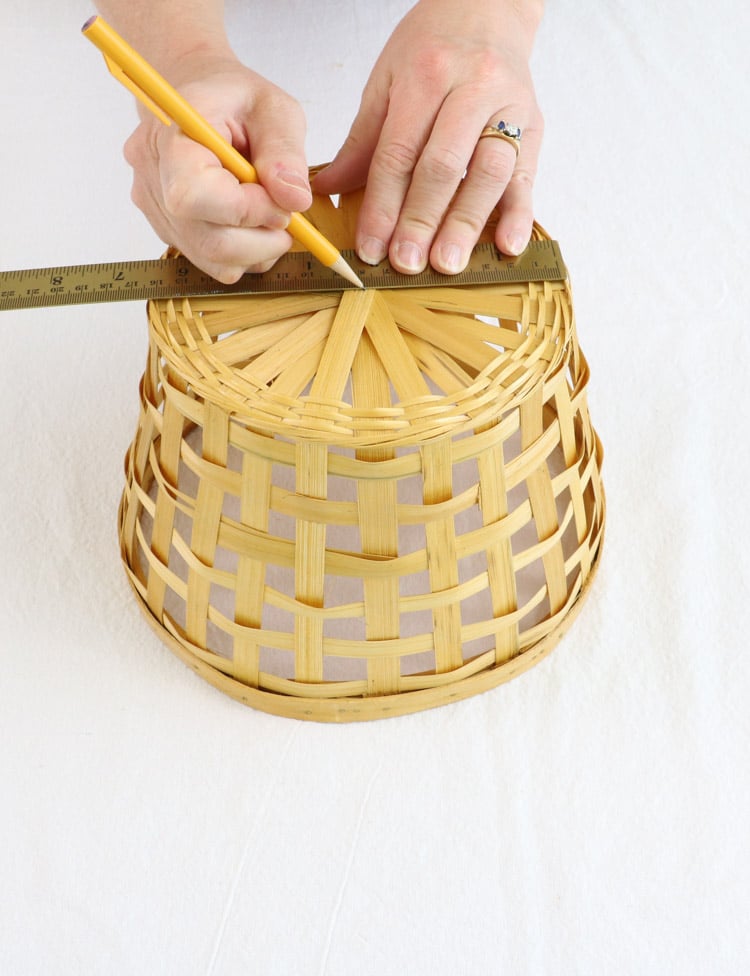
Turn your basket upside down and find the center on the bottom. I placed the ruler north and south and made a mark with a pencil and then again east and west and found the center.
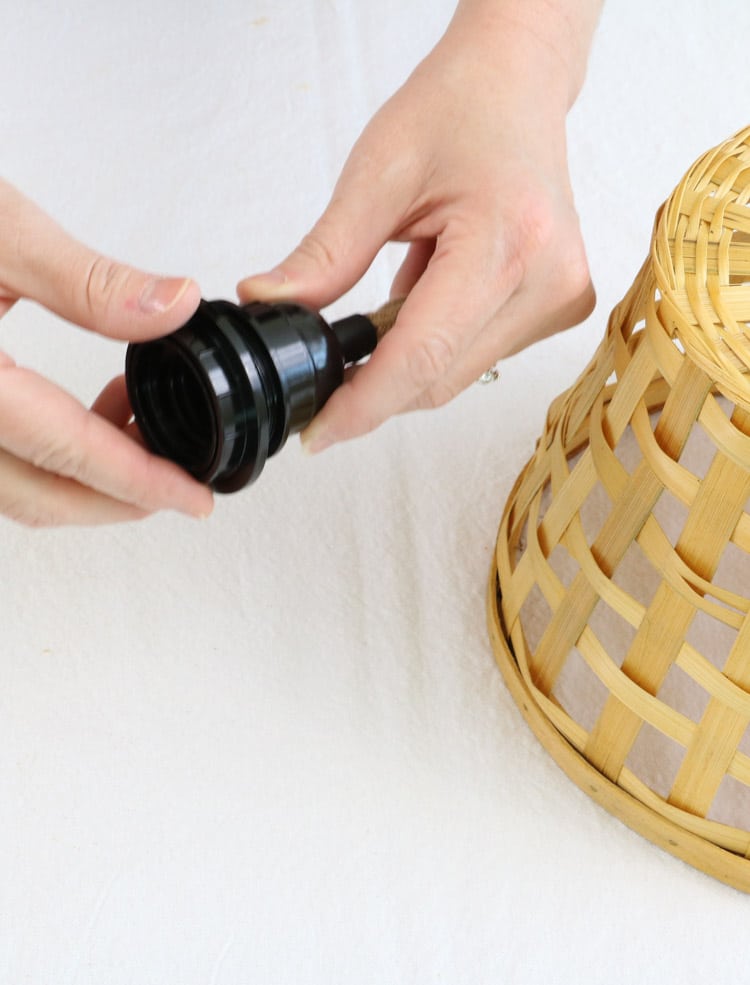
Now take the light part of the pendant light kit and unscrew the ring on it. Make sure to place the ring in a safe place because it is very important and you do not want to lose it.
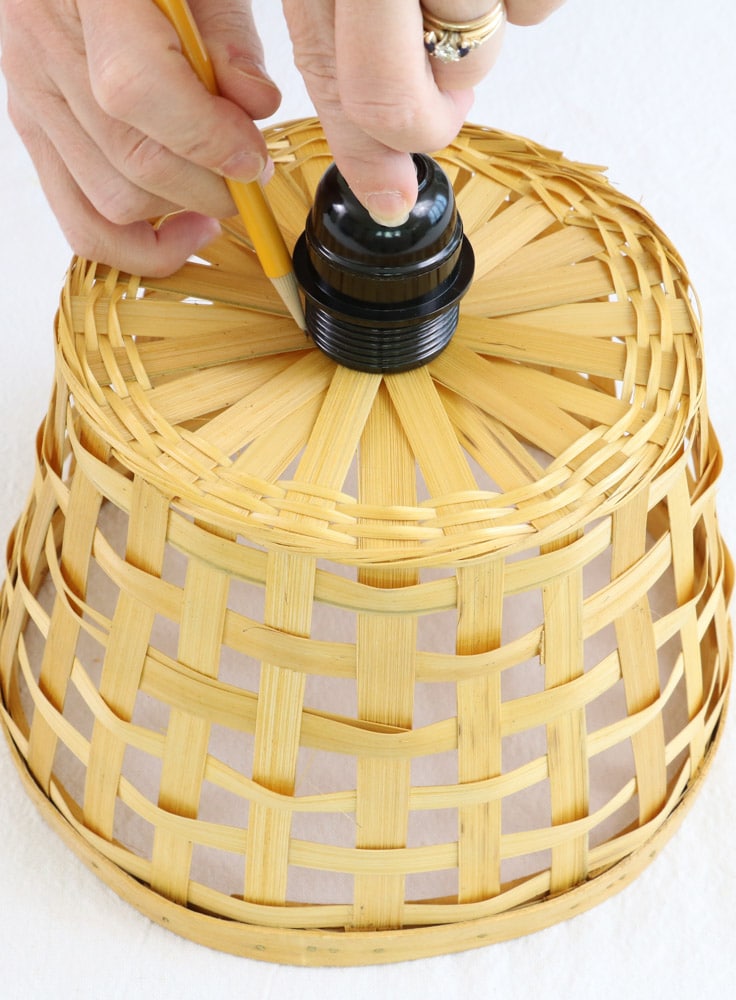
Next, turn the light socket down onto the mark on the bottom of your basket and trace around the light socket.
Add Duct Tape if Needed
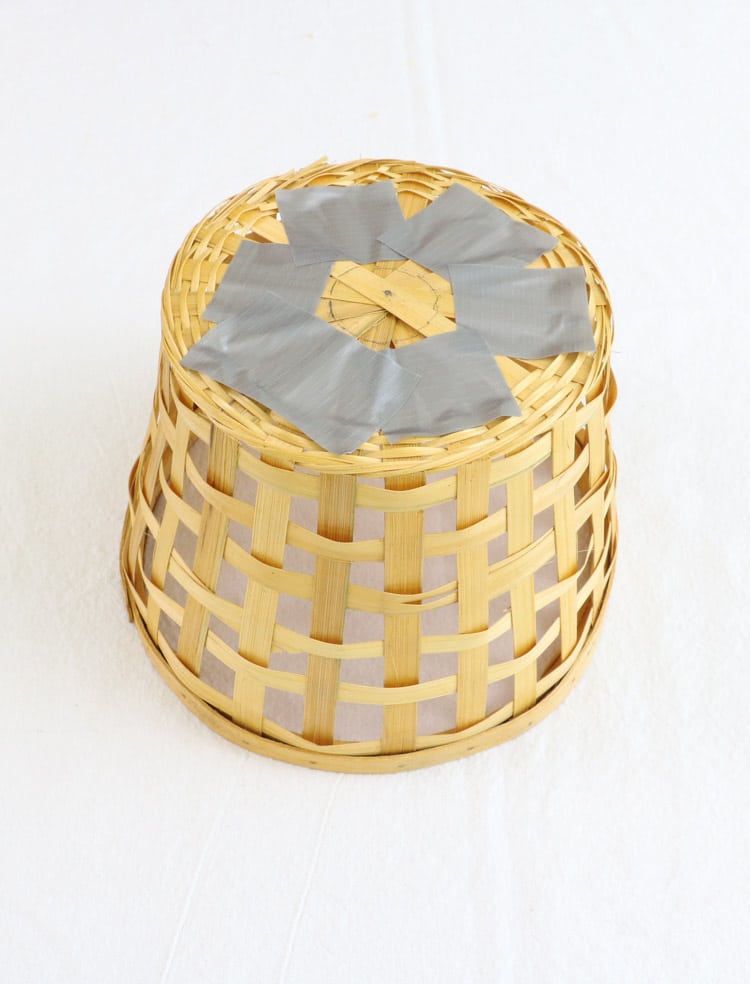
This part is not always necessary but because my basket had a looser weave I decided it needed reinforcements. So if you are like me grab some duct tape and tape around the circle you just created.
Cut the Hole
Next, take your Dremel in one hand and pull up on one piece of bamboo or whatever your basket is made of. After you pull up on that first piece use the Dremel and cut along the circle line.
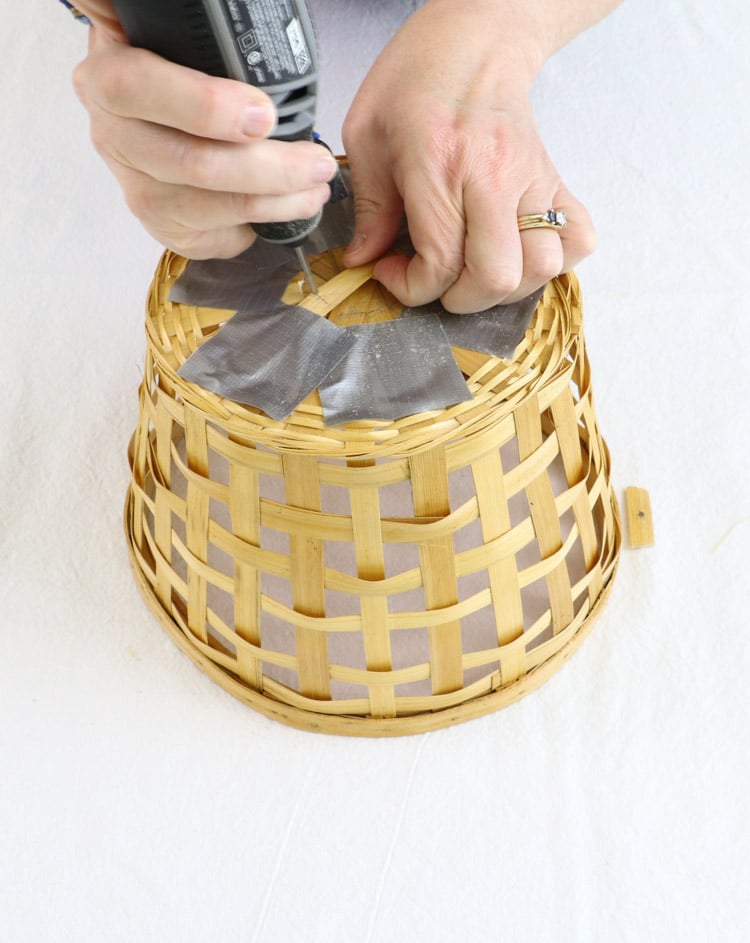
You will need to work one piece at a time until they are all gone and you have an opening at the bottom of your basket.
Once you have the hole cut take a damp paper towel and remove any dust.
Assemble the Pendant Light
Now it is starting to get fun! Remember that ring I told you to keep in a safe place. Well, grab it and the pendant light socket.
Next slip the pendent light socket into the hole.
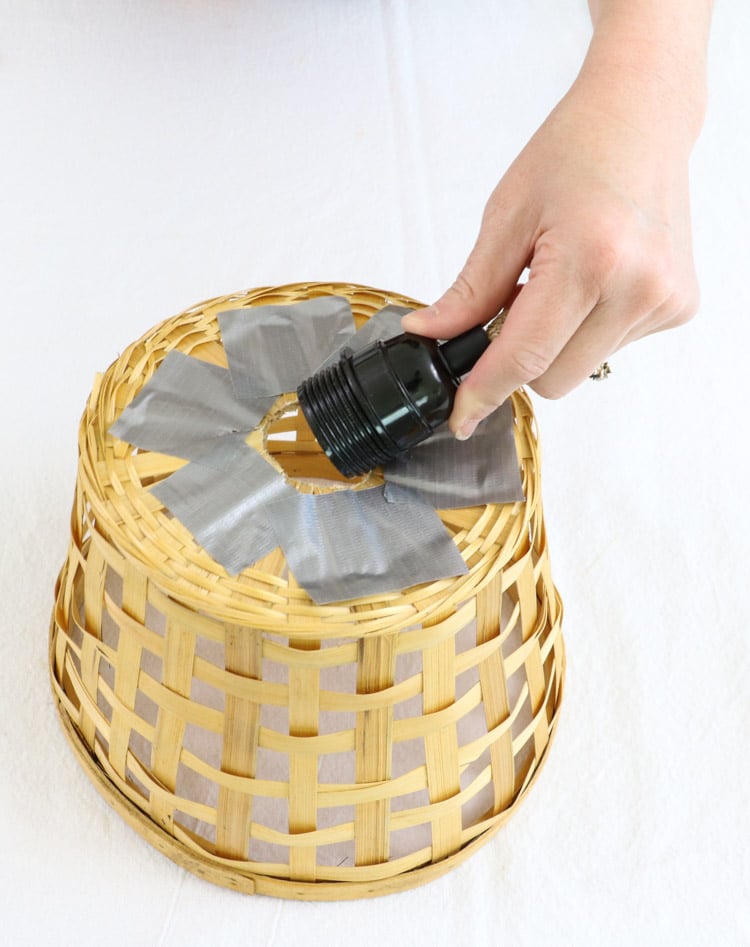
Turn the basket over and screw on the ring onto the socket of the pendant light kit. Turn it until it is snug but do not overtighten.
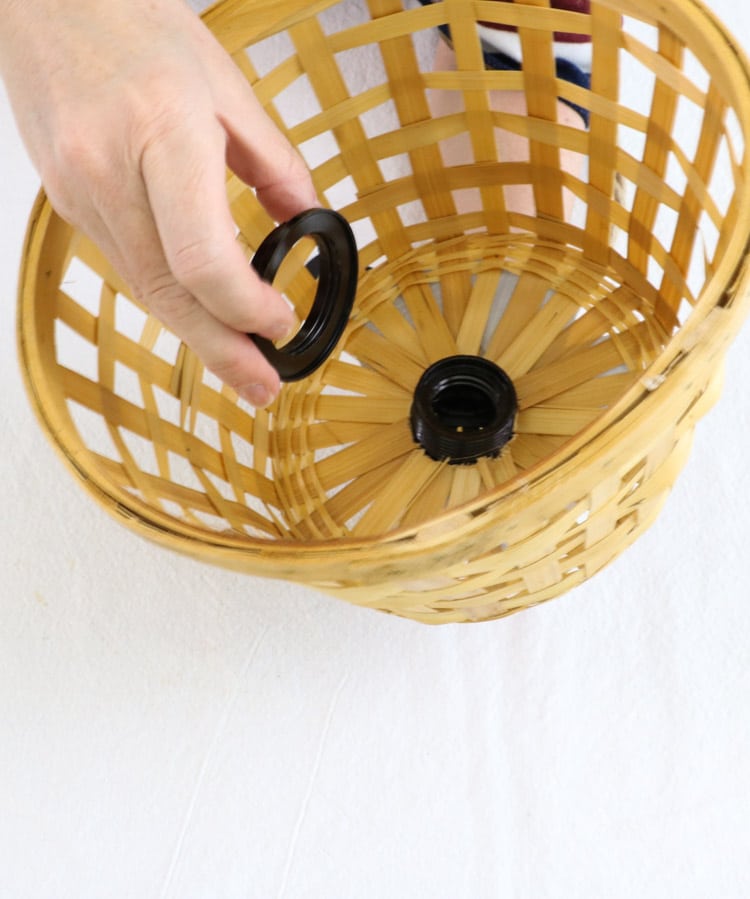
If you feel your light is securely holding the basket bottom in place you can remove the duct tape now. Simply pinch the outside of the duct tape and peel it up towards the middle making sure everything is holding into place nicely.
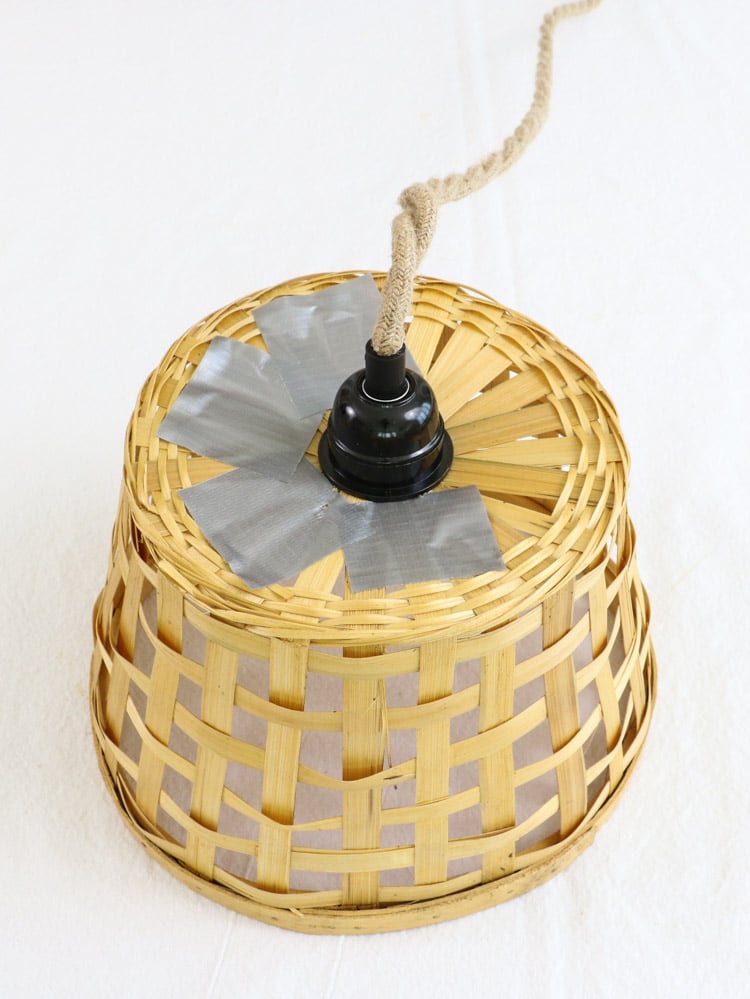
And you all done! Now it is time to hang your lamp.
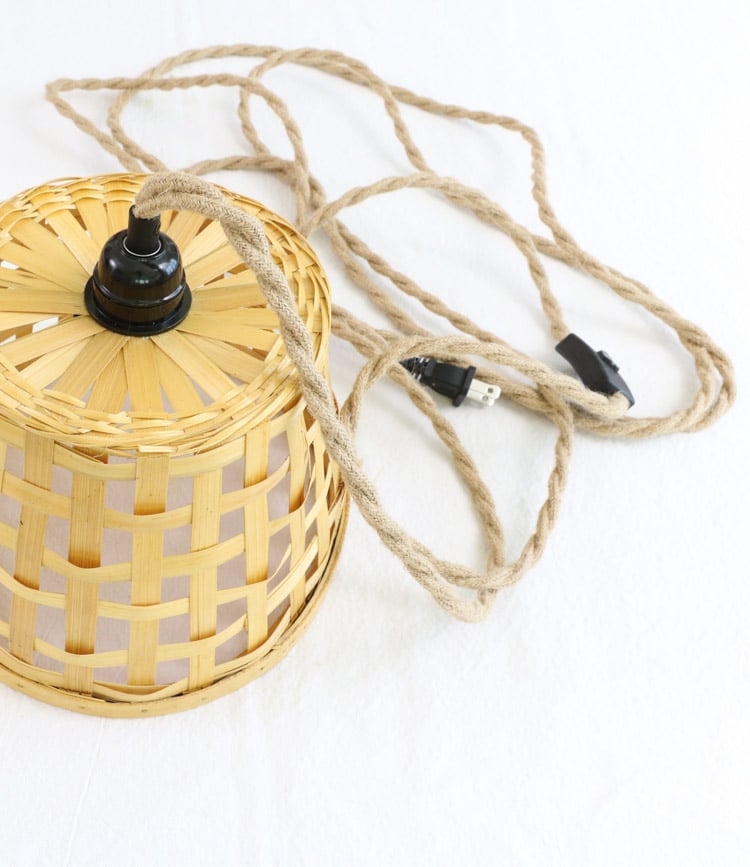
How to Hang a Hanging Basket Pendant Light
Simply grab a couple of hooks with a screw on the end. Place a hook into the ceiling right over where you want your light to hang and screw it into the ceiling.
Next, move over along the wall close to where your light will plug into the wall and place the other hook on the ceiling. Then drape your light over each hook and plug it in.
See how easy it is to make this DIY basket pendant light?
Conclusion
So you may be wondering why the pendant light kit was even better a find than the basket. Well, I started looking for a white pendant light kit but when I found one with a rope around it I thought how amazing this will go with my farmhouse cottage vibe and I didn't have to add the rope look.
Sweet! Don't you love it when you find a detail that will make the whole design?
Now that you know how to make this adorable DIY basket pendant light and you know how to hang it I thought you might like a few ideas on where to hang it.
I decided to hang mine next to our guest bed which used to be Hannah's bedroom. It makes a great lamp for guests and since we have a desk for a nightstand it works nicely as a desk lamp too.

But you can get a larger basket and make a larger basket pendant light or go with an even small basket and replace the shades in a bathroom. See how the options are endless.
Here are a few more shots of the basket ceiling light and the basket light shade.

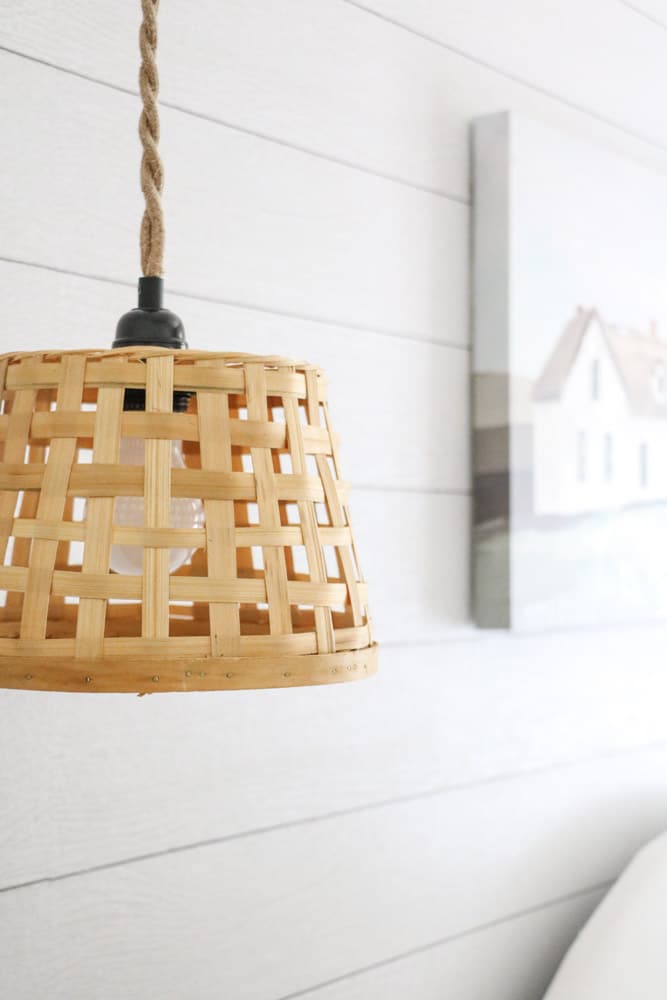
Now that you know how to make a basket light here are some woven basket pendant light ideas to get your creative juices going.
I hope this DIY has been helpful and inspirational. What light do you plan to change out for a basket light?
Happy Decorating!


If you enjoyed this post, sign up to receive new decor ideas each week. FREE EMAIL SUBSCRIPTION
DIY Basket Pendant Light

Easy to make hanging woven basket pendant light. With a few tools and an hour you can add a charming hanging light to your home decor.
Materials
- Basket, pendant light kit, paper towel, sandpaper, and duct tape
Tools
- Dremel or utility knife, pencil, and ruler
Instructions
- Cut handles off of basket if it has handles with a Dremel or utility knife
- Sand the area where you removed the handles
- Clean with a damp paper towel
- Turn basket over and find the center with a ruler
- Remove ring off of pendant light and store in a safe place
- Turn light socket upside down over mark and trace around it
- Stick duct tape around the marked hole
- Lift each piece of the basket and cut with the Dremel or utility knife
- Place light socket in hole
- Screw on the ring inside of the basket. Turn until it is snug but not over tight
- Screw-in a light bulb
- Hang with hooks that have a screw on the end.
Recommended Products
As an Amazon Associate and member of other affiliate programs, I earn from qualifying purchases.
Ten Ways to Use Baskets in Your Home (That you probably haven't thought of) - Wild Mother
Sunday 4th of April 2021
[…] Click here for the tutorial! […]
DECORATING ON A BUDGET WITH LITTLE TO NO MONEY
Saturday 30th of January 2021
[…] easy DIY pendant basket light will give you step by step […]