Here are budget-friendly DIY exterior Dutch door steps to turn an old door into a dutch door. Check out this tutorial to see how easy it is to transform your door into a beautiful half door.
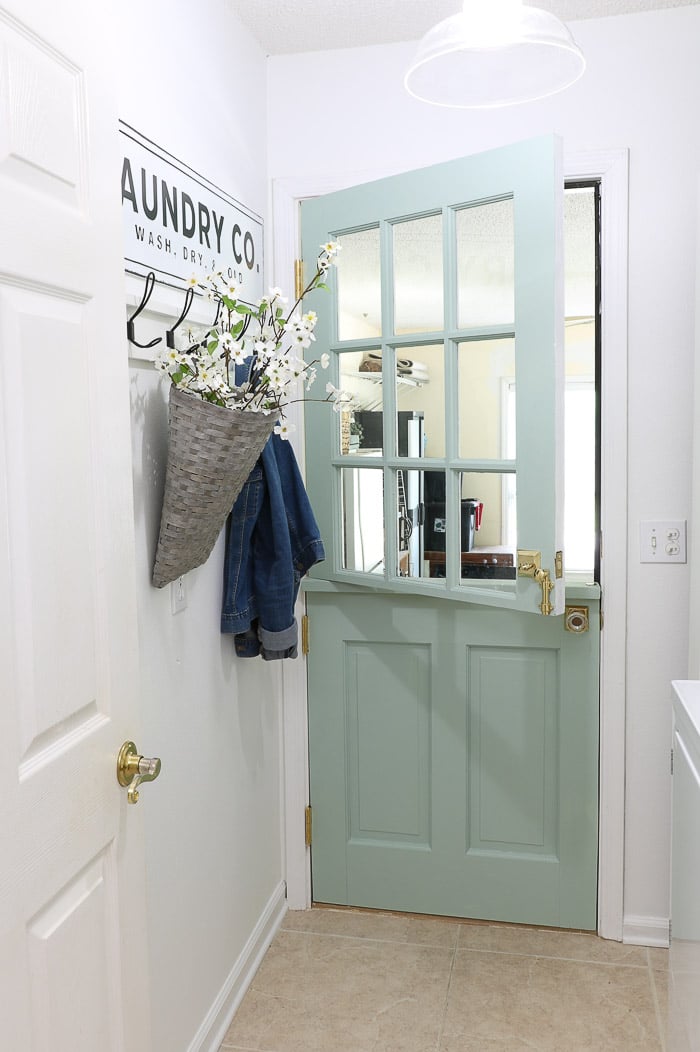
DIY Exterior Dutch Door
Dutch doors are a popular design for traditional and modern homes which is why I couldn't wait to share this DIY exterior dutch door project. After sharing some modern dutch door ideas I thought it would be nice to know why these doors are so special and can you turn a regular door into a dutch door.
Can you turn a regular door into a dutch door?
The simple answer is yes you can turn a regular door into a dutch door but there is one thing you need to consider. Make sure there is nothing in the way of where you need to cut the Dutch door.
This post contains affiliate links, which means I receive a commission if you make a purchase using the links below. All opinions are all my own.
Dutch Door History and What is the Point of a Dutch door?
The idea originated in the Netherlands where they played a functional role by allowing light and airflow through the home while keeping the children inside and the critters outside.
But today dutch doors bring character and charm to homes everywhere. So let's jump right in and start transforming this DIY exterior dutch door from this old door I found at Habitat for Humanity Re-store.
Dutch doors are also known as half doors, stable doors, and double-hung doors. They are a whole door that is cut in half horizontally around the middle.
Measure and Shop for Dutch door
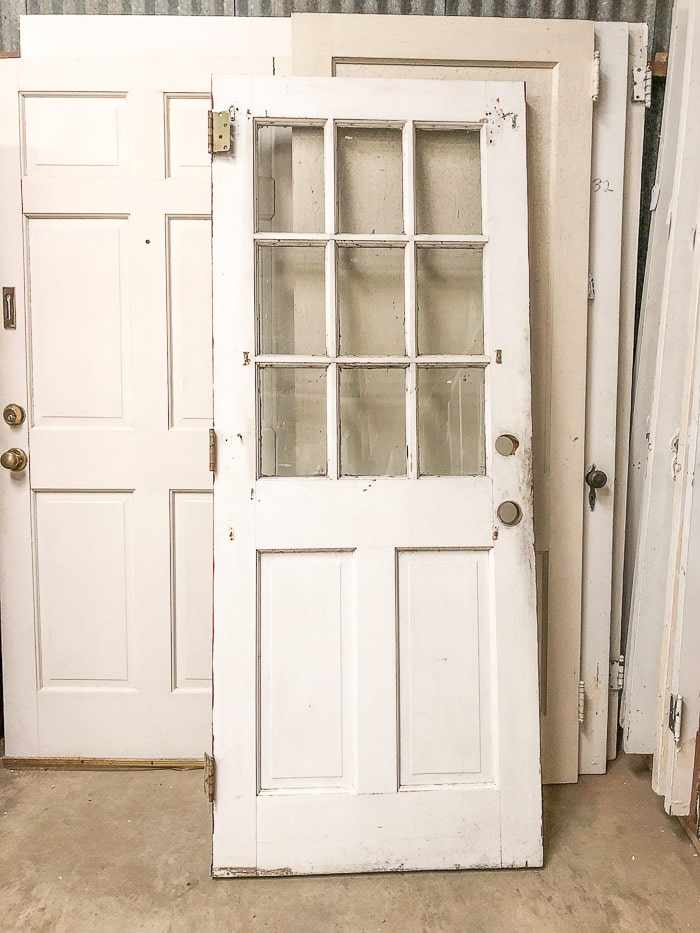
The first step on how to build a dutch door is to either use the door you currently have or measure and search for a door.
You will need to measure the height, width, and depth of the existing door. You will also need to know if the door is a left or right swing.
Now that you have your measurement do some shopping at local thrift stores or Facebook marketplace to name a few.
When shopping search for a door where it can be cut in half without any raised panels, doorknob holes or glass windows being in the way. You want the cut to be around 36″ or higher so look for a door with a clean spot for the half door cut.
Clean, Sand and Paint
If you are using your current or new old door take it down from the hinges, remove all the hinges and give it a good cleaning.
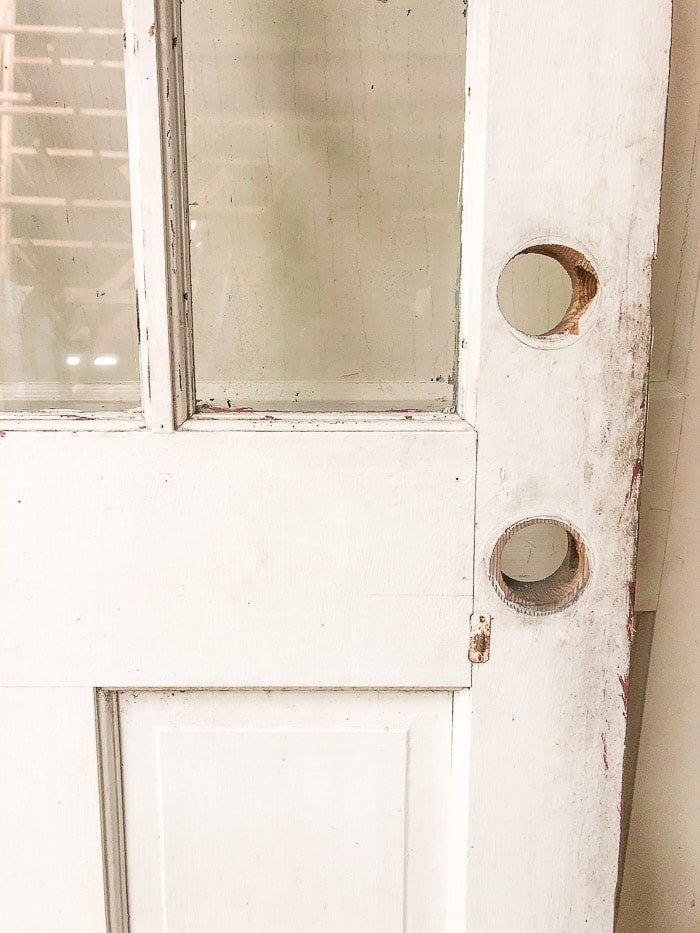
As you can tell this door needed some tender loving care in the form of a good bath. LOL!
Next patch any holes with spackle and sand it down and apply primer if needed then paint.
For tips on painting check out my Paint like a Pro post.
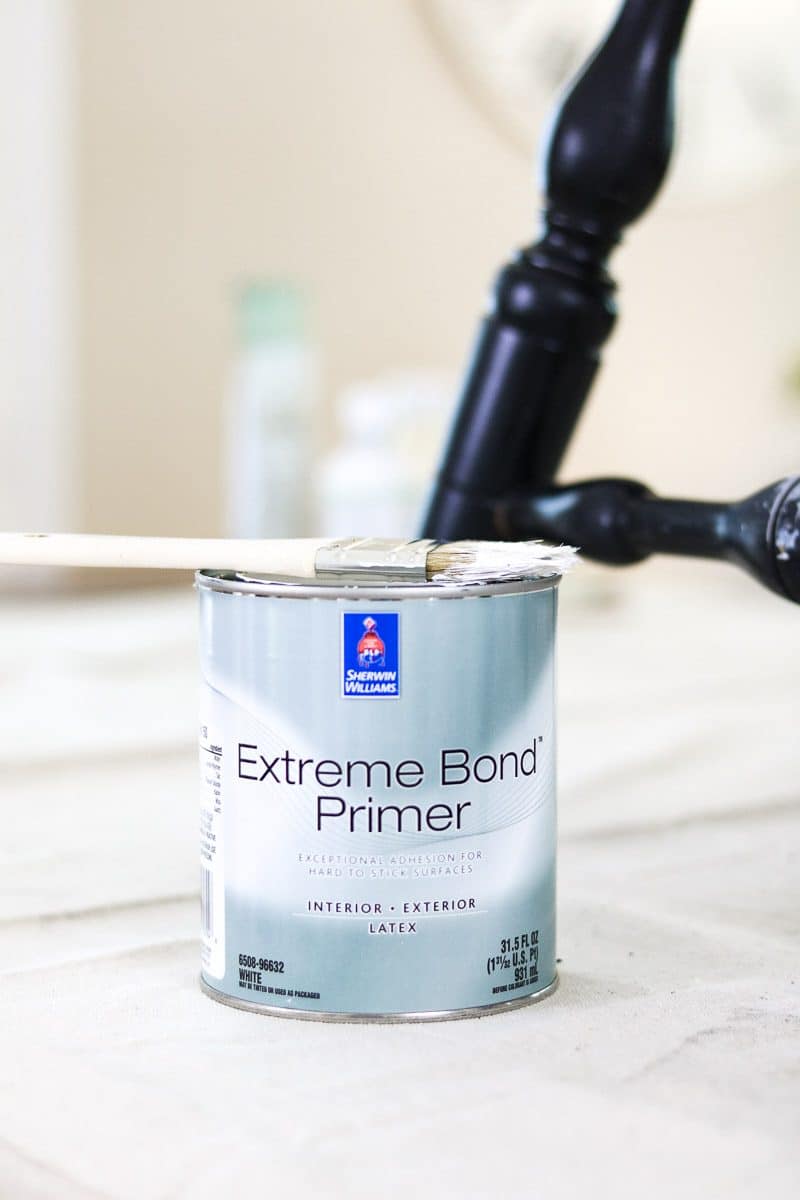
There are two primers that I prefer. One is this extreme bond primer by Sherwin Williams and Kilz 2 which is another great latex primer. After you prime the door paint it with exterior paint.
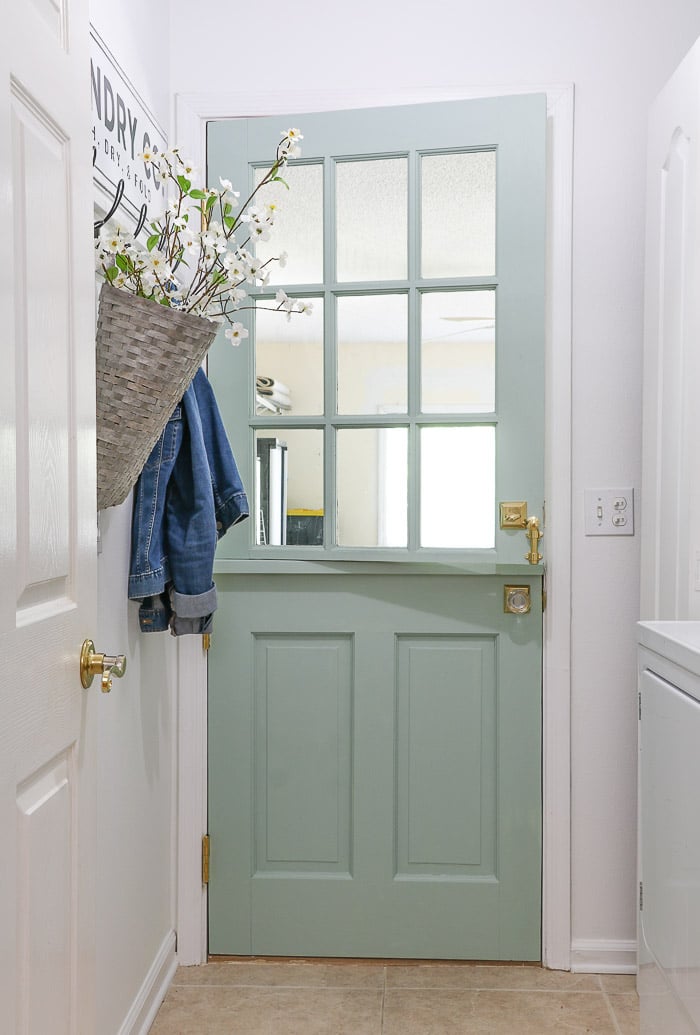
I used Sherwin Williams extra white on the outside and Fusion mineral paint color Inglenook on the inside. I like to purchase my Fusion paint from the Baker Nest website. She ships quickly and is very helpful if you have any questions when you start your project.
Because this door had some lovely imperfections the Fusion mineral paint was a fabulous fit because of its self-leveling qualities and chalky farmhouse finish.
Cut the Door in Half
Are you as shocked as I was that we are cutting this door in half right in the beginning? This was my favorite part.
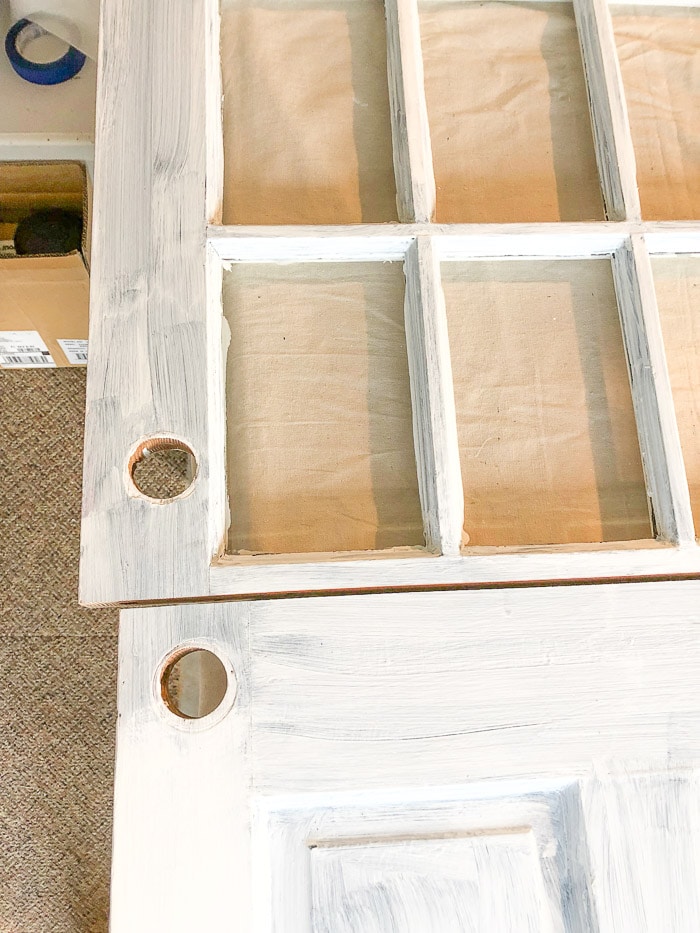
Basically, you will need to determine a few things. Look at the door hardware that you plan to use and think through the size and placement.
Second, consider the window or raise panel design. Make sure you give yourself room under the window for the cut. You do not want the cut to be to close to the window.
So for this door, we made sure once the doorknob was in place there was some extra room above it and at least an inch under the window. Talk about a tight fit!
Plane and Sand the Sides
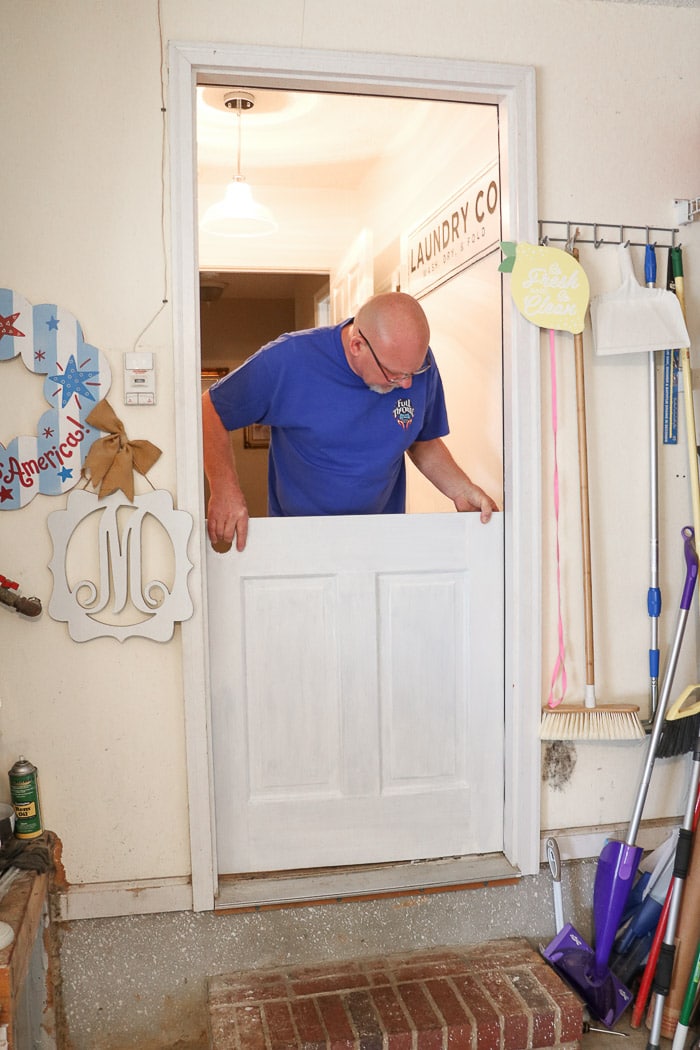
If you are using your current door you can skip this step but if you have a new or old door you will need to plane and sand down the sides until it fits snug into the door opening.
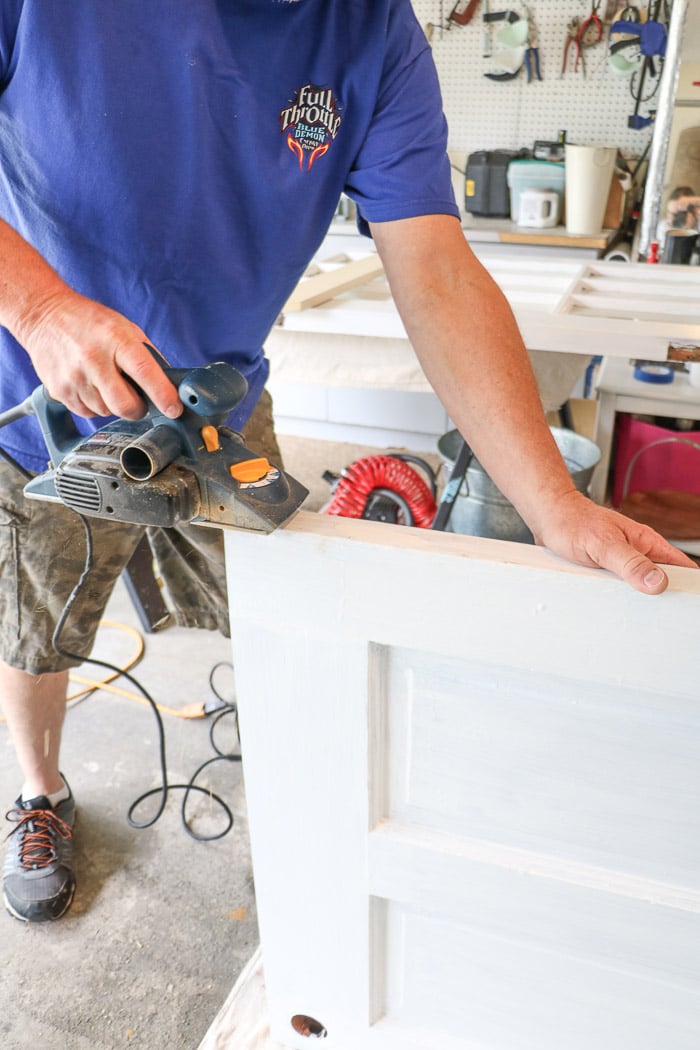
We started on the bottom half first by planing here and then and then trying out the door in the opening.
Hinges
Now it is time to install the hinges. The hinges, door hardware, and dutch door hook all came from Emtek. They have a large selection of great quality hardware and they have Dutch door pieces too.
Thankfully I went with a more sturdy hinge for this half door and I am thankful because this door is very heavy.
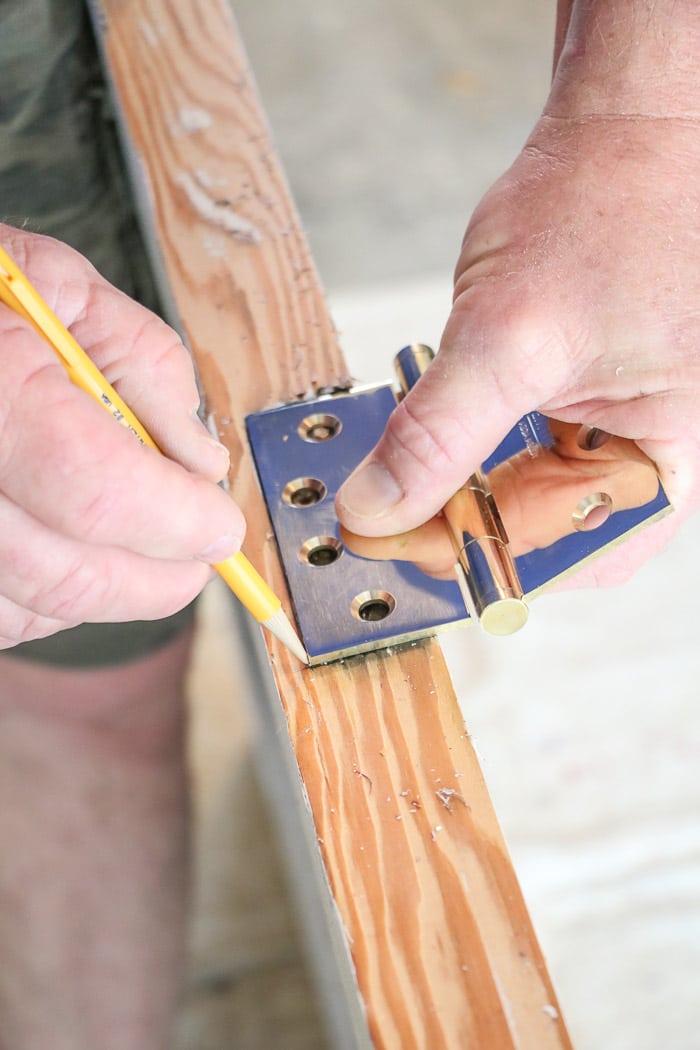
You will most likely get to use one of the existing hinge locations but you will have to create another one. Each half of the door will need two hinges.
Sit your hinge in place and draw around it where you will need to cut and carve out the wood.
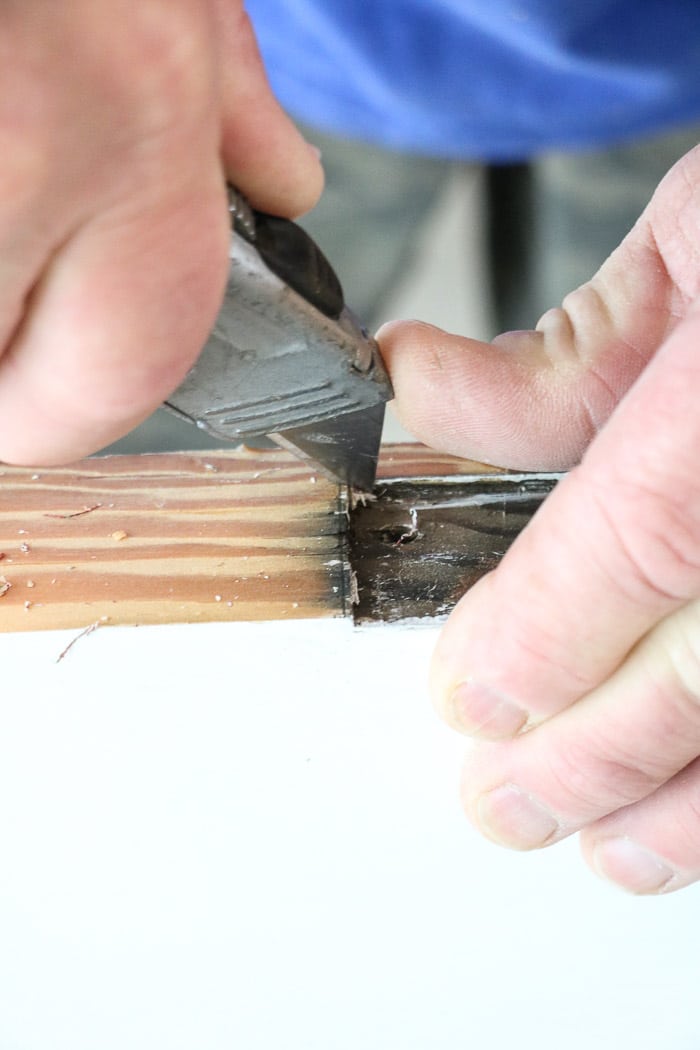
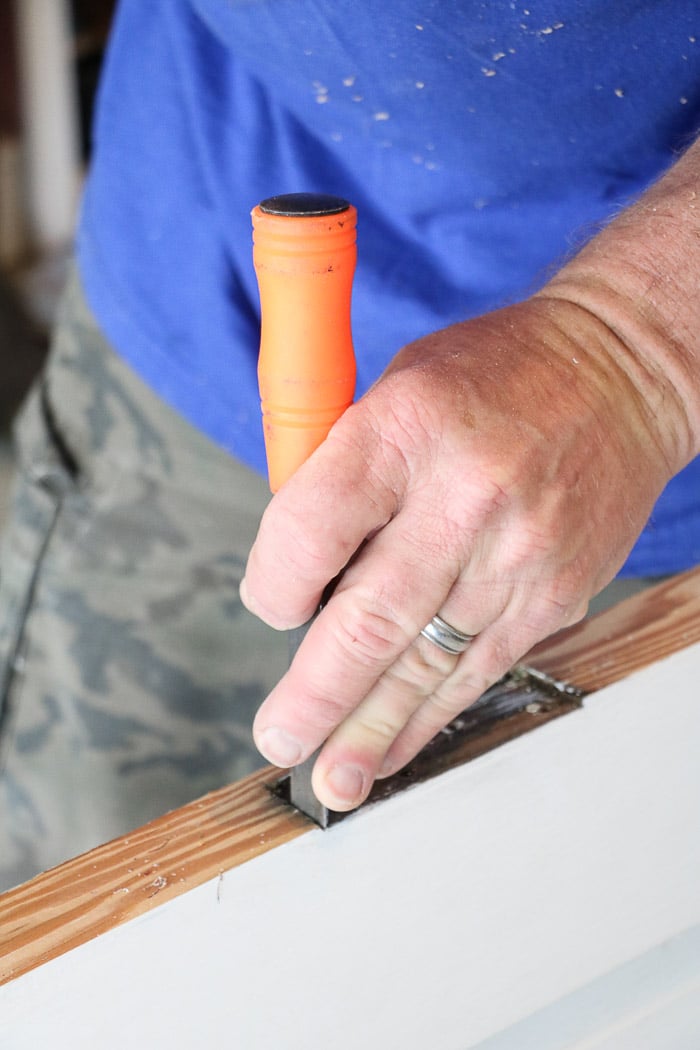
Now use a utility knife to cut out where you drew and then use a chisel and hammer to weed out the rest inside.
If you have this cool tool it will make creating the hinge much easier for the one hinge hole that is brand new.
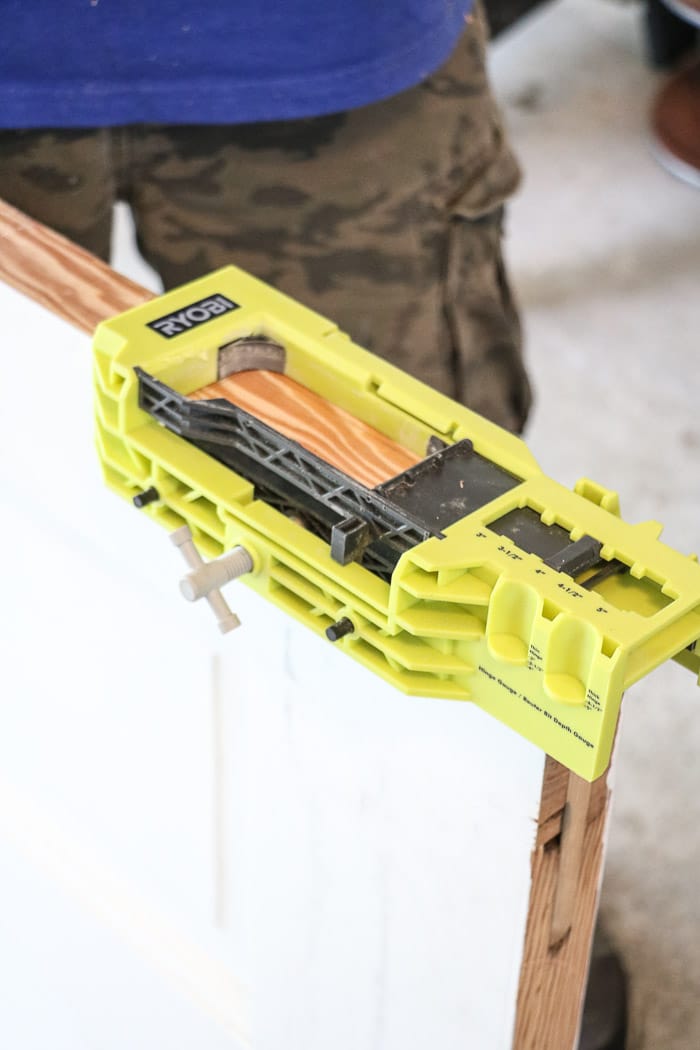
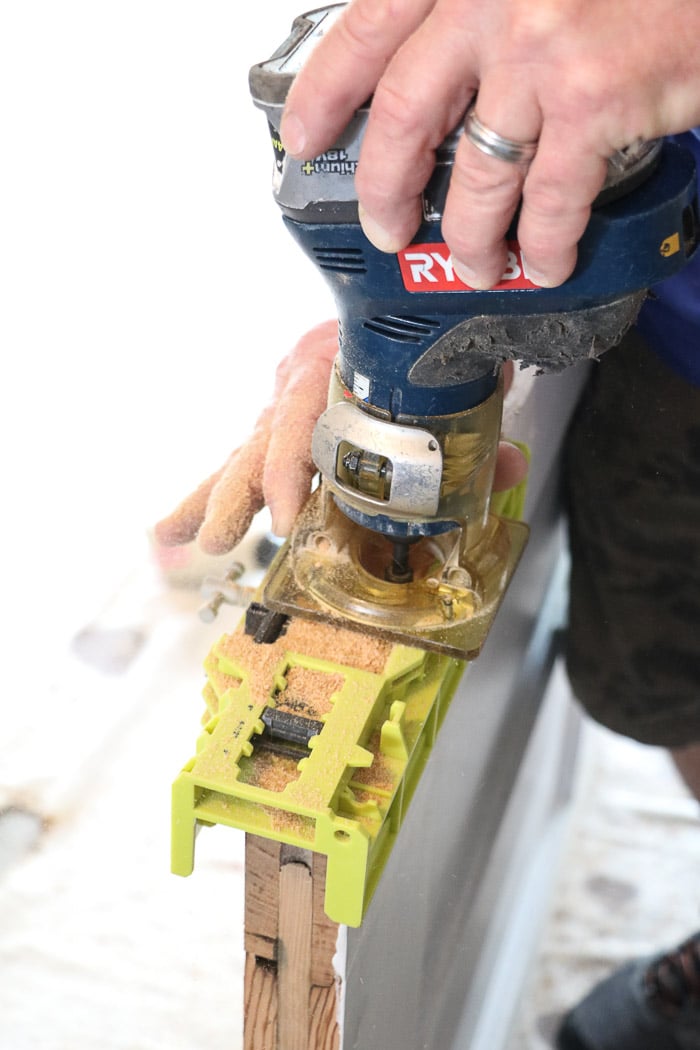
Next screw in the hinges to the door.
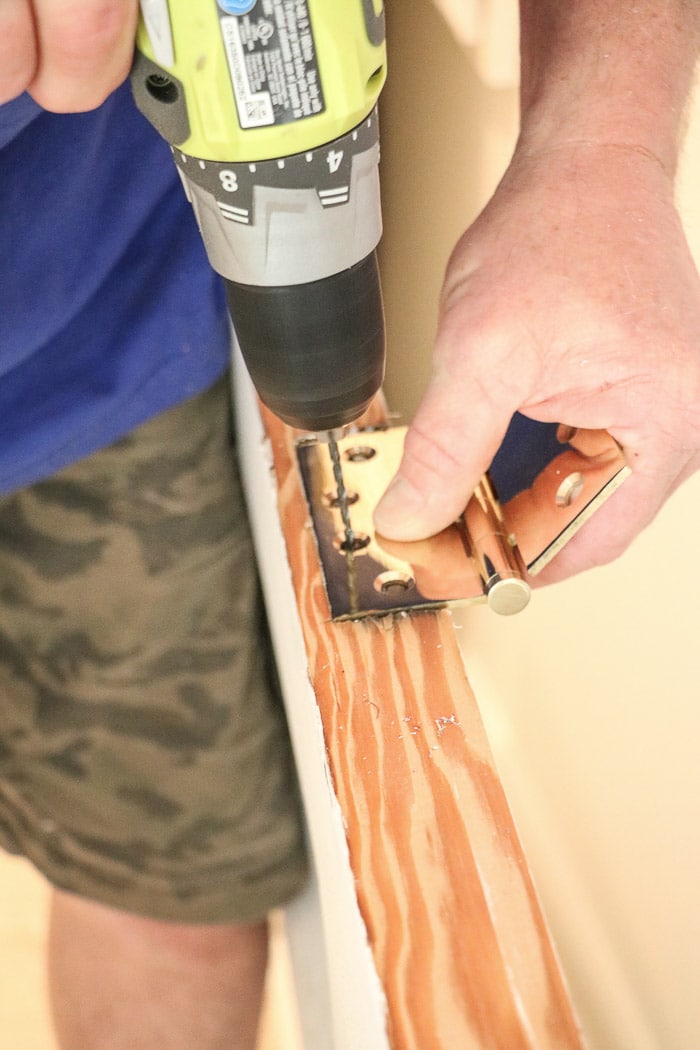
And take the door back to the opening so that we can work on the hinge holes on the door frame too.
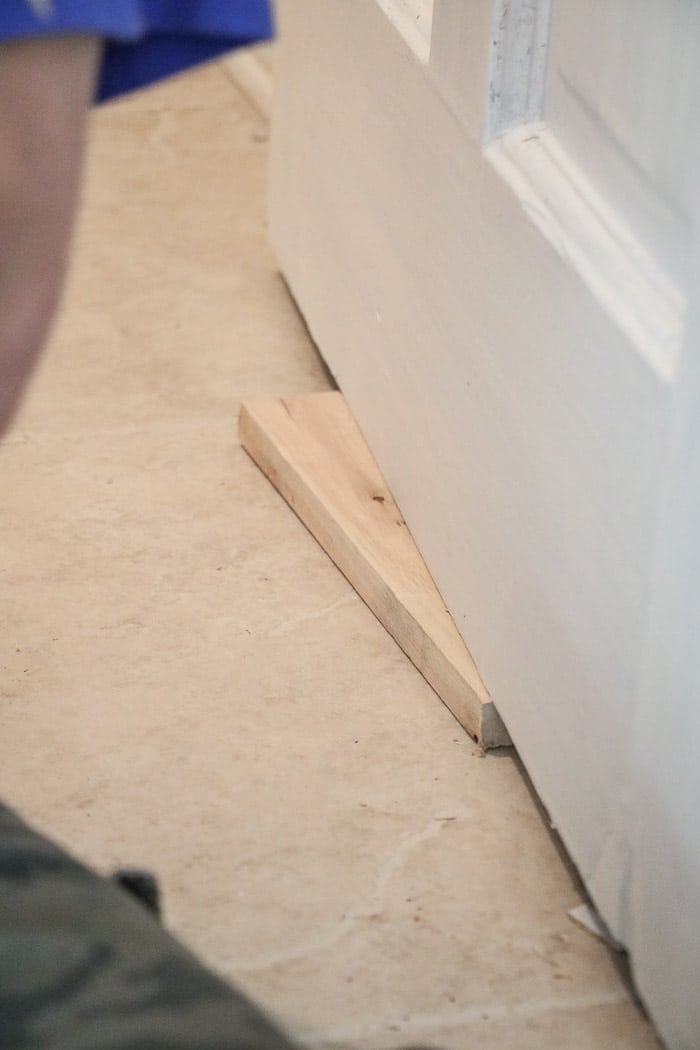
When you get the door in place here is a handy tip. Use a 1 x 4 to prop the door up so that it is about level with where it will be when shut.
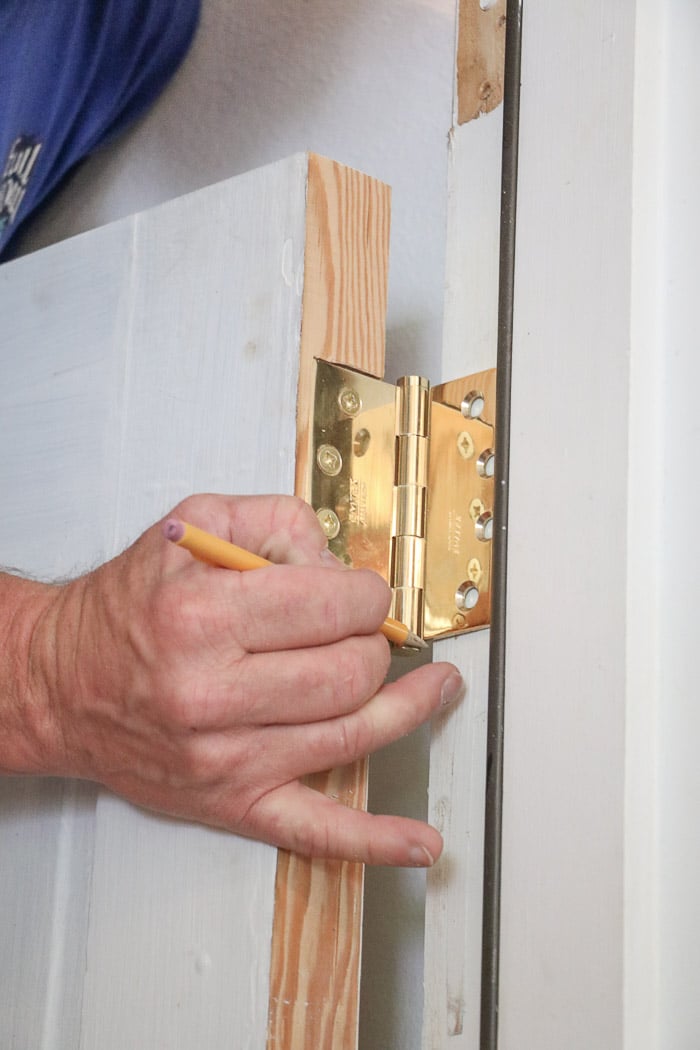
Place the hinge on the door frame and draw where each hinge needs to go.

On the existing hinge hole use a straight edge tool to draw out where the new hinge goes. My hinges were larger so we have to make the hole larger but if yours are the same size then you can skip this step.
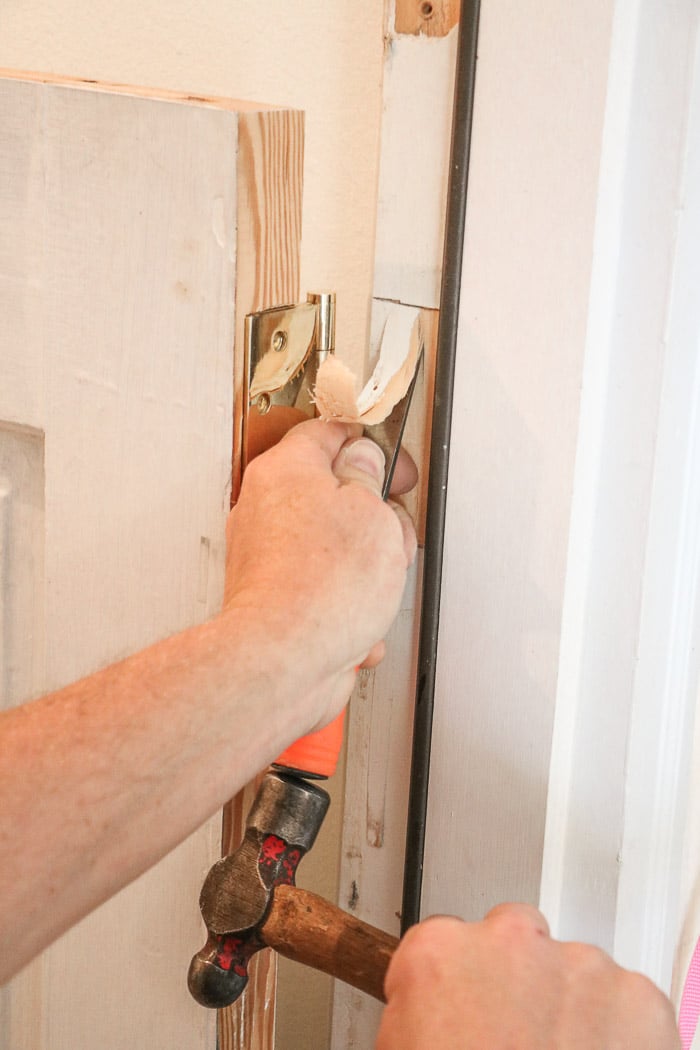
Now place the other hinge on the door frame and draw around it where you will need to carve and chisel out the wood for the new hinge hole. Remember this is the hinge we have to add because there need to be two hinges per half of the door.
Once you think you have enough wood chiseled out twist the hinge over and see if it fits inside the hole flush. If not continue to chisel wood until the hinge is flush.
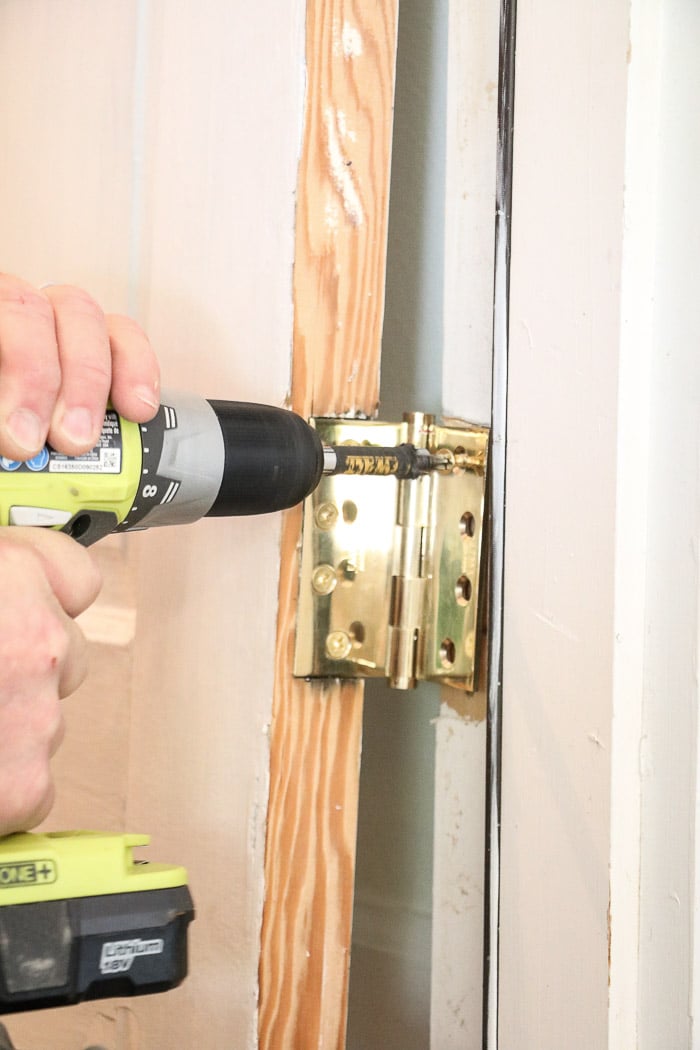
Now screw in the hinges and the bottom half of the door is installed. There will be lots of testing then chiseling, then testing again before you get it just right. Be patient and it will eventually work out.
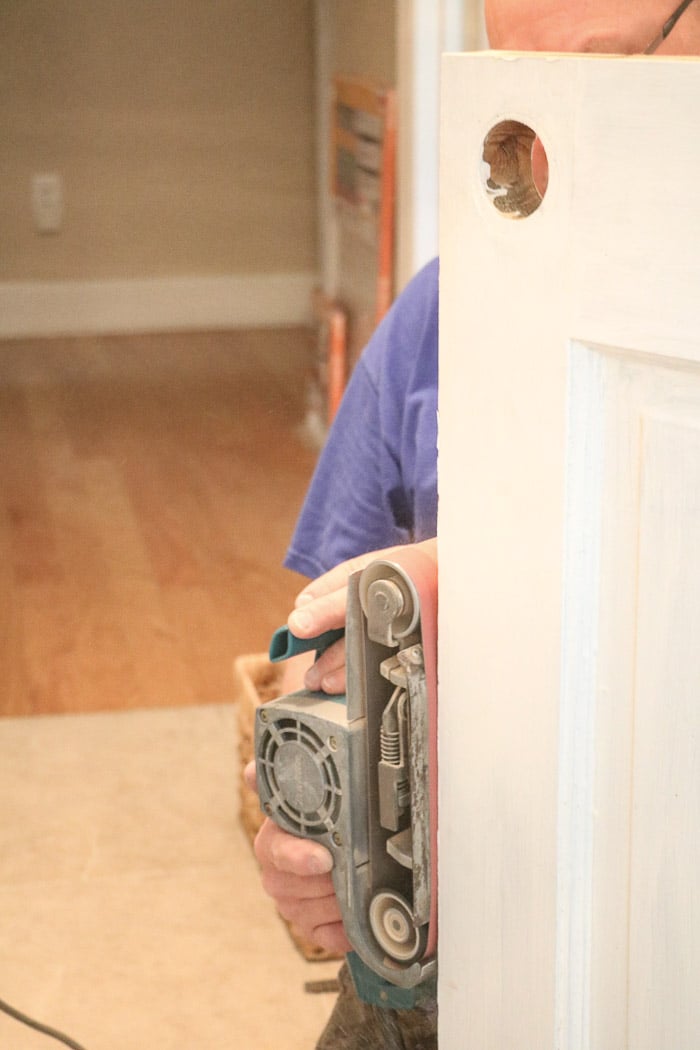
If the door is not fitting right sand down the side some more. Keeping working on this until it fits perfectly.

Now repeat the hinge installation on the top half. Because most doors have three hinges the top half of this door allowed us to use both hinge holes. All we had to do was adjust one of the hinge holes on the door frame.
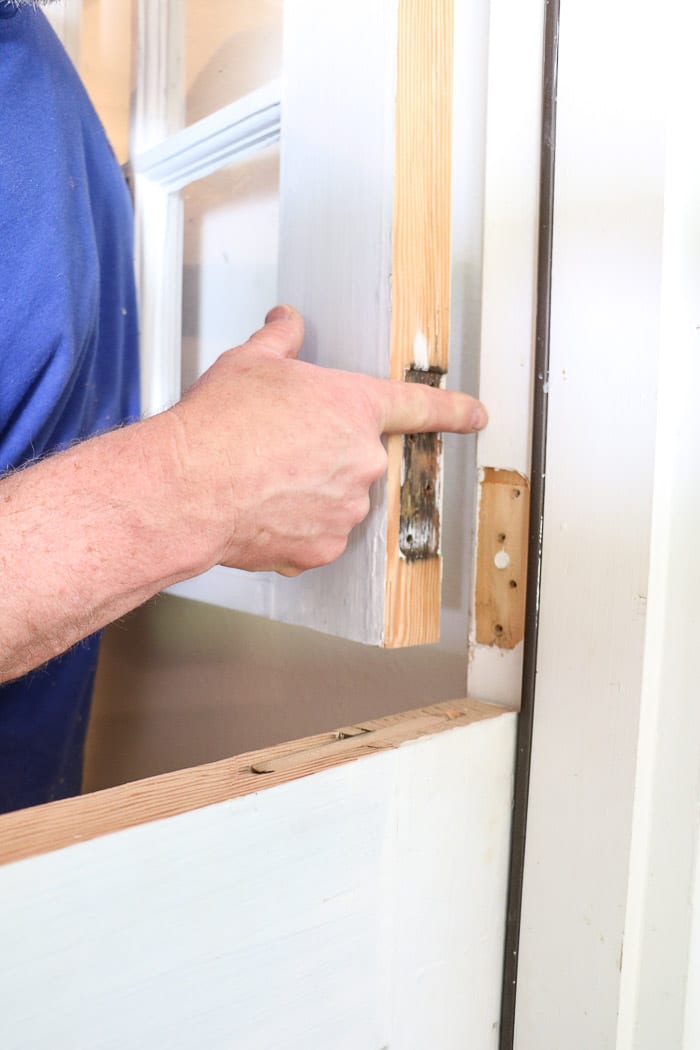
Look how far off the bottom hinge is on the top half of the Dutch door. But no worries because now we know how to install new hinges.
Also, do you notice there is a pretty good size gap between the top door and the bottom door? Well, this is going to be a Dutch door with shelf.
I have dreamed of a Dutch door since I was a little girl and my vision had a shelf. Why do I keep thinking of placing home-baked pies on this shelf? Maybe it was in a movie when I was young.
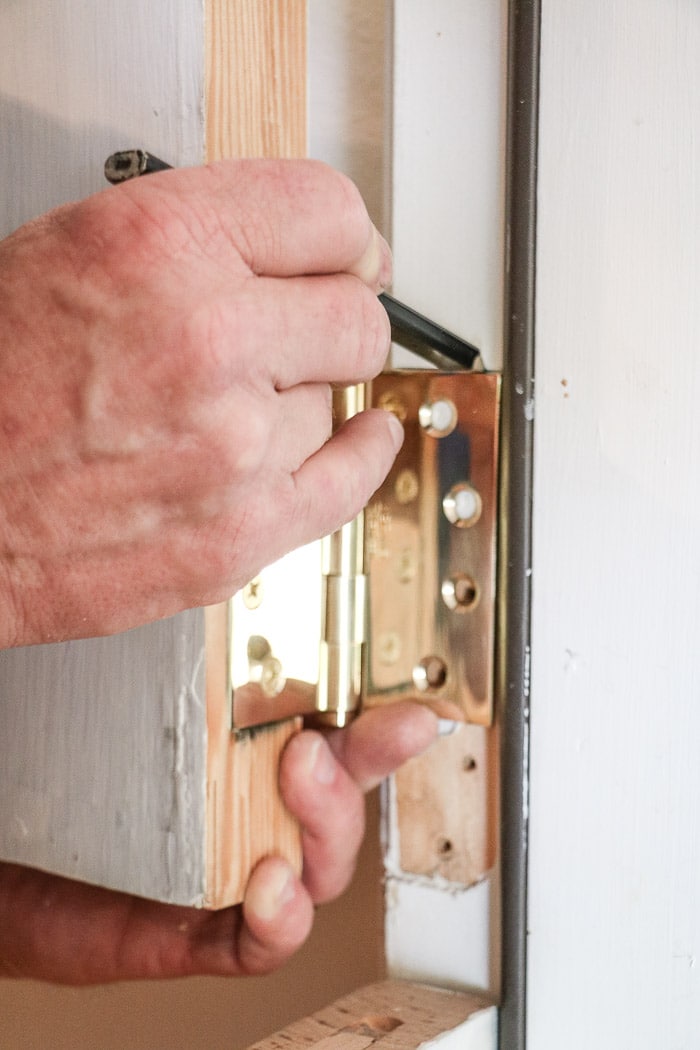
Okay so draw around that bottom hinge and repeat the process of chiseling out for the hinge to fit snugly.
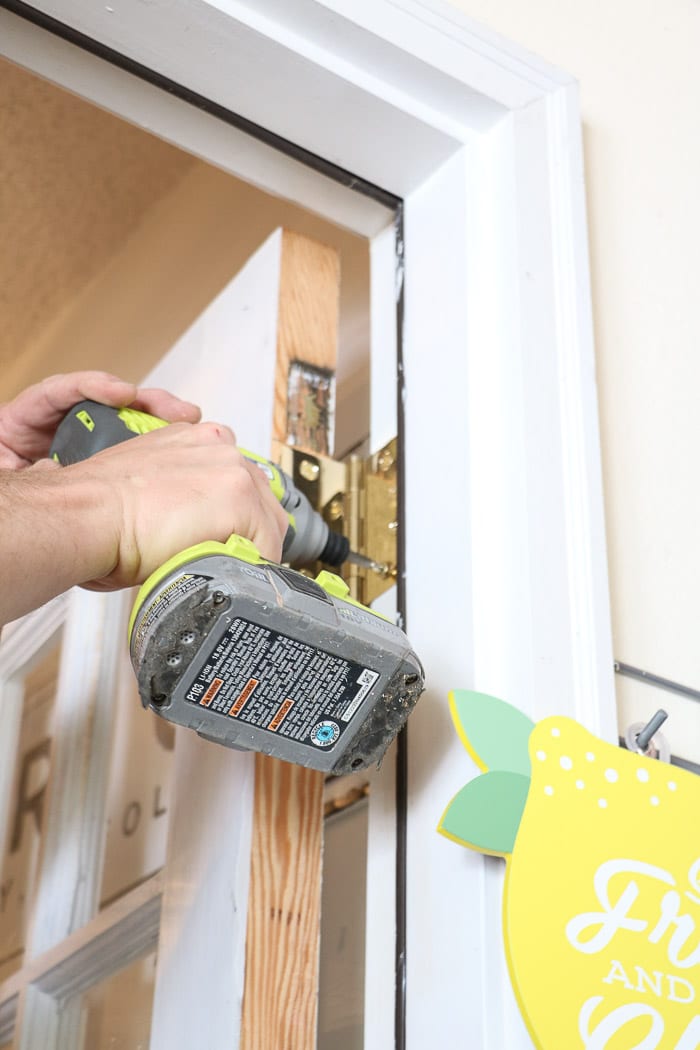
Screw in the hinges to the top door and you are finished with hinges. Between planing, sanding and hinges it seems like forever to get the door to fit just right. But the time-consuming part is over and now we are on to the final steps.
Dutch Door with Shelf
Let's talk about doing a dutch door with shelf beginning with measuring.
Now that you have your two doors set measure the height between the doors and the length. And let's start trimming down a 2 x 4 or 1 x 4 to fit.
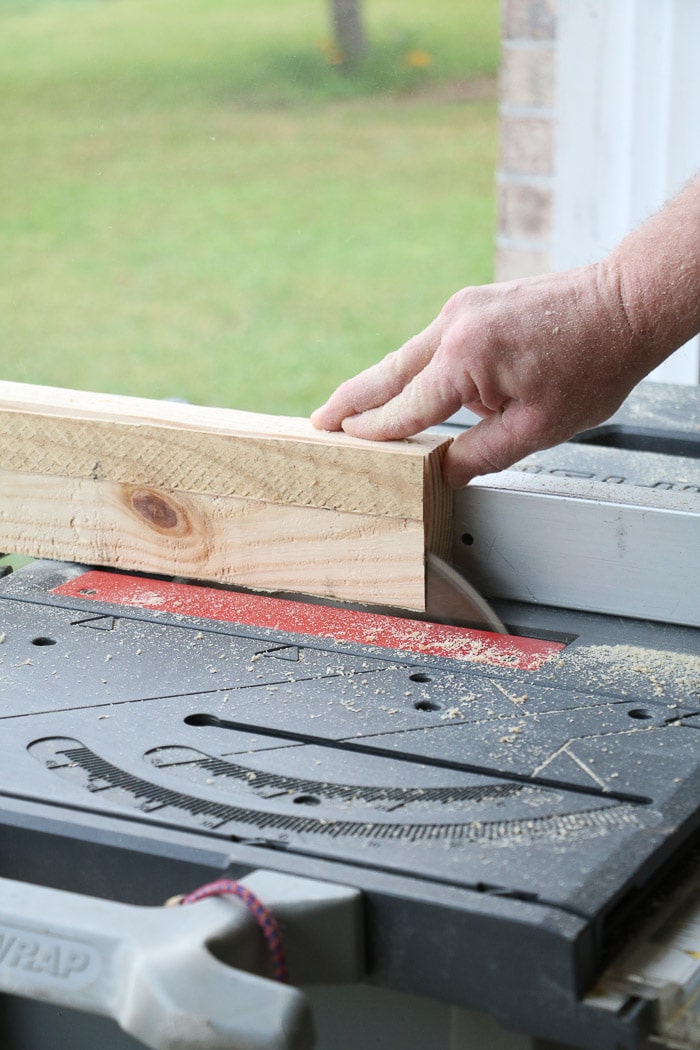
If you have a table saw this is a great time to use one. If your piece of wood only needs a little removed you may be able to do it with a planer or sander. But in my case, we needed a little more than a planer and sander could do.
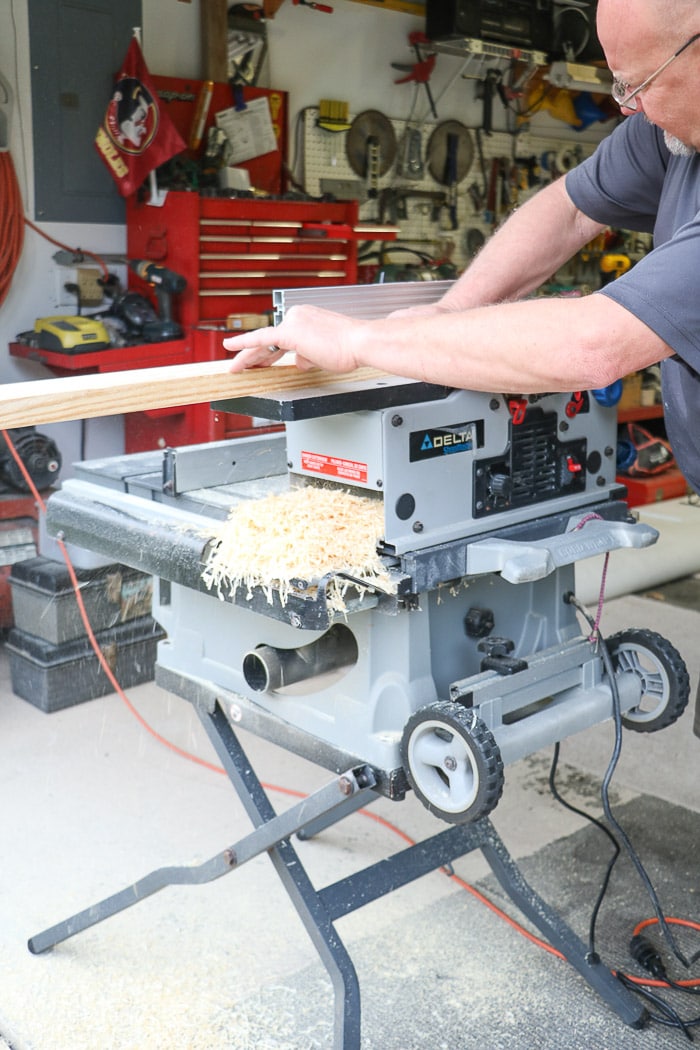
So we trimmed on to make it the right size and cut the end to match the width of the door.
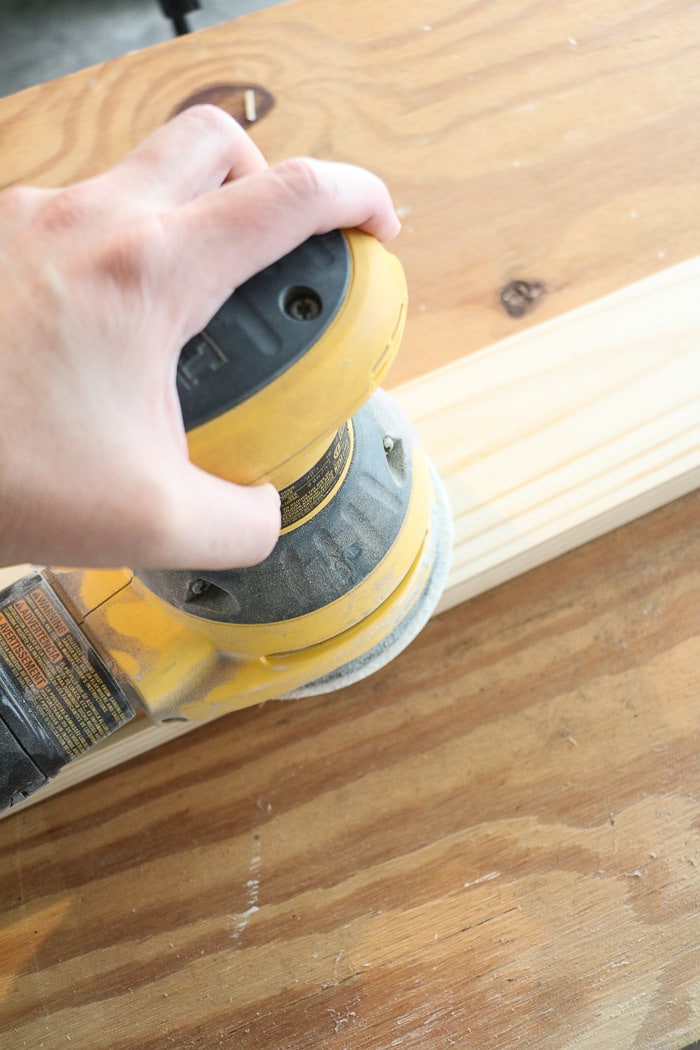
Next, it is time to do some more sanding. First I sanded to get it as smooth as possible. Then sanded one top edge to a nice rounded feeling and sanded down the corners to take the edge off. I kept the bottom edges square.
Follow sanding by wiping off any debris and prime and paint.
I used the Fusion mineral paint that matched the inside for the inside of the shelf. I used white on the outside.
Products from Amazon.com
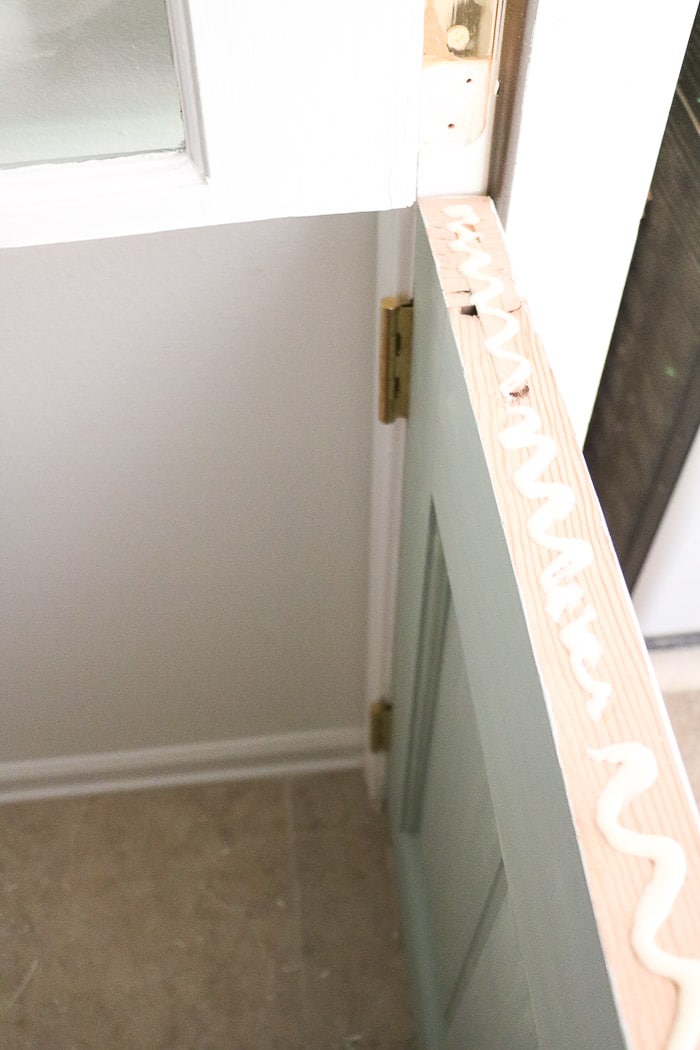
Next grab some wood glue and drizzle it on the top edge of the bottom door.
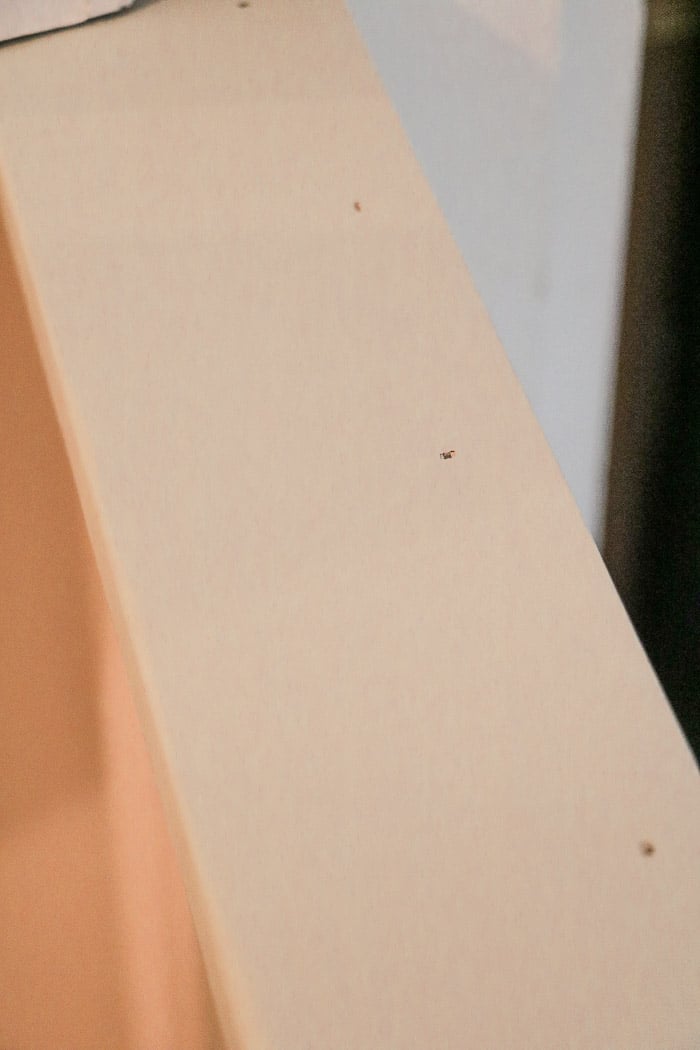
Then site the wood on top lining it up on the outside edge and shoot some finishing nails into the wood. You want the nails to go through into the door below.
Next spackle the holes and paint over the spackle once it drys.
Install the Dutch Door Hardware
Now it is time to add the Dutch door hardware. I chose a beautiful crystal knob by Emtek. I wanted something that reminded me of my grandmothers' old house back home.
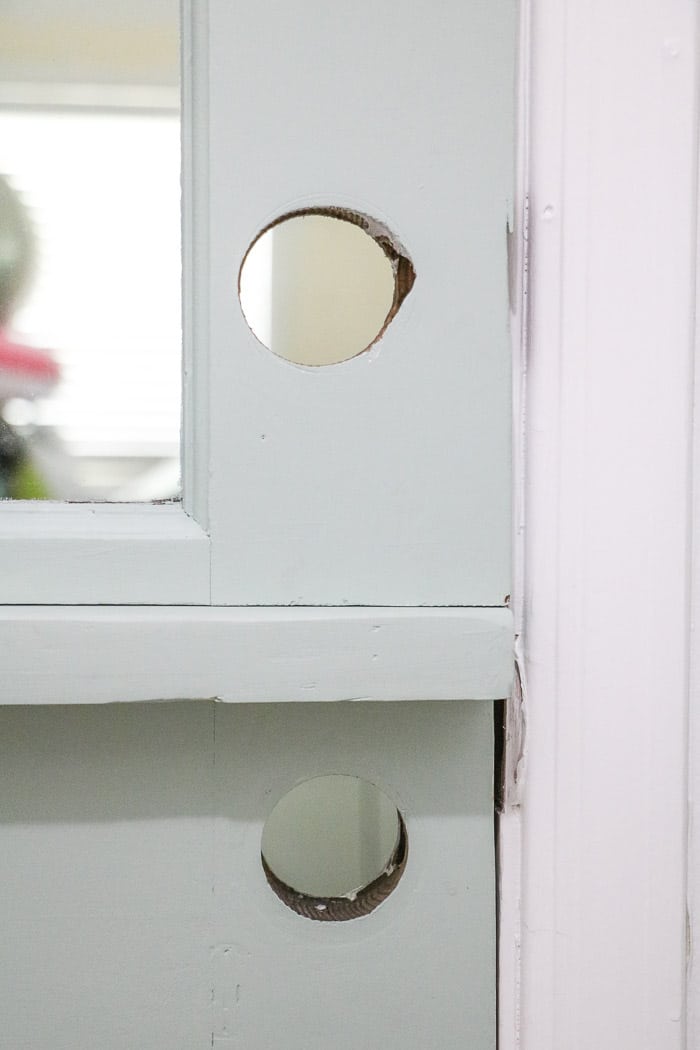
Normally you wouldn't go with a glass door knob as an exterior door but because my door is in the garage I felt it would be fine.
The knob is a Lowell crystal knob with a quincy brass rosette.
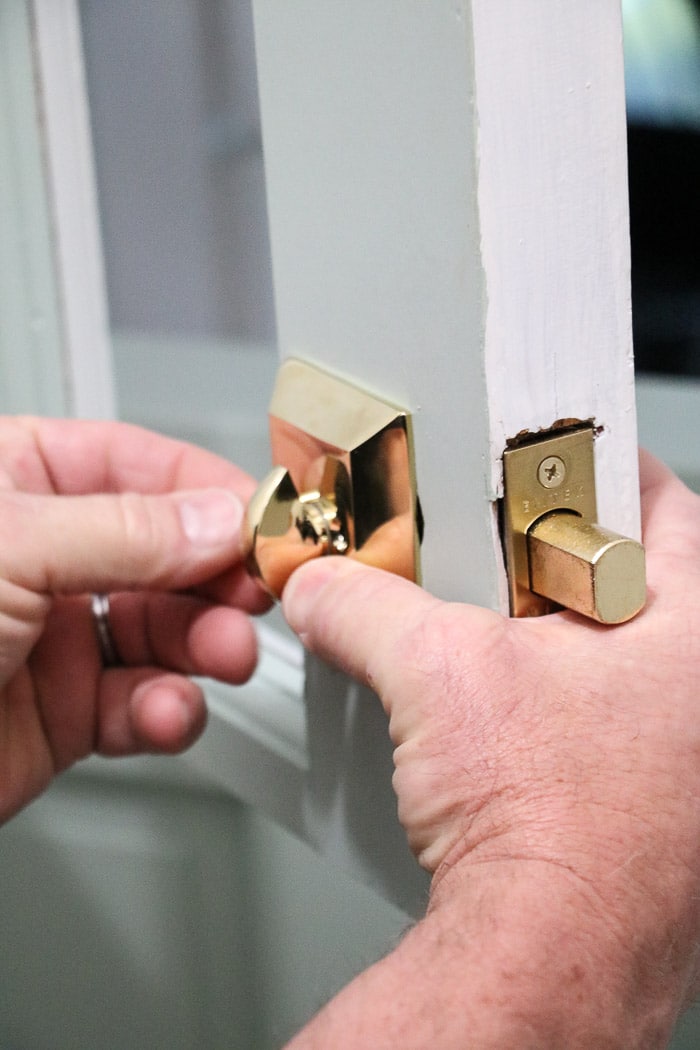
So we are going to brush through this step pretty quickly. For more information on how to install door hardware check out This Old House.
Start with your deadbolt and install it according to This Old House directions. Next, you will need to move the strike plate to line up with the new top door.
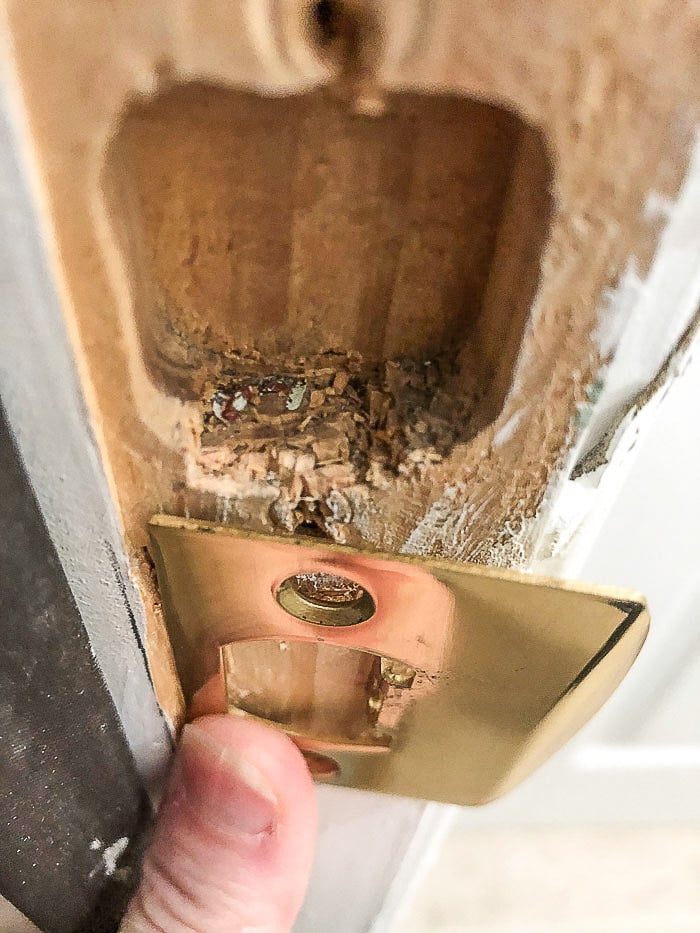
And some patching will need to take place also.
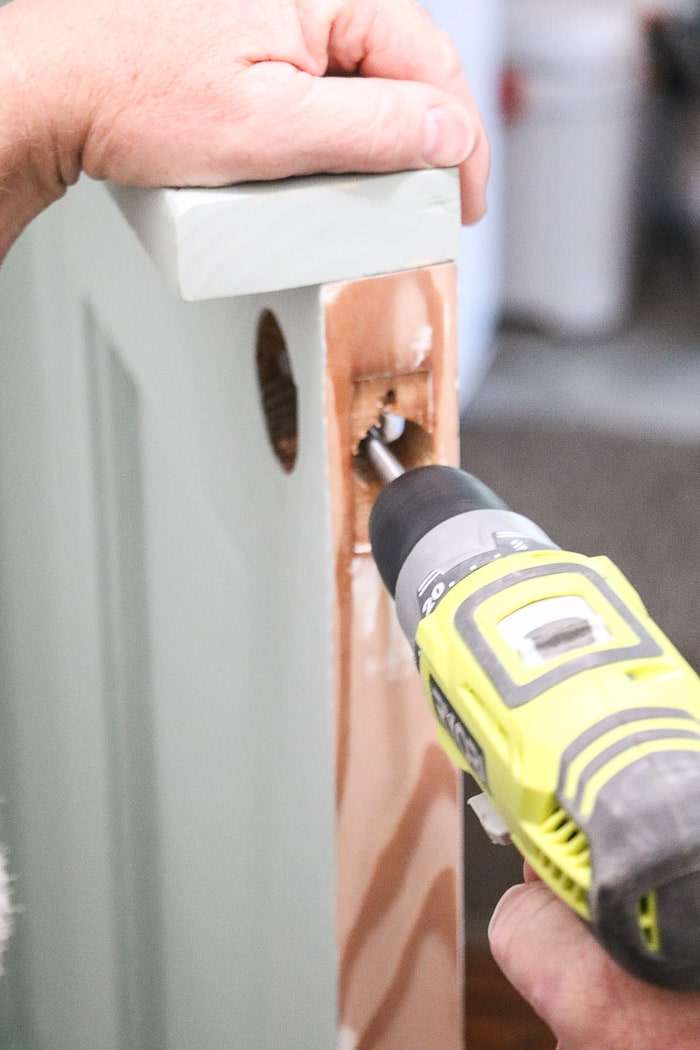
Next drill out the hole more if needed and install the door knob.
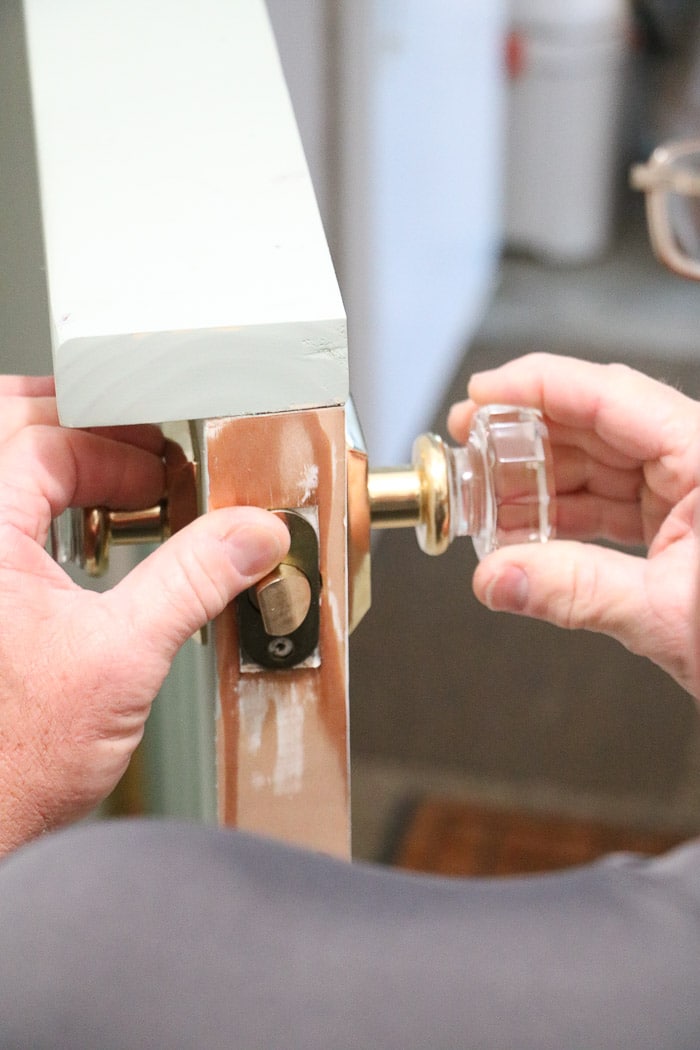
Then it is time to install the Dutch door lock. There are about three kinds of Dutch door locks. On this door, we went with a downward sliding lock in the same color brass as the doorknob.
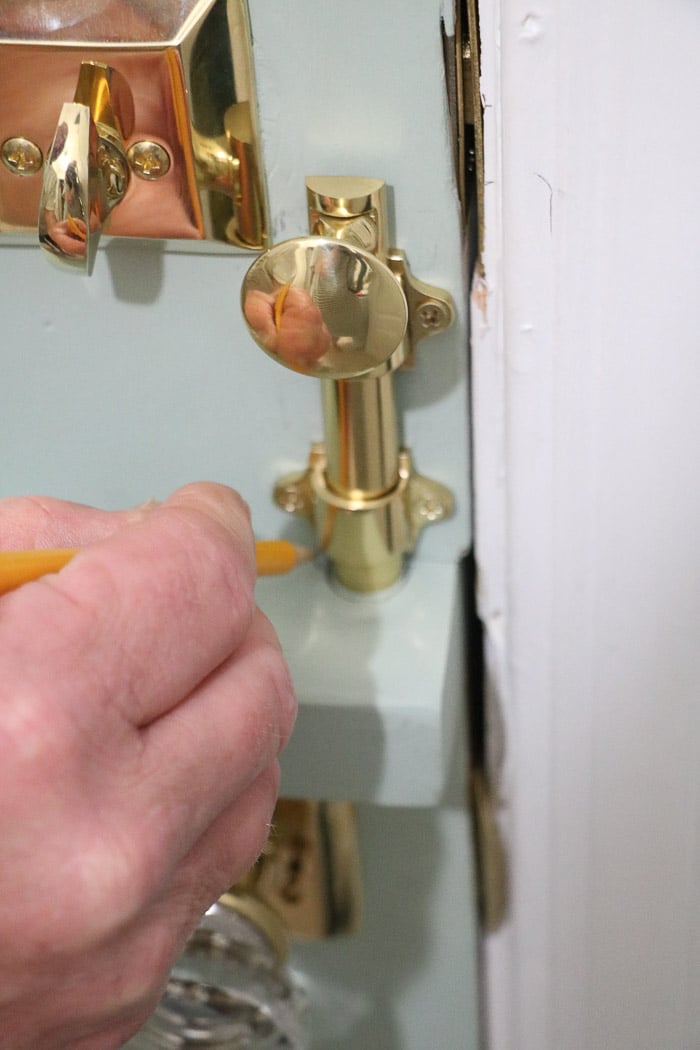
First, set the slider in place with the door shut and draw around it. Because we are working with an old door that already had doorknob hardware holes we will need to in-set the brass piece into the shelf.
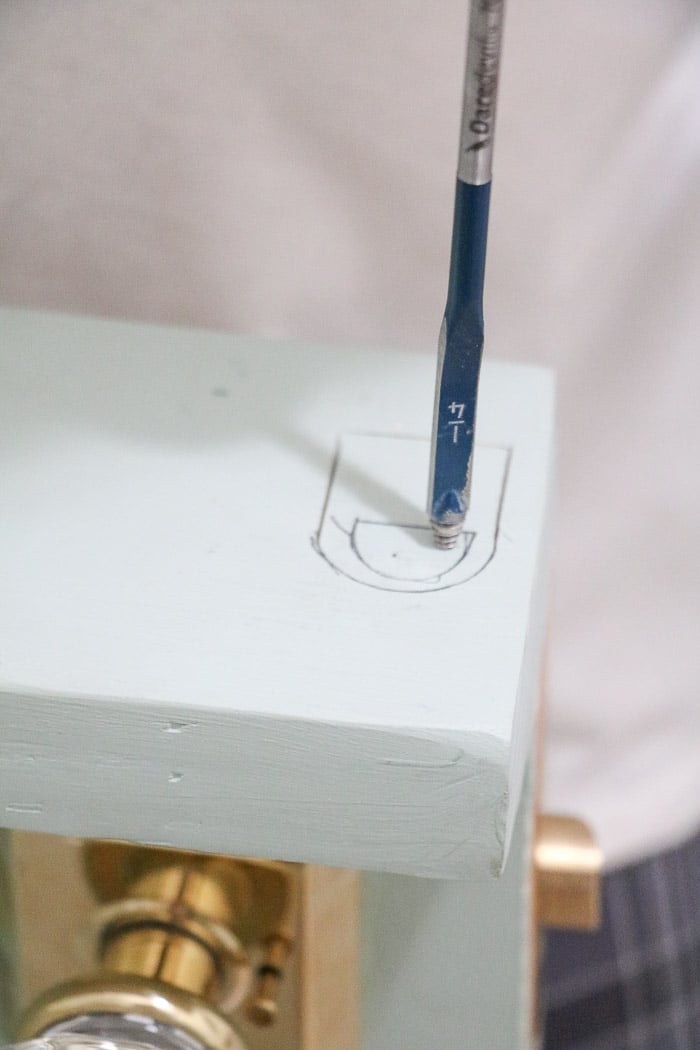
Now take a drill and carve out into the place where the brass piece will be inlayed.
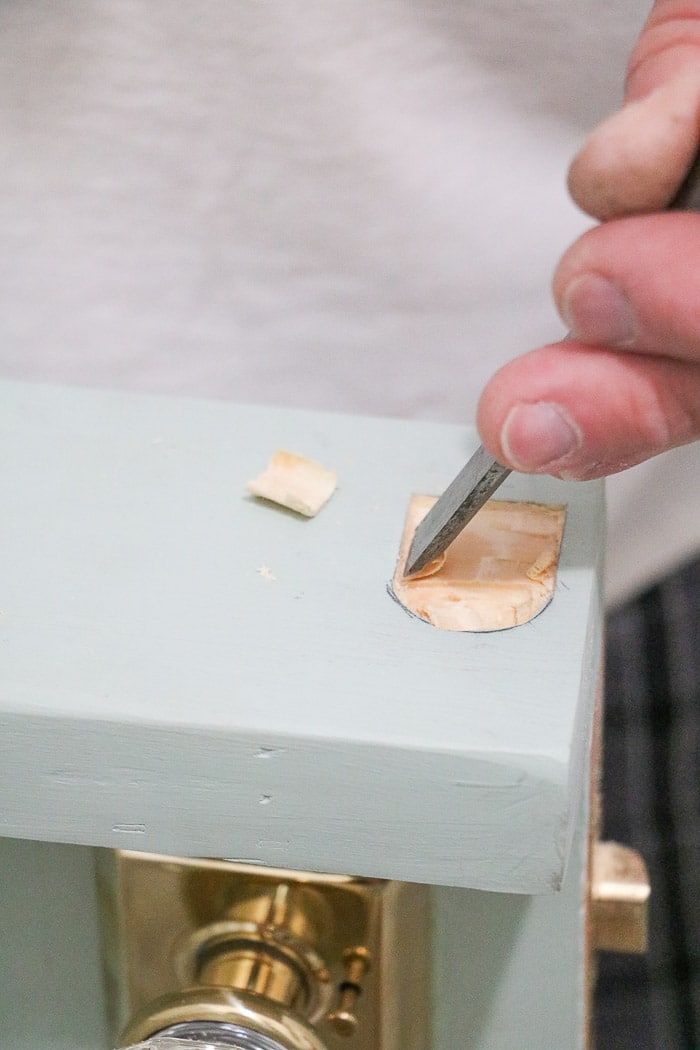
Use your chisel to get further down into the hole.
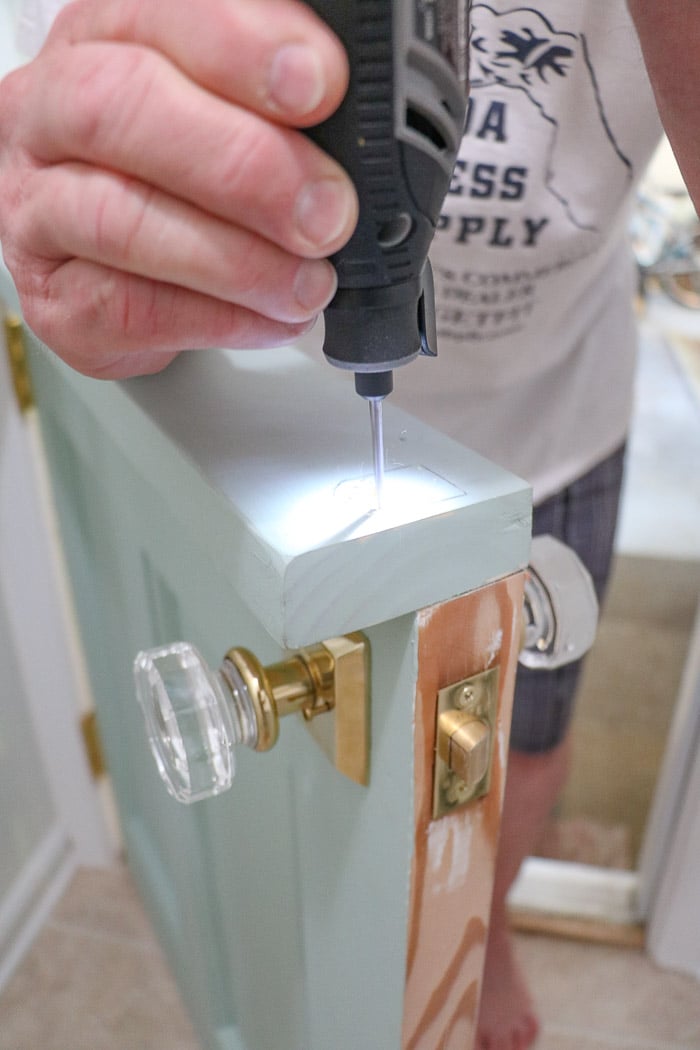
Follow by using a Dremel to carve out the hole even more. And last, set the piece down in the hole and screw it in.
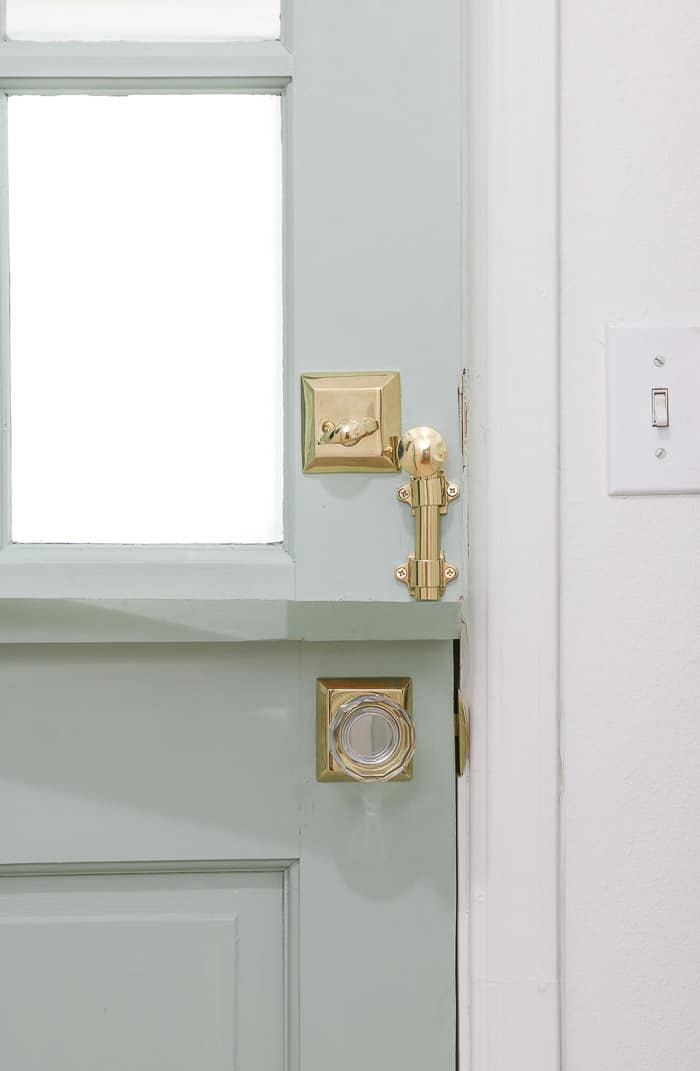
And there you have all the hardware set on the door.
Well, guess what? We are finished. This isn't a hard job but having certain tools will make it much easier. I would say it is somewhere around the middle to advanced level project.
To wrap up this project here is a checklist for when you make a dutch door.
Steps on How to Make a Dutch Door
- Measure door opening (only if purchasing a door)
- Purchase old, new or keep the existing door
- Clean, sand, prime and paint the door if needed
- Cut the door in half
- Plane down the edges to fit the bottom door
- Apply two hinges to the bottom door
- Plane down the edges to fit the top door
- Apply two hinges to the top door
- Trim down wood for shelf
- Sand, prime and paint the shelf
- Glue shelf onto the bottom door
- Nail shelf into the bottom door
- Fill holes and paint the shelf
- Install door hardware
Conclusion
I am so glad you came to join us here to learn how to make a dutch door. This project was so fun! I love being able to open the top without worrying about Eugene our rabbit getting out.
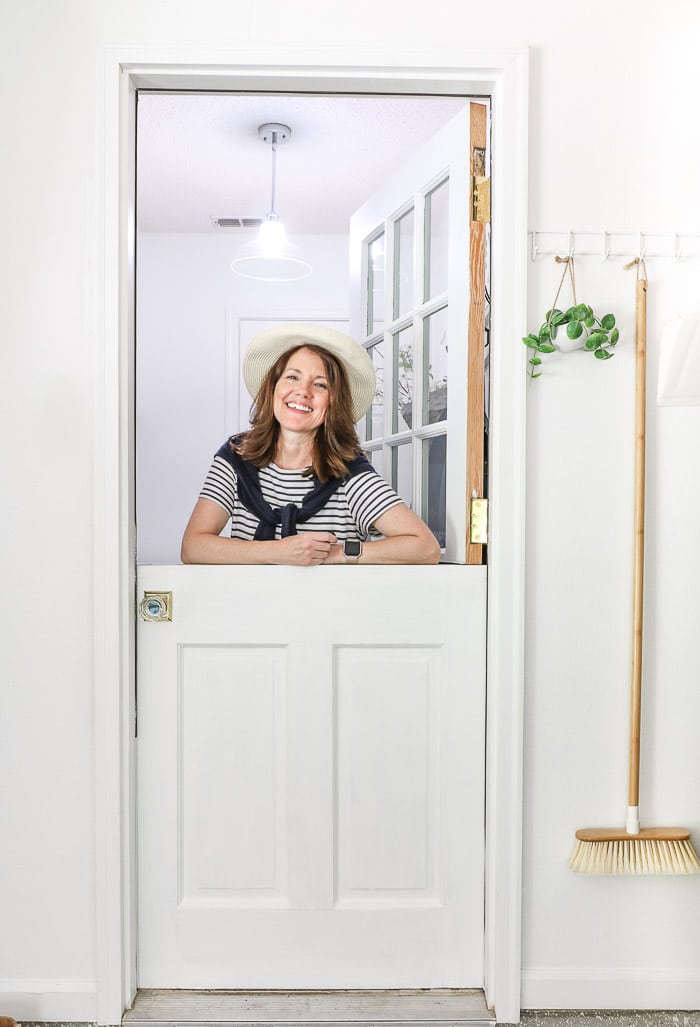
Let's talk a minute about places you can install a Dutch door. They are great for the exterior but they can be functional and adorable on the interior too.
Many people use them to keep children and dogs out of certain rooms of their home. And some people only install half a door. If you want to know how to make a half door follow the first part of this tutorial and only do the bottom door.
If you are not a Dutch door kind of person and want some other front door, ideas check out my modern front doors post. There are some amazing ideas in this post.
So now that you know how to create a Dutch door for less where are you thinking about adding some character to your exterior?
Happy Decorating!

If you enjoyed these ideas, please sign up for emails, so you don’t miss out on more fun decorating tips and ideas HERE.

Kristi
Thursday 14th of April 2022
What was the inside paint coke?
Linda McDonald
Thursday 14th of April 2022
The inside color of the dutch door is Fusion Mineral Paint color Inglenook.
Allen Lance
Wednesday 6th of October 2021
One thing i dont understand. You have a shelf between the top & bottom door, however there was no gap. How does the shelf fit if the gap between the top & bottom door is so tight.....the top door wont close if there is now a shelf? Please explain? Did you cut some off the bottom of the door (near the floor) to compensate the size of the shelf? Thanks
Linda McDonald
Wednesday 6th of October 2021
This is a good question and thanks for bringing it to my attention that it is not in the post. I will go and update that part. We think we took some off the bottom door at the top just above the doorknob hole but not much because the door was shorter than the height of our door opening. However, you could easily remove some from the bottom of the lower door too if you don't have the room between the glass and the doorknob.
Susan Targett
Wednesday 16th of June 2021
Wish I could send a pic of the gate my husband made to keep our two young dogs out of the living/dining room. I bought a wooden shelving unit and my husband concocted a swing out gate almost like a saloon would have. To lock it, he carved out the width of the gate on another piece of wood that he sanded down to a curved top. Four hinges and the dogs don't even bother to try to get in!!!
Linda McDonald
Thursday 17th of June 2021
That sounds so cute! I can just imagine it from your description. Thank you for sharing.
John Adam
Monday 25th of January 2021
Very very thanks For the Quality of information.
Linda McDonald
Tuesday 26th of January 2021
You're welcome!
FARMHOUSE PAINT COLORS AT LIFE ON SUMMERHILL
Monday 9th of November 2020
[…] to take an old door and transform it into a dutch door then check out my DIY exterior dutch door […]