Today I am going to show you how to create art with these free watercolor botanical prints. These watercolor botanical prints are a timeless way to decorate your home, and with this easy project, you will add style and character to your space in no time.
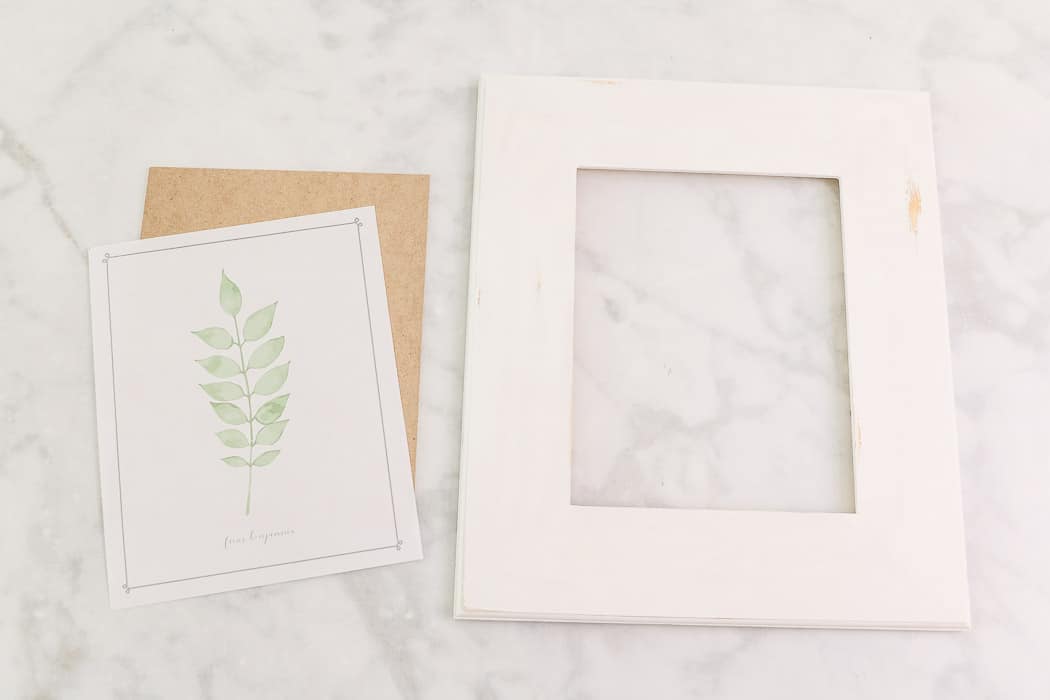
I love watercolor paintings and botanical studies. There is something peaceful about plants which makes these free watercolor botanical prints so unique.
With three sets of free watercolor illustration prints, you can use them on a botanical pattern wall gallery like our gallery round-up we featured last year, free-standing on a bookcase like these bookcase makeover ideas, or just a free image for a single framed piece of art on the wall. It's a budget-friendly way to bring color into your home with gorgeous free printables.
But I plan to use them on my back porch so this DIY will show you an easy way to frame these beautiful watercolor illustrations and hang them on your porch.
This post contains affiliate links, which means I receive a commission if you make a purchase using the links below. All opinions are all my own.
Free Watercolor Botanical Prints
To begin your project, you will need to print the free watercolor botanical prints on cardstock.
To download the free watercolor botanical prints to frame simply subscribe to my email, and you will receive access to the free printable library. Not only will you have access to these free botanical prints but you will find many more printables that are free to download to decorate your home from my digital archive. I love the watercolor style of these botanical images with beautiful green leaves on a simple white background. They remind me of vintage illustrations.
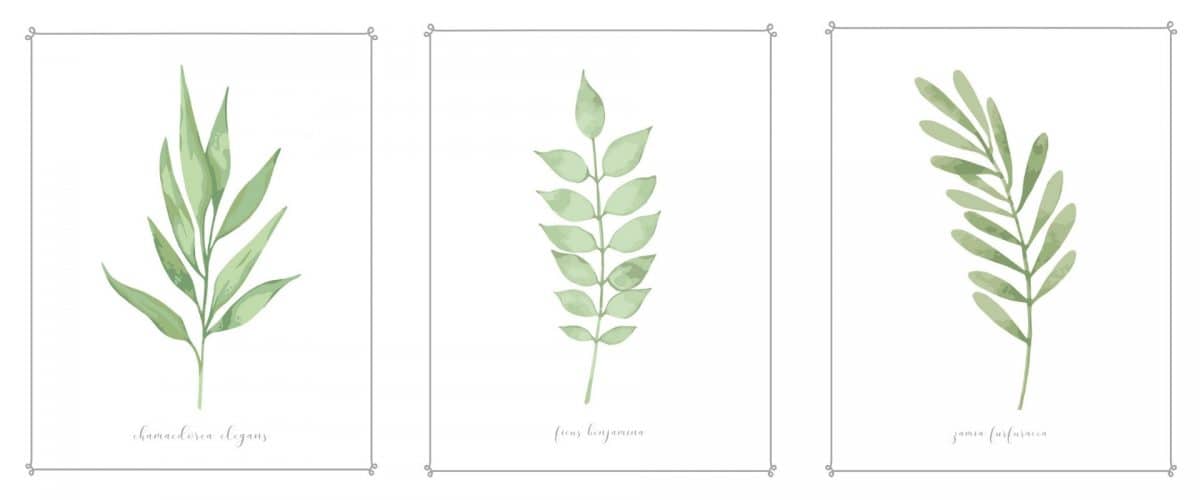
Get your free download of these watercolor botanical illustrations and let's gather more supplies to begin this framing project.
Supplies
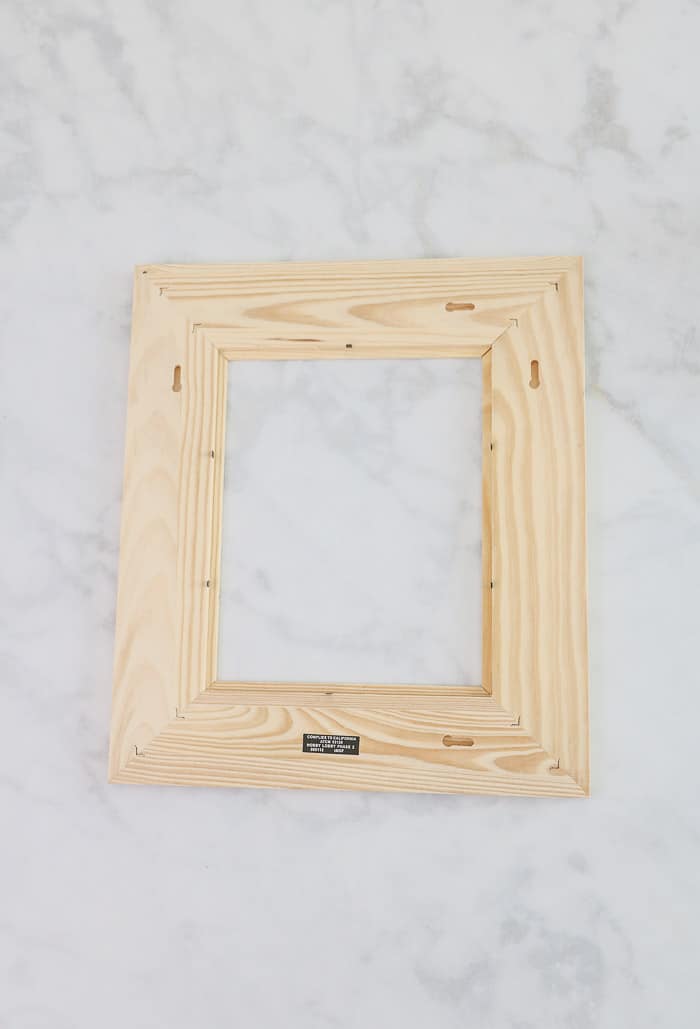
- Unfinished frame
- Outdoor mod podge or decoupage
- Fusion mineral paint color casement
- Small paint brush
- Sanding block
- Damp paper towel
- Vaseline
Okay, we have our supplies let's get started.
Remove the Interior
First, remove the interior pieces like the backing and glass if you have glass.
Sand the Wood
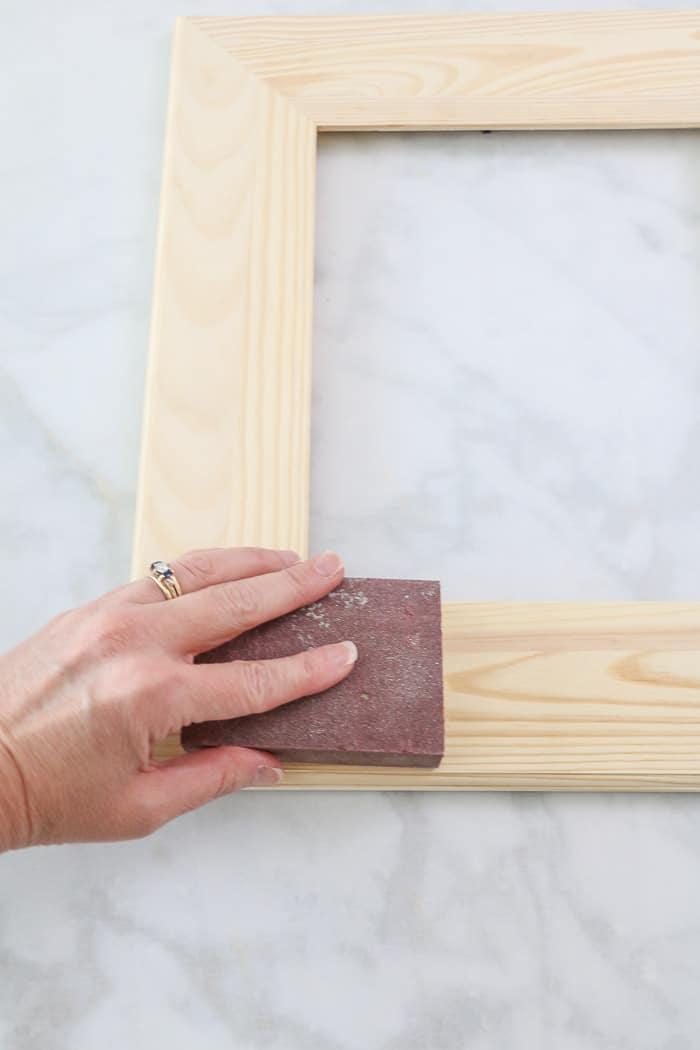
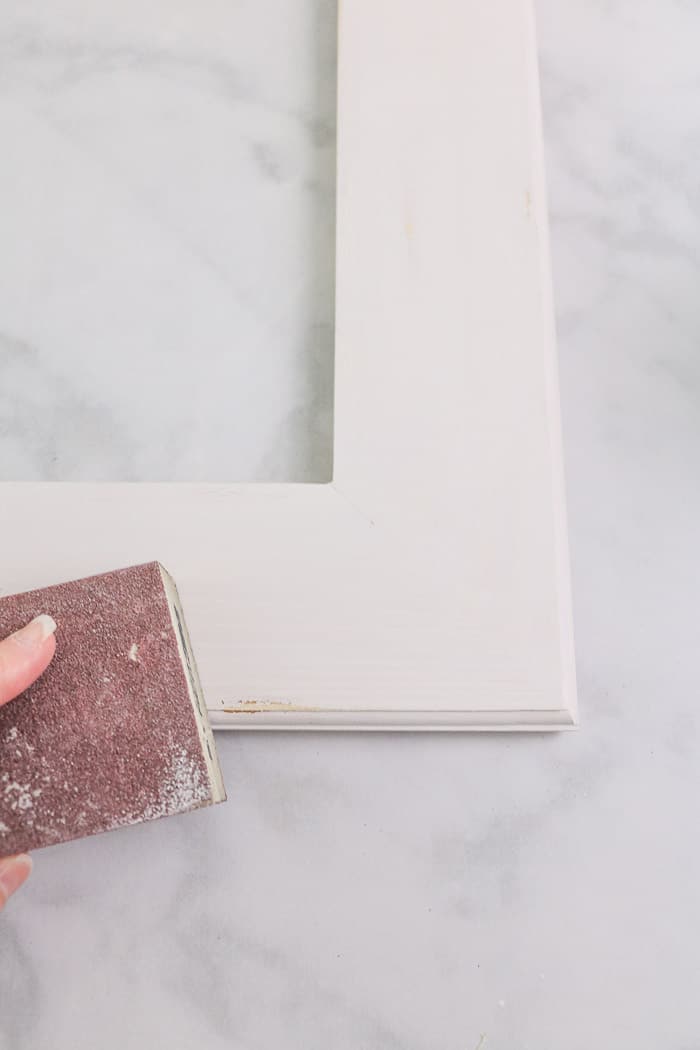
Now sand the wood with the sanding block.
This sanding block is a medium grit block, but a light grit will work too.
Remove Grit from Sanding
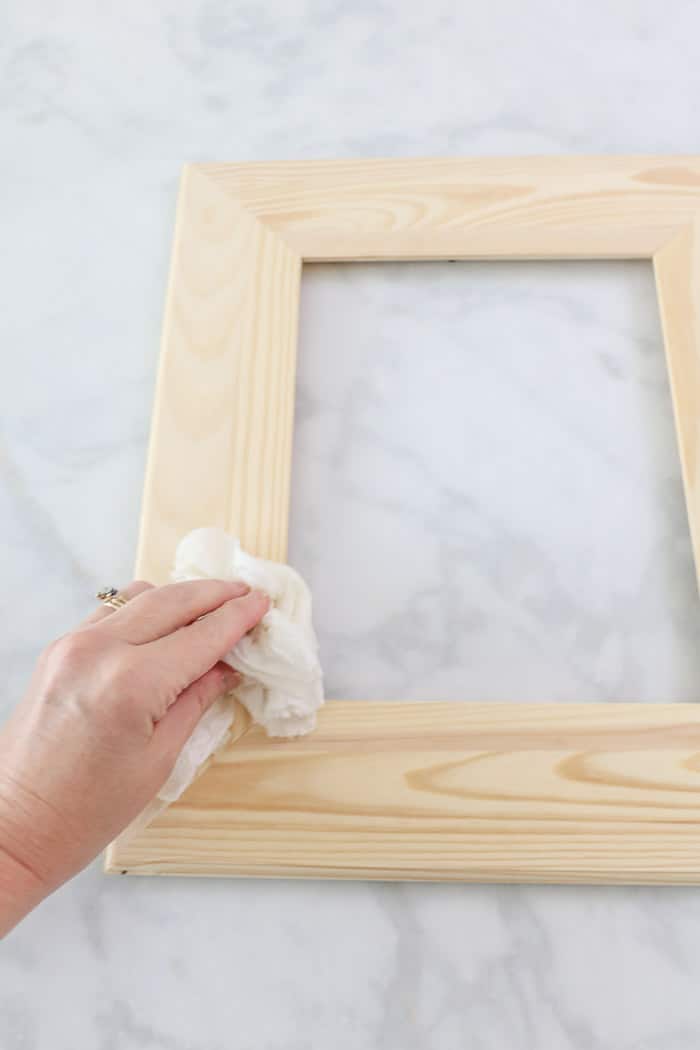
Next, take a damp paper towel and wipe away any grit from sanding.
Be sure that you barely put water on the paper towel. My paper towel is more dry than wet.
Apply Vaseline
Now apply some Vaseline in areas where you do not want the paint to bond. This is one of my favorite hacks.
Be very sparing with applying. It is a great way to keep paint from bonding and it does not take much.
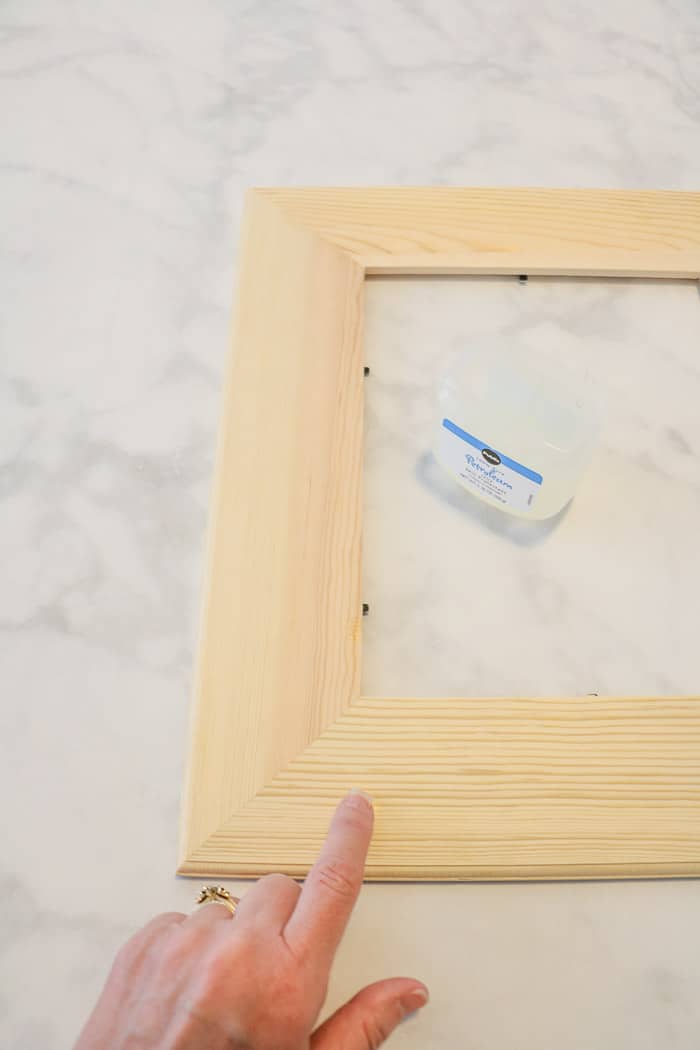
I used a tiny, tiny bit on my finger and gently applied it to the areas where I didn't want the paint to bond.
I wanted a lightly distressed look, so I only did a few places here and there.
Paint with Fusion Mineral Paint
Now, for the fun part and that is applying the Fusion mineral paint to the frame.
I recommend following the grain when applying the paint. Move in long even strokes, being sure to have enough time to start and finish your first coat.
Fusion mineral paint dries quickly, so it is essential to be able to apply the first coat all at once with no breaks in between.
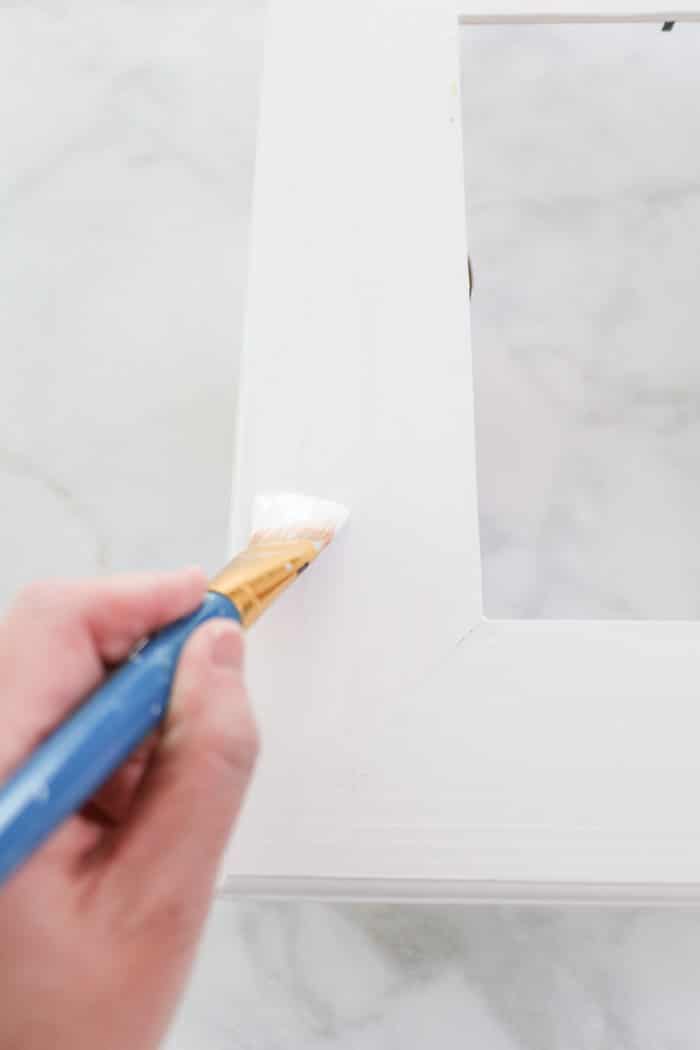
You will notice as you glide the brush over the Vaseline that the paint beads right off. That is a good thing on the first coat.
Apply Second Coat of Paint
Remember me saying it does not take long for the paint to dry?
Well, after about 30 minutes, apply the second coat of paint. This time be more generous with the color if you want to cover some of the Vaseline marks.
I found that I liked the look more if I applied more paint to those distressed areas, but it is a personal preference.
Sanding and Distressing
Good news, we are almost finished with this project and bringing a watercolor botanical garden into your home.
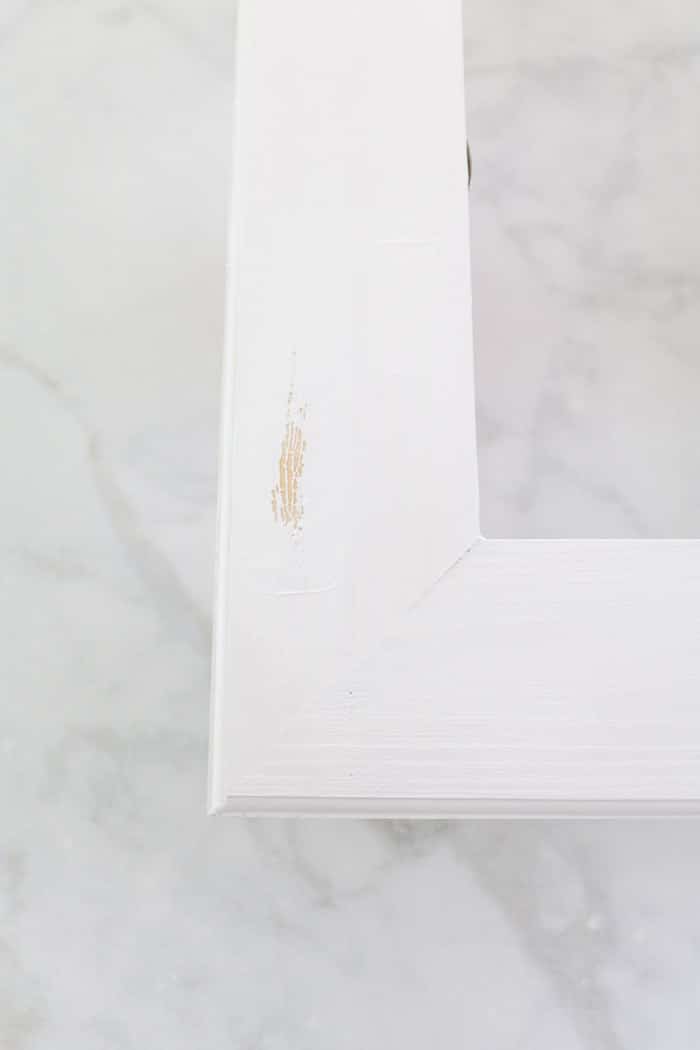
Lightly sand the paint to get a more smooth finish and then use the sanding block to hone away paint on the edges, corners and more.
Sanding random areas and over the Vaseline areas will allow it to have more of a distressed look.
Again, it is a personal preference on how much distress you want. I did a little here and there as you will see in the final photo.
Mark and Score the Botanical Free Printable
Next, set the free botanicals printable on top of the backing for the interior of the frame. Once you have it centered, make score the edges so you can see where to cut the botanical printable.
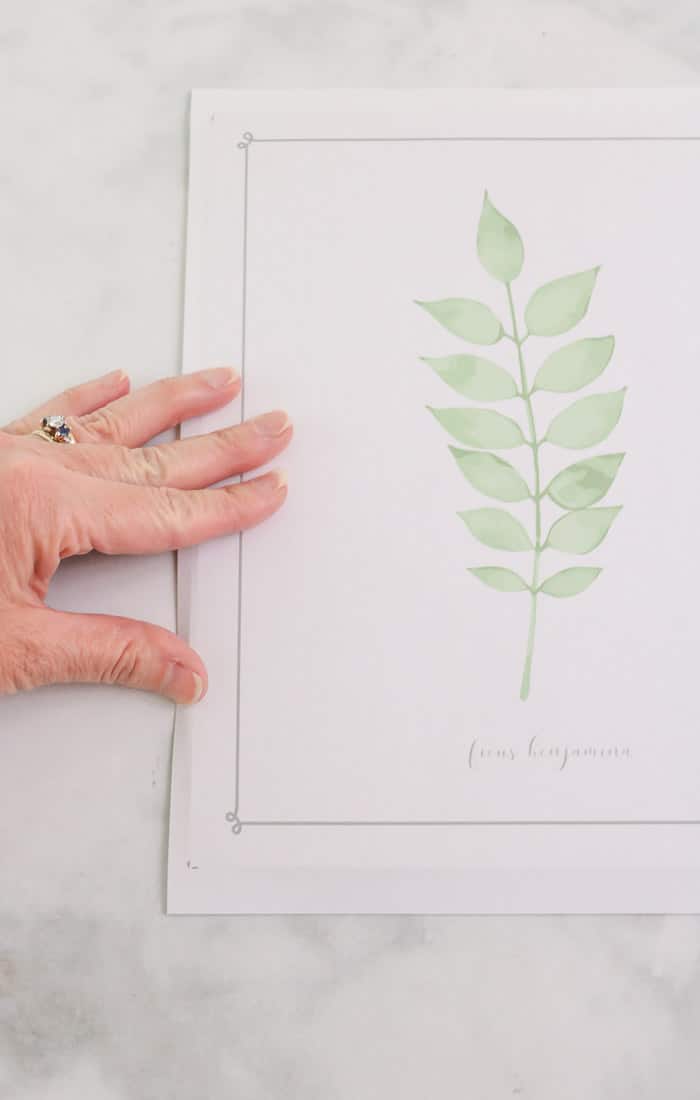
Then mark the corners, which will make it easier when you cut it on a cutting board.
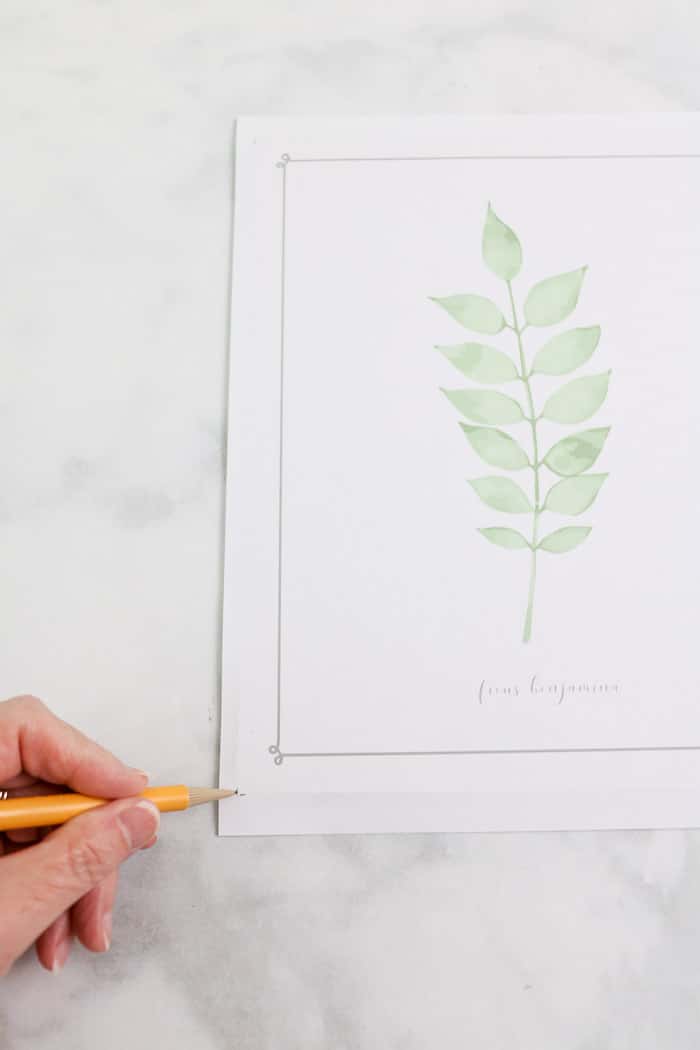
Now take the printable to a cutting board, or you can use a ruler to pencil in the lines and cut with scissors.
Decoupage
Next, use outdoor decoupage and brush it on the centerpiece. The piece that sits behind the photo when you place it back into the frame.
Then, use the outdoor decoupage on the back side of the free printable. Place the two together and use a squeegee or credit card to remove any bubbles and excess decoupage.
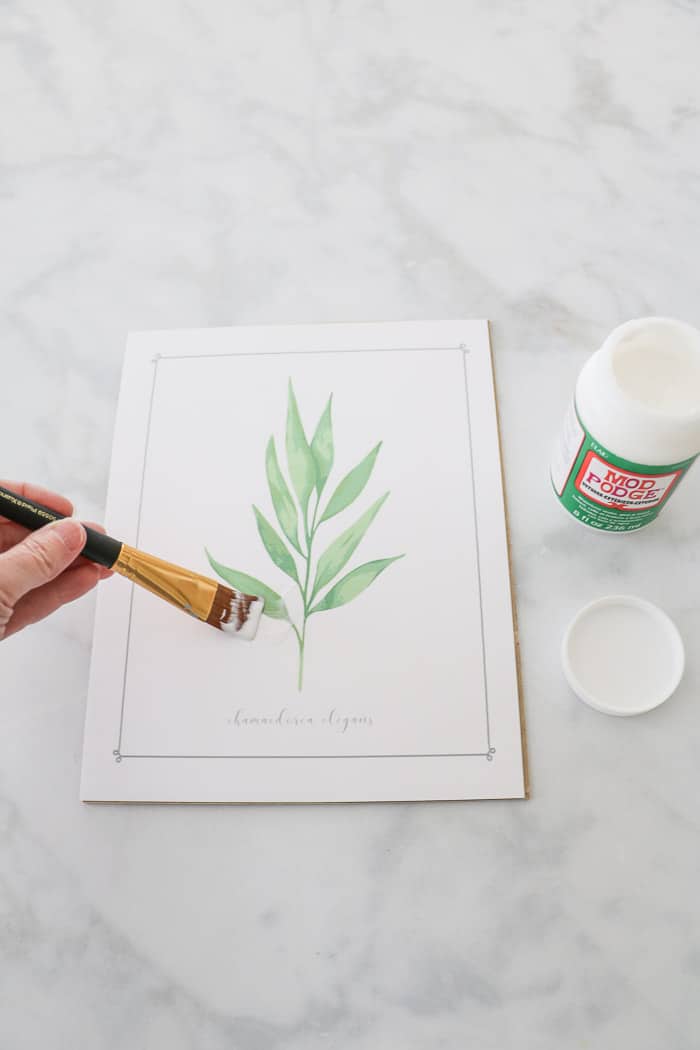
Once you have the botanical printable adhered to the back of the frame centerpiece, go ahead and apply more decoupage to the top of the printable.
Use crisscross and circular motions to give the piece an artist look.
Place Botanical Free Printable Inside Frame
Look at the back for any hanging hooks or holes. Make sure they are at the top, and the printable is sitting in the right direction.
Next, drop the free printable that has been decoupaged to the backing into the center of the frame.
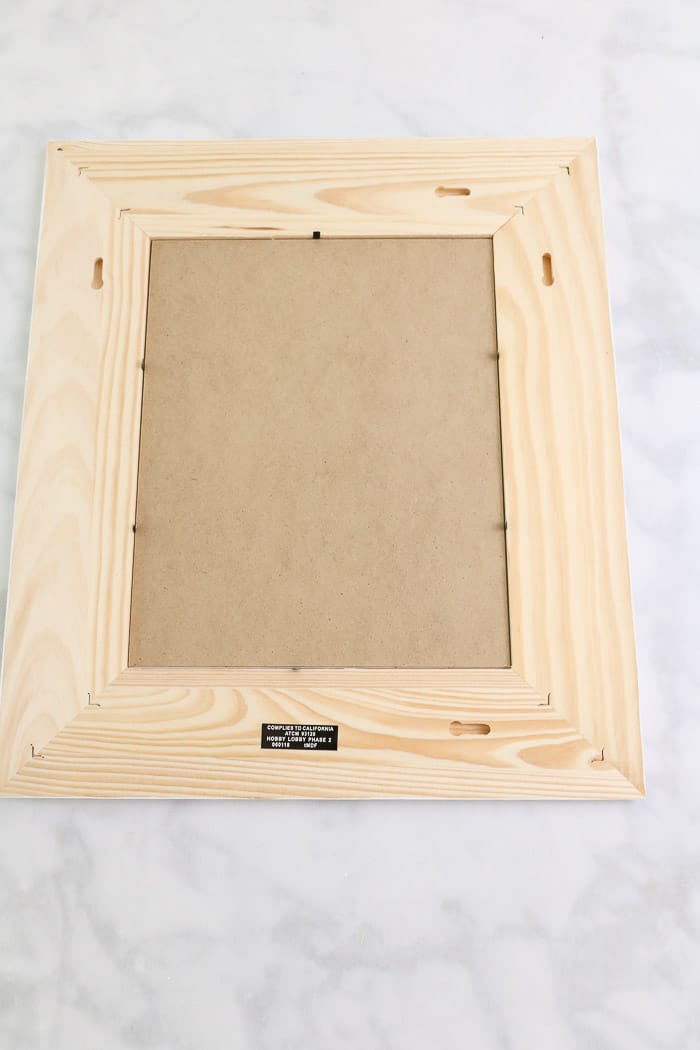
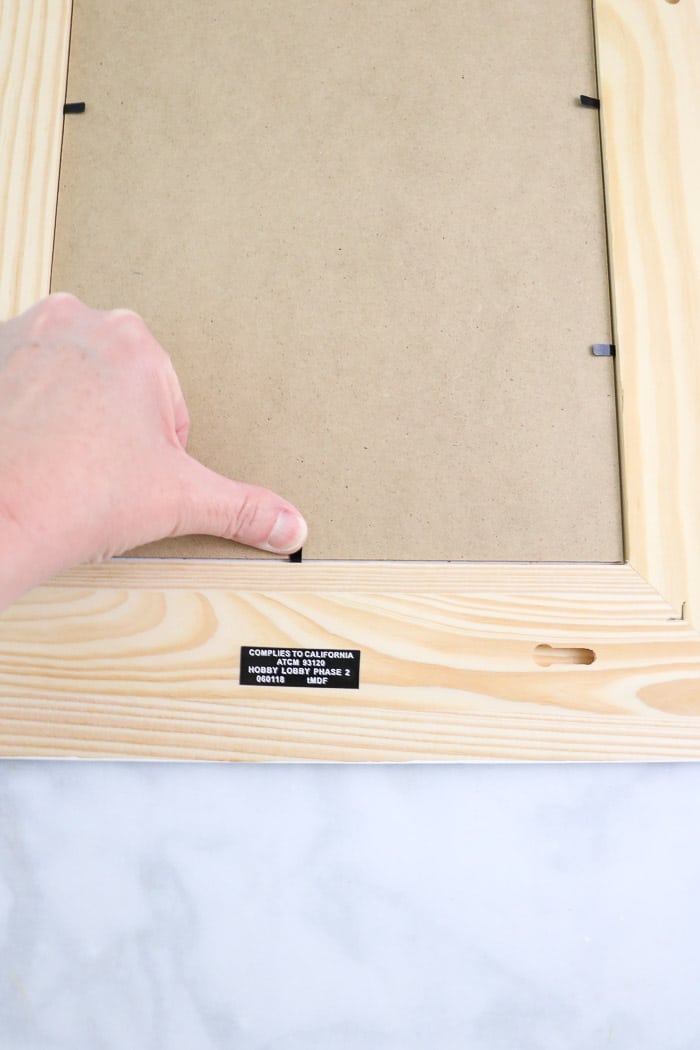
Press Down the Hooks on the Back
Press down the hooks on the back. If your frame has other ways of holding the art inside follow those directions.
Farmhouse Style Framed Watercolor Botanical Art
Yay! Now you have an original farmhouse style framed watercolor botanical art.
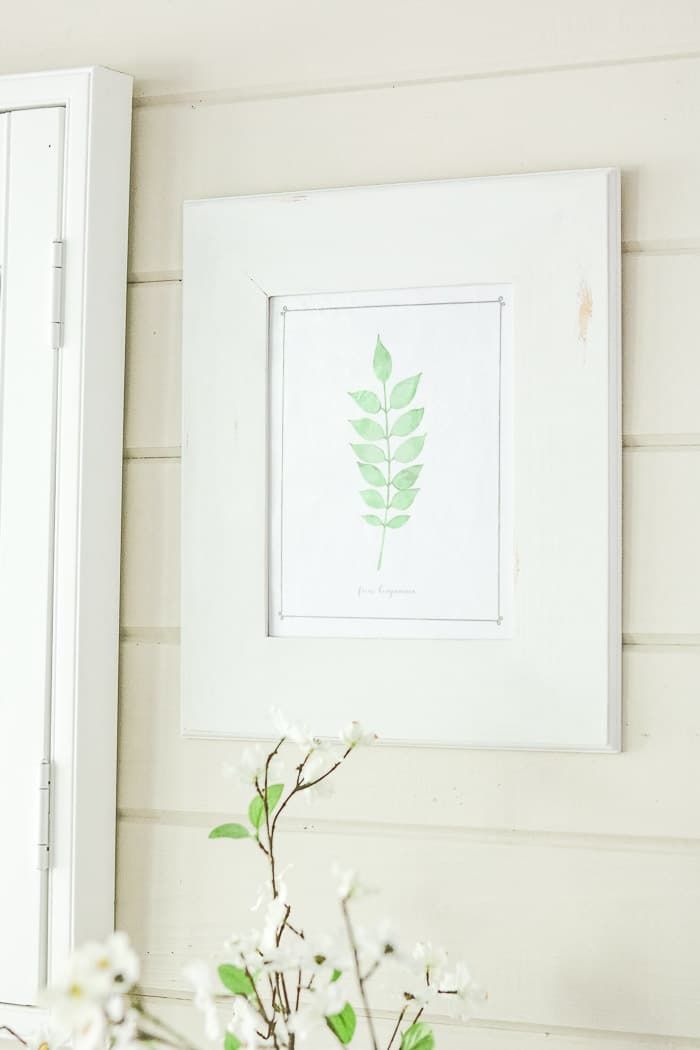
You can use this printable to decorate your home with a gallery wall of botanical prints, make cards or more. The options are endless!
Conclusion
Remember me talking about using it on my back porch? Well, I am trying something new this year and bringing more plants to my back porch.
Keep your fingers crossed that I can keep the plants alive. Maybe this is why I created these watercolor botanical printables. These botanical leaves don't need watering, sunshine or anything and they will never die. LOL! A watercolor splash is just what the doctor ordered!
I hope this post has given you some ideas about free printable wall art for your next project.
If you use the printable, please come and comment on how you used them. I would love to see what fun ways you decorated your home with these free watercolor botanical prints or any of my free printable art. Check out this post for even more ideas for decorating with free printable home decor.
Happy Decorating!

If you enjoyed these ideas, please sign up for emails, so you don’t miss out on more fun decorating tips and ideas HERE.

A WEDDING INVITATION KEEPSAKE IDEA FOR YOUR HOME DECOR | LIFE ON SUMMERHILL
Monday 21st of June 2021
[…] Decoupage your invitation in a larger frame. […]
DIY PRINTABLE IDEAS TO FRAME FOR HOME DECOR
Tuesday 4th of May 2021
[…] are the directions on how to make this indoor/outdoor botanical free downloadable art prints project. It is very easy and you can hang it outside on your […]
EASY DIY WALL HANGING USING BEAUTIFUL FREE PRINTABLE WALL ART
Wednesday 19th of February 2020
[…] have some other ideas using free printable art. Check out this botanical art prints project using beautiful distressed white frames, pumpkin DIY wall hanging, or this adorable patriotic […]
HOW TO HANG A GALLERY WALL THE EASY WAY | LIFE ON SUMMERHILL
Saturday 31st of August 2019
[…] grab the piece that is lowest from one side. My lowest piece was one of the botanical free printables from my free printable library. I have a whole post on how I framed this if you want one […]
6 Easy Steps on How to Decorate a Bookcase | LIFE ON SUMMERHILL
Saturday 4th of May 2019
[…] simply sign up for emails to get access to the free printable library or go check out this farmhouse framed botanical print […]