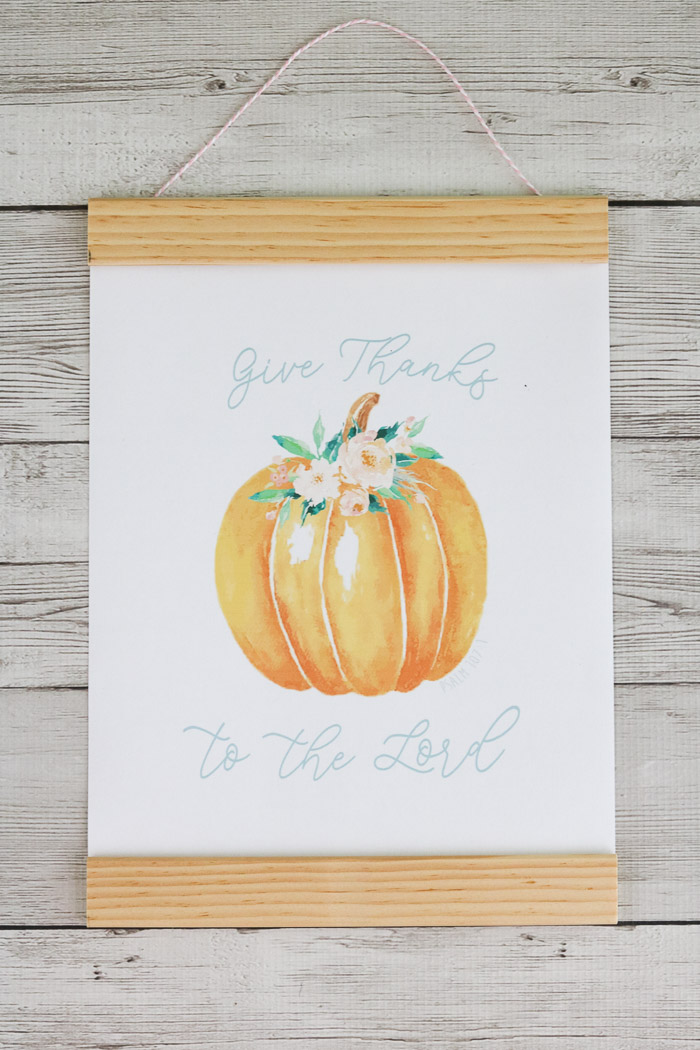
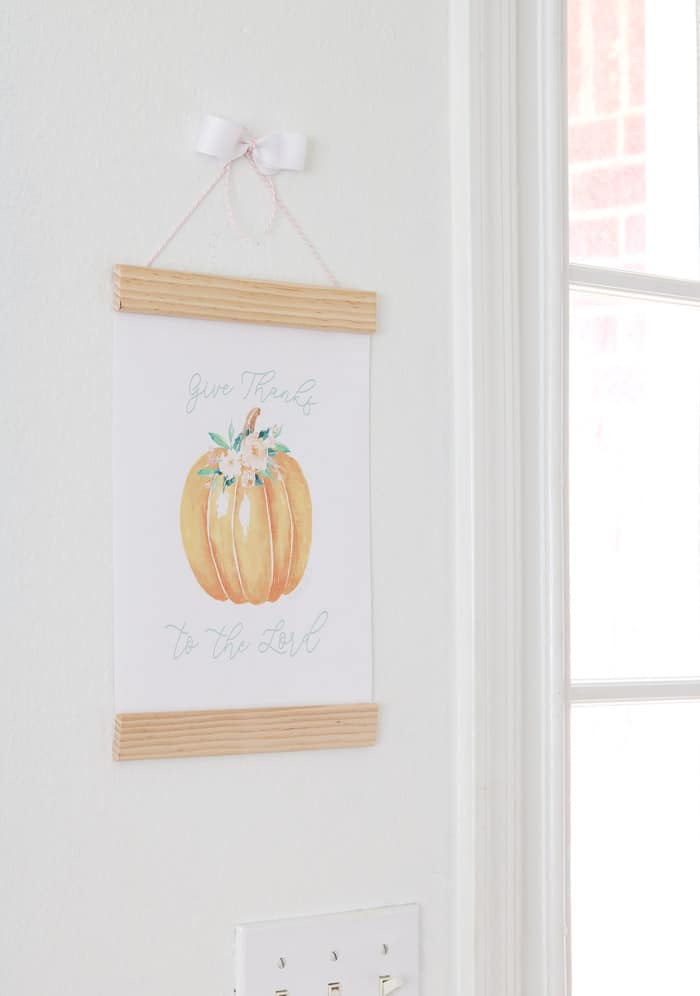
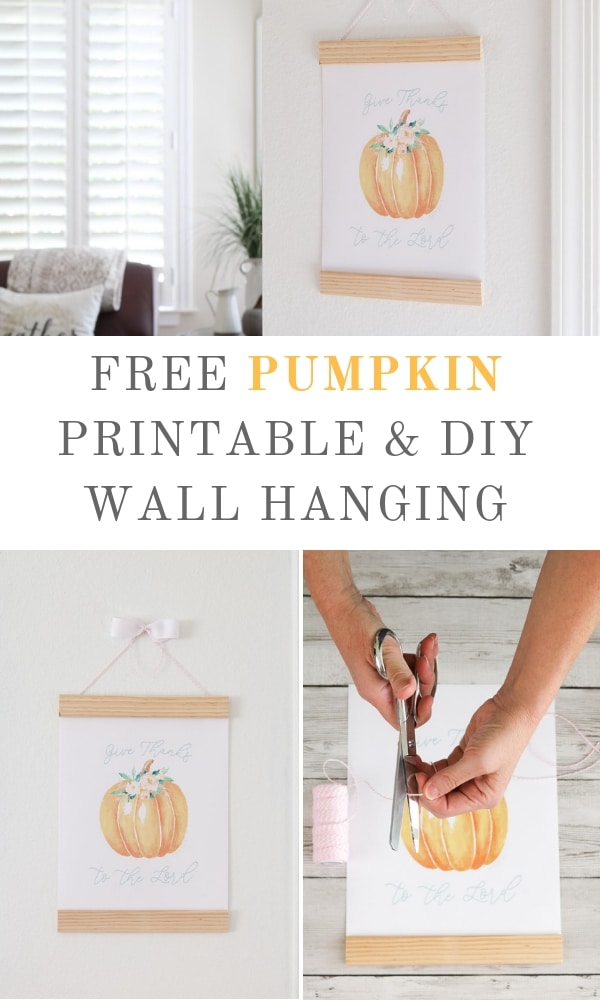
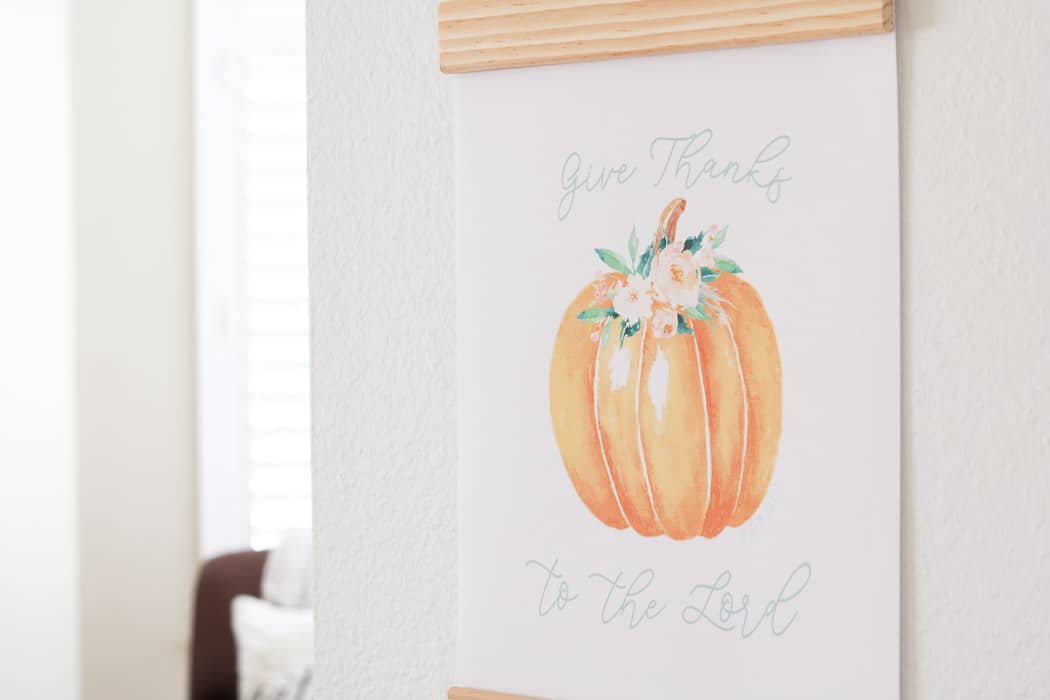
Grab your tools and brighten up your fall decor with this pumpkin printable and DIY wall hanging project. Free fall printables are fun to use in decorations but this Psalms 107:1, Give Thanks to the Lord, free printable will bring meaning to your interior design this autumn season.
Free Pumpkin Printable and DIY Wall Hanging
Pumpkins are starting to show up in the stores and loads of harvest decor ideas on Instagram. So, I thought this is an excellent time to make something inexpensive for you to add to your fall home decor using free fall printables.
This harvest season I have created a free pumpkin printable that you can use and a DIY wall hanging tutorial. And the best part is that it is cheap wall decor ideas.
This post contains affiliate links, which means I receive a commission if you make a purchase using the links below. All opinions are all my own.
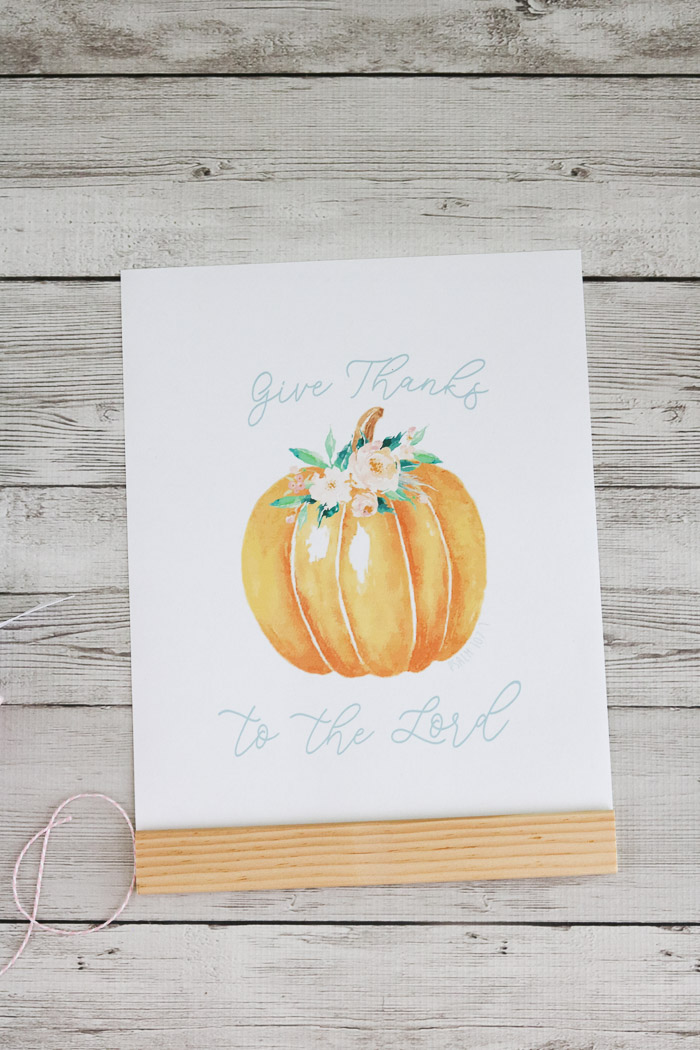
Give Thanks to the Lord, Psalms 107:1
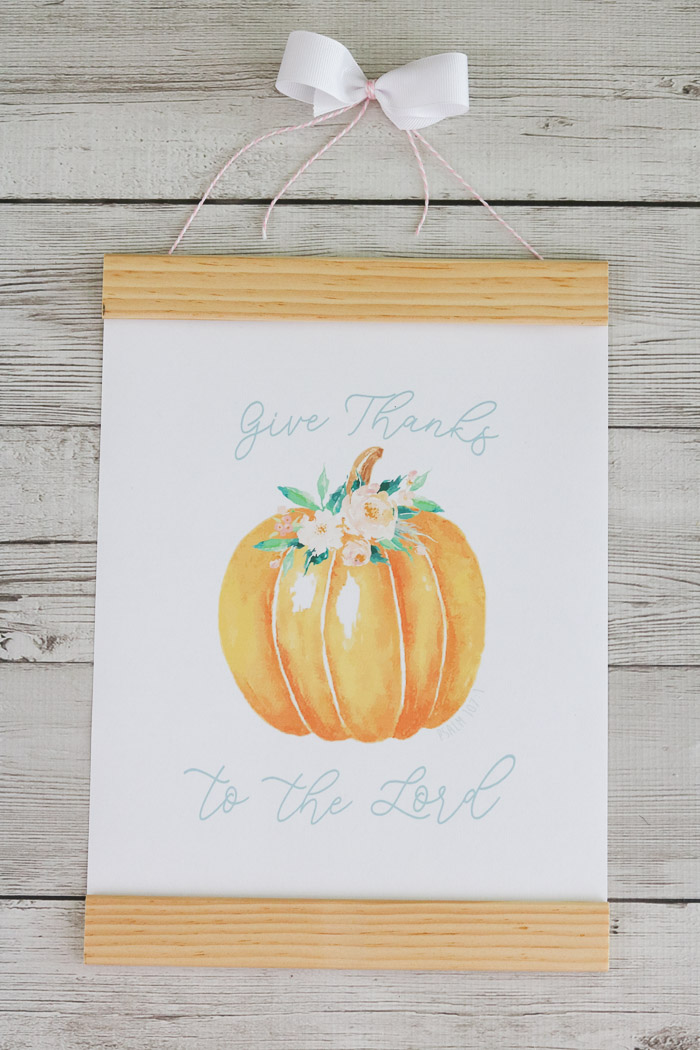
This year's free fall printables give thanks to our Lord and is derived from Psalms 107:1.
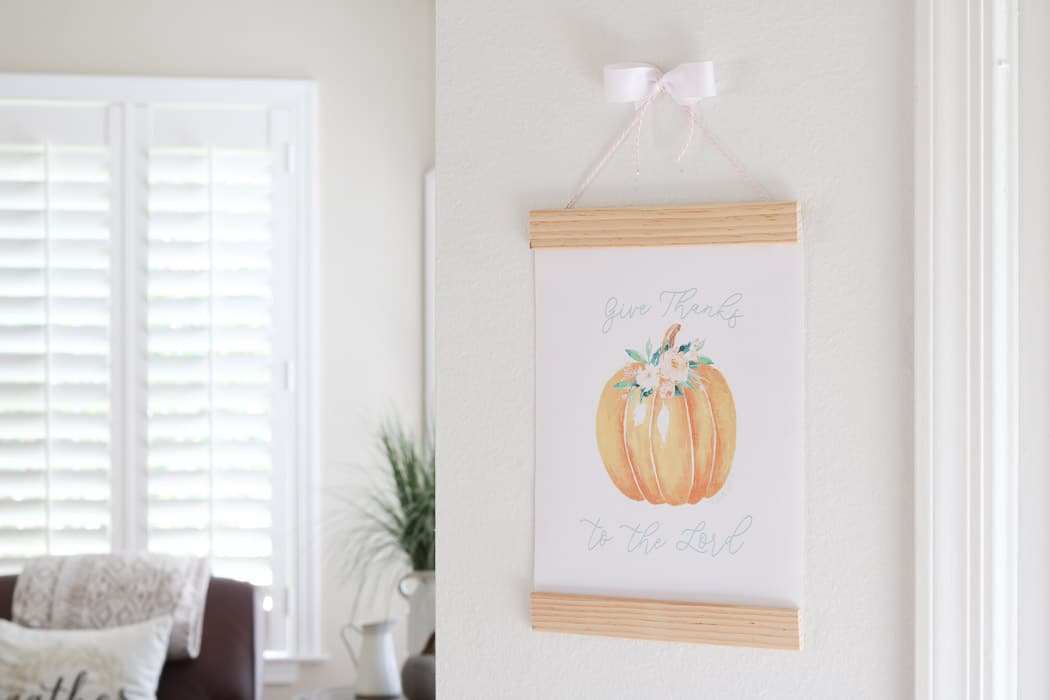
With so much to be thankful for I wanted to share a pumpkin printable and scripture to add some meaning and beauty to your already lovely homes. It is a delicious pumpkin decorated with watercolor flowers and leaves.
Getting Started with Tools
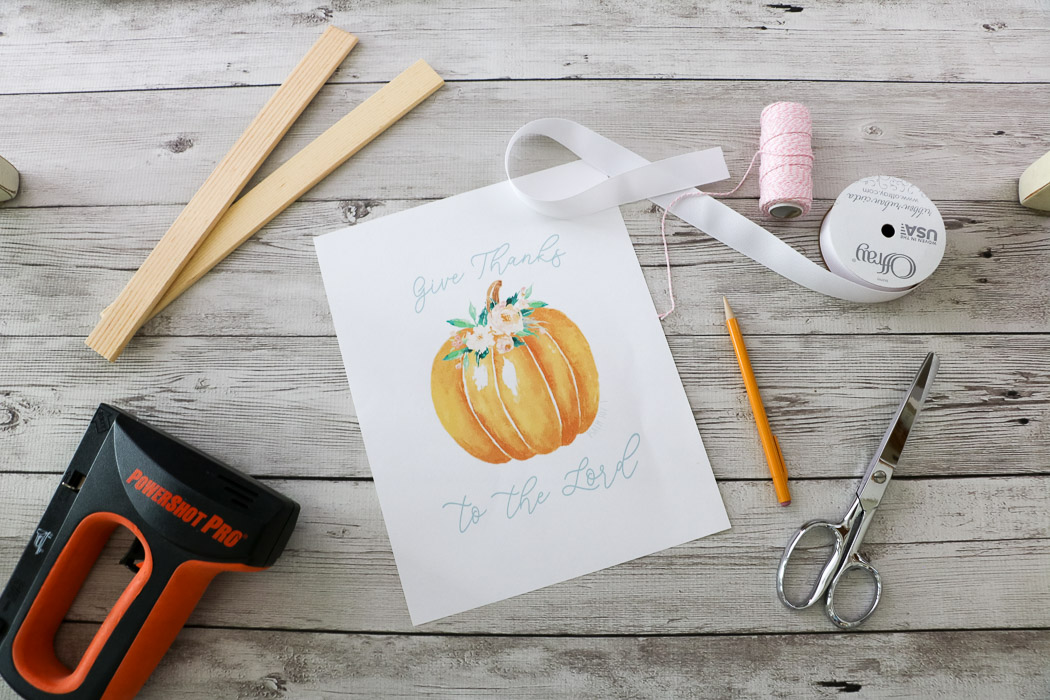
Begin this fall free printable DIY wall hanging by collecting the tools you will need.
Now it is time to print your pumpkin printable.
Just download the Psalms 107:1 Give Thanks to the Lord printable by subscribing to the newsletter.
Make sure to load a good quality paper into the printer. I like to use a linen paper because it adds a nice texture. Also, make sure to select a paper with some weight to it. You want a paper that has some stiffness to it.
Mark the Wood
Now sit a wood piece on the pumpkin printable and make a mark where to cut it.
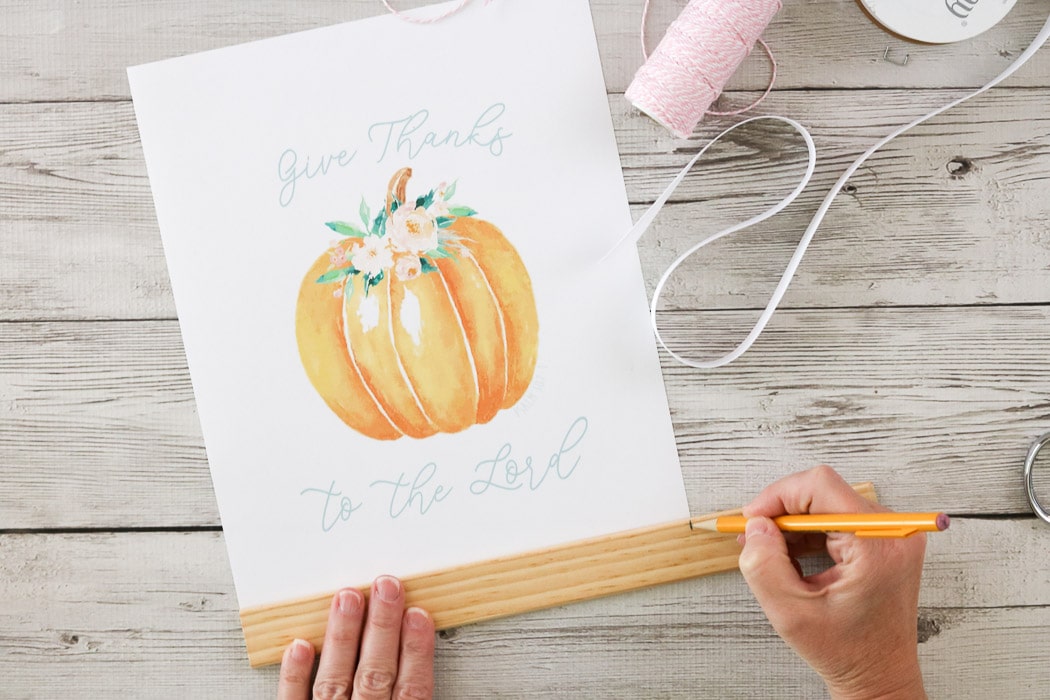
Next, sit one of the other pieces of wood on top of the one you just marked and make another mark.
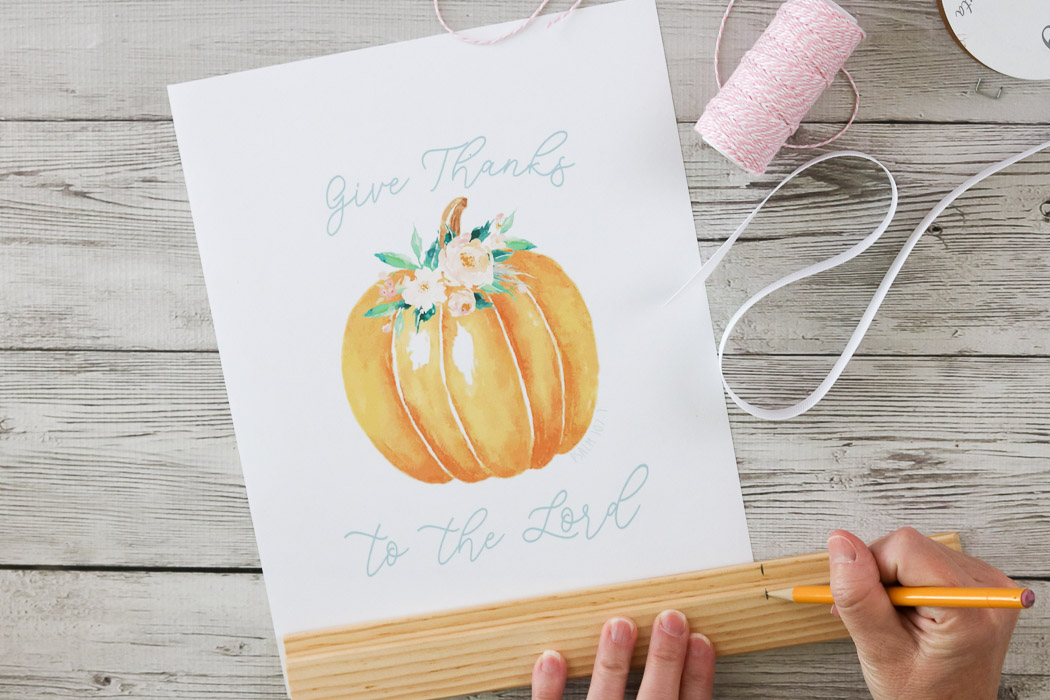
Cut the Wood
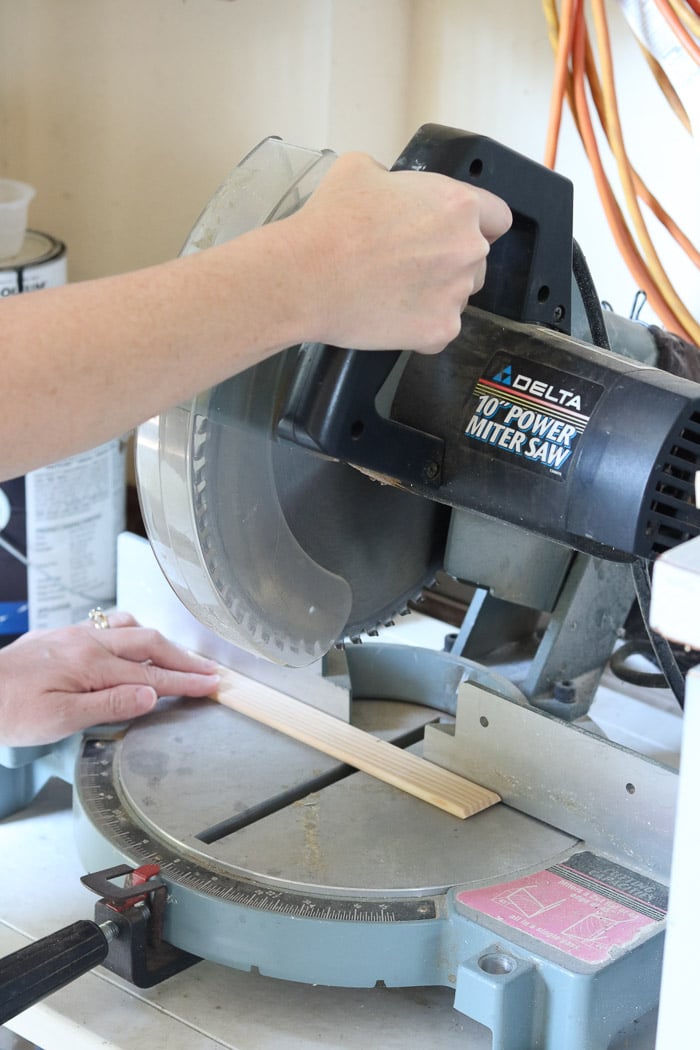
It is time to cut the wood pieces. You can use a hand saw, or a miter saw as I show in this photo.
Center Paper
Now place the paper in the center of the wood and even along the edges.
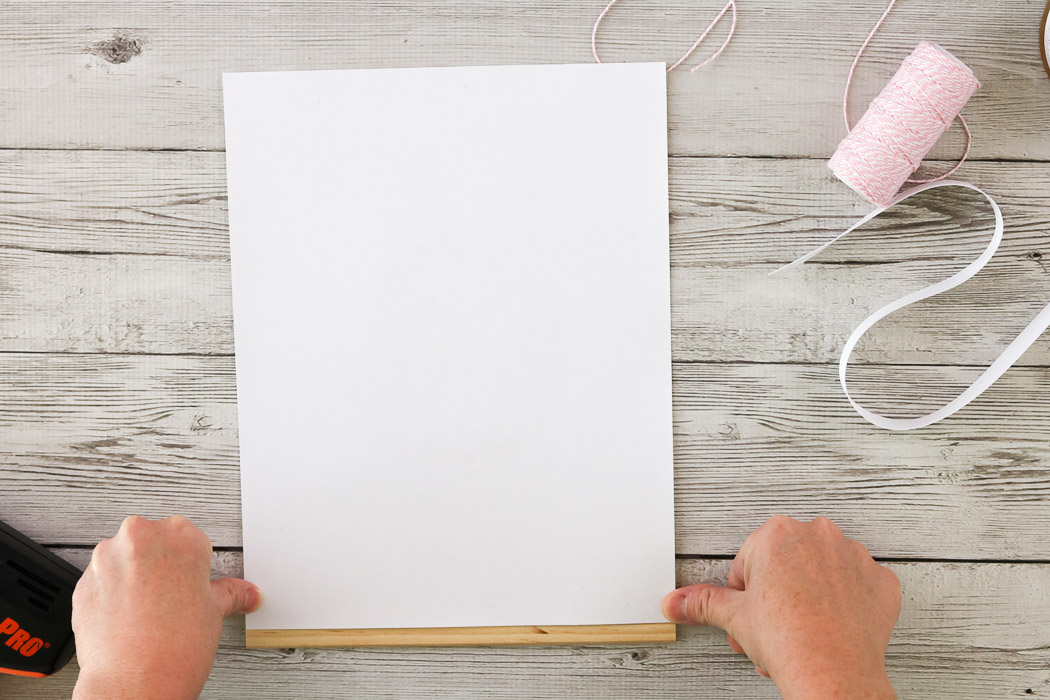
Staple
Next staple the paper down on one side.
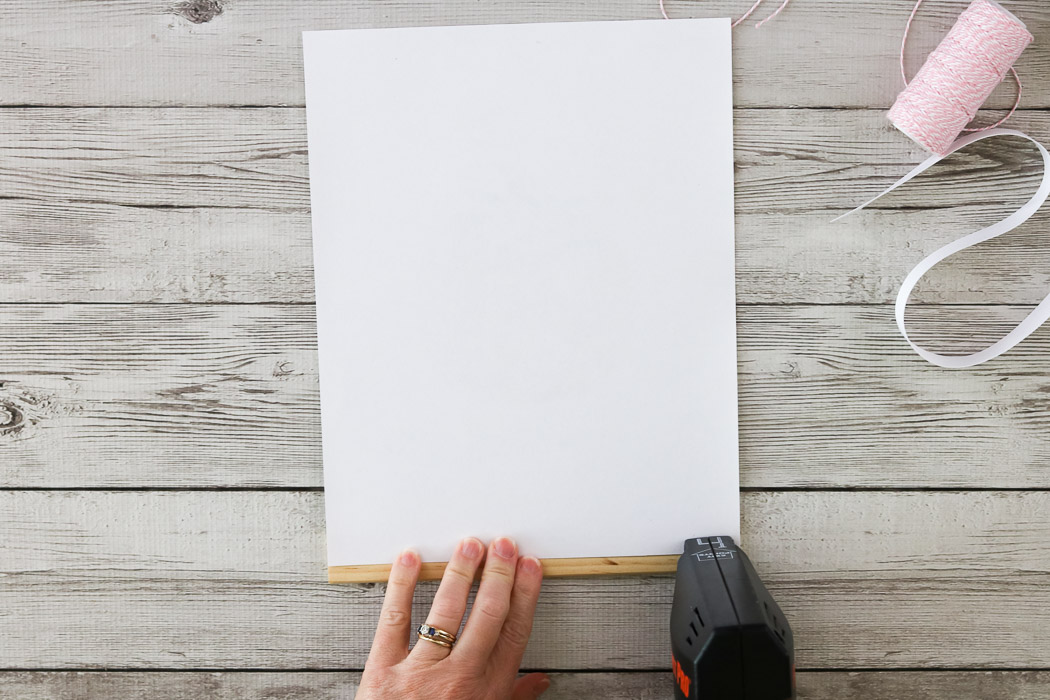
Then the other side.
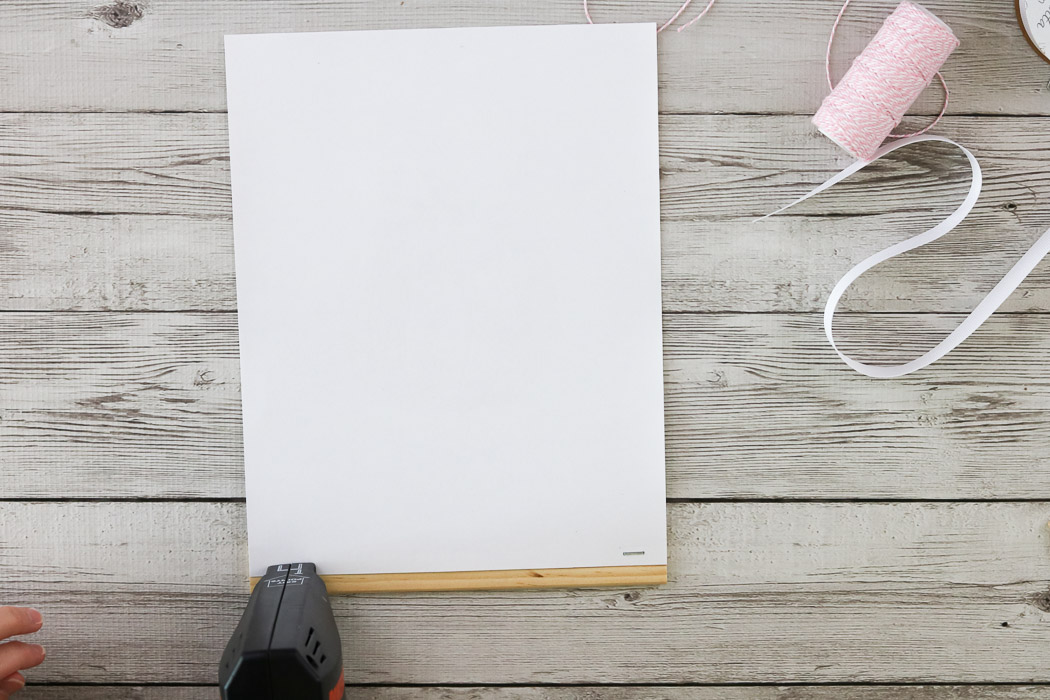
And last in the middle.
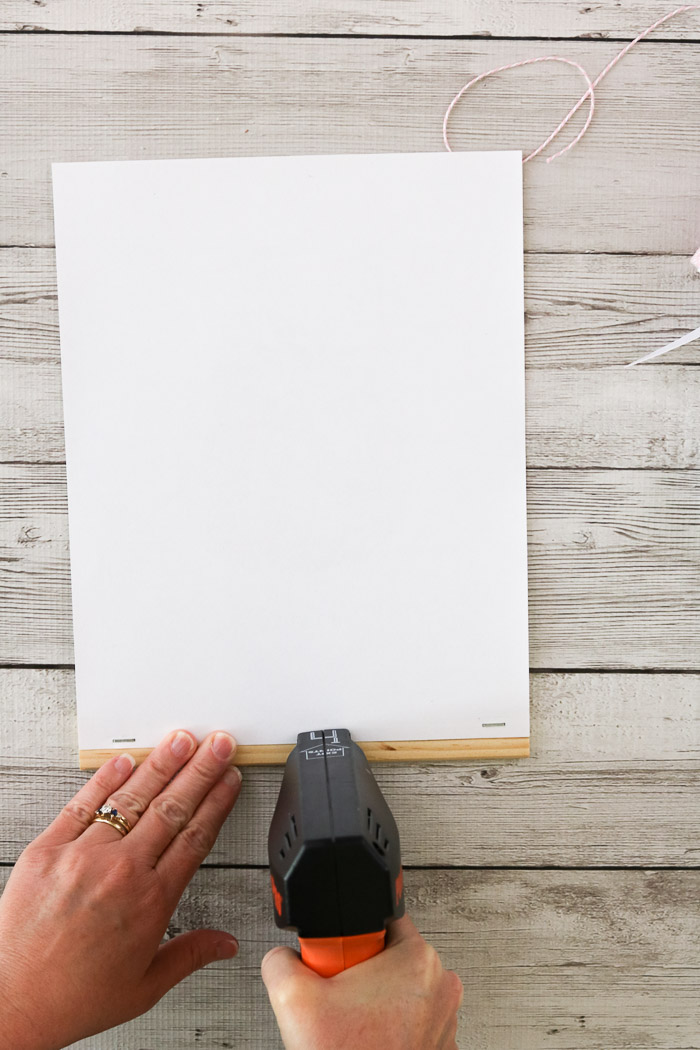
Check the Front of the Pumpkin Printable
Next turn the fall free printables over and make sure everything looks good so far.
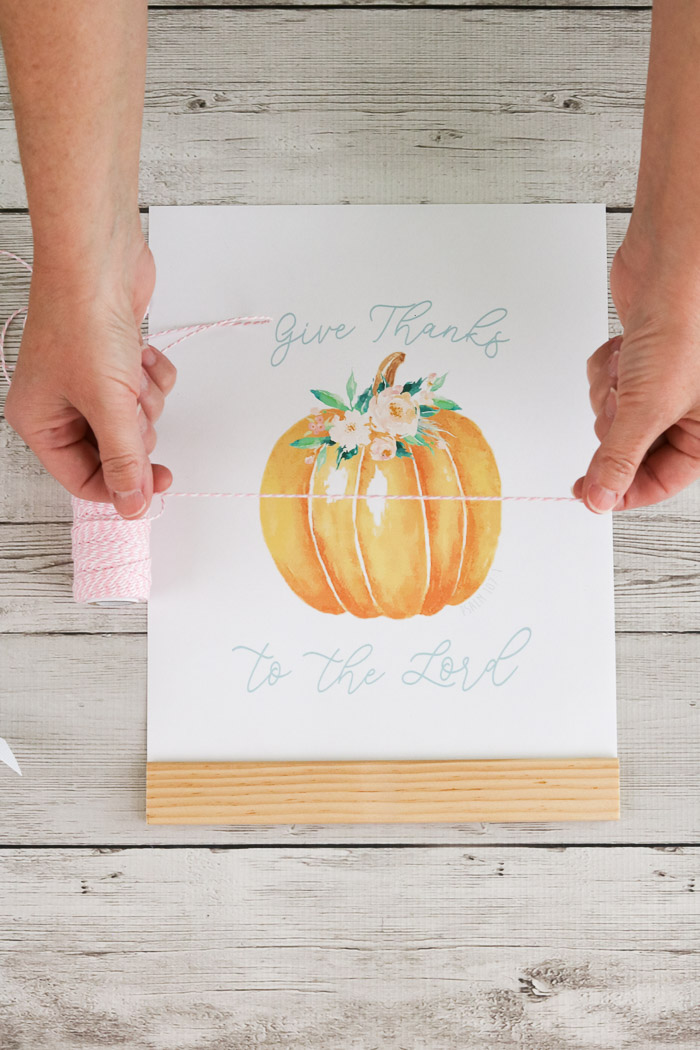
Twine
Measure out some twine to the length you are considering. I found a good range is 11 inches plus a little more.
Attach Twine
Now it time to attach the twine to the back of the Psalms 107:1 pumpkin printable.
Place the wood in the same position as the bottom.
Next lay the end of the twine down onto one end of the wood and paper. Give yourself some extra twine to staple.
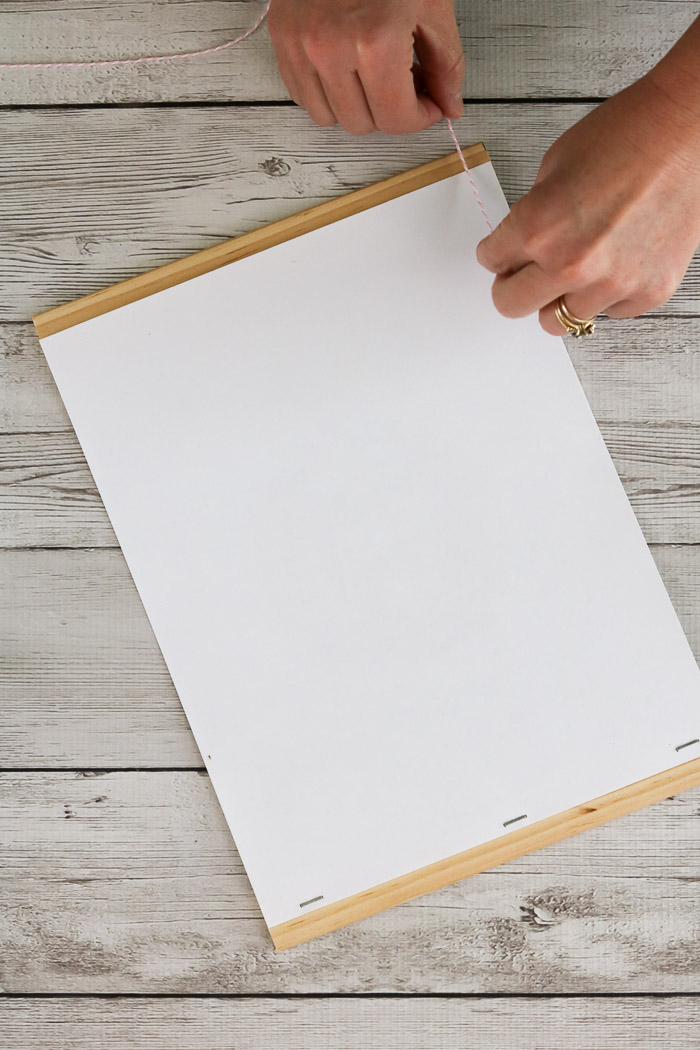
Staple the twine into place but centering the stapler onto the twine.
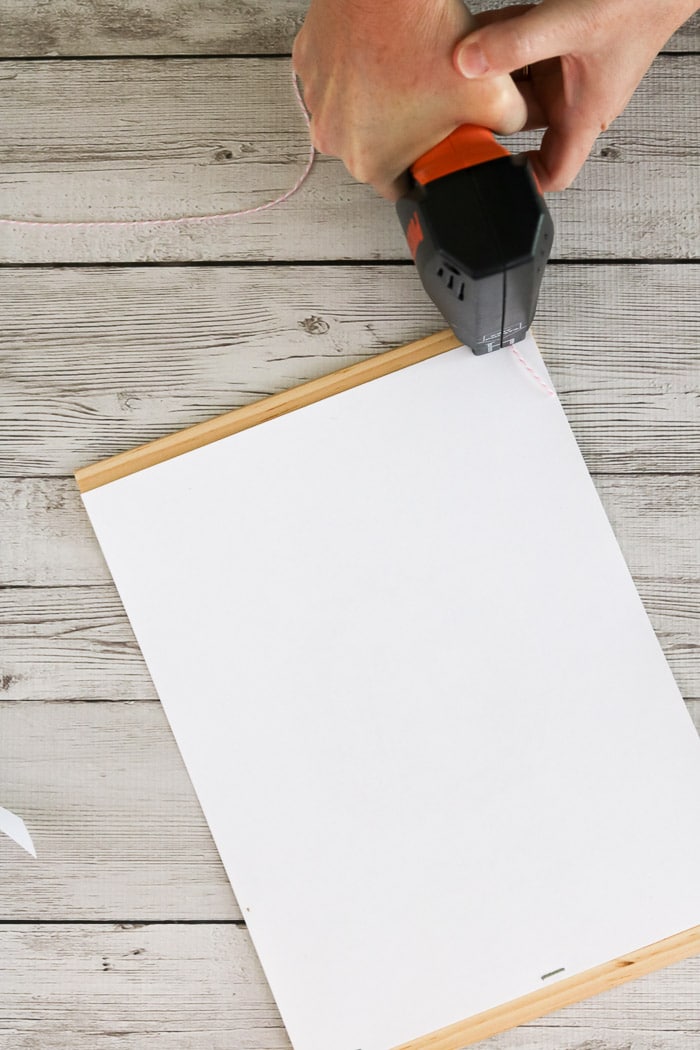
Repeat these steps and staple the twine on the other side.
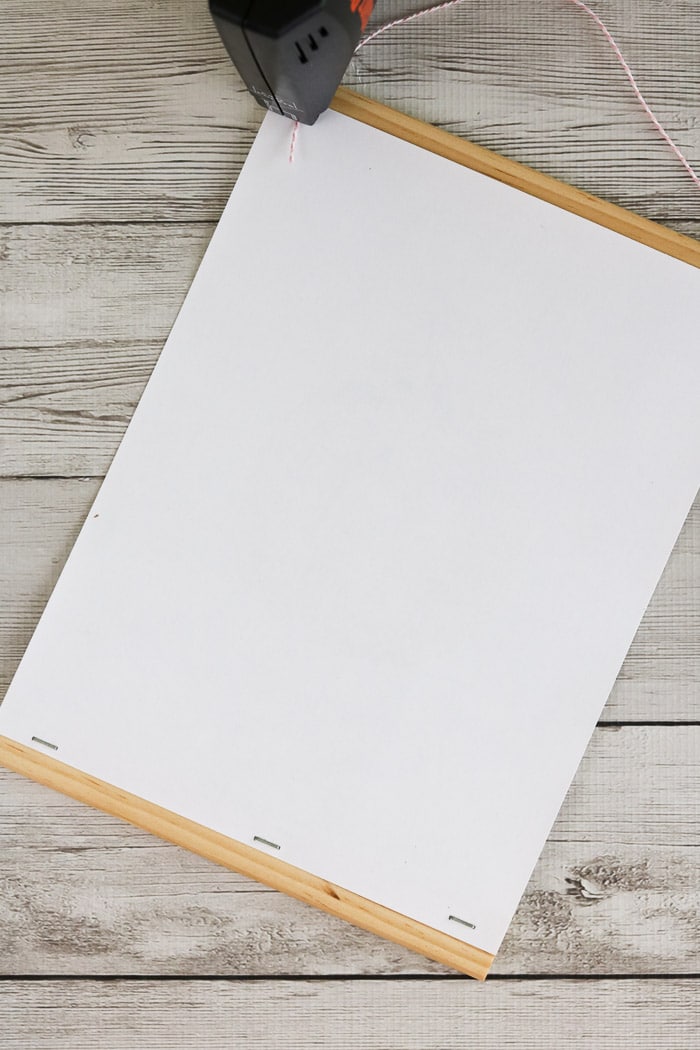
One more staple in the middle and flip the free fall printable over to make sure everything looks good so far.
Making the Grosgrain Bow
Now if you want to add the white grosgrain ribbon bow to your fall printable decorations naturally begin by making the first loop.
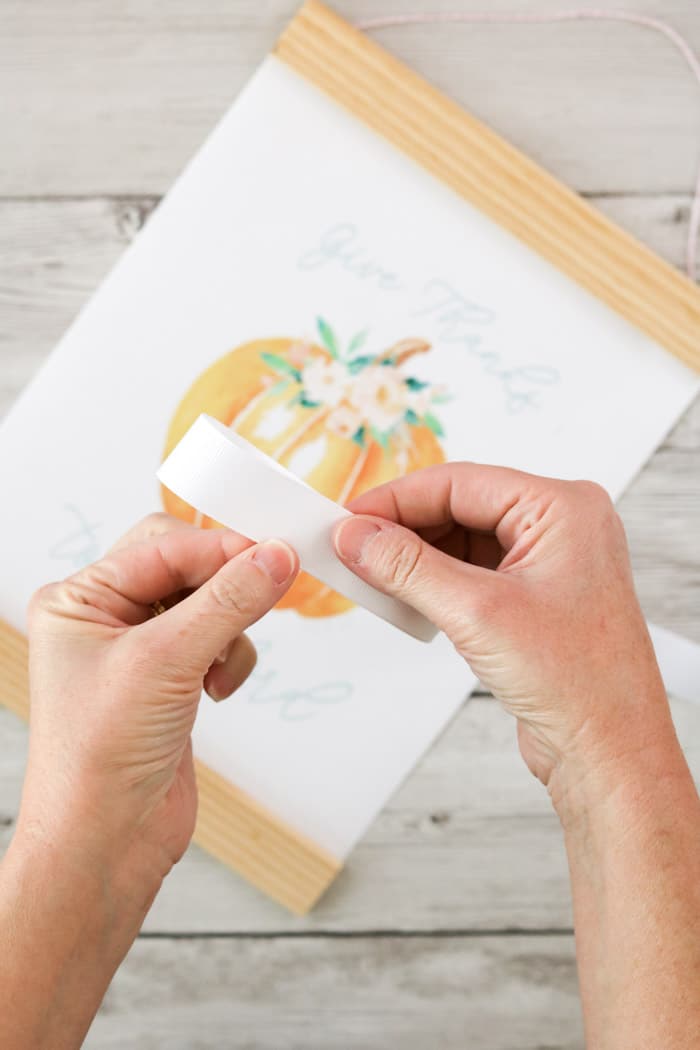
Then the second loop.
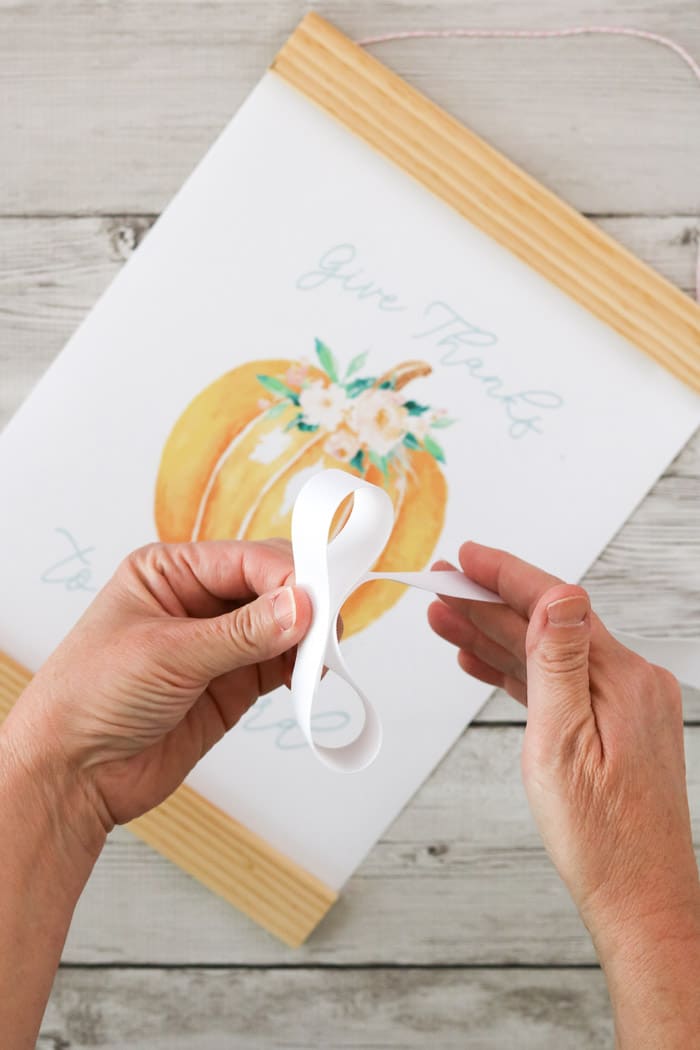
And then pinch the ribbon in the middle.
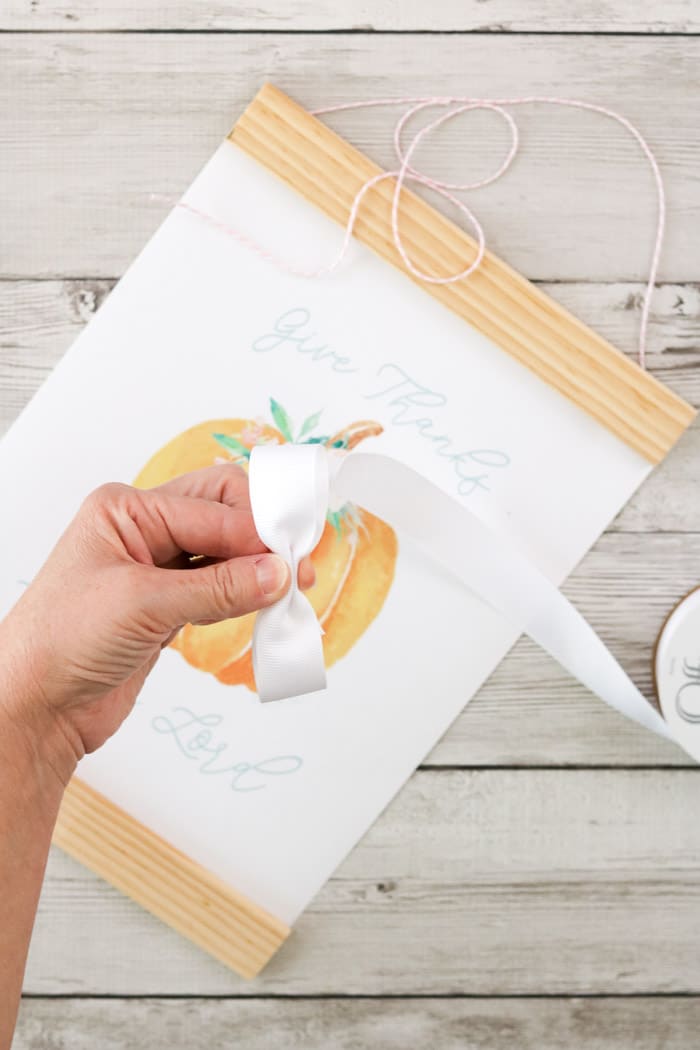
Now cut the grosgrain ribbon about the length of the loop.
If it is too long, you can cut more off later.
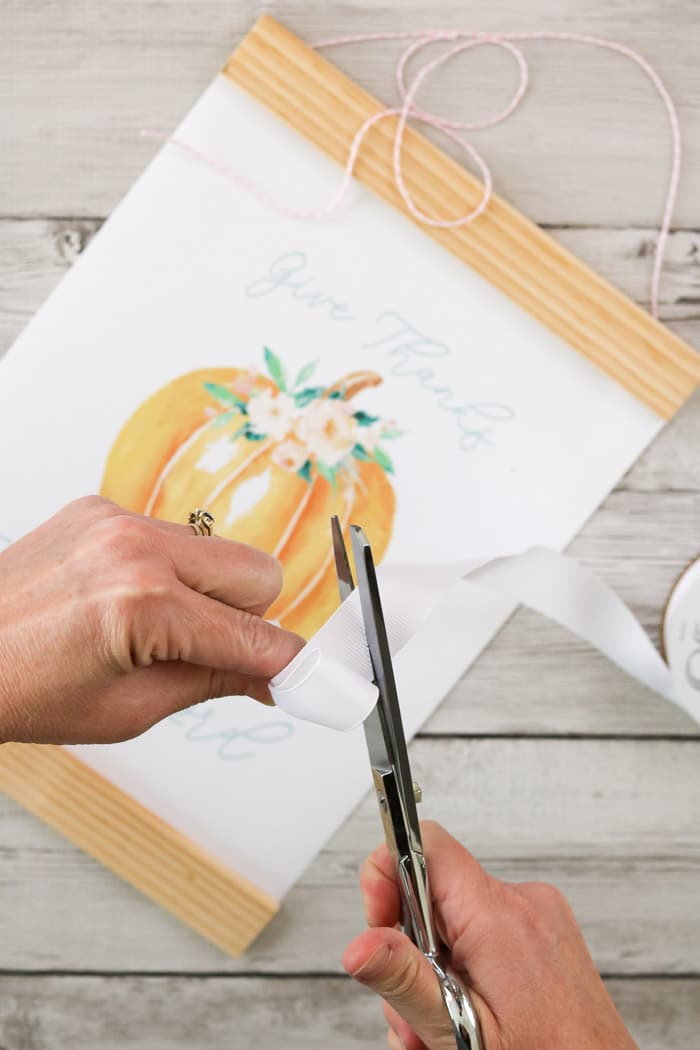
Next, start wrapping the twine around the center of the bow where you have it pinched.
I looped my around three or four times.
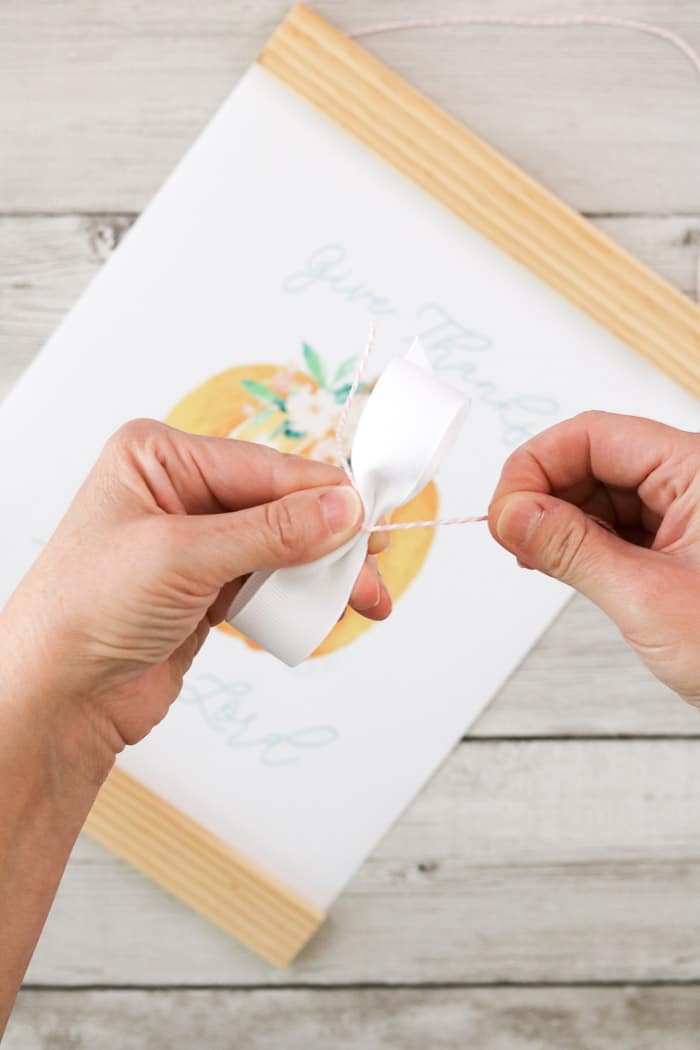
Tie a knot on the back side of the bow or the front depending on which side you like the best.
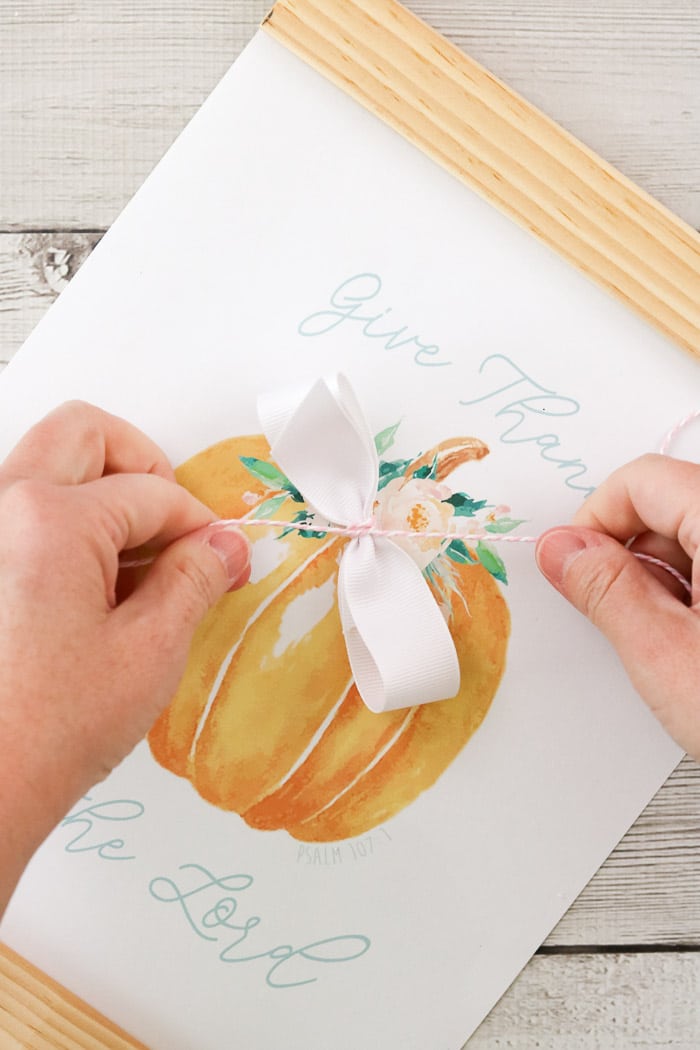
Next, tie the twine into a knot onto the twine piece you attached to the free fall printable.
You will be able to slide the ribbon around on the twine to get it into the position you like the best.
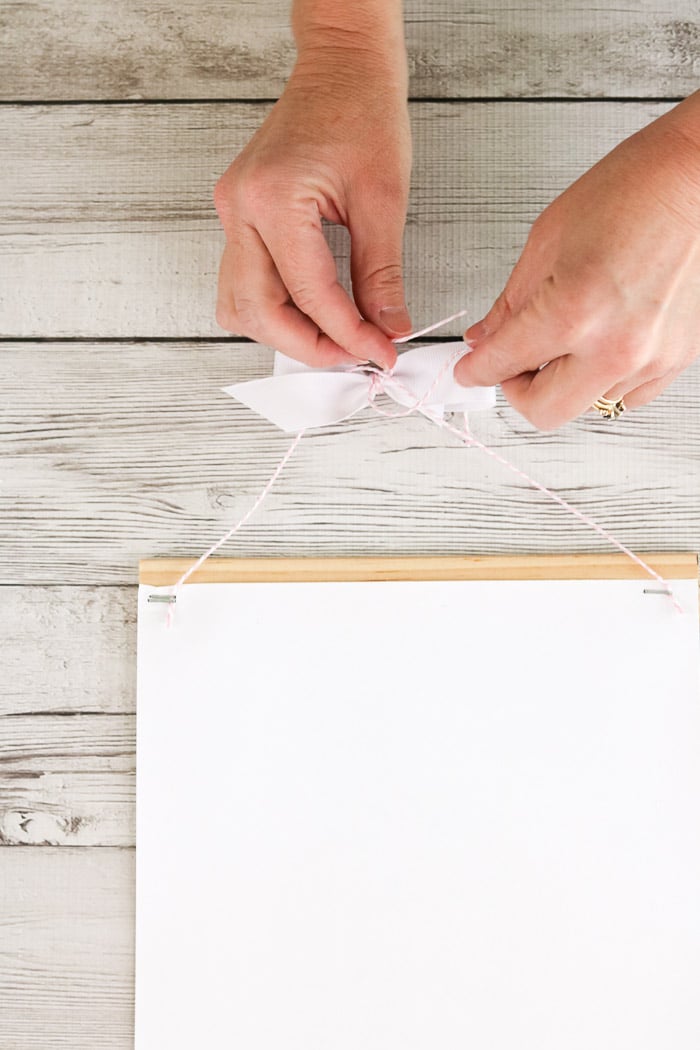
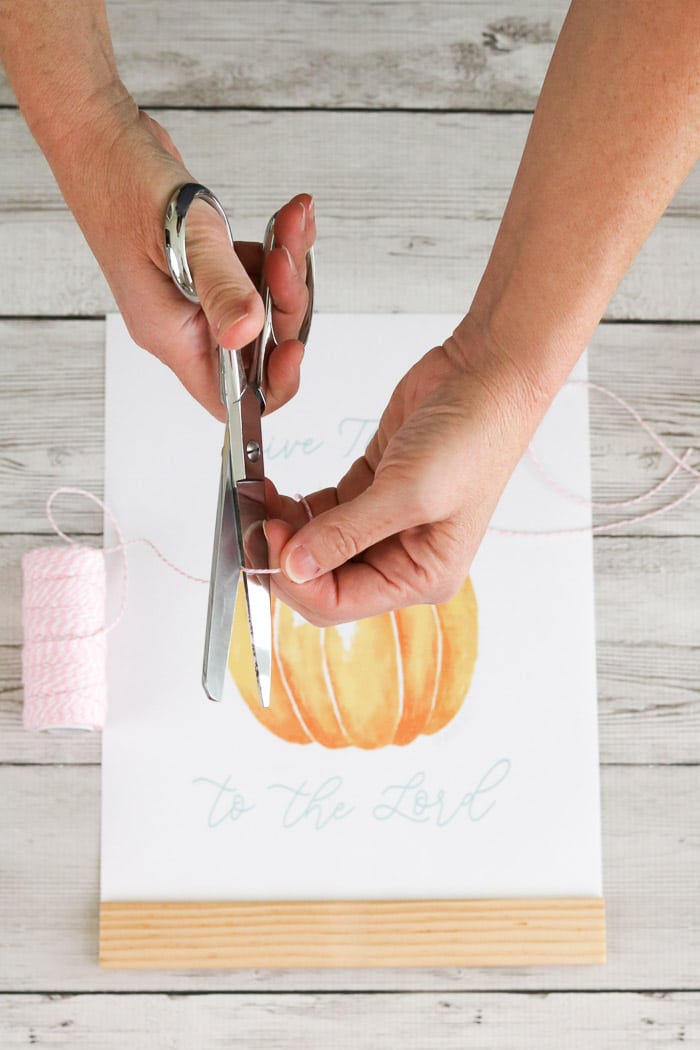
Cut the twine tails from the ribbon to the specified length. I wanted a little extra, but you may like it without tails.
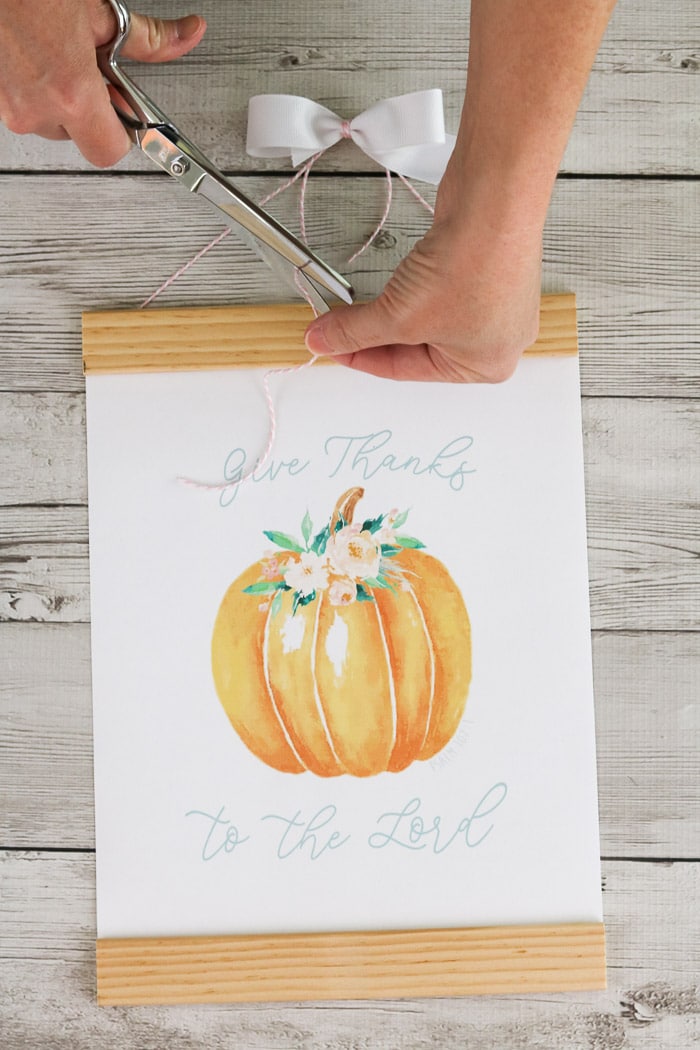
And now you all finished.
Except you need to find a place to hang your Psalms 107:1 free fall pumpkin printable.

Hanging your Free Fall Printables
Now for the fun part!
Your printable can hang in a gallery of art, or it can be displayed all by itself in the perfect spot for the size.
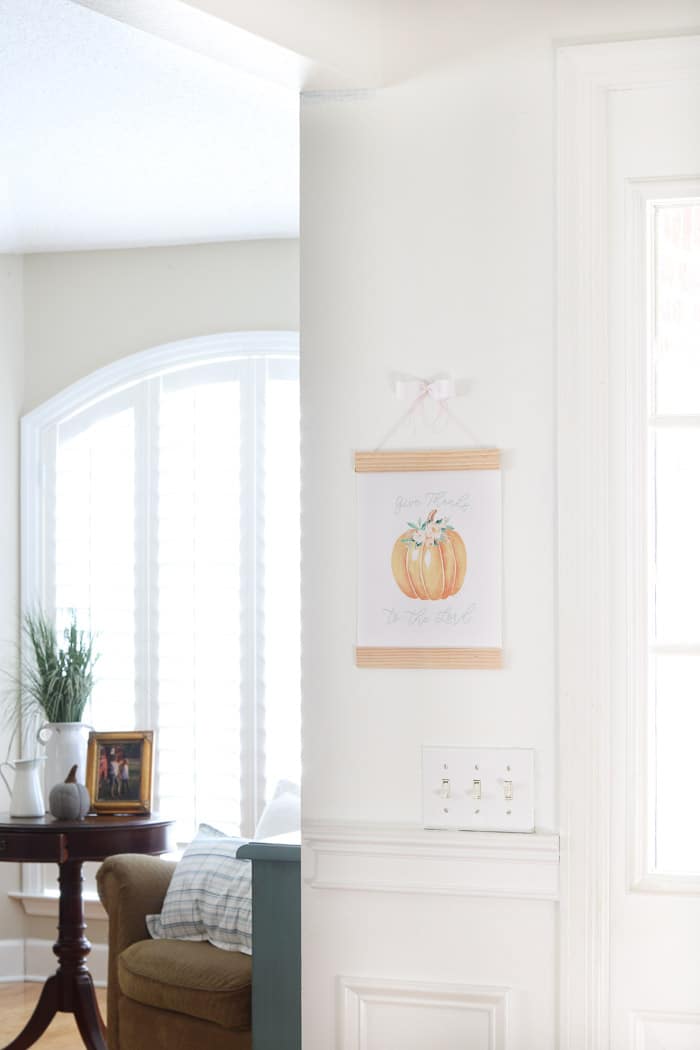
I had just the right spot for it by my front door. And it just happens that I had a nail there because a tiny clock hangs there.
So, I decided to store the clock for now and hang the fall printable decoration instead.
Products from Amazon.com
Conclusion
See how simple and fun this DIY wall art project turned out.
You can use this hanging process on other fall printouts like our fall printable of a mason jar and cotton from last year or you there are loads more in our fall printables roundup.
But the main thing is that it will bring joy and warmth to your home because it is not just a piece of art, but it is a reminder to Give Thanks to the Lord this harvest season.
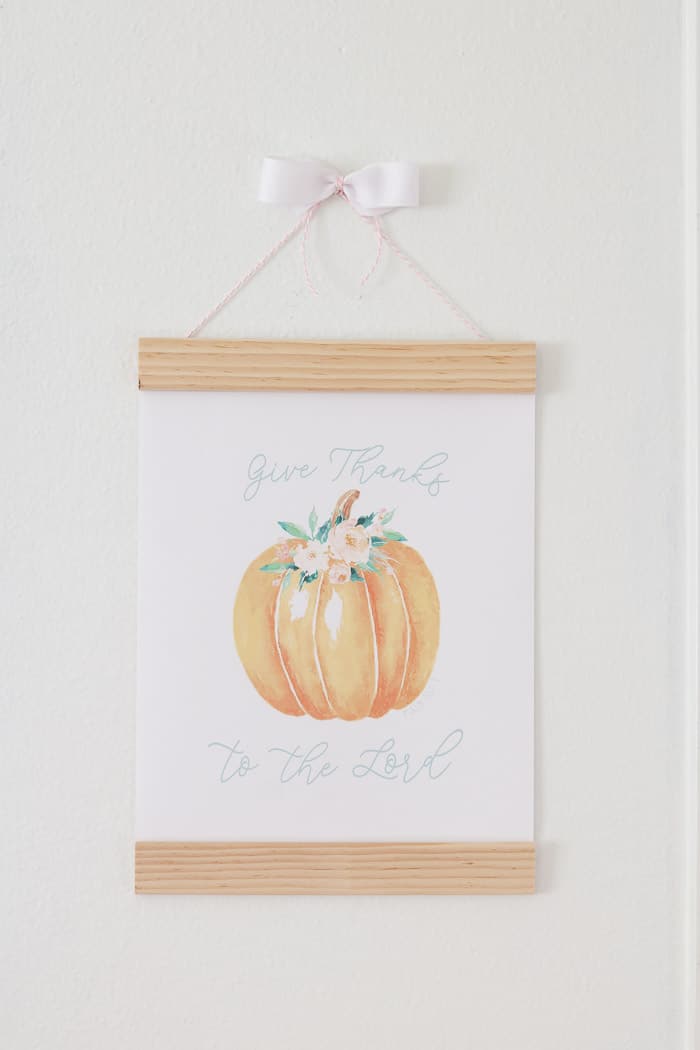
I hope you have enjoyed this free pumpkin printable and will share with me if you create something beautiful too.
Happy Decorating!

If you enjoyed these ideas, please sign up for emails, so you don’t miss out on more fun decorating tips and ideas HERE.
A WEDDING INVITATION KEEPSAKE IDEA FOR YOUR HOME DECOR
Monday 21st of June 2021
[…] Hang your invitations from wood pieces. […]
DIY PRINTABLE IDEAS TO FRAME FOR HOME DECOR
Tuesday 4th of May 2021
[…] the details on how to frame your printables with sticks are in this free fall printable and DIY wall hanging […]
EASY DIY WALL HANGING USING BEAUTIFUL FREE PRINTABLE WALL ART
Wednesday 19th of February 2020
[…] printable art. Check out this botanical art prints project using beautiful distressed white frames, pumpkin DIY wall hanging, or this adorable patriotic banner that would also look amazing in a little boy's […]
FALL DECOR WE LOVE FROM OUR COTTAGE FARMHOUSE | LIFE ON SUMMERHILL
Friday 6th of September 2019
[…] will brighten up your home decor for fall. Simply subscribe to emails, print and follow this DIY wall hanging post to frame it for your […]
HALLOWEEN FREE PRINTABLES WITH MORE TREATS THAN TRICKS
Tuesday 2nd of October 2018
[…] and when you’re ready to take that printable down, get our free fall pumpkin printable or get inspiration from this year’s free fall printable ideas to take its […]