These DIY outdoor Halloween party table decorations are so easy to make and will wow your guests. I will walk you through how to make this awesome vintage-inspired jack-o'lantern centerpiece and picnic table setting. Before you know it you will have a tablescape set for a memorable All Hallows Eve.
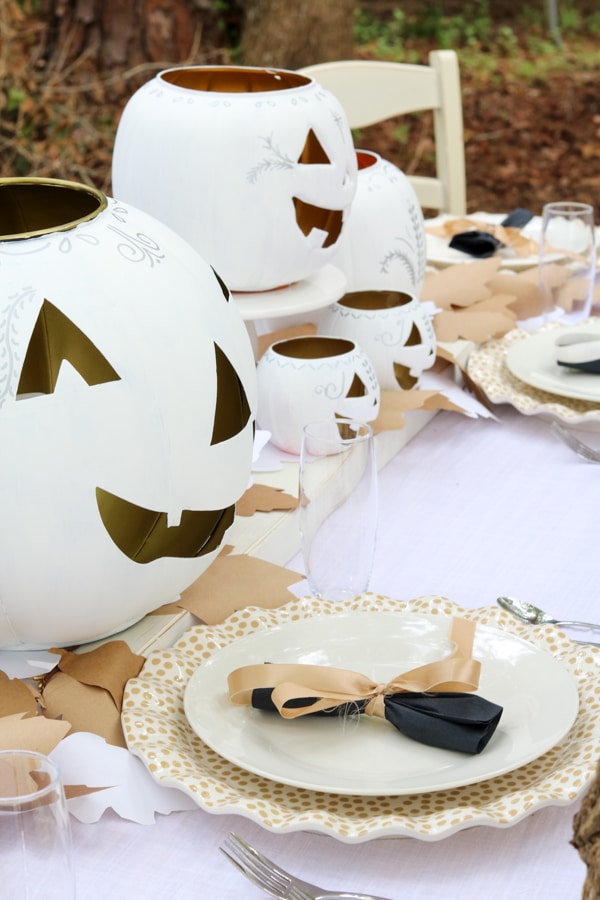
After making the Jack family, the DIY dollar store painted jack o lanterns, my wheels started turning so I created these easy DIY outdoor Halloween party table decorations. But then I got to thinking how cute and spooky would this table be if we moved it into the woods.
Well, I packed up the dishes and moved the Jack family into those creepy woods, and created the Halloween table again. You should have seen them all bobbing their head on my radio flyer wagon. LOL!
This post contains affiliate links, meaning I receive a commission if you purchase using the links below at no extra cost to you. All opinions are all my own.
DIY Outdoor Halloween Party Table Decorations
Let's get started going step by step on how to make this Halloween table using a white-painted luminary Jack-o-lantern centerpiece. Use my list of supplies to guide you through things you have at home first. Once you have marked off your list of what you already have I will make suggestions on where to find the other pieces.
Outdoor Halloween Party Supplies List
- White painted jack-o'-lanterns (all the details are in this DIY dollar store Halloween decoration jack-o'-lanterns post)
- White tablecloth, sheet, curtain (Be creative and use what you have. I used a white sheet)
- Chalk painted piece of wood (Simply paint a 2 x 10 piece of wood for the center of your table and distress it)
- Leaf paper garland (all the directions are in this DIY fall paper decoration post.
- Battery powered candles for pumpkin face
- White cake stand
- Neutral polka dot platter
- White plate
- Black napkins
- Gold and white satin ribbon
- Silverware (my design is no longer available but here is one similar)
- Clear stemless champagne glasses
- Table (Here are directions on how to build a farmhouse table)
- Plywood (optional: we sat a piece of plywood on the top to make the table bigger to seat six people)
- Chairs (we used two white chairs from our dining table and two french folding chairs from Ikea)
- Picnic basket (to help carry all your supplies)
- Blanket (In case anyone is chilly from the outdoor party)
I want to recommend collecting all your supplies first before moving the table outside. Also, practice making the table inside first. This will make putting it together outside so much easier.
Outdoor Table and Chairs
To start let's set up your table. If you are planning your party in the woods walk around and an outdoor space that is level. You don't have to do the woods as we did. You can set it up in your backyard, front yard, deck, or porch. Then carry your table out and place it where you want it.
I used a level to determine if my table was level but you don't have to do this. If your table is leaning too much in one direction using a block of wood, brick, rock, or anything that will level it out and make it sturdy.
Next, if you want to make your table larger as we did simply place a piece of plywood on top. I keep this piece of plywood on my work table in the garage. I have come in handy to create many tables like our large nurse graduation party ideas table we created inside.
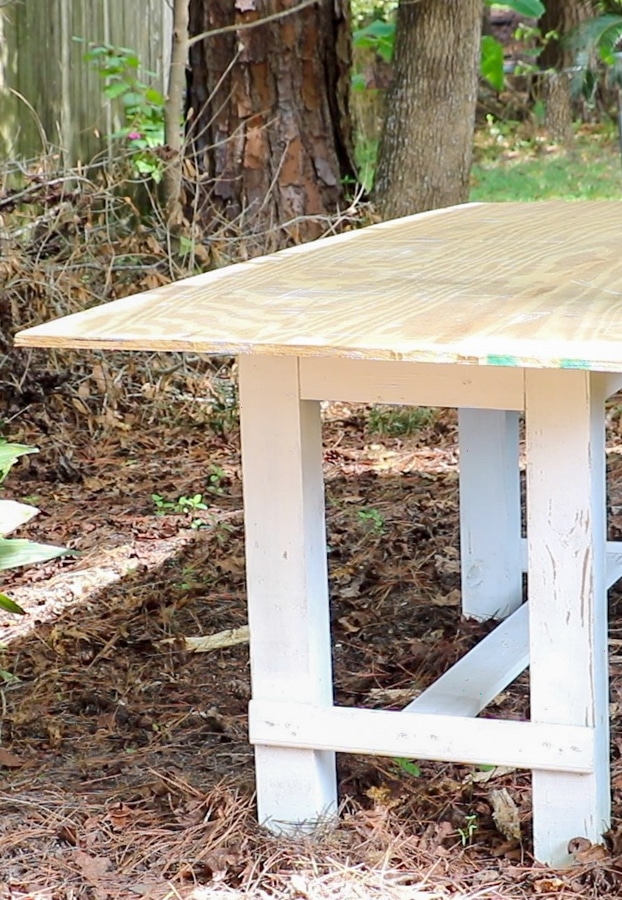
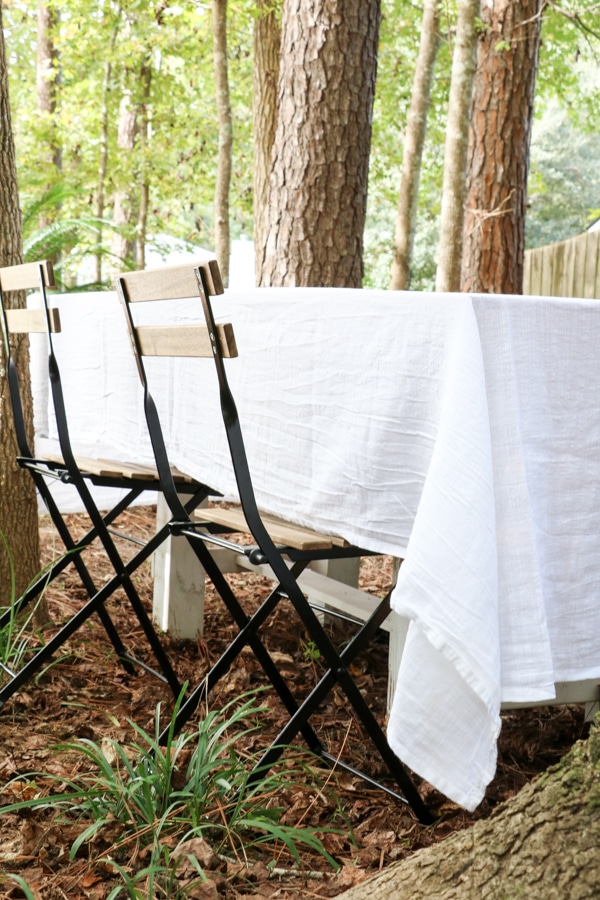
Now you will need chairs. I have four outdoor folding french bistro chairs I used on the sides and then two of my dining table chairs on the ends. I think any chairs would work for this table — black, white, indoor, or outdoor.
White Halloween Table Covering
Next, simply toss something white over the table. You can use an old white sheet, curtain, blanket, or tablecloth. The main thing is to use something white.
Then lay a piece of wood that is painted white down the center of the table. Keeping a piece of wood around for table centerpieces is so handy. Simply paint a piece of 2 x 10 with chalk paint or whatever you have on hand and distress it with sandpaper along the edges and here or there. Then place it in the center of your table.
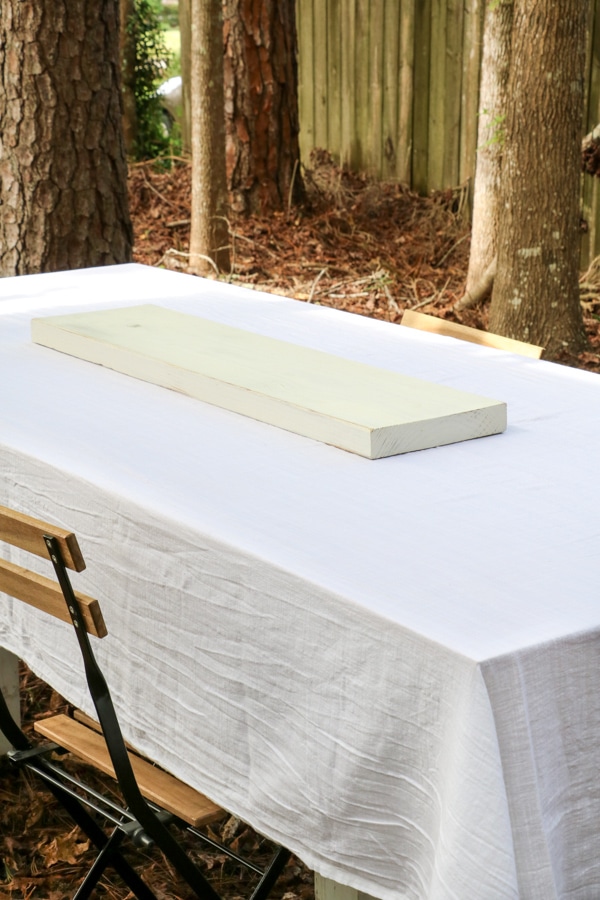
Make sure if you are making your wood centerpiece layer for the first time to place chargers on your table. Then measure in the middle for the piece of wood. This will help determine how wide and long your piece of wood should be.
Next toss this fall paper leaf garland on the table. This was easy decorations to make using items from the Dollar Tree and what I had around the house. It takes about a day to create and it is the perfect project to do while watching Halloween movies or anything on tv. LOL!
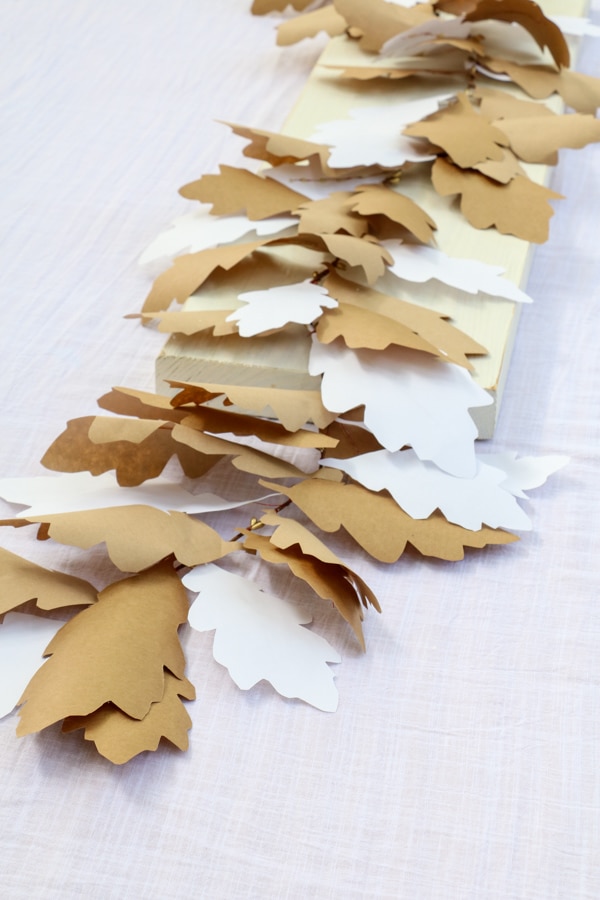
I laid the garland on the piece of wood and curled it on the ends so it doesn't lay completely under the chargers.
DIY Halloween Decorations Jack-o'-Lantern Centerpiece
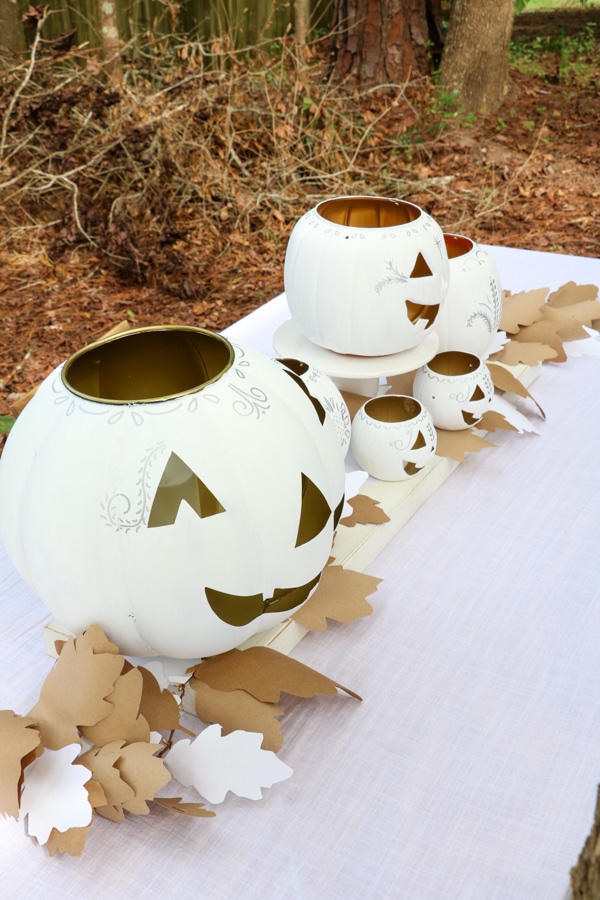
Now for the fun part and that is creating this luminary Jack-o'-lantern centerpiece. These pumpkins heads are easy to make. I have been looking all season long for different sizes. Some I found at dollar stores and one I found at a thrift store. The directions on how to make them are in the supply list above.
Depending on the sizes of your white pumpkin heads will determine how your design lays out. If you have the same size Jack's that I have then followed along exactly as I have it here.
If your jack o lanterns are different I would play around placing them on the wood and garland until you get them the way you want.
First, sit the large pumpkin painted white Pottery Barn Jack-o'-lantern on first on the left side. Then halfway between the large Jack and the other end place the cake stand.
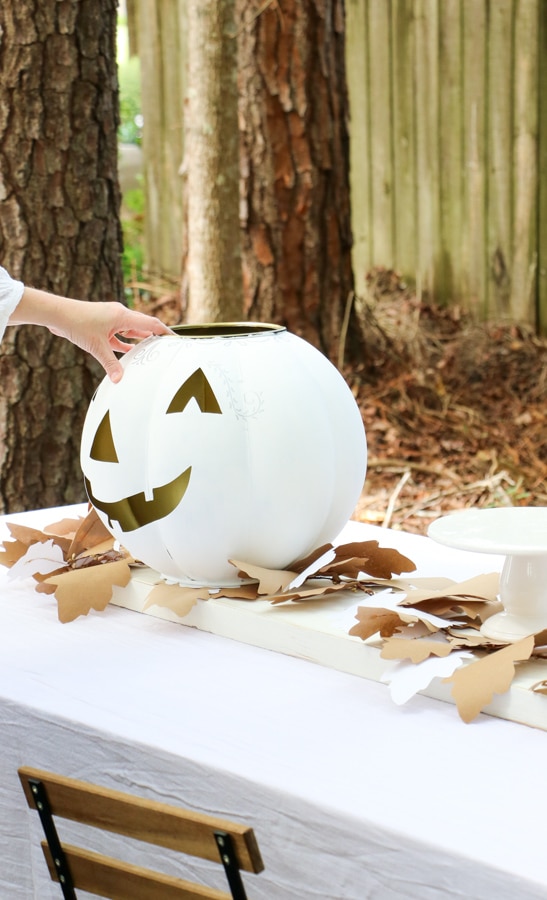
Next, sit two small ones in front of the cake stand. We call these the twins and named them after Katherin, one of the blogging assistance, and her twin sister Kayla. LOL!
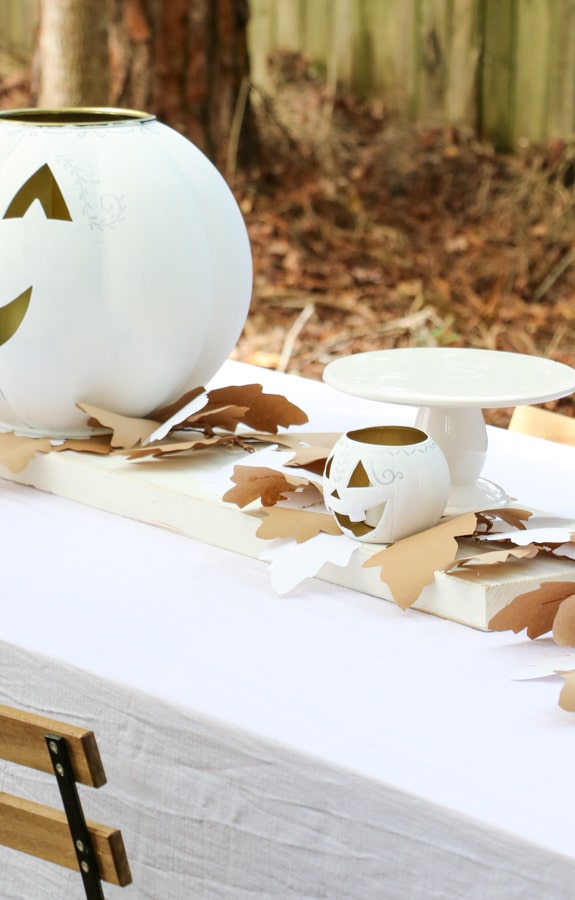
And then a medium size jack on the cake stand and then turn two medium-size jack o lanterns around and place them on the end and between the large jack and cake stand.
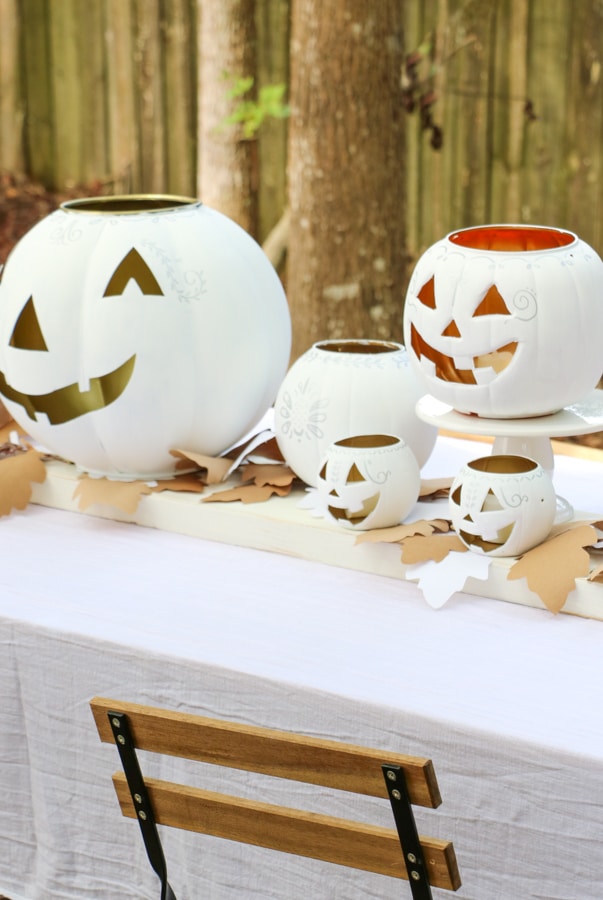
Last, place battery-powered candles inside the jack o lanterns, and your happy jack o lantern centerpiece is finished. Now you are ready to create the place settings.
Outdoor Halloween Party Place Settings
First, sit all your chargers down on the table. These chargers from Coton Colors are so adorable. I used them on my Thanksgiving dinner table last year that was also outdoors. But you could easily create something similar by spray painting Dollar Tree chargers and then adding polka dots.
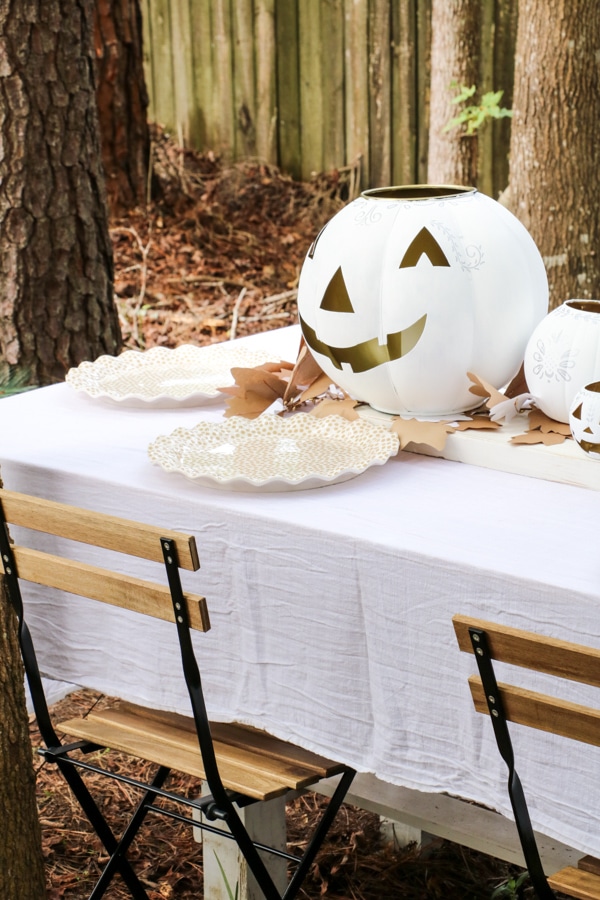
Next, sit white plates on the table. I love mixing old and new, cheap and expensive pieces in decorations. It is a clever way to get a high-end look without breaking your bank. I got these white plates from Dollar Tree.
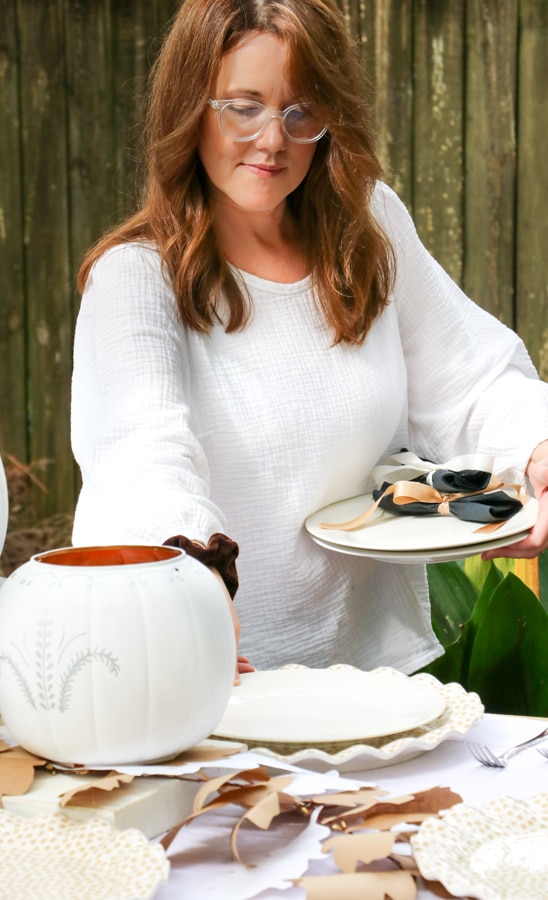
Now let's make something to go in the center of your white plate. These ribbon-tied napkins are so easy. First place a 24″ piece of gold or white satin ribbon on the table and then place a black paper napkin on top in the center both ways. Then sit a fork and spoon in the middle and tie the ribbon into a bow like you are tieing your shoelaces.
The napkin should fold in nicely when your tie it together. If it doesn't you can adjust the napkins after it is tied. Once you have the bow done slip the spoon and fork out. The spoon and fork make the napkin look more fluffy after you are finished.
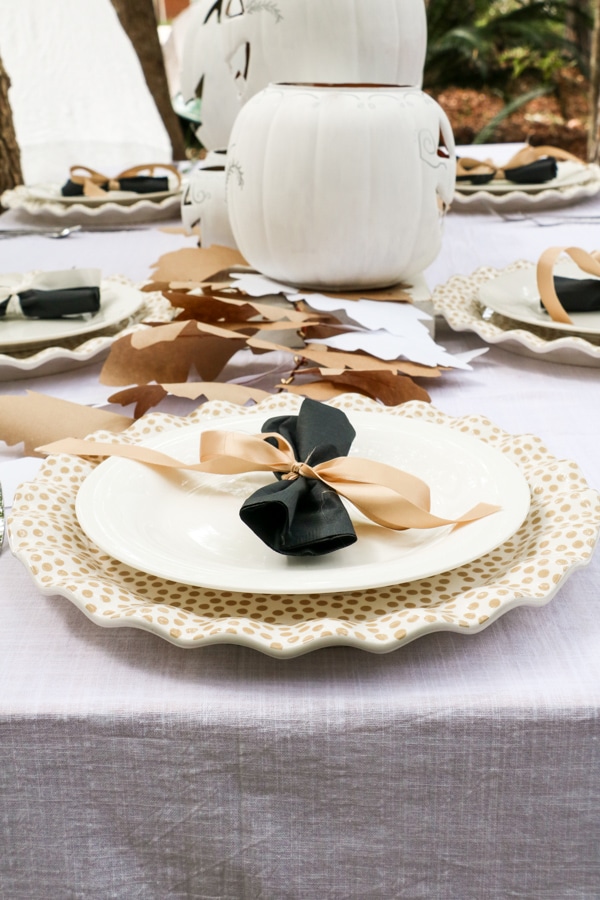
Now place all your napkins in the center of the white plate and then add your silverware and glassware.
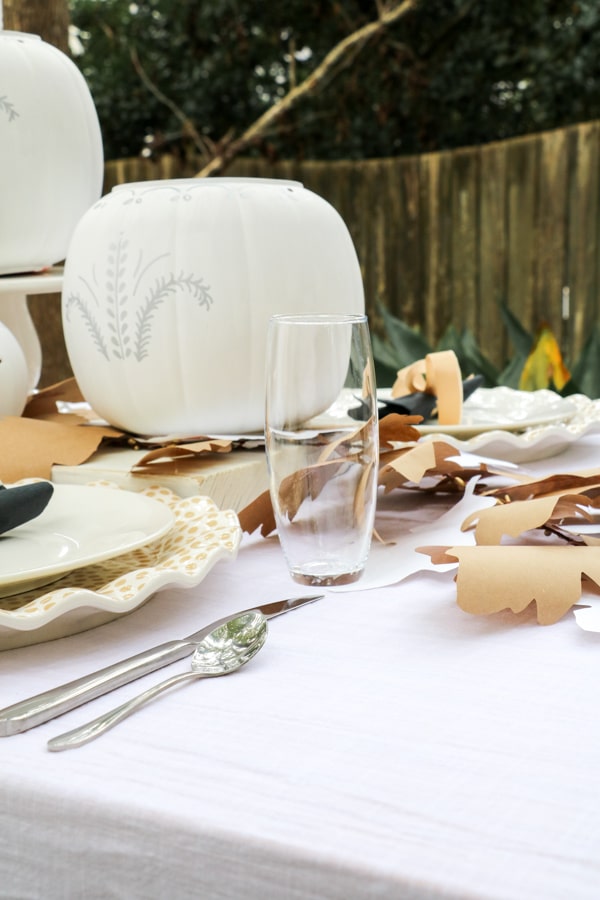
Guess what? The outdoor Halloween tablescape is all finished. I have a few more details that will make your party the best ever.
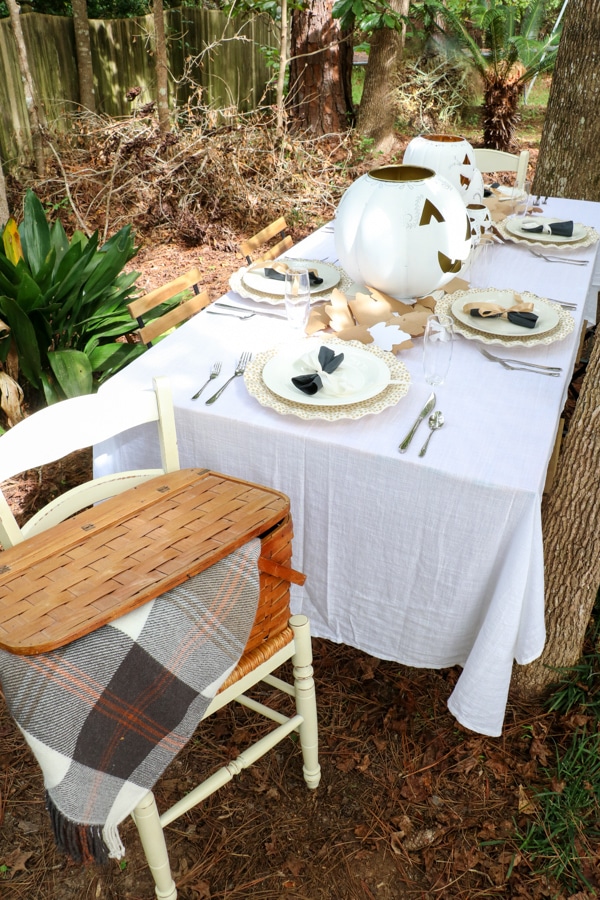
Conclusion
Remember the basket we used to carry all our supplies? Well, place it on a chair or on the ground and add some blankets. This will add a nice decoration and make your party cozy especially if it is cold outside. It will give your guests something warm in case they didn't come prepared for cooler weather.
Also, if you have a few more pumpkin heads place them around for decor. I added Jack and Jill to my blanket stash. This was the perfect touch to the DIY outdoor Halloween decoration idea.
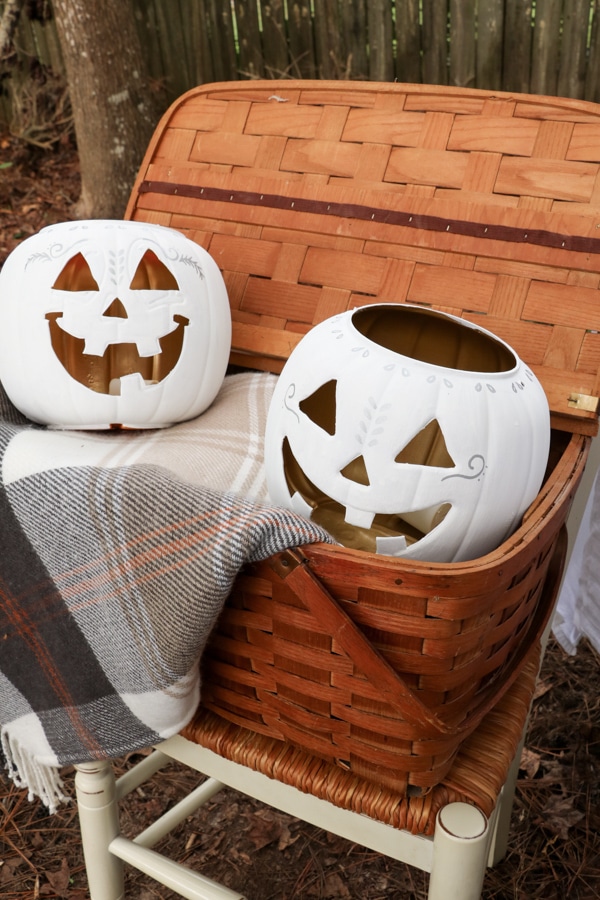
Now set a timer to turn on the candles about 15 minutes before the party and now you are all ready for guests. As Halloween night comes on the luminaries will make the best fun spooky Halloween decorations. LOL!
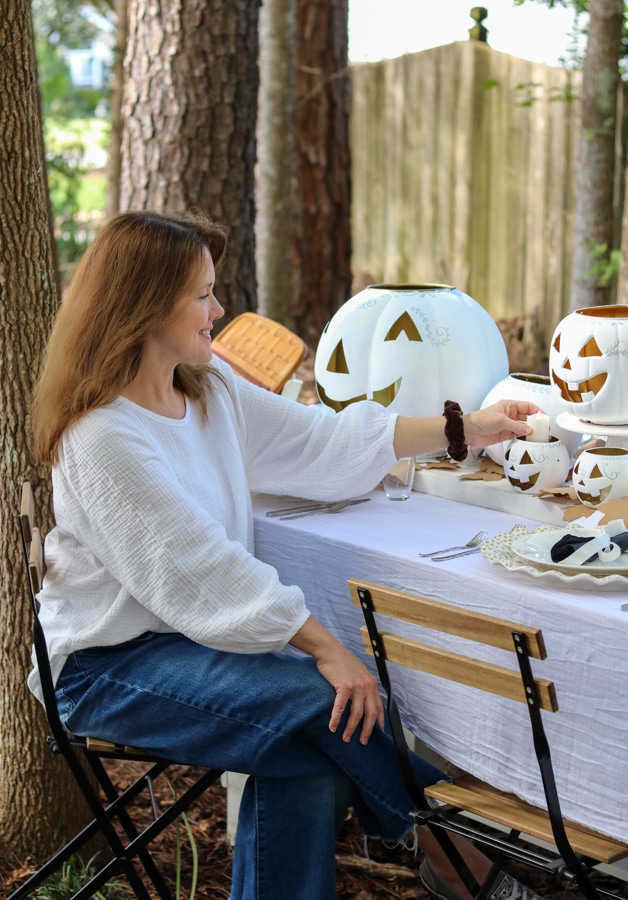
Aren't these fun Halloween party ideas? Halloween is a fun holiday to decorate for.
If you need some recipes ideas check out these Halloween treats at Adventures of Mel. Promise me you will go check them out because they are so funny and spooky and kids will LOVE them. Not to mention they will look AMAZING on these DIY outdoor Halloween table decorations.
Okay, so what do you think? Are you ready to create this outdoor Halloween table? This will make your guests feel so special and make your evening so spooky good. If you need any indoor Halloween decor ideas, check out these printable Halloween decorations that are a fun, easy and inexpensive way to celebrate the spooky season.
Happy Spooky Decorating!

If you enjoyed this post, sign up to receive new decor ideas each week. FREE EMAIL SUBSCRIPTION
