Here are directions on how to make a yarn winter hat Santa garland. This is a jolly garland to add to your Christmas decorations.
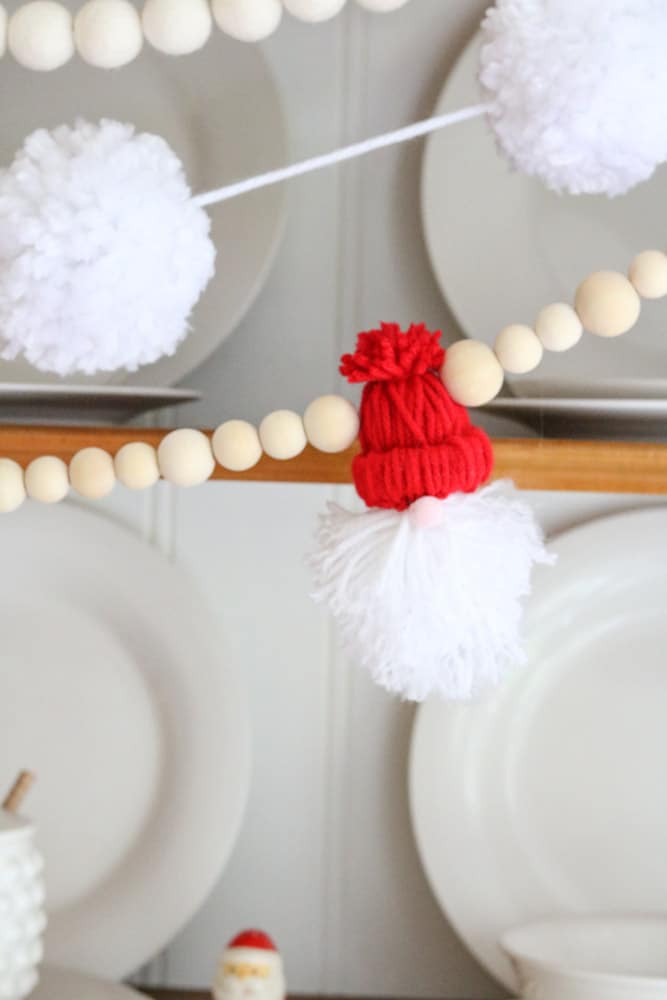
I didn't plan to share how to make a yarn winter hat Santa garland but after several people asked me to send them directions I thought maybe many others would like to make a yarn beanie hat Christmas decoration.
So let's get started making this easy yarn DIY Christmas decor project.
This post contains affiliate links, meaning I receive a commission if you purchase using the links below at no extra cost to you. All opinions are all my own.
HOW TO MAKE A YARN WINTER HAT SANTA GARLAND
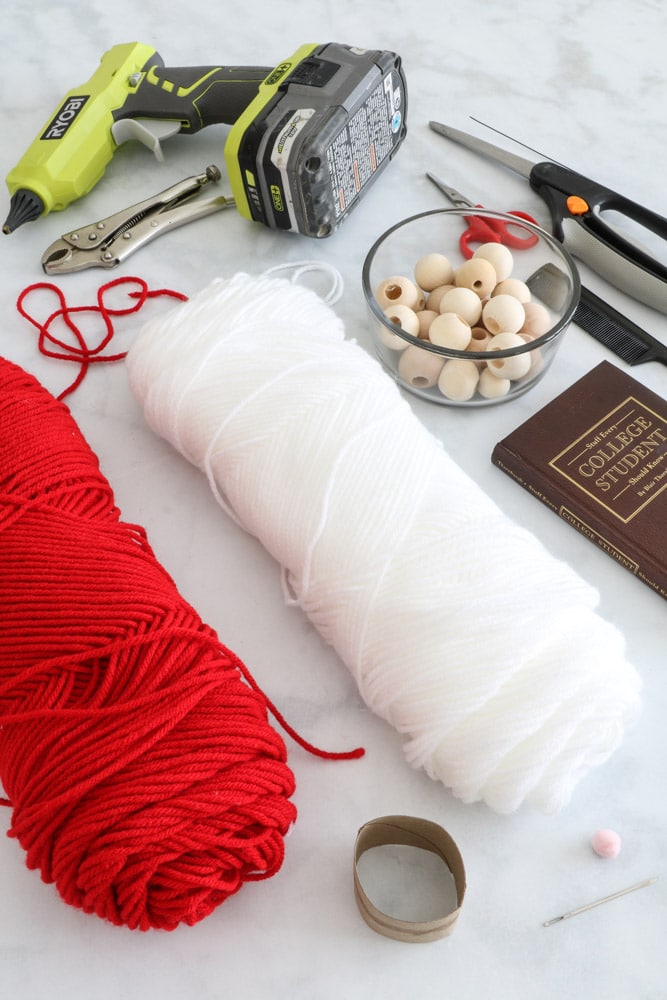
To begin let's gather all the supplies you will need to make this Santa beanie hat garland. Once you have all your materials we will get started.
- Red yarn
- White yarn
- Pink mini pom pom
- Floral wire
- Cotton balls
- Wood beads (I found these in the jewelry section at Michaels)
- Scissors
- Comb
- Glue gun and glue
- 2 locking pliers
- Wire cutters
- Small book (one side is 3 inches and the binding is 1/2″)
- Toilet paper roll or paper towel roll
CHRISTMAS SANTA YARN GARLAND DIY
Now that you have all your supplies grab your toilet paper or paper towel roll and scissors.
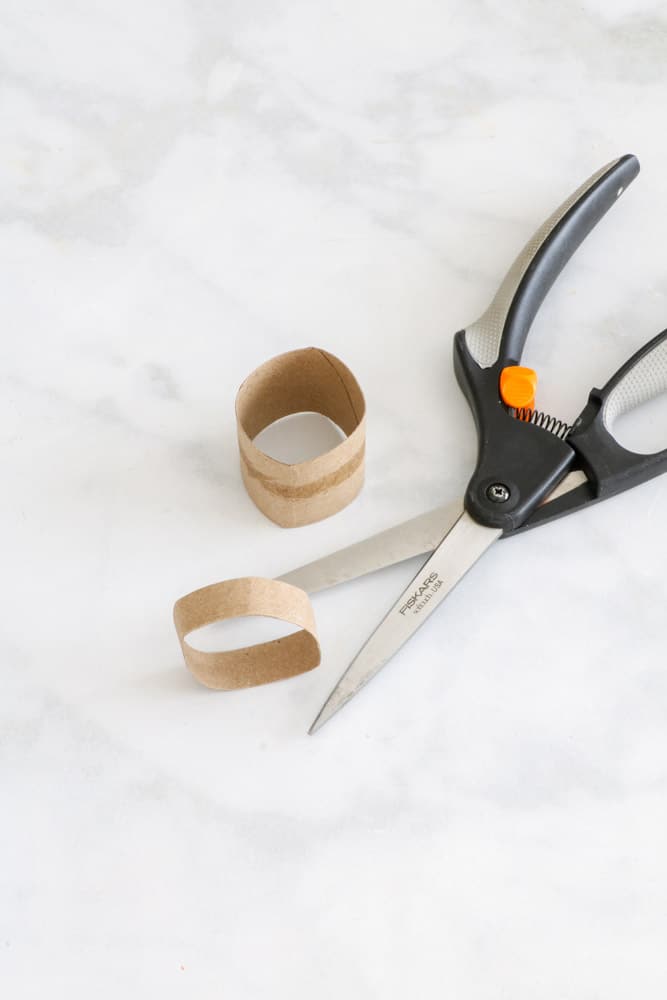
STEP ONE: CUT PAPER ROLL
Take your scissors and cut 1/2″ on the paper roll. Go ahead and cut 5 pieces off if you are planning to make a 55″ long Santa garland.
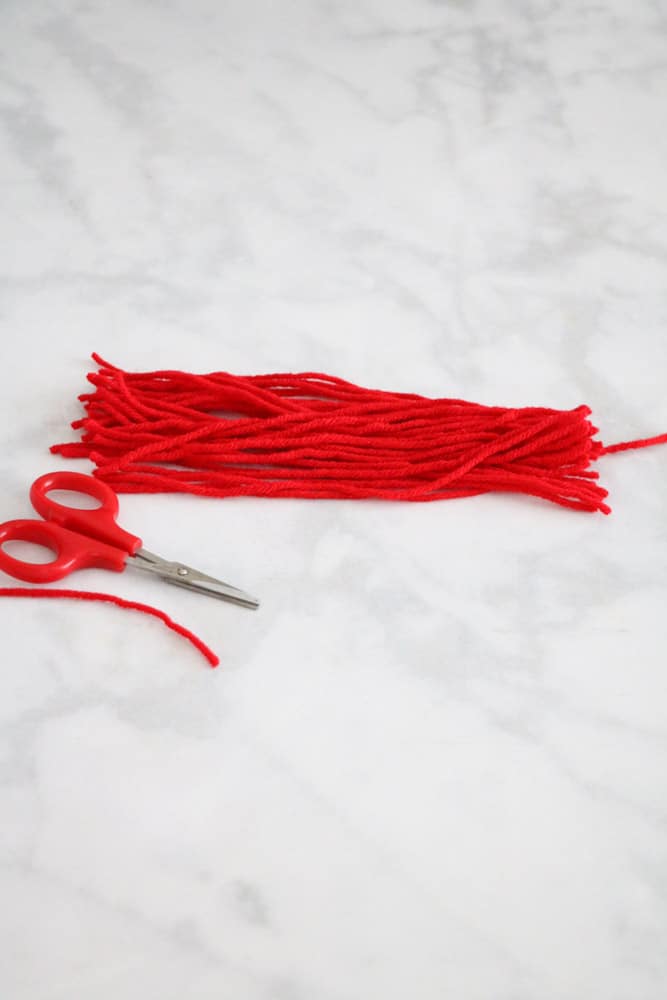
STEP TWO: CUT 30 RED YARN PIECES
Now take and wrap the red yarn around the book 30 times. When you are finished cut the yarn along the binding.
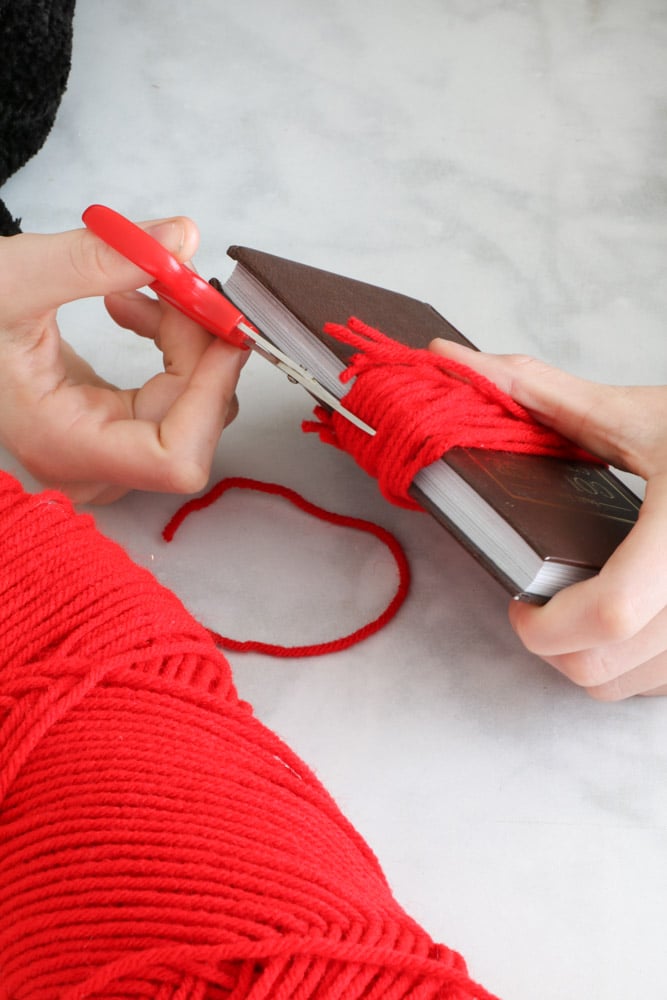
Then lay out the yarn on a table.
STEP THREE: THREAD AND TIE EACH YARN
Next, take one piece of red yarn in your hand and match the ends. Then thread it through the cut paper roll and then through the loop of yarn on the other side.
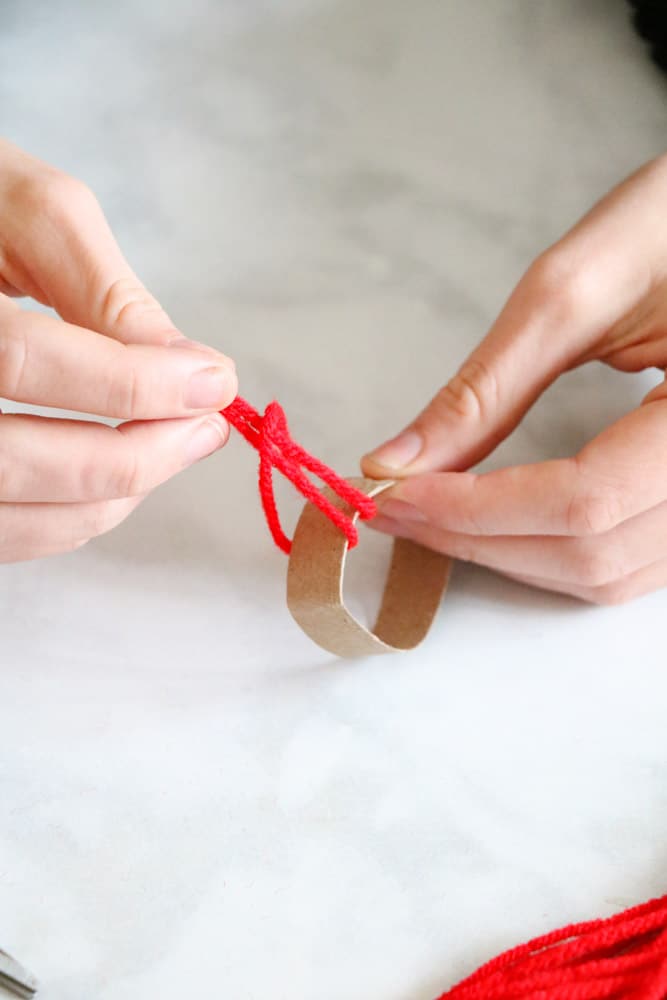
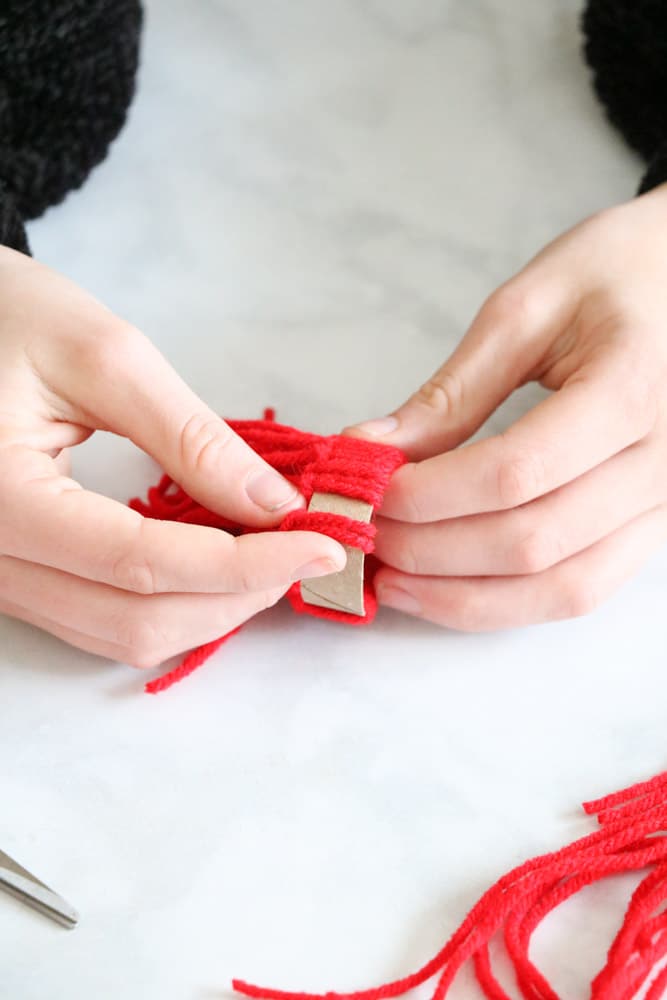
Pull it taught and make sure the yarns are not overlapping. The neater you make this the cleaner the hat will turn out. Repeat this step all the way around.
STEP FOUR: PUSH YARN THROUGH HAT
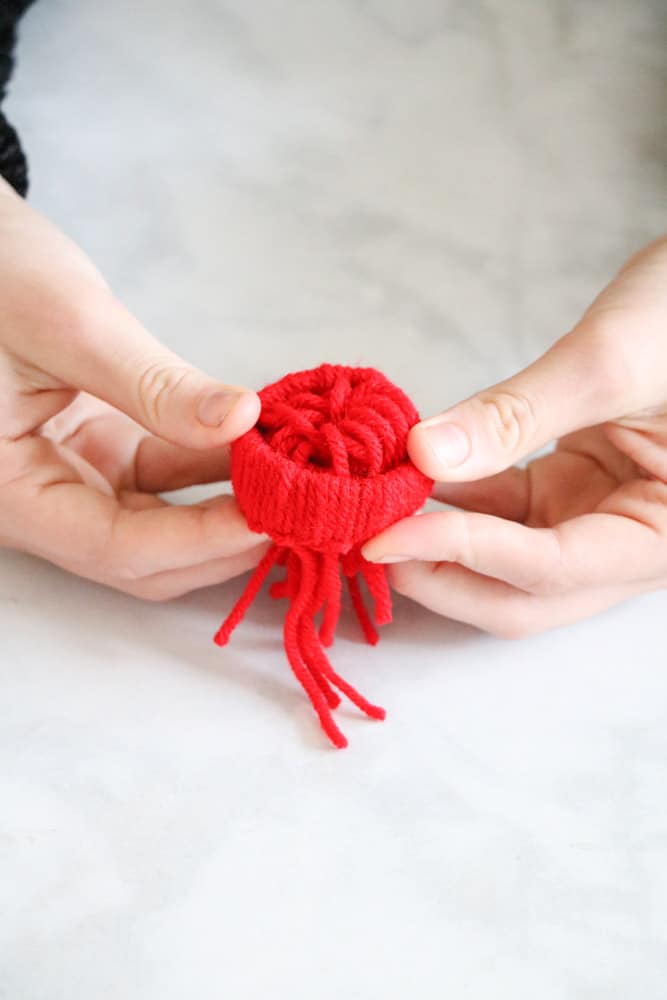
Now push all the pieces of yarn through the center of the paper roll. Use your fingers to smooth it out as much as possible.
STEP FIVE: HAT POM POM
Next cut another piece of red yarn about 4 or 5 inches long and lay it on the table. Then sit the hat on the yarn and tie it together. I tied the tie about 1/2″ from the top.
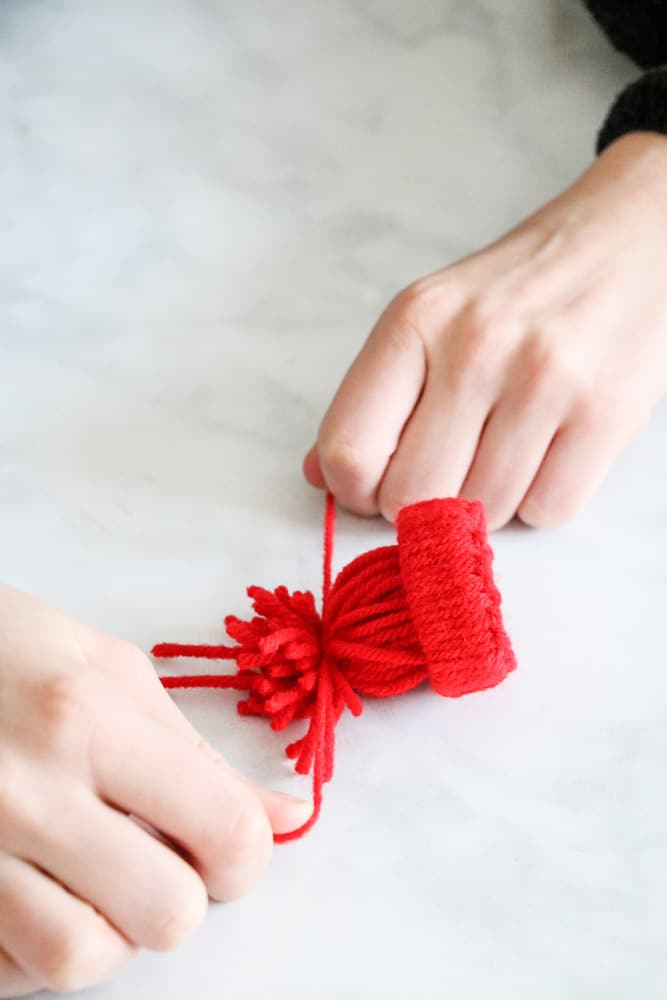
Then trim the pom pom on Santa's winter hat.

STEP SIX: STUFF THE HAT
Isn't this winter hat adorable! Now stuff two cotton balls inside the hat. This really fills it out and makes it look like a beanie.
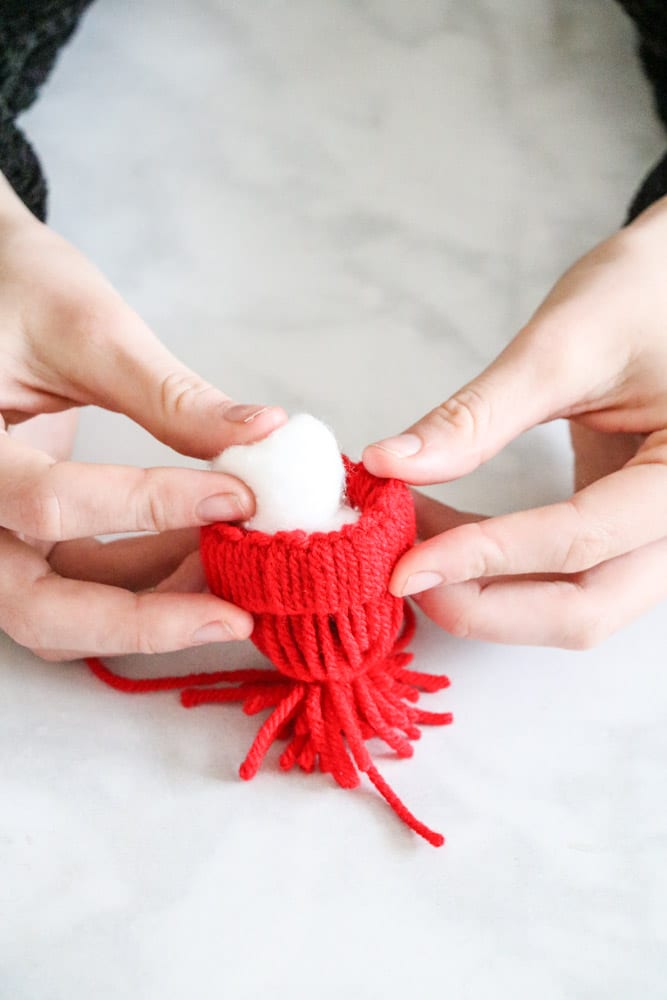
Now you have a winter beanie hat. You can make a garland of the hat or add a beard to make it St. Nicholas.

STEP SEVEN: SANTA'S BEARD
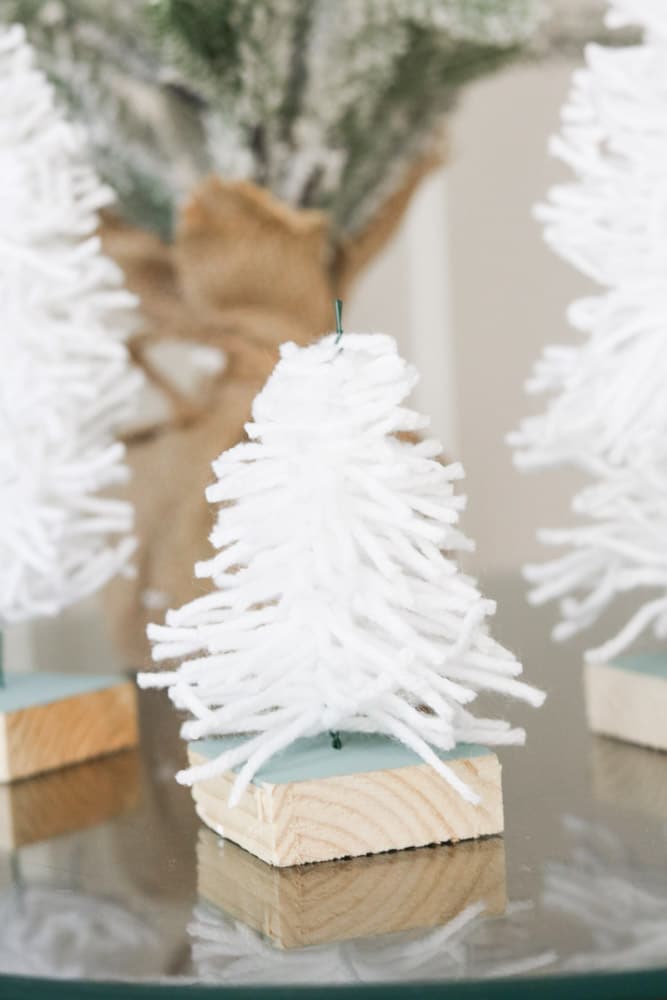
Santa's beard is basically the step on how to make an easy bottle brush tree DIY.
STEP EIGHT: CUT YARN
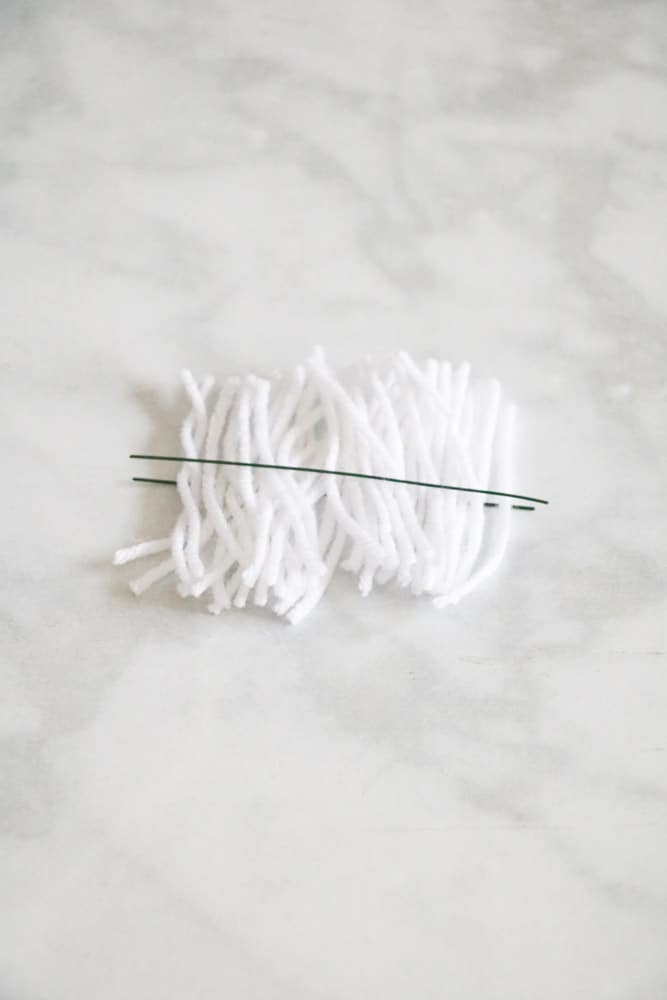
Wrap white yarn around your hand 25 times then cut each side and place it on a piece of floral wire that is cut to 3 inches long.

STEP NINE: TWIST YARN
Next, place another piece of floral wire on top and using the locking pliers on each end twist in opposite direction. Twist as tight as you like until it is a good fullness. Remove the locking pliers and smooth down the yarn to one end.
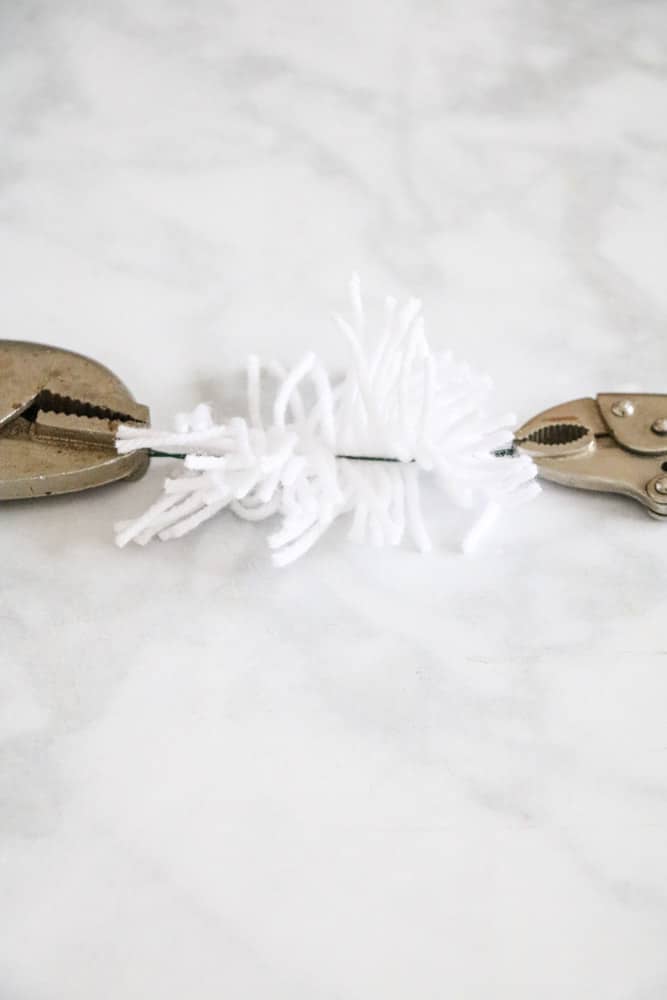
STEP TEN: COMB AND TRIM BEARD
Then take a comb and brush out the yarn so it frays the ends and makes it look more like a beard. Trim any crazy pieces unless you like the crazy look. LOL!
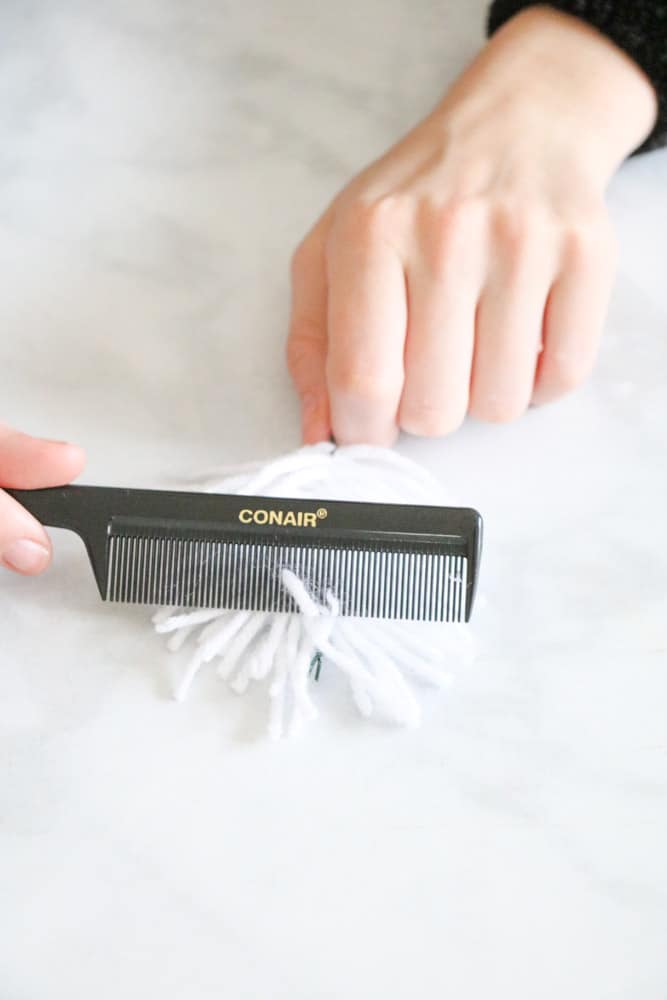
STEP ELEVEN: ATTACH BEARD
Next bend the top end of the beard.
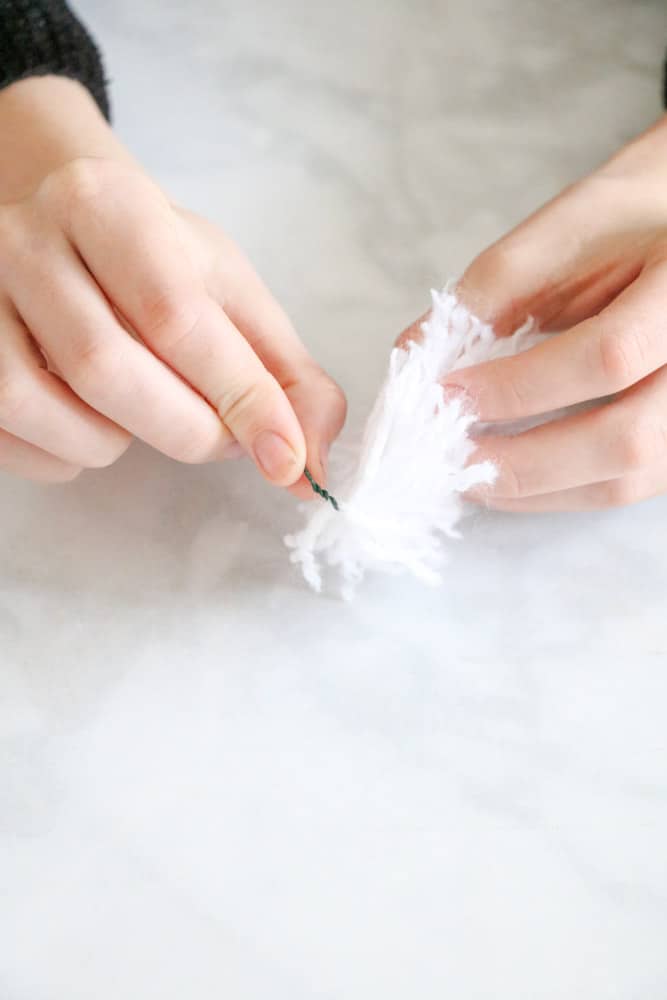
Then glue it inside the hat around the edge and in the middle on the cotton ball.
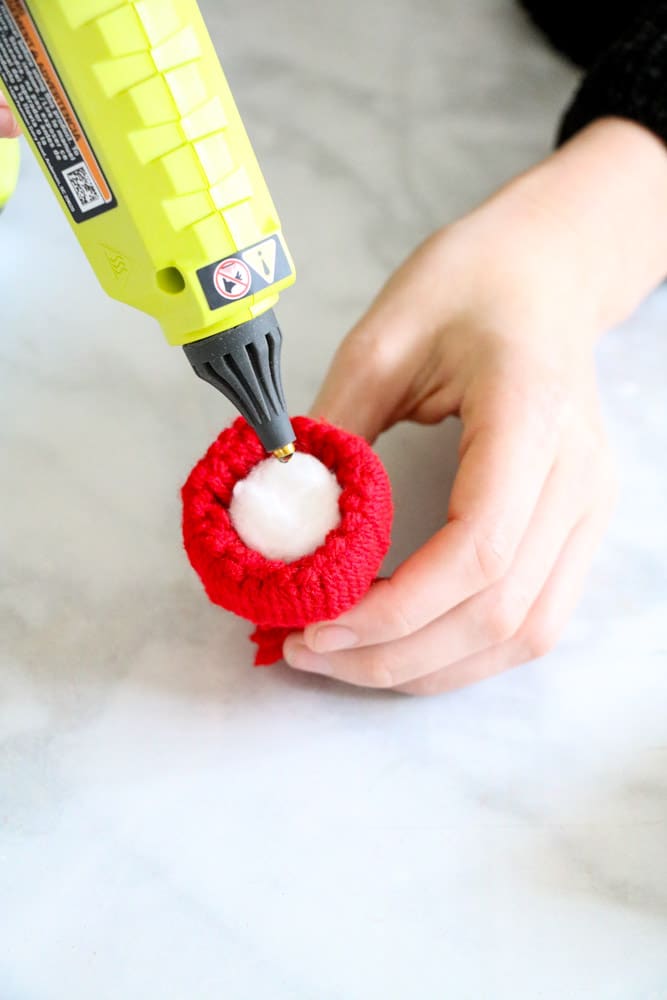
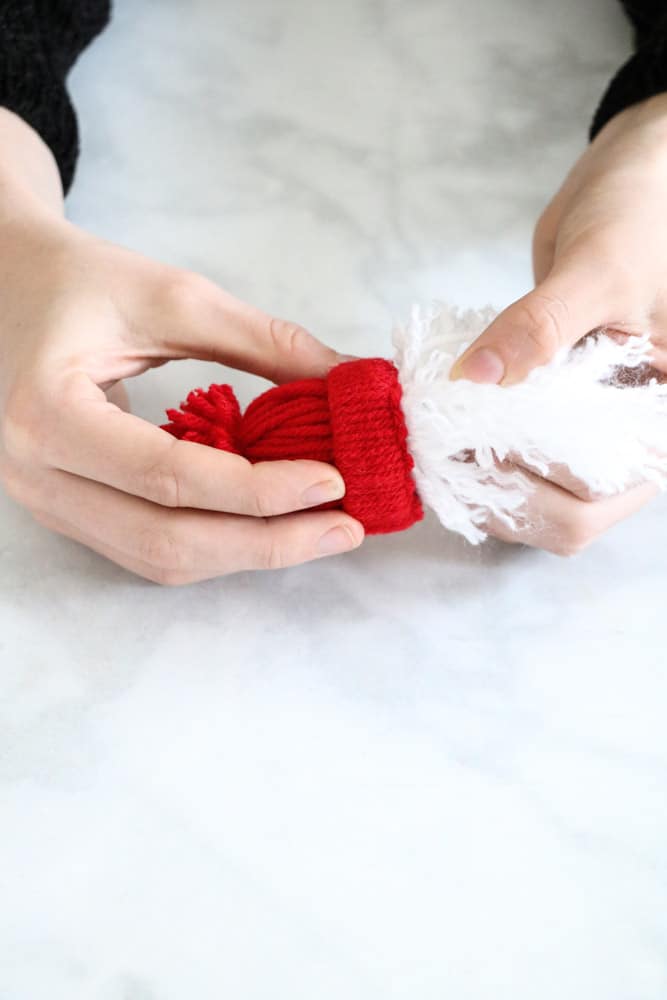
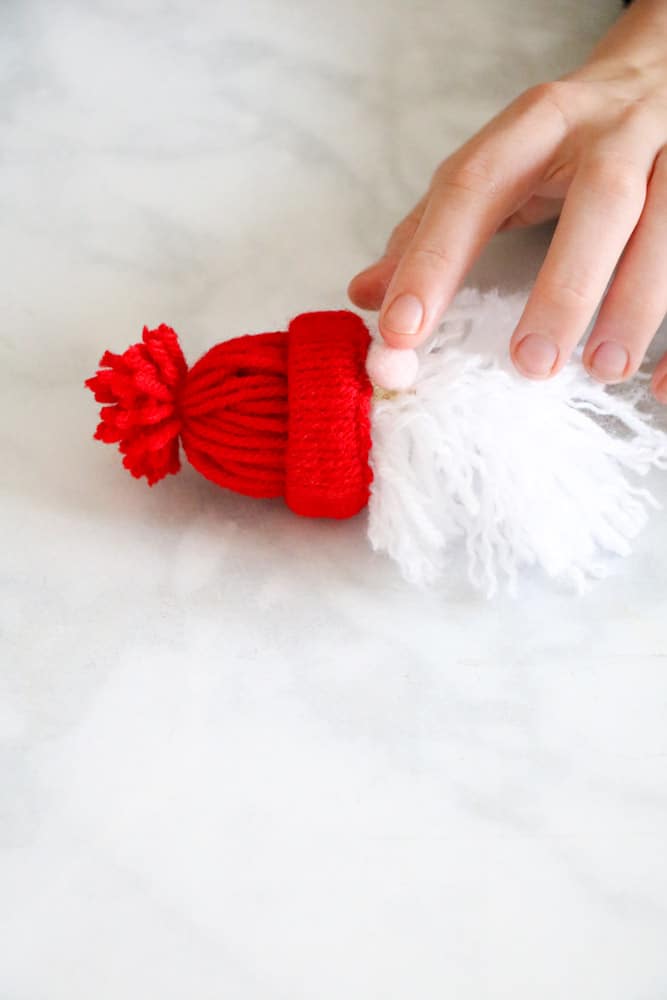
STEP TWELVE: ATTACH SANTA'S NOSE
Last use the glue gun again and glue on a pink mini pom pom ball for a nose.
STEP THIRTEEN: SEW SANTA ON GARLAND
This last step is very easy. If your garland is 55 inches long then add 11 beads between each yarn Santa. If it is longer or shorter you will need to add and subtract beads between Santa's.
The easiest way to thread wooden beads and winter hats are to use a large yarn need. Thread a 60-inch piece of white yarn through the needle then start adding 11 beads.
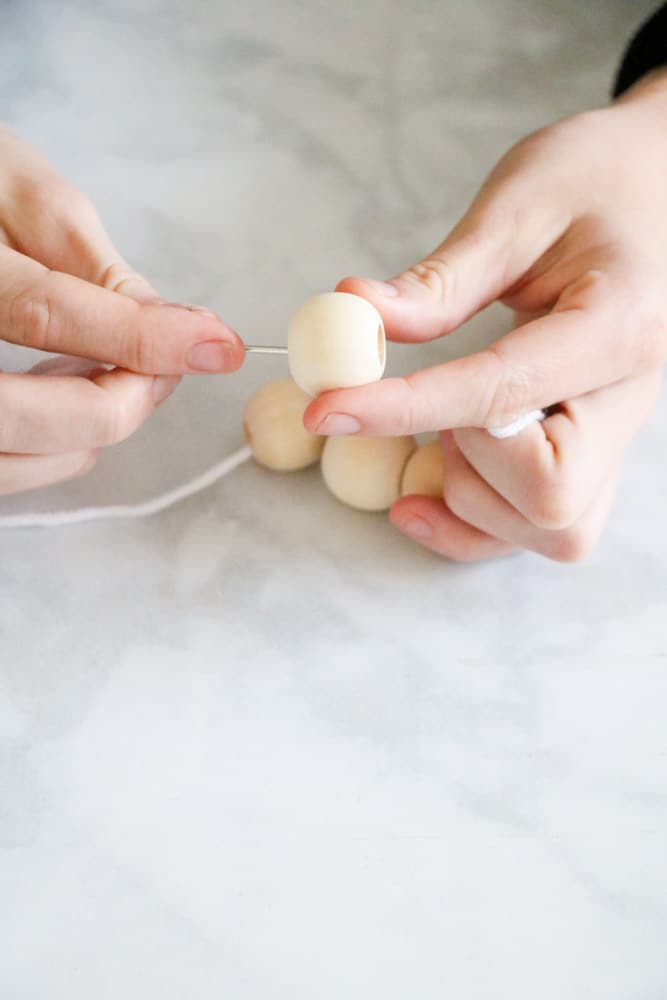
Next sew through a winter hat and out the other side then add 11 more beads. Continue this until you have all the Santa's on the garland.
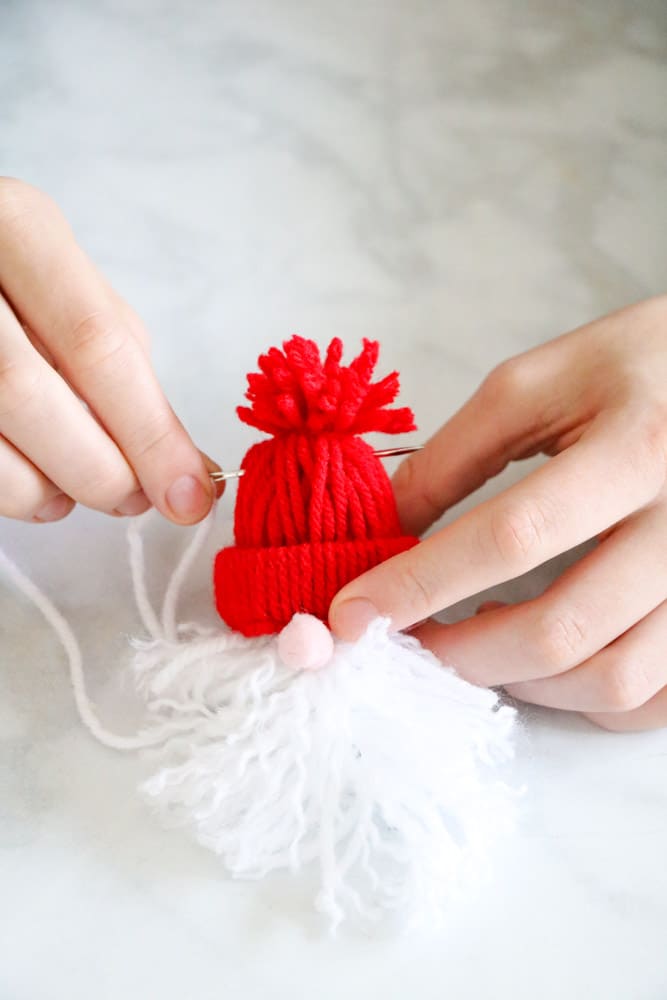
And guess what? You are finished!!
Tie knots in the ends and hang your yarn Santa garland anywhere. We hung ours on the hutch in our kitchen.
Conclusion
If you are wondering how I hung my Christmas garland I basically nailed tiny fine nails into the top of the hutch and placed the loop I just created on the end of the yarn over the nail.
Fun places to hang your winter hat Santa garland is on your fireplace mantle. Here are lots of Christmas mantel ideas. Another fun place is on mirrors like your mirror in your bathroom. Or you can hang him on furniture or a hutch.
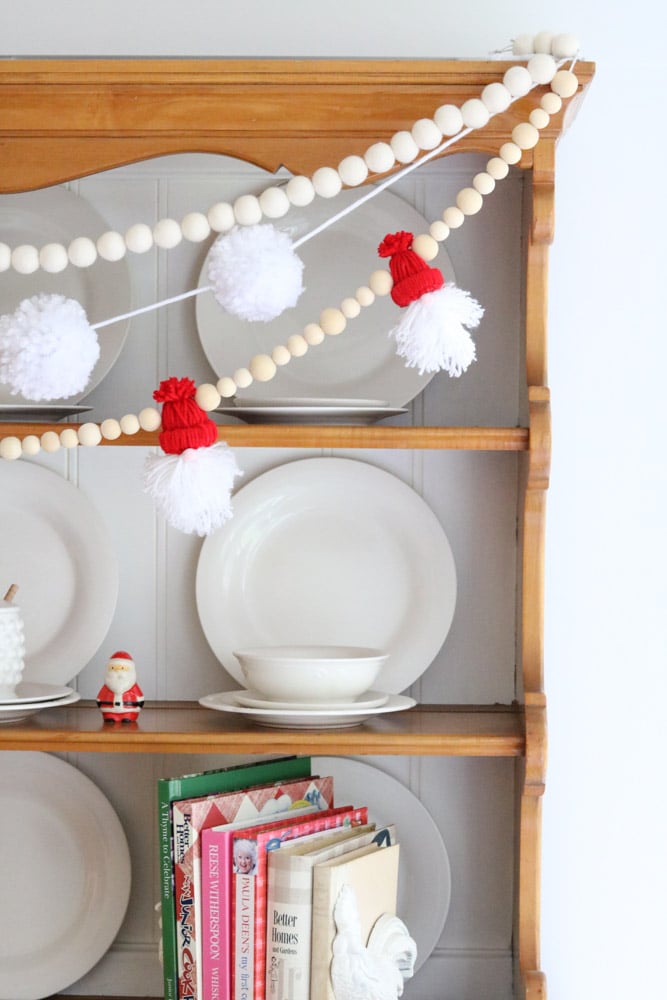
I hope you have enjoyed learning how to make a Christmas garland with Santa yarn hats.
Thanks for joining me and I hope you enjoy your Santa garland.
Happy Decorating!


If you enjoyed this post, sign up to receive new decor ideas each week. FREE EMAIL SUBSCRIPTION

Michelle
Monday 21st of November 2022
How long is the red yarn?
Linda McDonald
Monday 21st of November 2022
Are you talking about each piece of red yarn I wrap around the piece of paper towel roll? Each piece of yarn is 7" long.
Donna
Sunday 5th of December 2021
Adorable pattern and just what I’ve been looking for! Thank you so much! WAY TO MANY ADVERTISEMENTS! Good grief! I wanted to throw my phone through the window before I could get to the end. Really just WAY to much!
Linda McDonald
Wednesday 8th of December 2021
I am glad the tutorial is helpful.
HOW TO CREATE A MAGICAL CHRISTMAS TREE CENTERPIECE
Tuesday 26th of January 2021
[…] be super cute to add to this Christmas buffalo check tablescape? I have directions on how to make a yarn winter hat Santa garland that would match perfectly and be so cute hanging on a piece of furniture, mantle, or anywhere […]
EASY YARN DIY BOTTLE BRUSH TREE | LIFE ON SUMMERHILL
Saturday 19th of December 2020
[…] that you know how to make these yarn trees you can easily make this yarn winter hat Santa garland. It is another easy and fun […]