Here is a paint over tile floors step by step tutorial with video. This paint ceramic tile floor DIY will update your home in a couple of days, it is easy to do and cost less than replacing tile. You will not believe how durable and simple the project is to create.
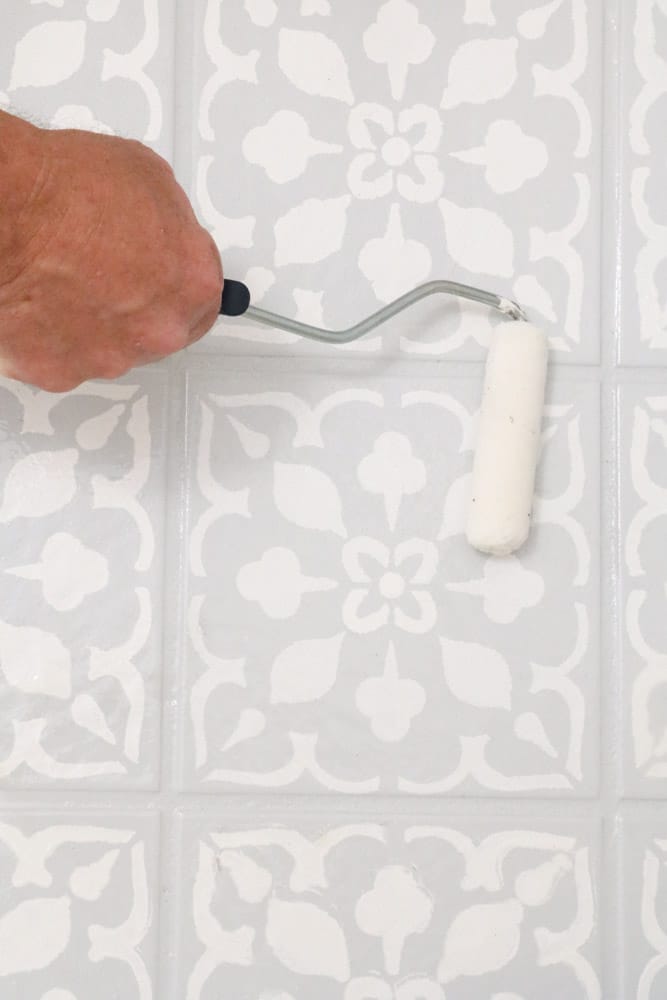
Probably one of the biggest transformations on a tight budget was this paint over tile floors project. I could not believe how easy this home improvement project turned out to be and how durable to finish is on the ceramic tile floor.
We stenciled our design but this DIY can be used for just painting the tile without any design work.
This post contains affiliate links, meaning I receive a commission if you purchase using the links below at no extra cost to you. All opinions are all my own.
Paint Over Tile Floors
Recently we shared DIY flooring ideas from paint to pops. I was so inspired until I couldn't wait to try it myself.
Let's jump right into the details on how to prep, paint, stencil, and finish this tile floor. We did this in three days but you can easily do it in two days. Here are the supplies you will need.
What do you need to paint tile floors?
- Painters Tape
- Tile paint kit (we used Rustoleum which comes with a base, topcoat, and cleaner) make sure to purchase smoke color to paint the whole floor if you are doing the same design as in this post
- Stencil (if you plan to stencil a design)
- Tile paint base (only needed if you plan to stencil) make sure to purchase in white color if you are doing the exact same design
- Roller (lint-free)
- Roller frame
- Paint tray for rolling
- Cleaning cloth
- Bucket for water to clean the floor with cleaner provided in the paint kit
How to Paint Ceramic Tile Floors
Before we jump into how to paint ceramic tile floors I want to share that this project also works on any tile floor, concrete and linoleum. So as you can see there are many options to update your old flooring.
Let's get started by cleaning your tile floors.
How to Clean Tile Floors to Paint
If you bought the Rustoleum tile paint kit then it comes with a floor cleaner but if you didn't purchase this floor paint kit then grab some vinegar and water to clean your tile floor.
Simply follow the directions on the Rustoleum tile paint kit to mix the solution in water and start wiping down the floor with a clean cloth.
If you are using vinegar and water I would mix one part vinegar to three parts water or 1 cup vinegar to three cups water.
Place a clean cloth into the water and ring it out so that the cloth is damp.
Then start in one corner and wipe the tiles until the cloth comes clean. If your floor is really dirty you may need more than one clean cloth.
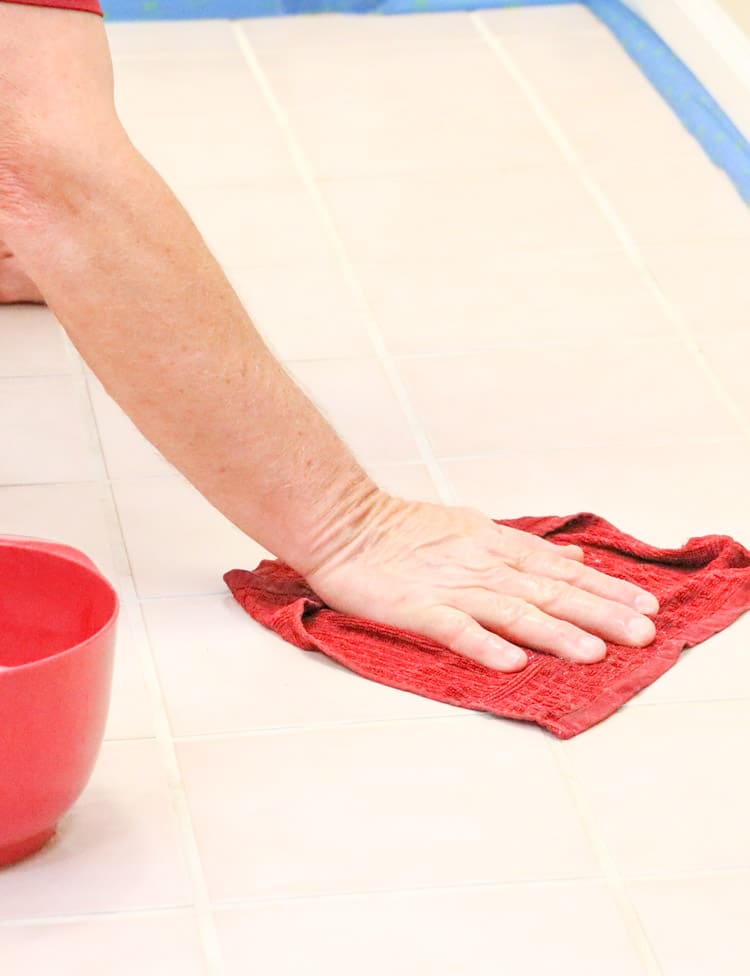
If I had to do this over again I would use a lint-free cloth to clean the floor. Probably an old t-shirt would work better too.
Tape the Baseboard Close to the Tile
Next, take some painters tape and start taping the shoe mold or baseboard up against the tile floor.
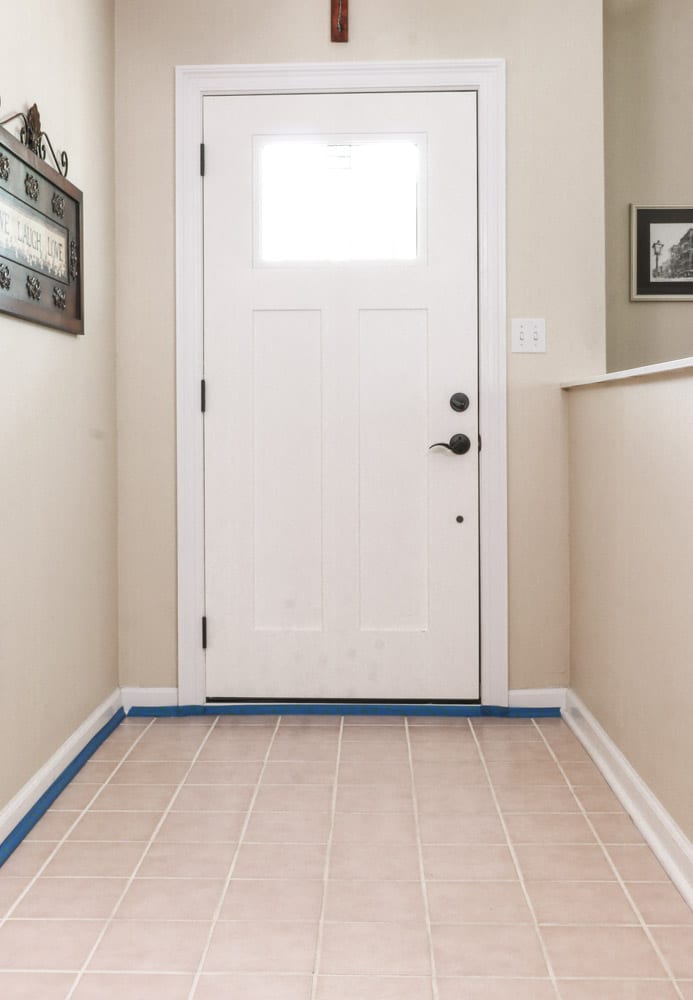
You are taping the baseboard so that the paint doesn't get on the shoe mold and baseboard. Make sure the tape doesn't have any bubbles or is curling up. Use your finger to score the edge of the tape where it connects to the tile.
Roll on the Base Coat of Paint
Next, make sure there is nothing on the tile floor. Look for any lint, dust, or anything before you apply the base coat.
Now cut along the edges with paint like in this photo below and work the paint into the grout where it connects to the baseboard.
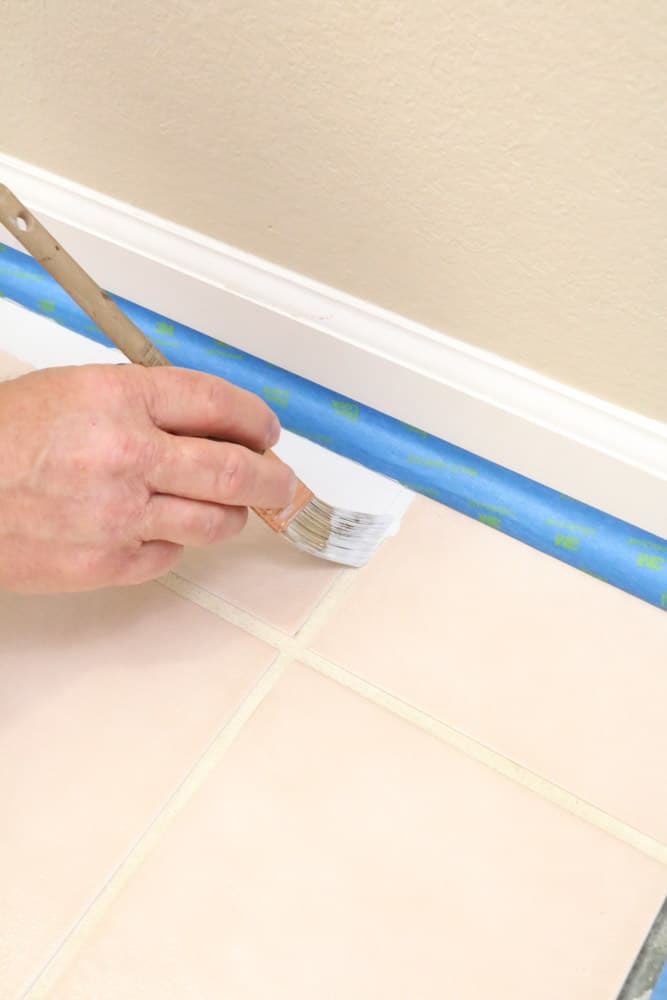
Now place some base paint into the tray.
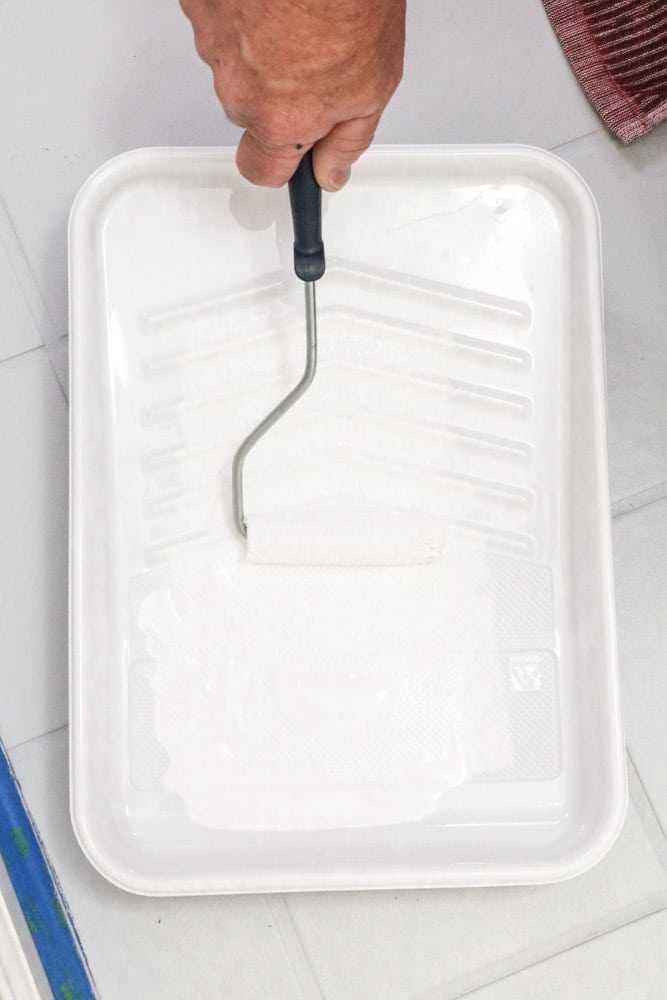
Start in one corner preferably the corner away from the doorway and start rolling the base coat onto the floor. Move back towards the doorway and keep rolling in a methodical motion.
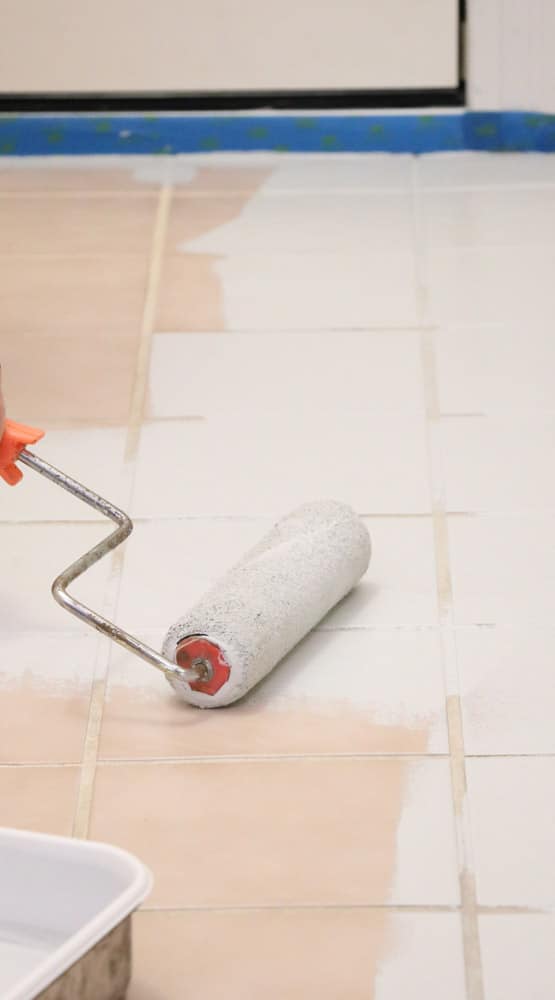
Apply a good coat but not to thin or to thick. Once you have reached the end of the floor let it sit for two hours. We chose to let it sit overnight because we plan to stencil and we don't want the paint to be tacky when we have to neal on it to stencil.
Stencil Tile Floor
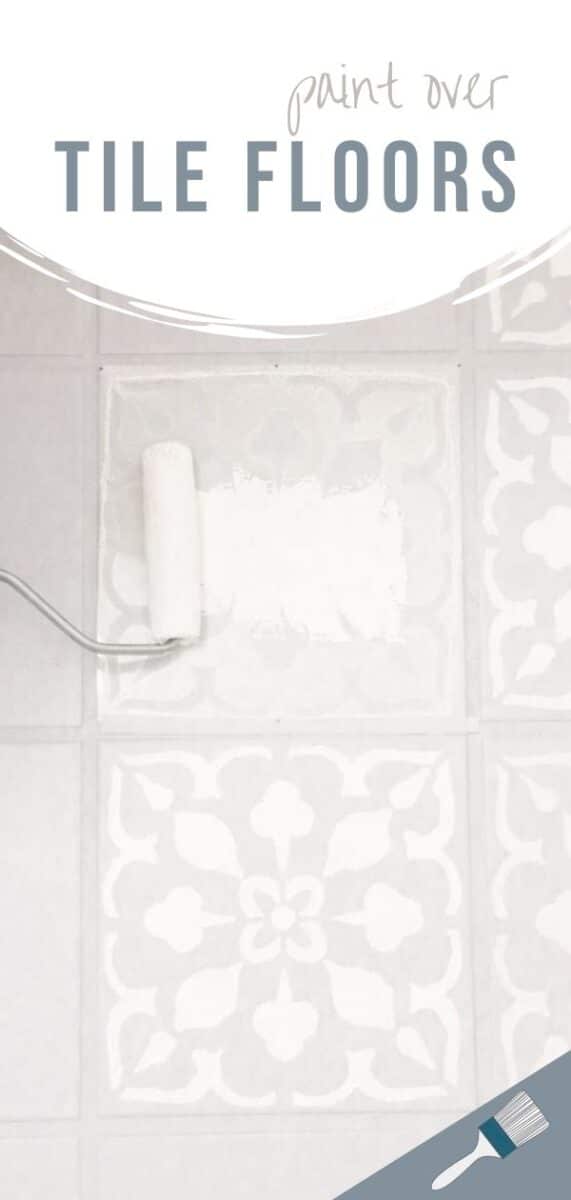
If you plan to stencil your tile floor then here is how we did ours. Simply purchase a stencil that is the same size as your tiles. Our tiles were 8″ so we got an 8″ tile.
Next place your stencil centered on the tile.
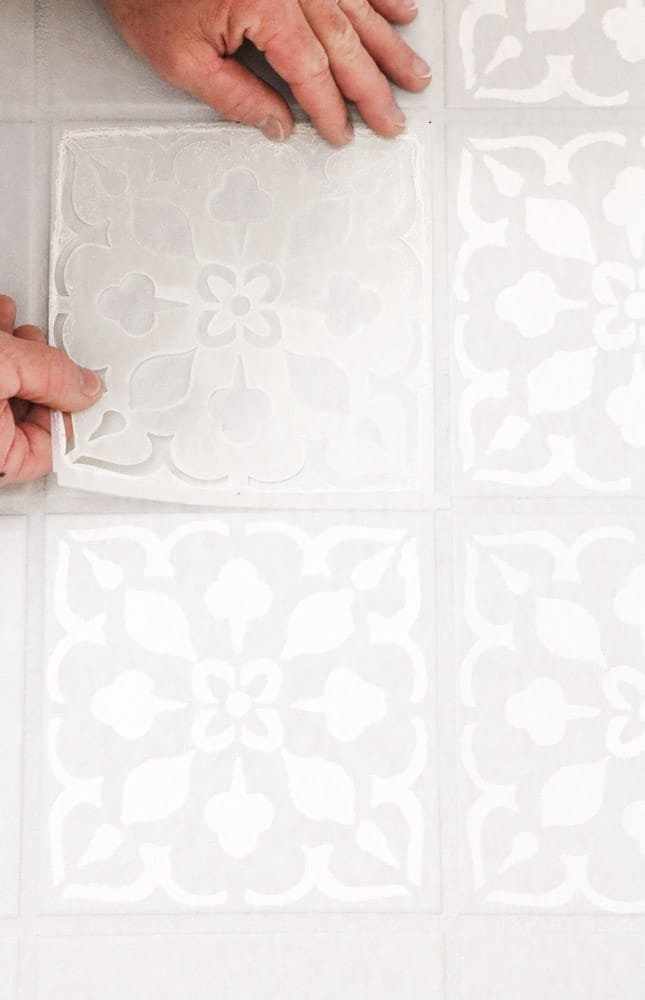
Then apply a thin coat of paint on your roller and roll over the stencil.
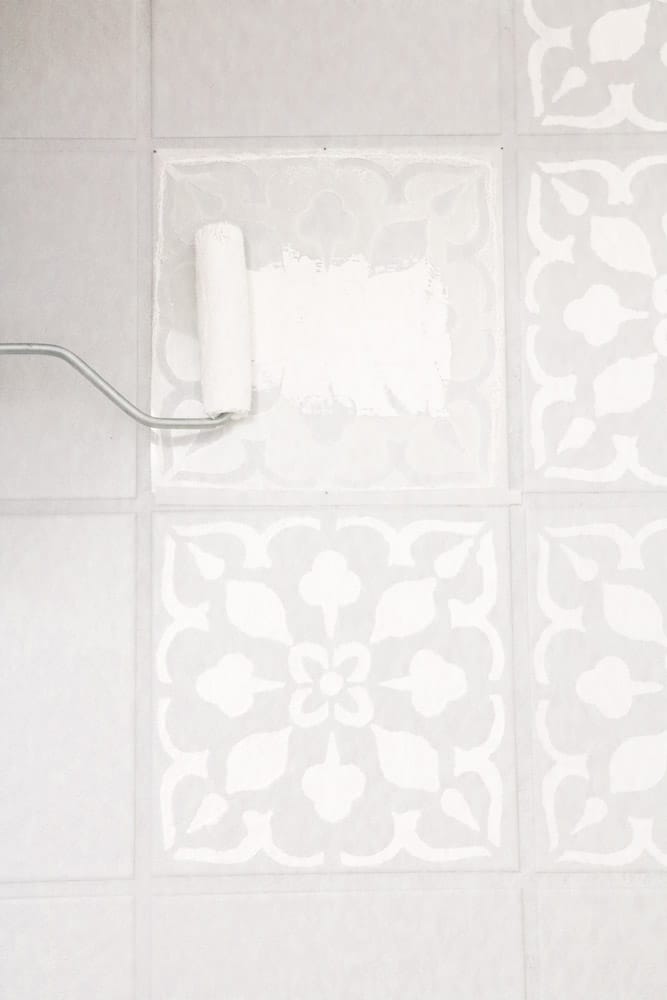
Once you have applied the paint simply grab the corner of the stencil and pull it up carefully.
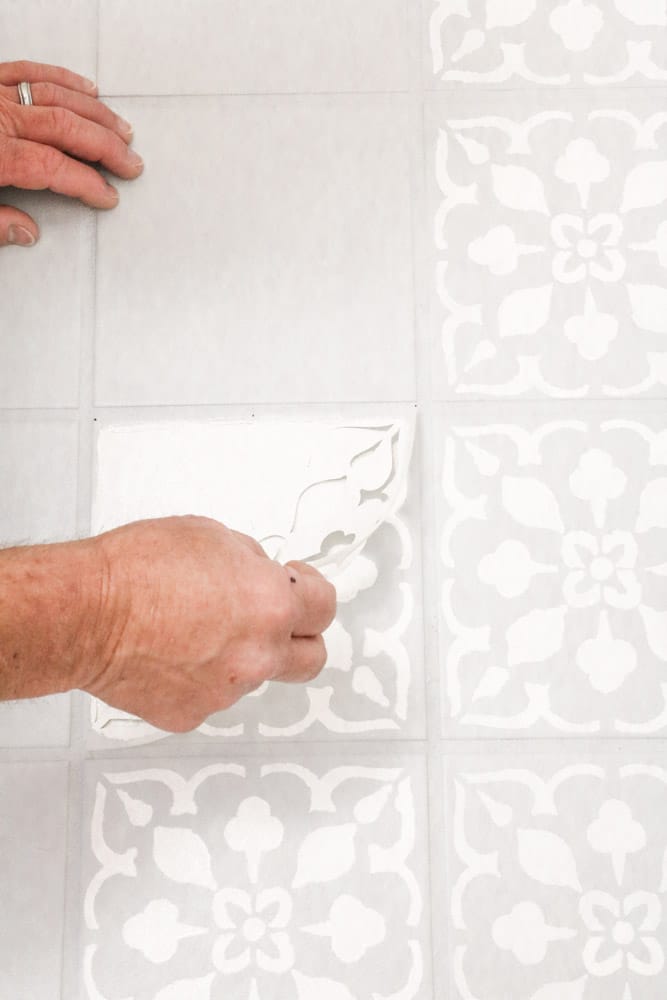
You may be able to place the stencil again and roll the paint over it again but after the second time, you will probably need to wash it. We chose to wash our stencil after every use.
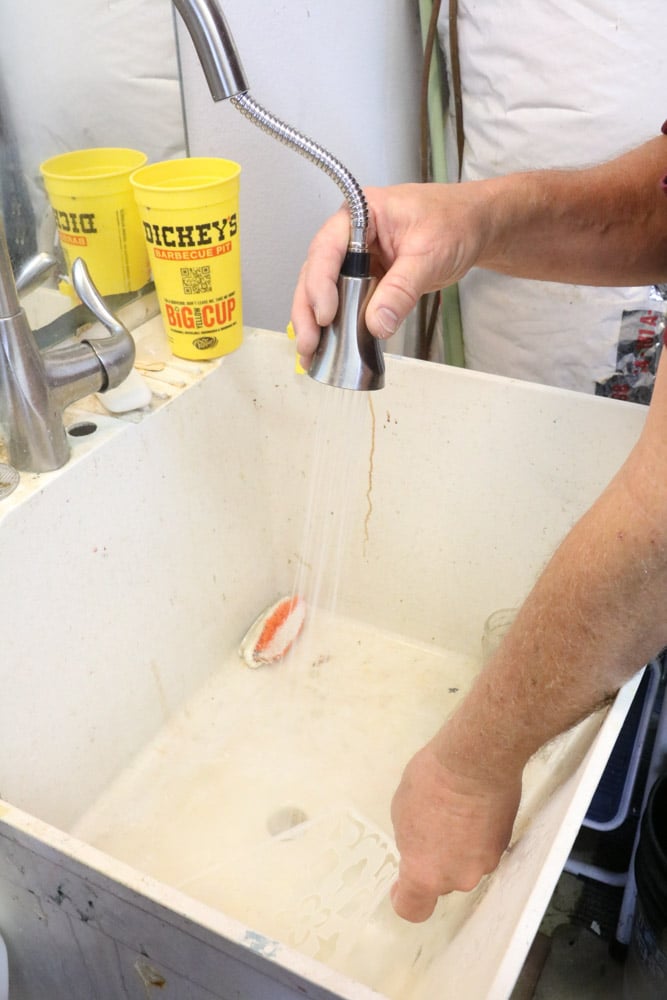
Once you have cleaned your stencil make sure to dry it off with towels before laying it back down on the floor.
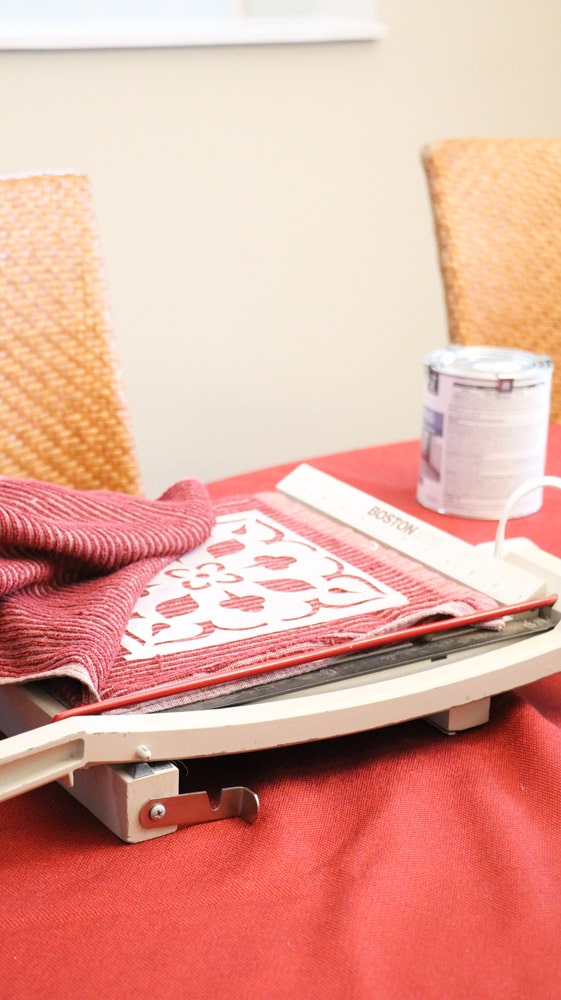
Once you have all the full stencil pieces done you will need to cut your stencil to do the edges or smaller tiles. Simply cut the stencil to fit and repeat the process of applying the paint.
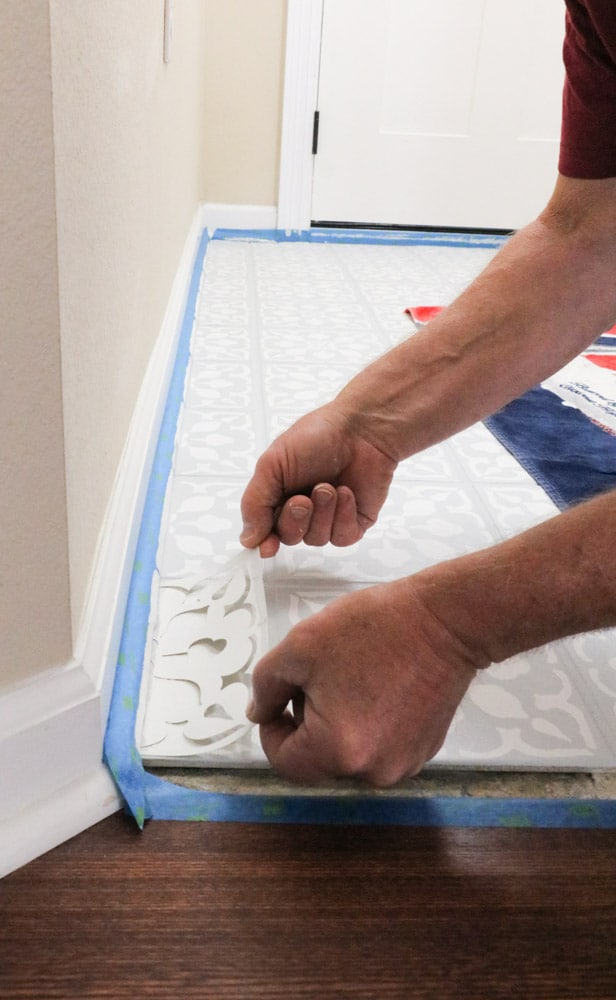
Here is an idea for a more challenging stencil spot.
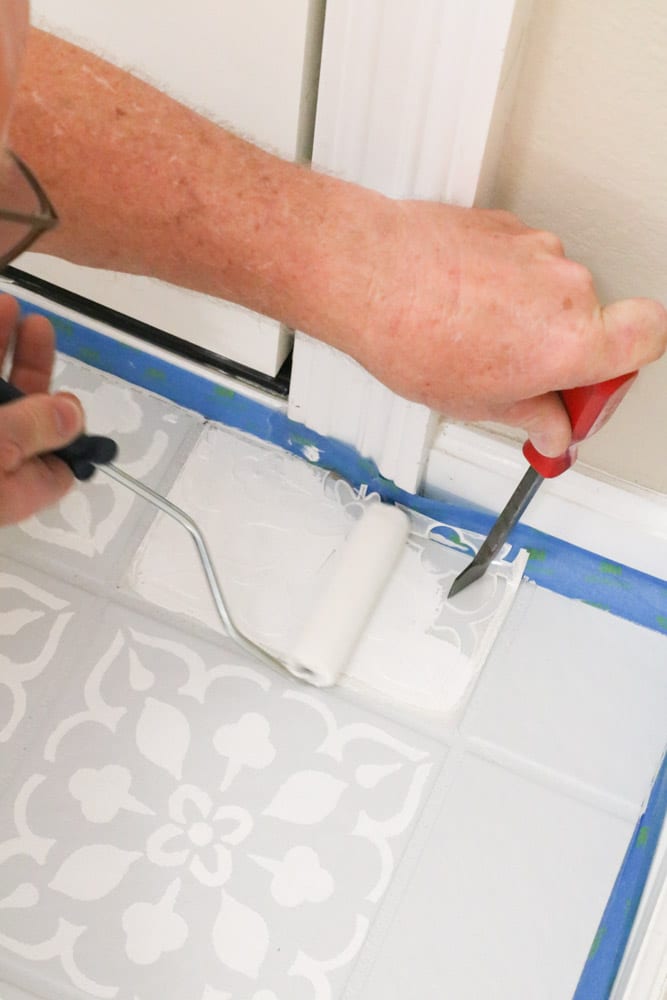
We also found it easier to use a small artist brush in tight places.
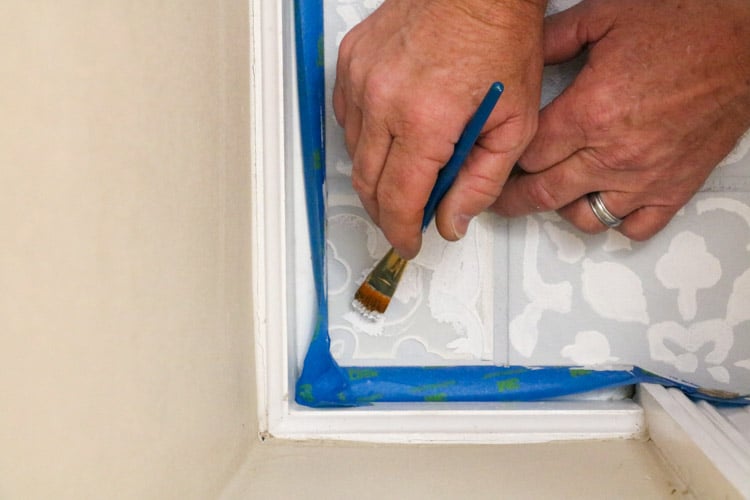
Stenciling is super easy but takes a lot of time. After we stenciled the design on the floor we decided to wait another day before applying the topcoat. But if you are low on time then 2 hours will work.
Apply the Top Coat over Painted Tile Floor
Now we the project just keeps getting easier. Again make sure there is nothing on the floor like lint, dust, and so on. Just like the base coat put some paint in the paint tray and start rolling the clear coat on the floor moving from one corner to the doorway.

Once you are finished let it dry two hours or another day like we did and you are all finished! YAY!!
Now you may have a few more questions about paint over tile floors like does it last and what paint is the best to paint tile floors.
Does Painting Tile Floors Last?
Because this is our first project I waited over a month to give you some feedback on if painting tile floors last.
So far they are holding up beautifully. This is not a high traffic area because people do not use the front door all the time but so far it is holding up amazingly.
What Paint is Best for Tile?
After doing some research I decided to go with the Rustoleum tile floor paint kit. I read where several other people had used it and were happy with the results and durability.
Conclusion
Gone are the days of pink floor tile in this home that had nothing pink in its decorations. Now the entryway floor tile matches the rest of the house.
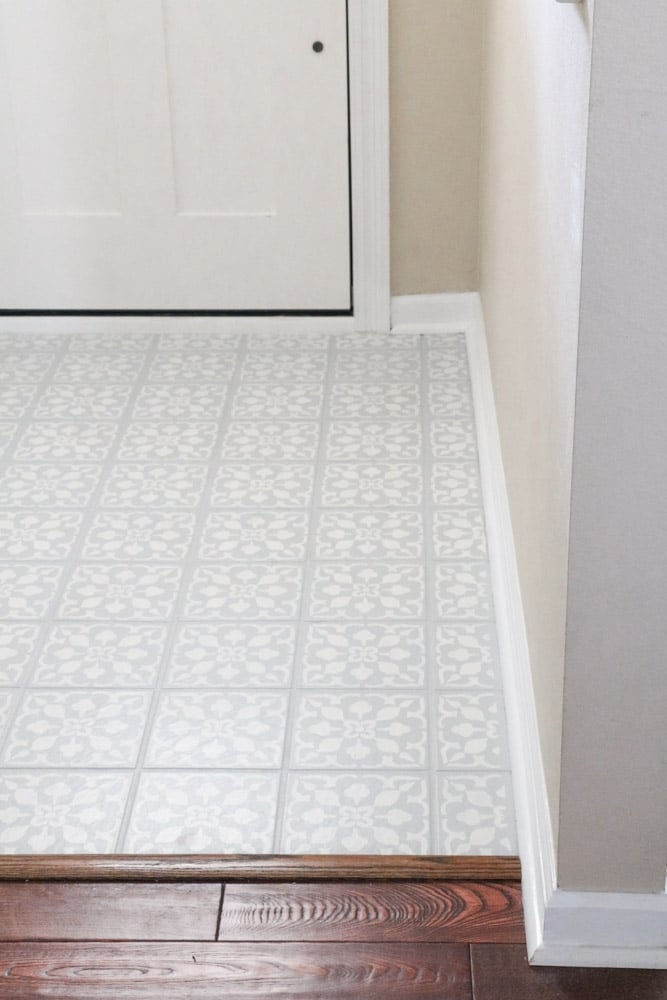
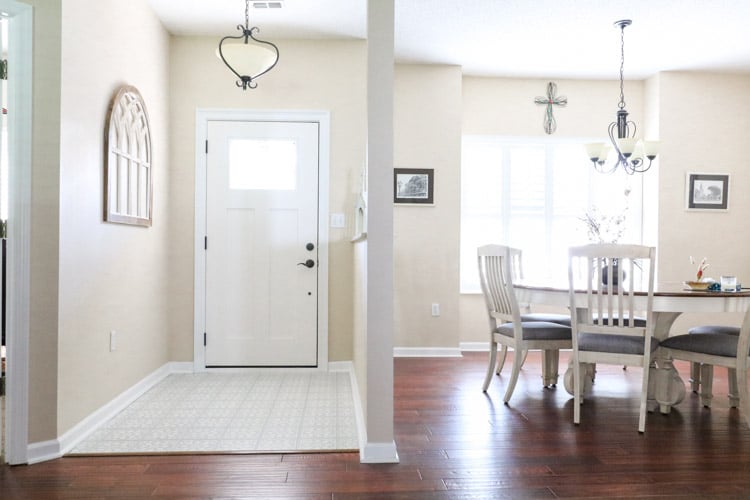
This paint over tile floors project was so easy. The stencil part was time-consuming but it was simple also.
If asked if I would do this again the answer would be yes, yes, and yes. There is no reason to live with a tile floor that you don't like now that there is paint that is durable for ceramic, concrete, and linoleum.
I hope you find this DIY helpful and I cannot wait to see what your floor turns out to look like.
Happy Decorating!


If you enjoyed this post, sign up to receive new decor ideas each week. FREE EMAIL SUBSCRIPTION

tanya brady
Monday 25th of October 2021
What color did you use for the stencil?
Linda McDonald
Wednesday 27th of October 2021
We used ultra white for the stencil and pearl-grey for the base. If you go back to the supply list and click on any words in blue that is a link that will take you straight to the product we used. Good luck!
HOMEMADE CHALKBOARD | LIFE ON SUMMERHILL
Monday 21st of September 2020
[…] paint with a black finish for my DIY framed chalkboard. I love Rustoleum products! They also have a paint over tile floors paint which is […]
DIY FLOORING IDEAS FOR YOUR HOME | LIFE ON SUMMERHILL
Monday 21st of September 2020
[…] new flooring doesn't have to break the bank. We know because recently we decided to paint over tile floors and it turned out amazing! When we were planning to paint our tile we discovered other fabulous […]