Today I am sharing how to decorate a chandelier in your home for a party or home decor with flowers. Simple and easy DIY flowers on chandeliers project will brighten up your room, and you can leave it up after it dries as a beautiful home decoration.
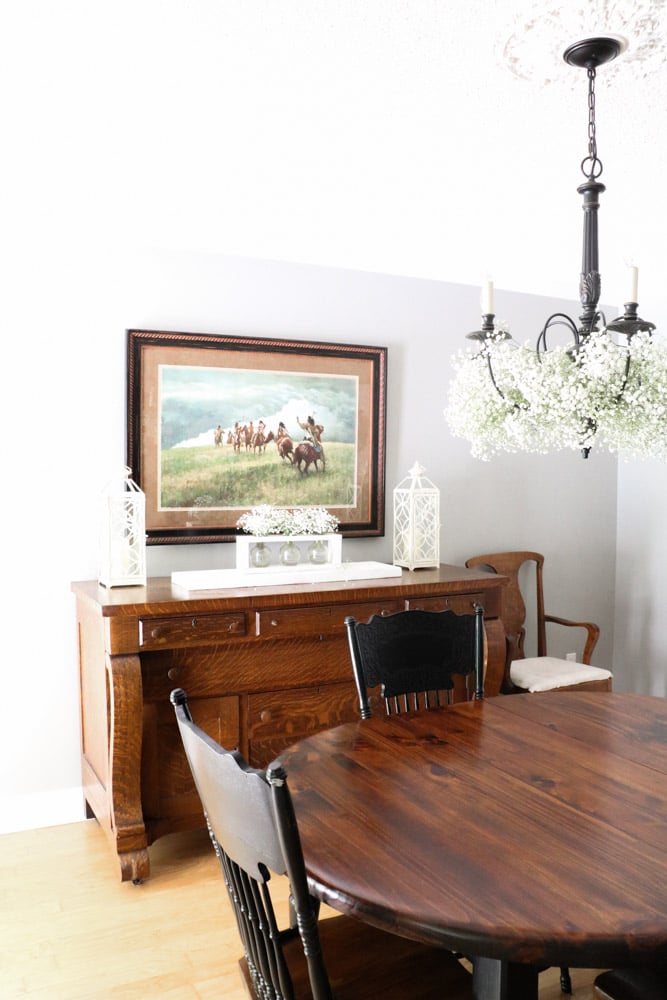
Recently we had a southern bridal shower and the other host decided to decorate a chandelier with flowers. This is no ordinary flower arrangement. It turned out so pretty until I could not wait to do it again and show you how to decorate a chandelier with flowers. Your beautiful chandelier is about to become even more beautiful and it's so easy, you don't need to be a professional floral designer to create a stunning effect with almost any chandelier style.
This post contains affiliate links, meaning I receive a commission if you purchase using the links below at no extra cost to you. All opinions are all my own.
Decorate a Chandelier with Flowers on Chandeliers DIY
Before you begin this project we need to figure out how many bundles of flowers you will need. I like to calculate by the number of arms or spindles that are coming from the center of the light fixture.
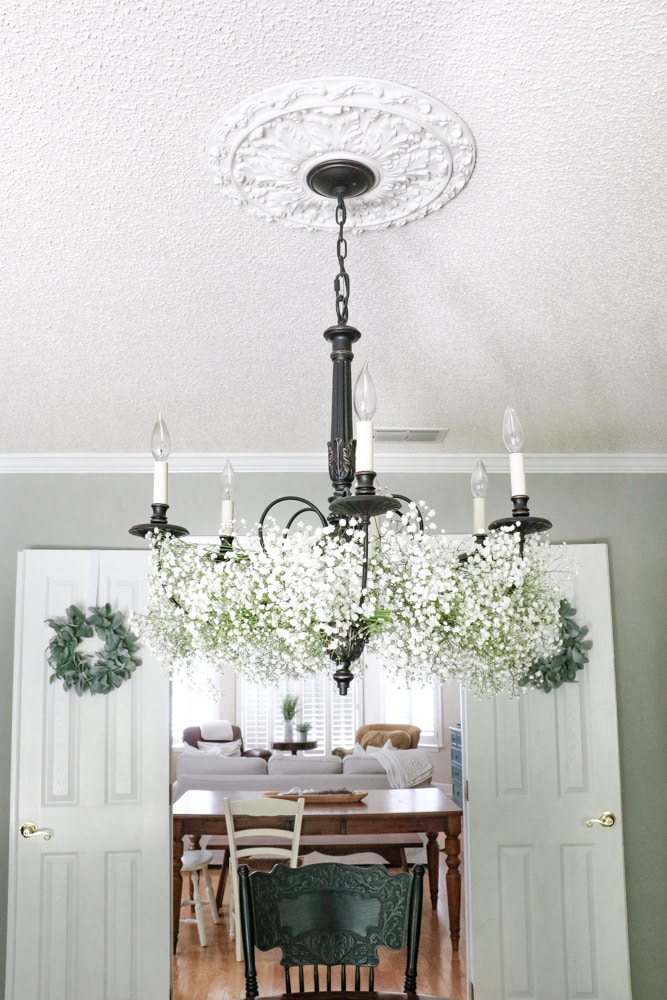
My chandelier has six arms so I purchased six bundles. I also just went with the baby's breath. Baby's breath is very easy to work with and forgiving so this is a great first step in making a floral chandelier. And once it's put together, the white color of these small flowers look like a fluffy cloud, making the big day feel even more special.
Flower Chandelier Supplies
Here is a list of what you will need to decorate a chandelier with flowers.
As you can see you do not need many tools for this project which makes it rather inexpensive. But here are a few of my favorite best places to buy flowers.
How to Decorate a Chandelier with Flowers
Now on to each step of adding flowers to your chandelier.
Cover Table
The starting point will actually be under your chandelier and with good reason. First, take an old sheet or old tablecloth and toss it over your table or on the floor under the chandelier. This will help catch any flower petals, branches or anything from landing on your table or floor. This practical solution keeps the dining area clear.
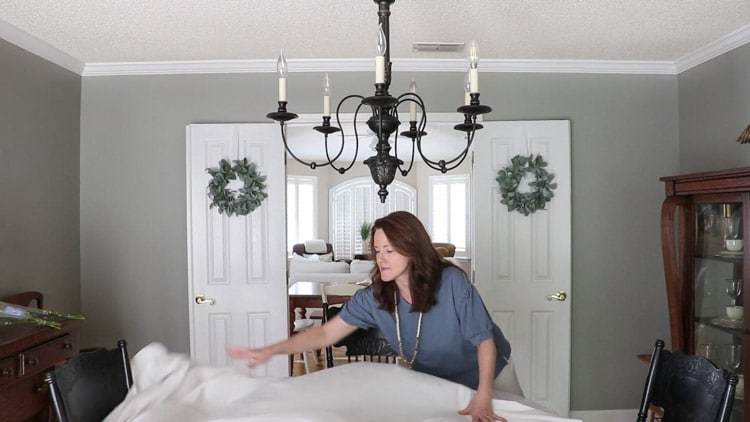
This step will make cleaning up so much easier when you are finished. You will thank me when you are done.
Open Flower Bundles
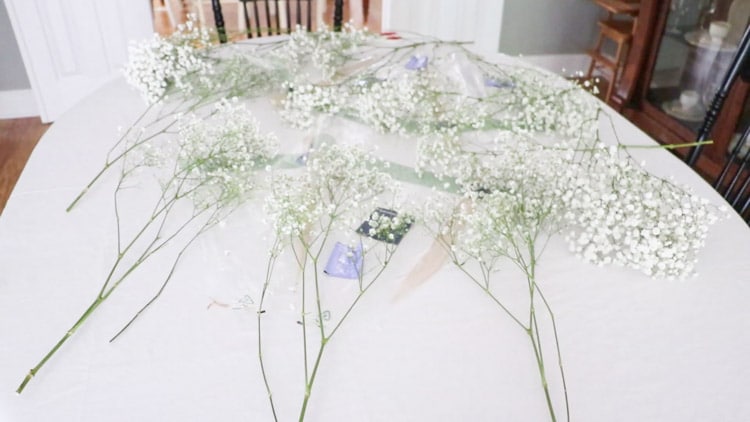
Next on the agenda is opening all the flower bundles and pulling them apart. Fresh flowers, especially those with daintier petals, will give you a beautiful, cloud-like finish. Baby's breath has a tendency to get knotted up. So gently pull them apart using your fingers to unthread them at the petals.
Once you have each stem pulled apart lay them on the table side by side.
First Row of Flowers
Now take one bundle of flowers particularly one that has a full bundle on petals and put the petal end on one arm of the chandelier with the stem on the arm next to it. Rest the fresh blooms gently to keep them fluffy.
Do not cut the stems at this point. We will finish two rows before cutting stems.
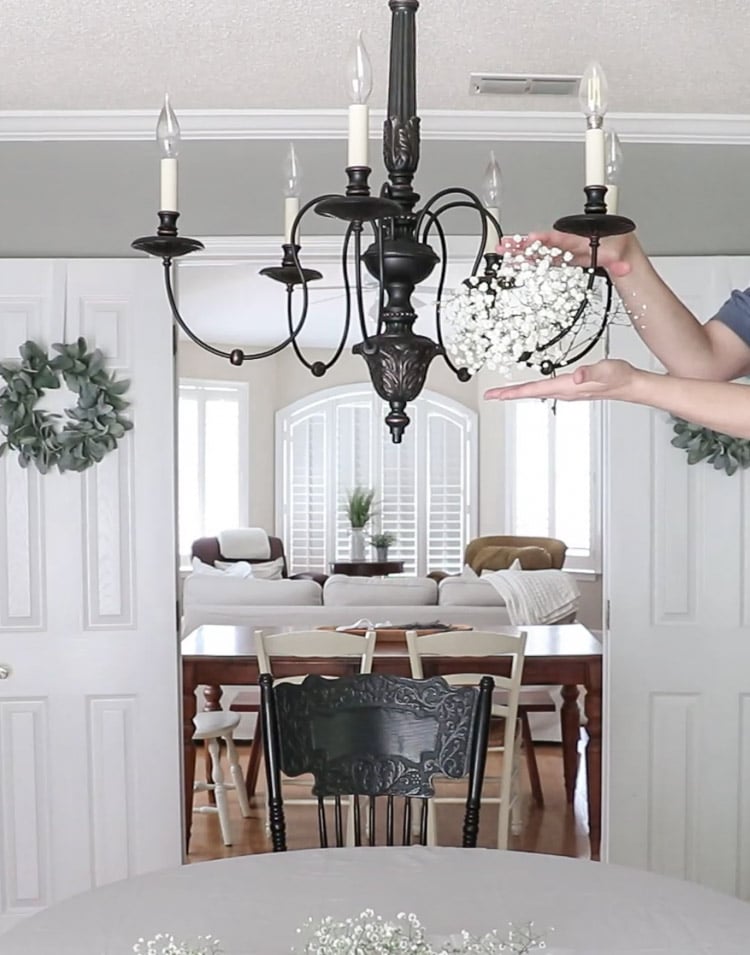
The heaviest part of the flower stem is the flower petals which is why it needs to sit on an arm. Think about using gravity to help you set the bundle on the chandelier and did I forget this project will take some patience. So give yourself plenty of time.
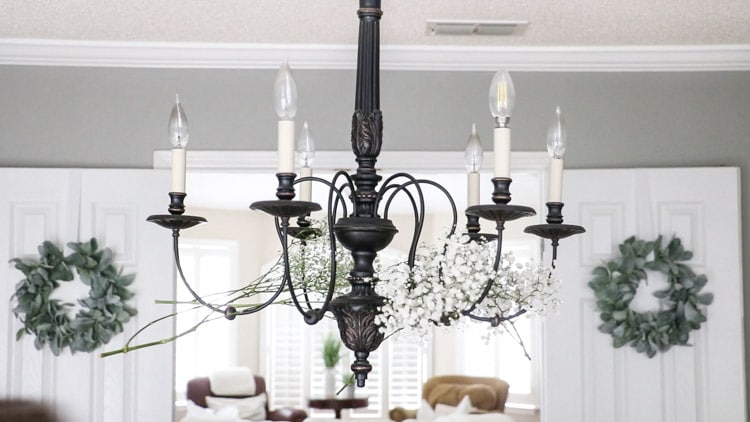
Repeat this step for each arm working in the same direction.
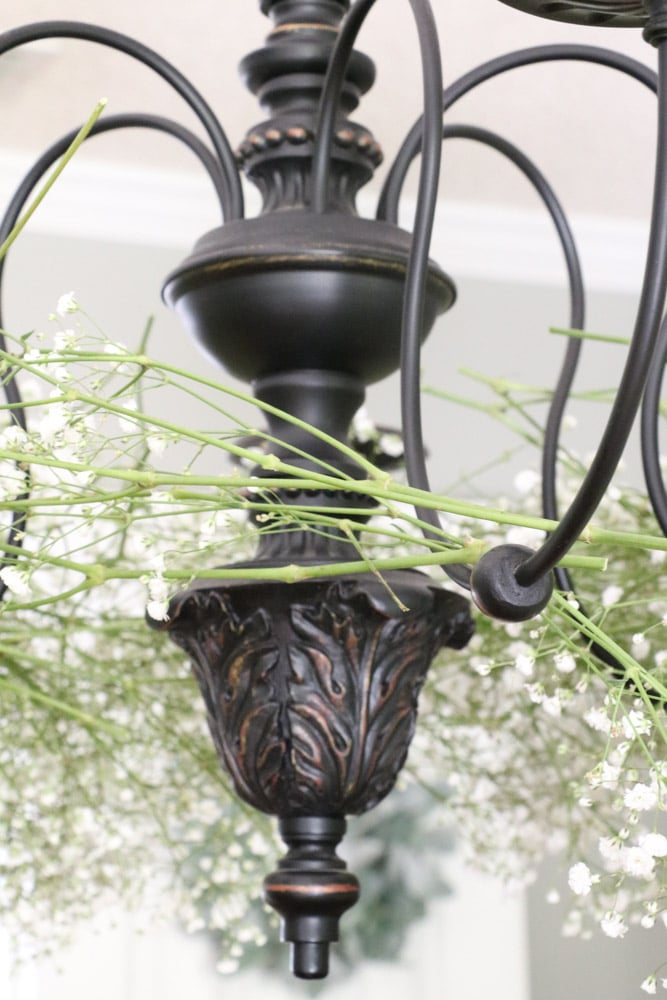
Here is a photo of what the stems will look like sitting on the arms.
When you get to the last arm you can turn this stem around in the opposite direction so that you have a completed row on the bottom layer.
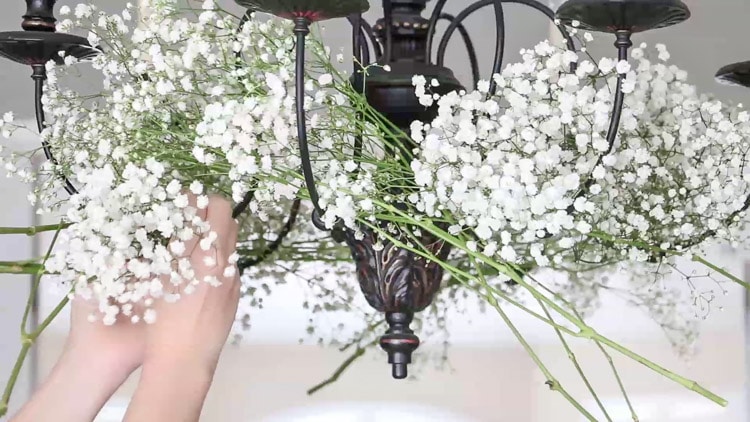
This is what the bottom row will look like once you are finished. Notice all the stems hanging out. That is okay because we will cut them later.
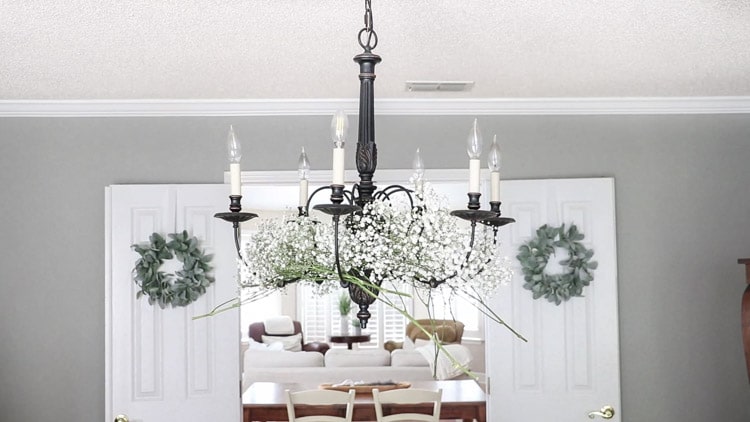
Second Row of Flowers
The second row is basically like the first row except adding the heavier petal part in the middle of the arms.
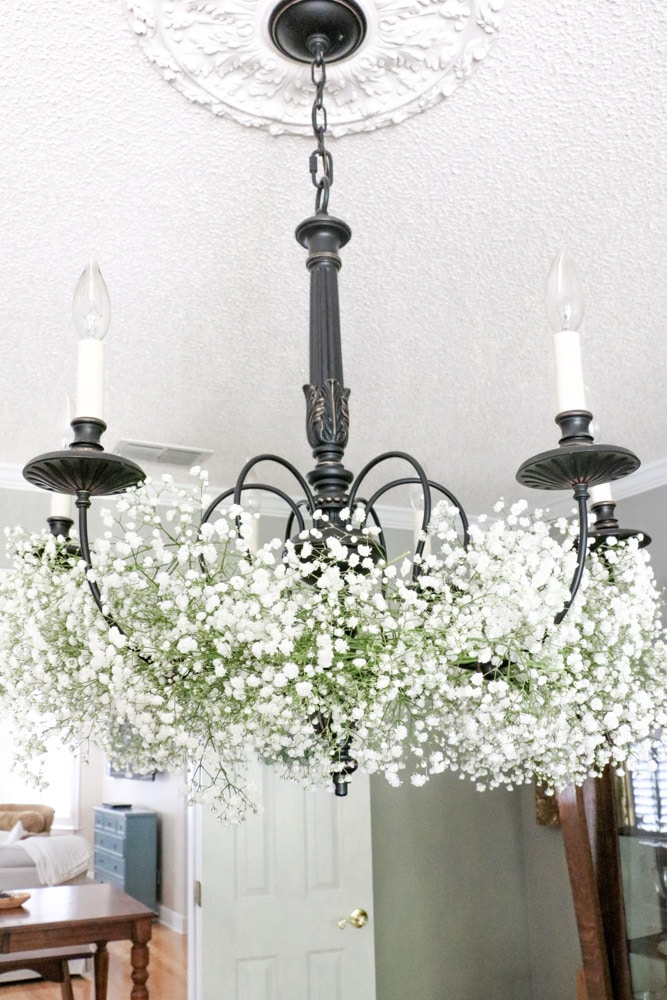
Cut the Stems
And now you can go ahead and clip the stems that are hanging out.
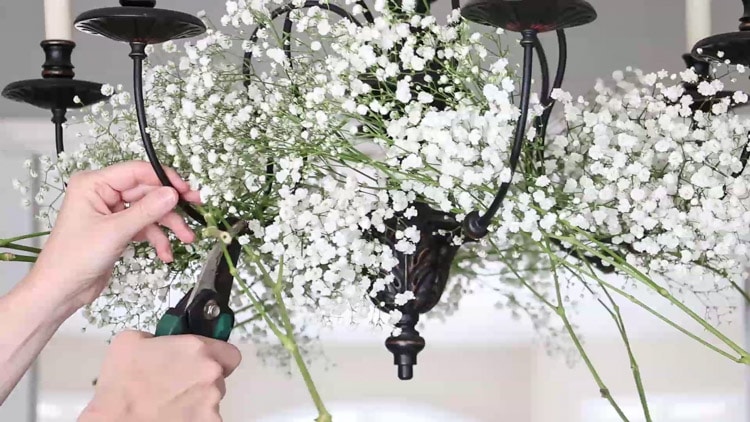
Add Filler Flowers
Next, grab a stem of baby's breath particularly a full one and cut the stem off and wrap the petals just under a candle on your chandelier.
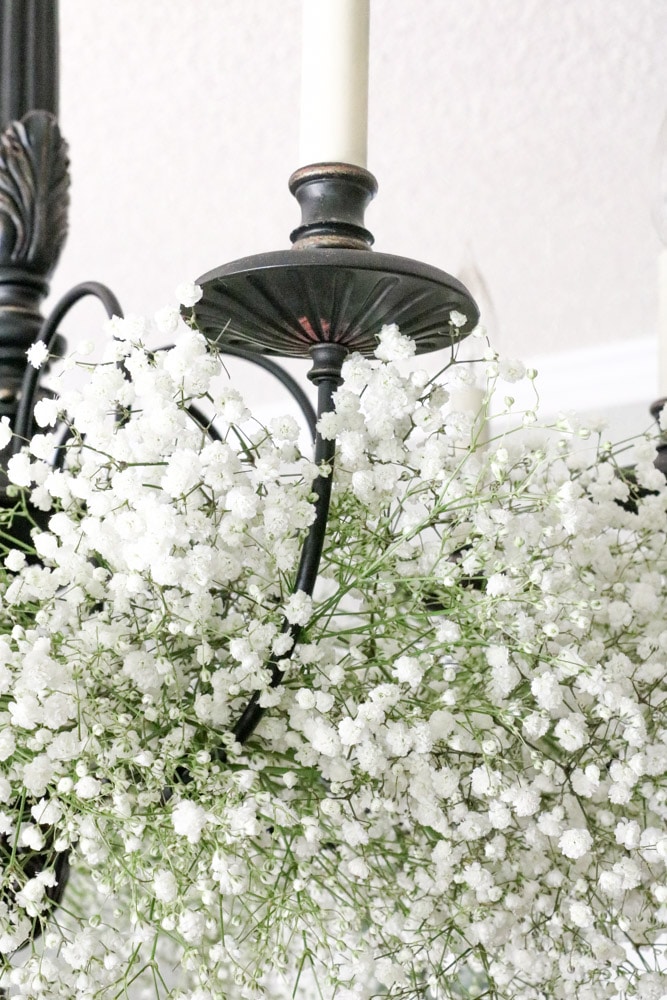
Then take more flowers and cut the stems and fill in underneath.
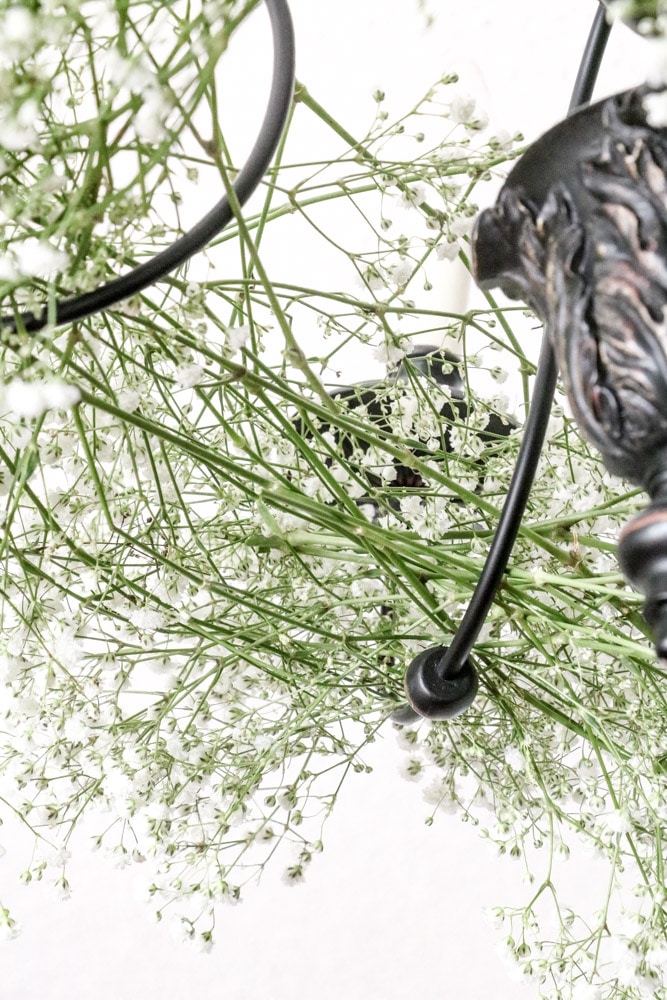
This photo shows what it looks like on the underside. You do not have to fill in under the chandelier just on the sides underneath so that all the branches do not show if someone walks into the room.
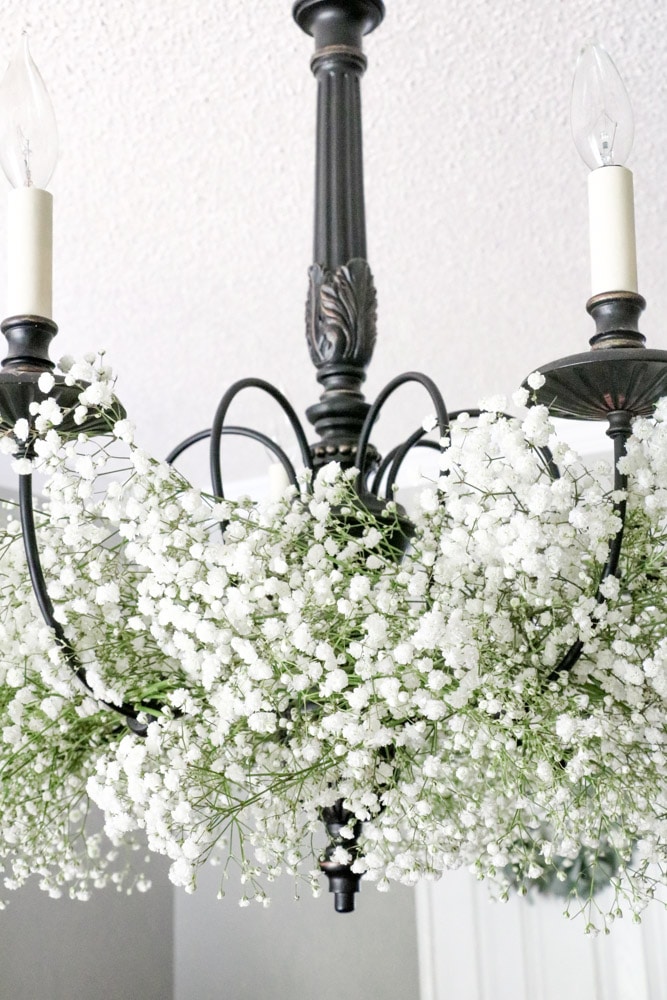
This is what it will look like when you have finished filling in under the sides.
Now continue to add filler pieces until between each arm looks similar or the same as the next one. For example, if one space between arms swoops at the top and bottom then make all the others the same.
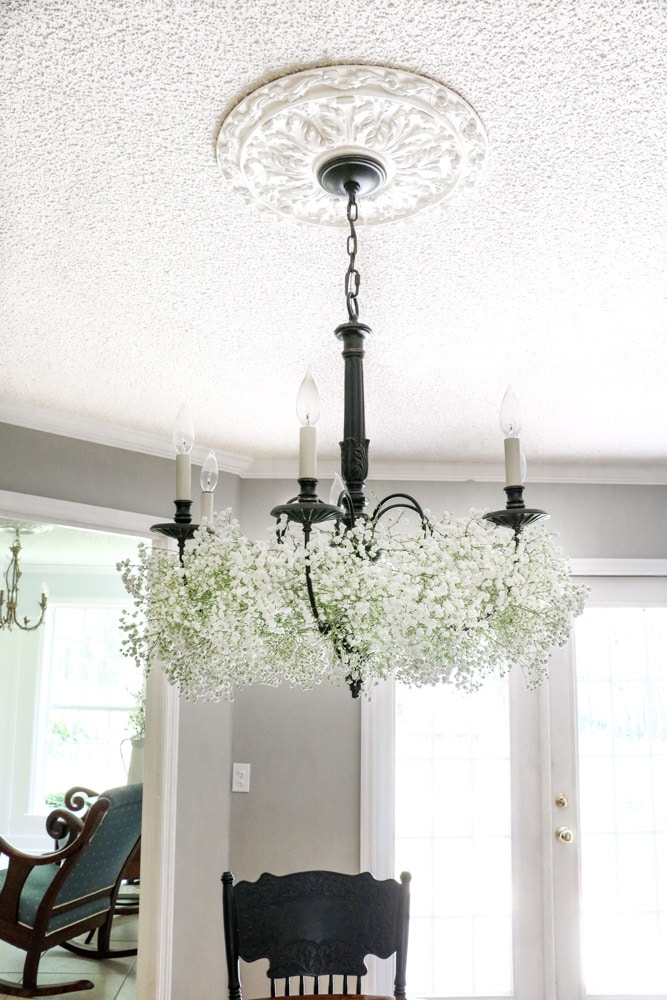
It all depends on your taste. You be the judge. Here is how my floral chandelier turned out.
Conclusion
Now that you know how to decorate a chandelier with flowers here are a few last-minute thoughts and some ideas on when to create a flower chandelier. If you like the appearance of a fluffy cloud, you could also consider using white hydrangeas.
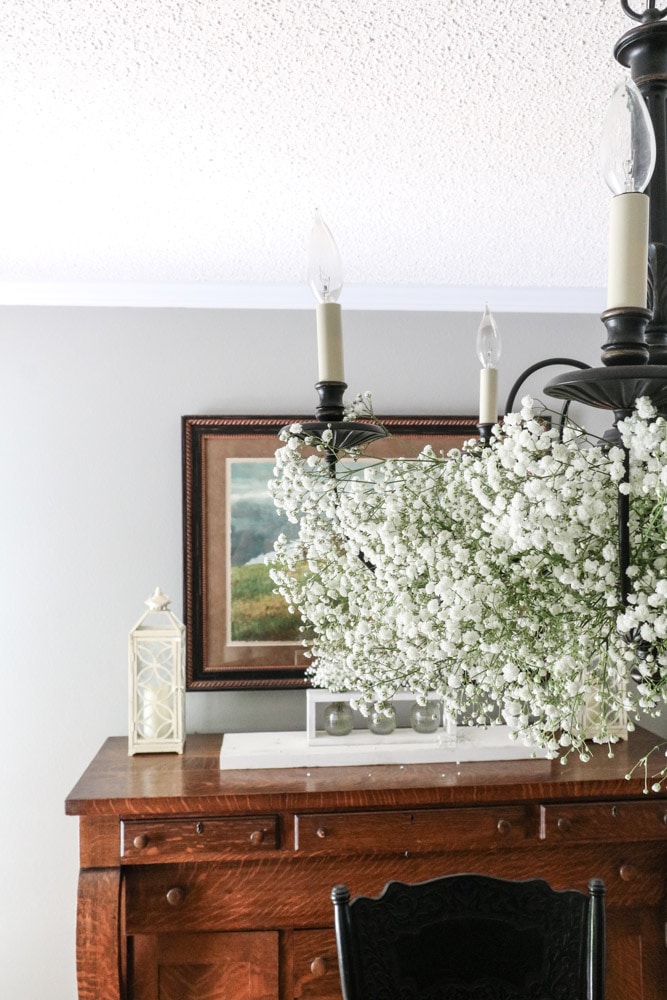
One thing to remember is that these flowers will compact some with gravity so it will not be this fluffy tomorrow and the flowers will start closing up to dry. So if your flower crown chandelier is for an event give yourself about an hour to create it the day of the event.

If you want a dried flower chandelier then give it a week to dry. You might even want to give it two weeks so that as it compacts and dries you can add more flowers to make it look like you want it. This would make a great statement piece for rustic weddings.
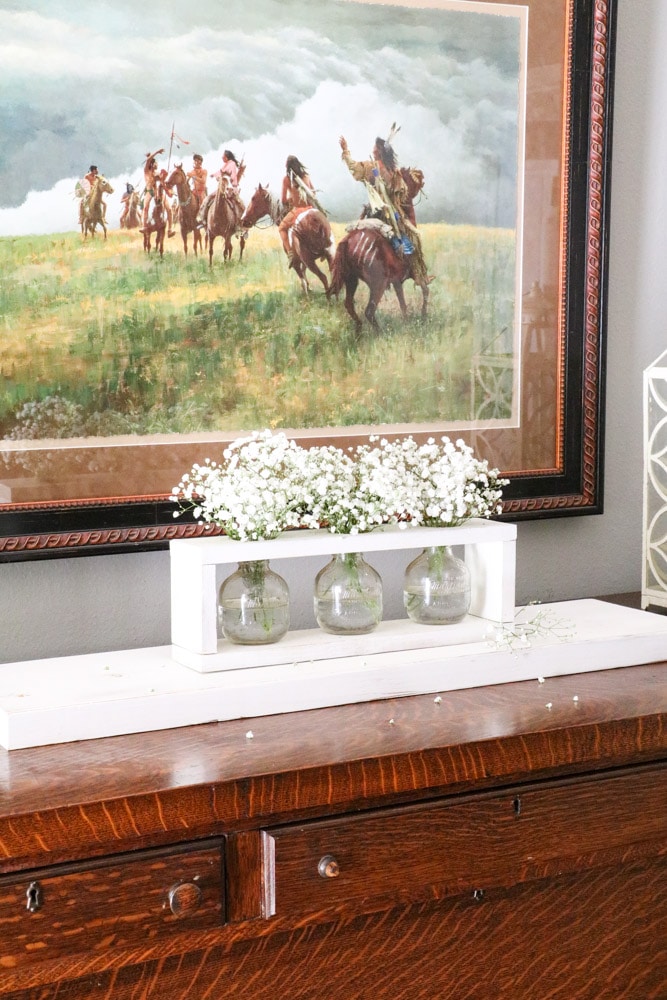
And if you have any flowers left over toss them into a vase or you can create this farmhouse flower vase DIY for your extra petals. All you need is wood, paint and clear glass jars.
Probably my favorite time to create a flower arrangement for a chandelier is for Christmas, bridal showers, weddings, and baby showers. Also, add a hanging flower chandelier at a wedding for a dreamy look. But birthdays make great events for live floral arrangements hanging from chandeliers. They are a fun, whimsical alternative to traditional floral arrangements. Your special events will be feel even more special with this stunning focal point.
However, you can create one for your home decor as we did at my friend Nicole's house. We hung flowers and greenery from her chandelier and gave it the name of a hanging flower meadow. It is so pretty and another great idea! And it frees up valuable table space. Check it out at how to create a hanging flower meadow from your chandelier.
If you want to add different colored flowers simply cut some roses with a stem of about six inches and tuck them into the arrangement. If you want to know how to decorate a chandelier with greenery follow the same steps as the baby's breath chandelier.
I hope you have been encouraged to add some flowers to your chandelier. This really is an easy DIY project.
Happy Decorating!


If you enjoyed this post, sign up to receive new decor ideas each week. FREE EMAIL SUBSCRIPTION
DECORATE A CHANDELIER WITH FLOWERS

An easy way to add flowers to your chandelier for a party or home decor. This step by step tutorial will show you how simple it is to create.
Materials
- One bundle of baby's breath per arm on your chandelier.
Tools
- Scissors
- Pruning shears
- Old sheet or tablecloth
- Ladder
Instructions
- Begin by placing an old sheet or tablecloth under your chandelier over your table or on the floor. This will catch any flower cutting or petals.
- Open half of the flower bundles and pull apart the stems and flowers and lay them close by.
- Put your ladder in place to easily reach your chandelier.
- Pick one stem of baby's breath that has a full fluff of flowers and sit the petals on an arm of the chandelier with the stem on the next arm.

- Do not cut the stems yet!
- Next, grab another stem of flowers and sit the full end of petals on the last stem and place the stem on the next arm.
- Move-in the same direction around the chandelier repeating these steps.
- When you get to the last arm turn the flower petals on the stem and life the other petals and place the stem under the petals.

- Now repeat the process laying a fluff of petal in between the arms.
- Again do not cut stems yet.
- Continue to lay fluff's of petals between arms and moving in the same direction until you make it all the way around.
- Next cut the stems that are hanging out around the chandelier.

- Now if you have run out of flower bundles that you have opened go ahead and cut open another bundle and pull apart the stems and flowers.
- Next cut the stems down on the flower bundles that you have sitting out. Cut a stem about 3".
- Take larger fluffs of petals and open them in the middle and place it around each candlestick.
- Then tuck flower down front to hide the bottom and fill in on the top between candlesticks to make each design between candlesticks look the same.
- You are all finished except for cleaning up. Pick any paper, rubber bands and such off of the tablecloth or old sheet. Then wrap up the tablecloth or old sheet and take it outside to through away all the petals and stems.

- You are all ready for your party or enjoy your home decoration!
Notes
Don't forget to wait until you have the first two rows of flowers up before you cut the stems.
Recommended Products
As an Amazon Associate and member of other affiliate programs, I earn from qualifying purchases.



HOW TO MAKE A CHARMING DRIED FLOWER WALL HANGING FOR YOUR HOME
Thursday 15th of April 2021
[…] you love decorating with flowers then you might like this flower chandelier using baby's breath and this hanging flower meadow arrangement using different kinds of flowers and […]