
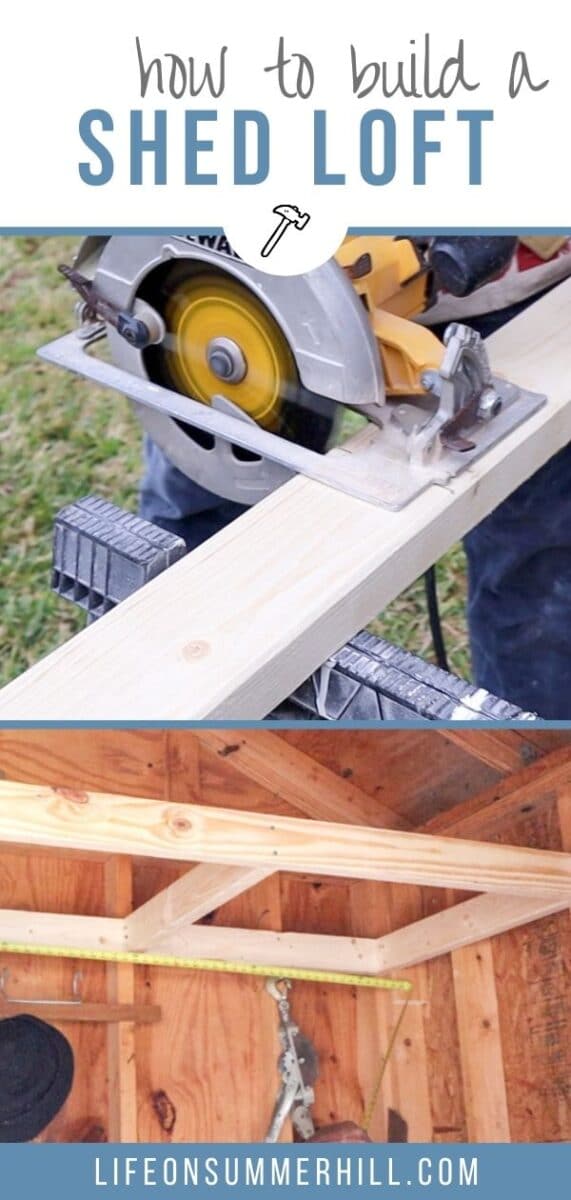

Whether you have a she-shed, garden shed, small barn, or playhouse here are steps on how to build a loft in your own shed. This loft tutorial will walk you through building a loft for a small space. Along with my best organizing shed tips and other tricks at the end.

I couldn't take it anymore. Our shed is piled with so much inside that you cannot even open the door. I knew I needed to do something but organizing wasn't going to solve the whole problem so that is when I decided to use the space up in the loft and devised this surprisingly simple project. Overhead lofts add square footage for storage and can make even a small storage shed feel like a large storage shed.
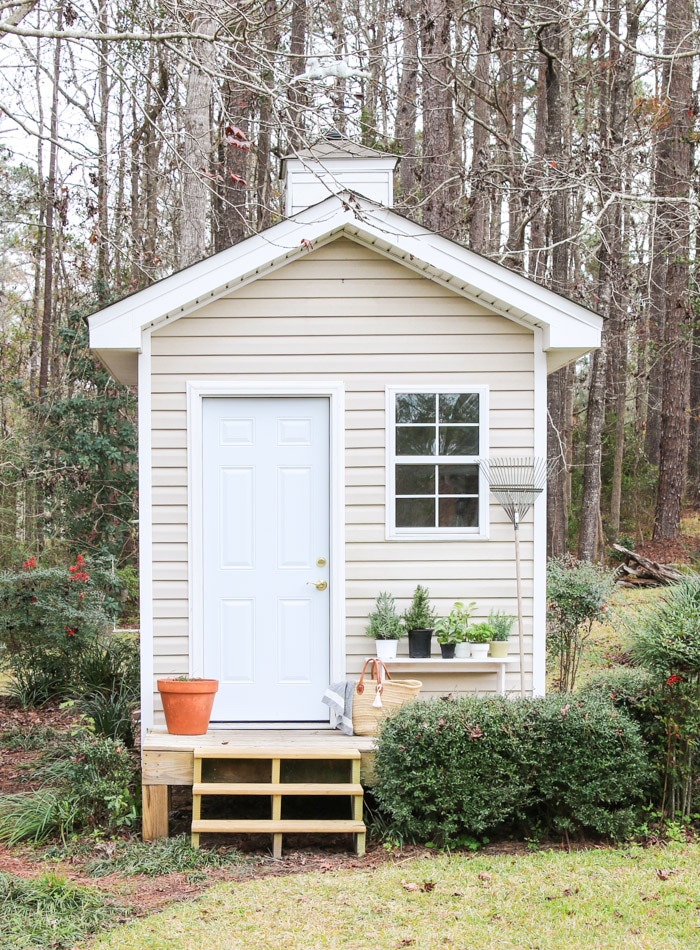
You see our small shed actually has a pretty high roof and if you have space above, why not use the extra space as a storage loft? Another problem is the exterior door. It swings the wrong way so we will address why that doesn't help either and fit it.
But first, let's get started building a loft space in the shed. We'll make a good shed into a great shed!
This post contains affiliate links, meaning I receive a commission if you purchase using the links below at no extra cost to you. All opinions are all my own.
How to Build a Loft in a Shed
Before you begin building a loft, think about where you want the floor of your loft to be located. You want to take into account the ceiling height and what will be adequate clearance for what you plan on storing. In our case, we wanted as much height as possible in our loft so we decided that our loft would need to be 7 feet on the floor.
Now let's gather supplies to build your loft.
DIY Shed Loft Supplies
- 2 x 4″ woods (how much depends on the width and depth of your loft)
- 3/4″ plywood (also depends on the width and depth of your loft)
- Hammer
- Nails
- Hammer Drill
- Long screws
- Saw and/or miter saw (we used a saw the whole time but a miter saw works great for shorter cuts)
- Sawhorses
- Level
- Carpenters Pencil
- Triangle carpenter square measuring ruler
- Chalk line
Shop Supplies:


Now that you have all your supplies let's begin by making the floor joists first.
Building a Loft in a Shed
Our loft is only about 12 feet wide so our floor joists are not the standard width and we do not plan to be walking on our loft floor so that is another reason why they are spaced further apart. Be mindful and consider how much weight you'll want the floor to support.
Also, our loft is about 30″ deep. It is strong enough for someone to lay down up there. This is a great loft to make a small shed feel like a large shed.
So if you have a small shed then let's start making the floor joists.
Building a Floor Frame for a Shed Loft
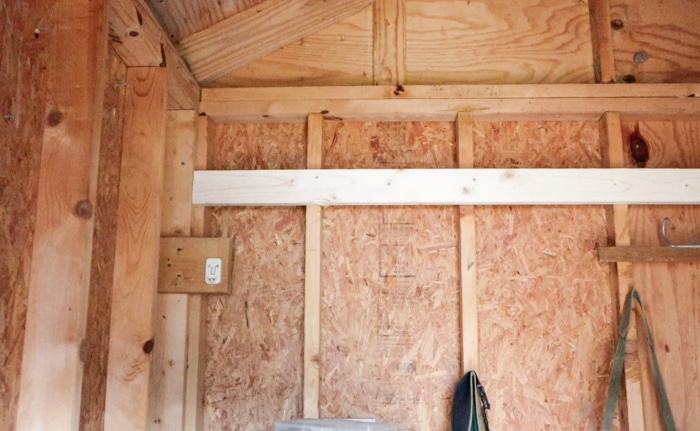
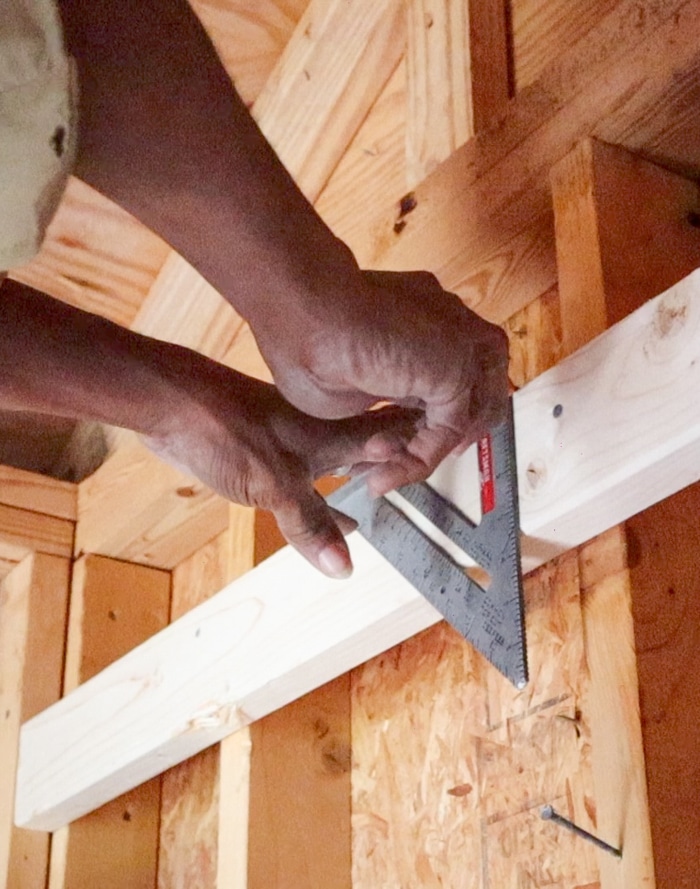
Start by measuring along the back wall the width and cutting a 2 x 4 to those measurements. Then measure up from the floor where you want the first board to be placed and make a mark. Because we wanted a floor clearance of 7 feet, we knew the bottom of our boards needed to be right at the 7-foot mark.
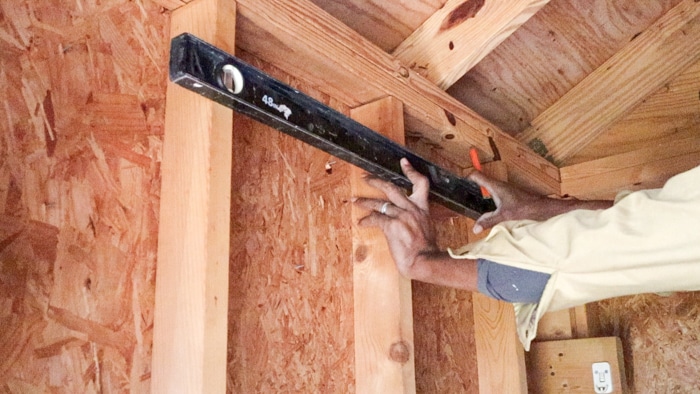
Now place the 2 x 4 on the back wall on your mark and hammer a nail into the center. Next, place your level on the piece of wood and make sure it is level. Then hammer in a few nails through the 2 x 4 into the studs to hold it in place. Then screw in screws for added security

Now use a level and mark the wall studs on the sidewalls using the new stud you just put up as a guide. Make sure to draw a line on all the studs for the depth you want in your loft.

Next, repeat the first step with another long 2 x 4 board. Cut the board the same width as the first. However, measure to make sure it is the same. Remember to measure twice and cut once.
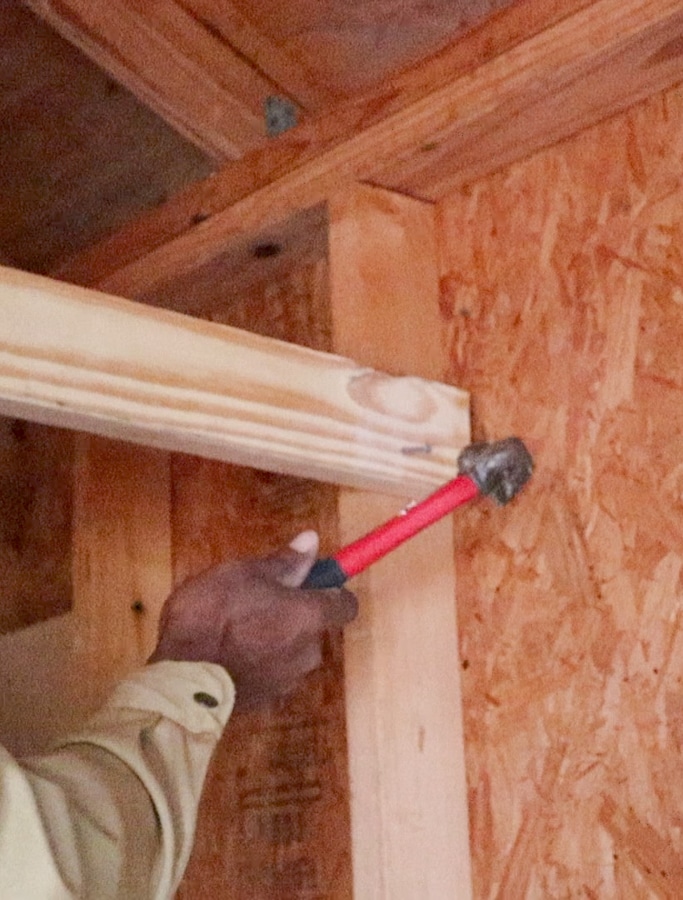

Now we are going to add floor joists starting with the side-boards. Before you can add these boards you will need to cut a 12-inch piece of 2 x 4 and nail it to the corner board. This will give you something to attach to the side board.

Next, let's cut shorter boards for each end. Measure between the front and back 2 x 4 board. Then cut your first floor joist out of a 2 x 4. Place it on the lines you marked with the level and screw them into the studs.

Repeat by adding another floor joist on the other side the same way.
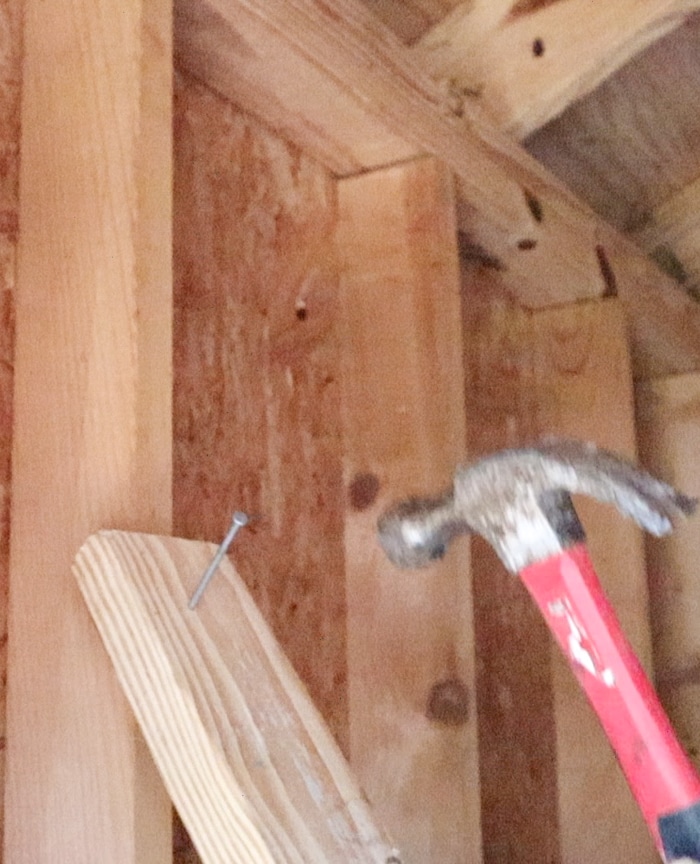
Here is a pro tip to make this easier if you are doing it by yourself. Pre-hammer nails into the 2 x 4's before you put them in place. That way you can hold your board with one hand and simply hammer in the nails. After you have the board set you can screw in the boards.

Next, you will need to add more floor joist boards. If you plan to walk on your loft I would recommend your floor joists be 16 inches apart. But in our case, we will only be storing items up there so we added two more floor joists at about 30 inches apart.
First, mark where each floor joist will be attached between the front and back board.

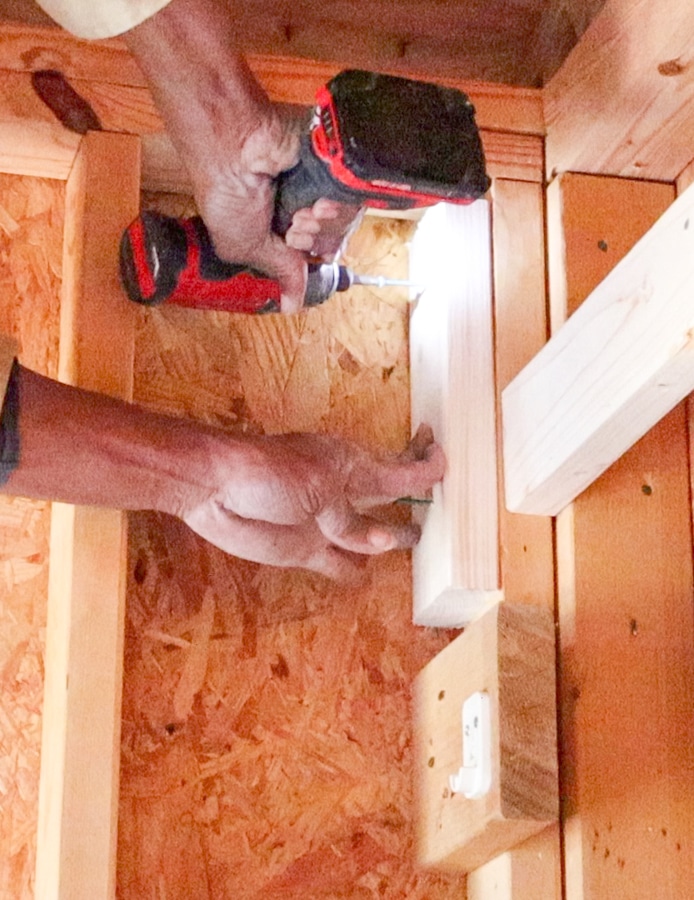
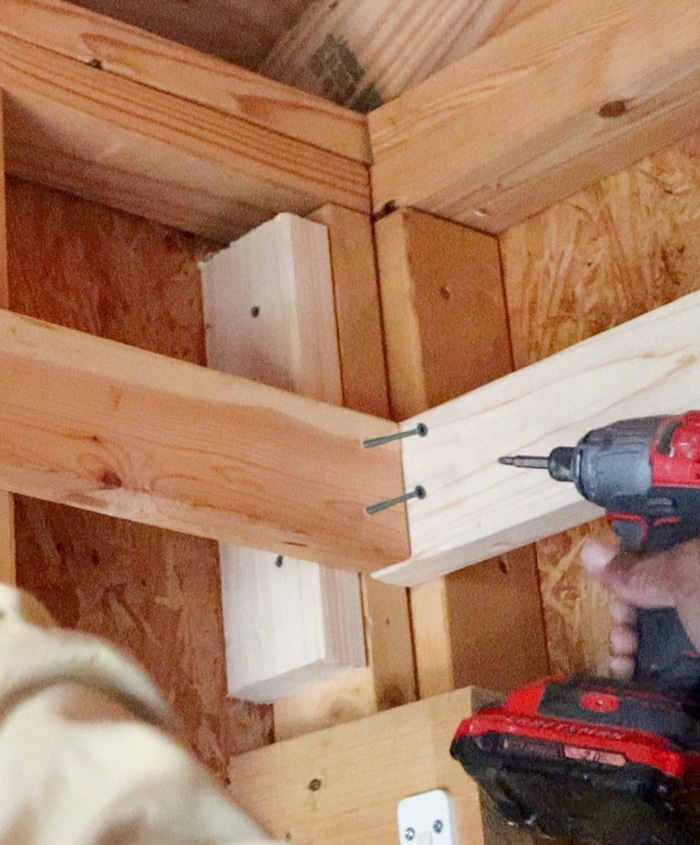
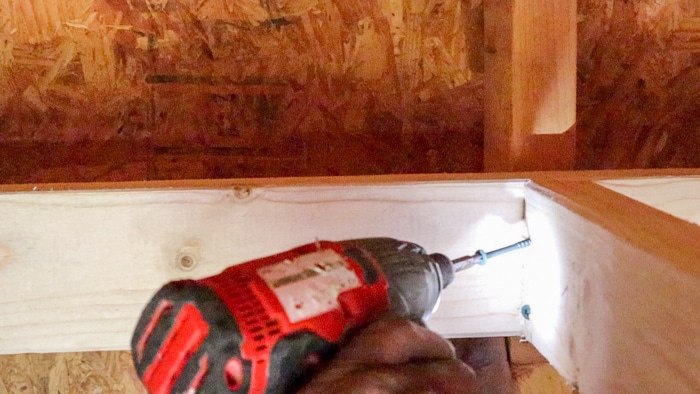
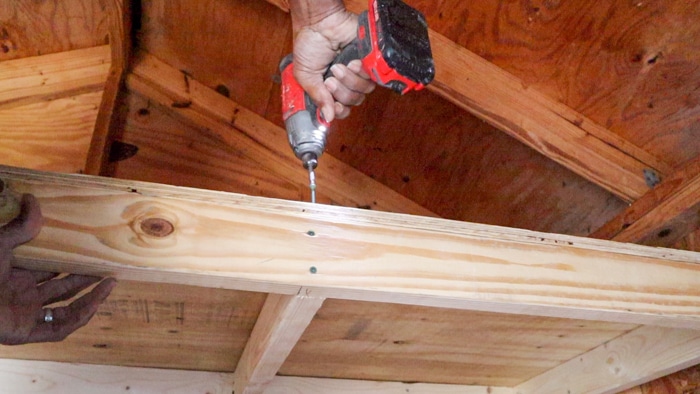
Next measure between the front and back board. Then cut your 2 x 4's and then screw them between the front and back board. This is how we screwed them in on the front side of the loft.


But on the back we had to screw in the screw at an angle.

Now we have the frame all done for the shed loft. Next, let's walk through how to build a floor for a loft.
Adding a Floor to the Loft Frame
At this point, you can start seeing things come together. Once you have all your floor joists in place, it is time to cut your plywood for the floor.
Simply measure the width in two places and the depth in three places. Use the shortest width number and the longest depth number. Your numbers should be all the same but, just in case, this will help to get the floorboard to fit just right.
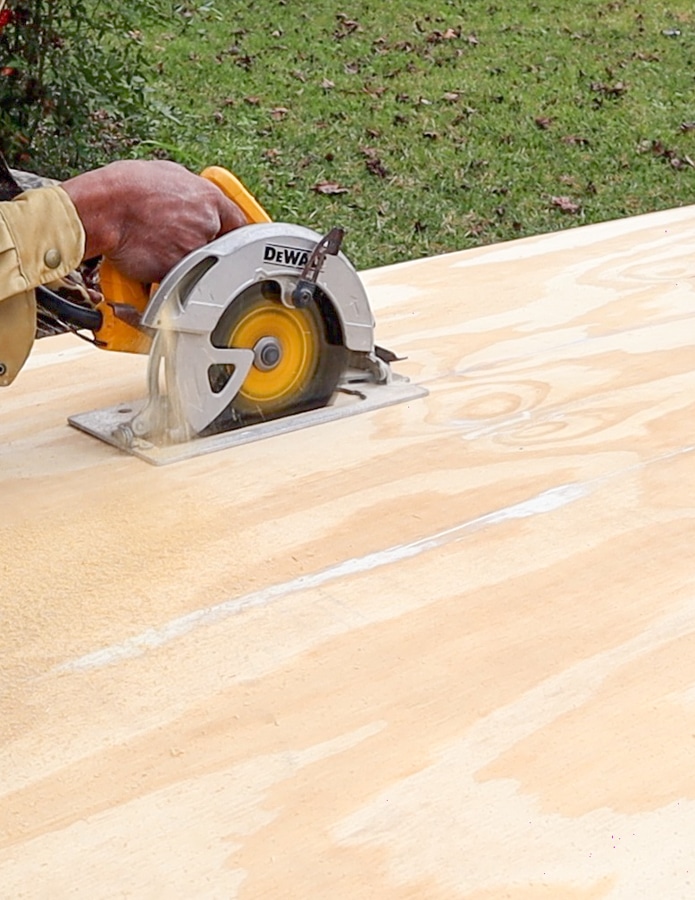
Once you have your figures, mark your boards and use a chalk line. If you have never used a chalk line simply place your line on one mark on one end and then have someone hold it on the mark on the other ends. Pull it taught then lift the chalk string somewhere towards the middle and snap it back down. This will make a line for you to cut.
Next, cut your plywood. Make your board a little shy of your measurement. In other words, cut on the inside of the line rather than on the line. This makes installing your floor much easier.

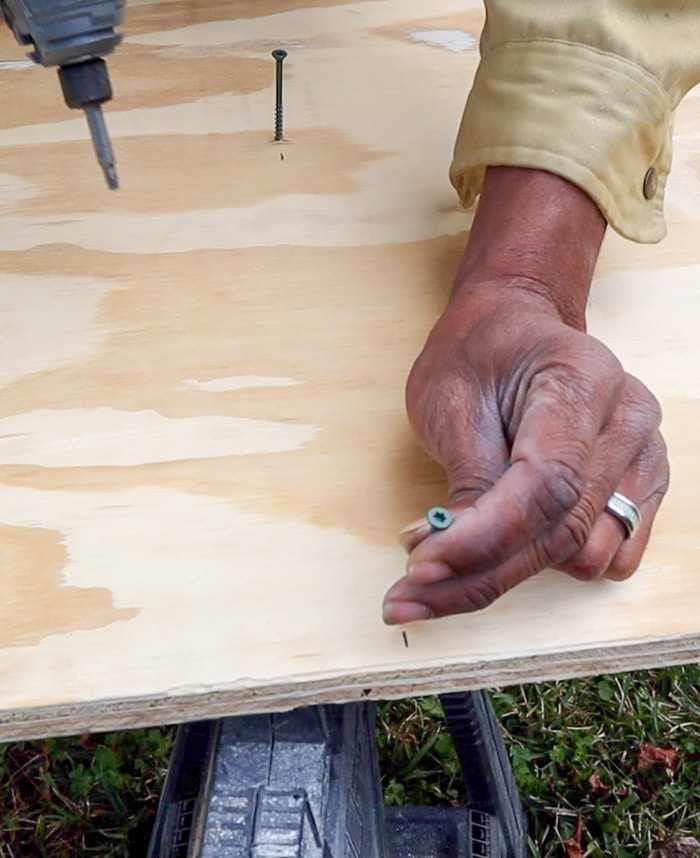
Now make your plywood where the floor joists will sit on it. Then slightly drill in screws in three places. This will make installation much easier.

After you have cut your board take it inside the loft and carefully slide it on top of the floor joists. It helps to slide it in as level and even as possible. Your floor should be a tight fit which is why it helps to bring it evenly.
Now that your floor is in place, screw down all the screws into the floor joists. Your main goal is to secure the plywood to the joists so it won't move around.

Well, guess what? Your tiny shed loft is finished and you have so much space for storage. You can use this project for a tiny house, bedroom loft, playroom, or pretty much anywhere as long as you have enough height. And who couldn't use extra storage space? Now that we have our loft built, let's build some easy ladder to climb into the loft.
How to Build a Loft Ladder
I got this idea from my grandma's old garage. She has a loft on each end of her garage with an opening in the middle. On one side she had a loft ladder like the one I am going to show you how to build. This is a super easy project.
Now measure across your studs in your wall. Because we don't have sheetrock or anything on our wall this was easy. If you have sheetrock then this ladder will not work for you.
Next cut boards to the measure and screw them onto the studs. We place our board 12 inches apart. And on the top board, we made it a little wider to have something to hold on to once we were at the top. Instant easy access to your storage loft.

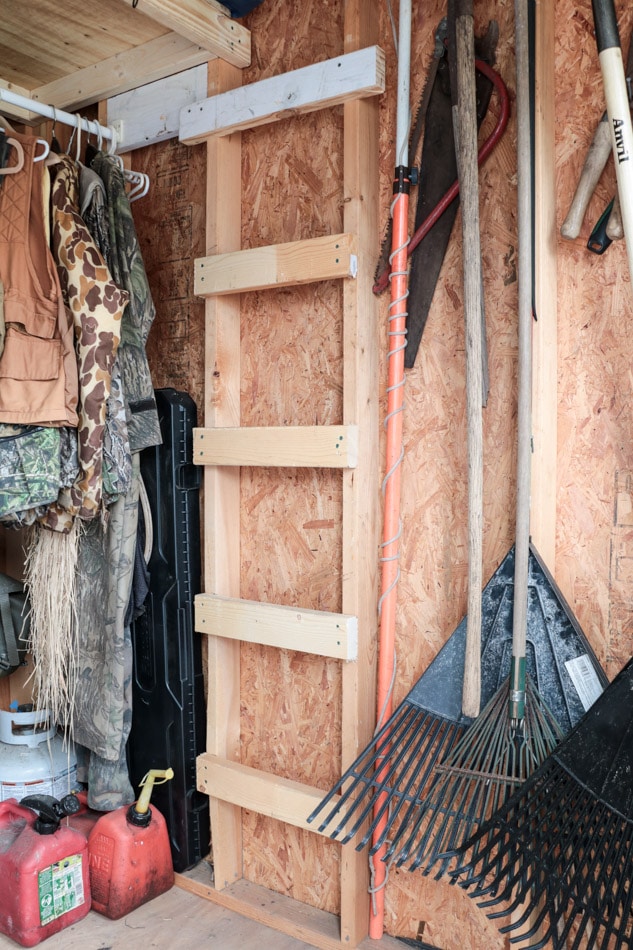
Also, we used screws for more security. As you use the ladder the nails may have worked their way out. The screws are more stable.
Yay! Another shed project is done. Now we need to fix our door problem. Our door was rotten on the bottom so it was time for a new door.
New Shed Door
A door swing can make a big difference in a small room. Our door was swinging into the shed which took up a lot of floor space. When you opened the door you couldn't see what was inside first only the wall to the left making it feel like there was less space available.
So since we needed a new door I opted to replace the door and frame in all and move the swing to the left. After installing the new door where it swing open and nested nicely against the wall now I could see everything in the room when I walked in.
Now that the door problem is solved let's get this shed organized.
How to Organize a Shed
I find it helps to remove everything when organizing. As you remove all items, take the time to ask yourself if you have used this item in the last couple of years. If it is something you won't need again, put it in a trash or thrift store pile. Only store items that are useful to you.
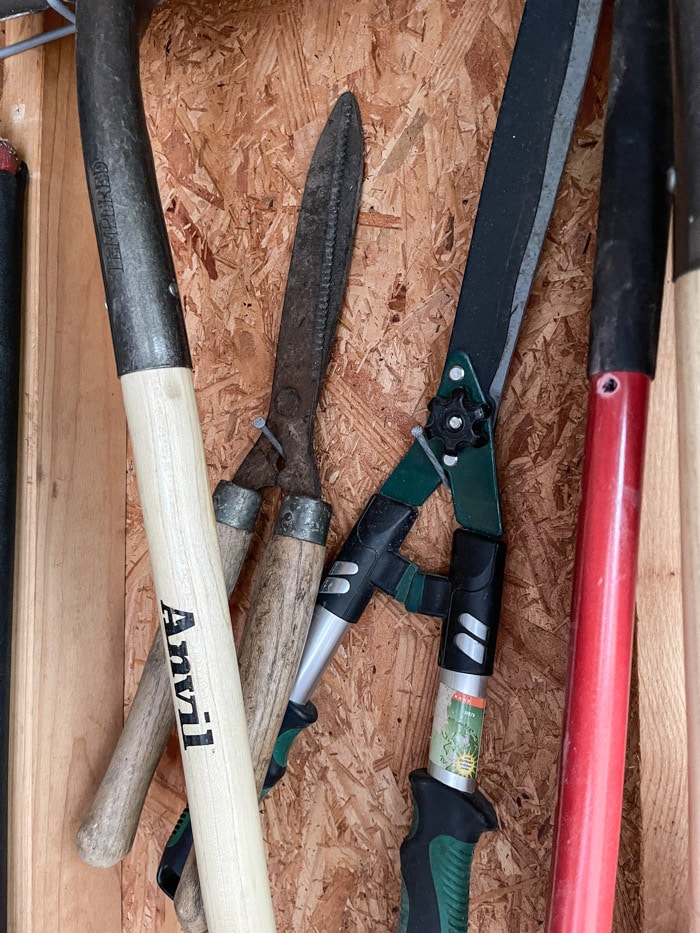
Also, while you are organizing place items into categories. As I was removing everything from the entire building I ended up with various types of items, but primarily I had a hunting supply pile, gardening tool pile, and outdoor game section.
After removing everything from our shed I couldn't believe all the dirt on the floor. So give your shed floor a sweeping to start back with a clean floor. This is also a good time to consider the floor plan.
Now that I know our shed is a hunting and fishing shed, gardening shed, and outdoor game storage shed, I need to think about creating zones. Other zones may work for you, for example, sports equipment or outdoor decor zone.
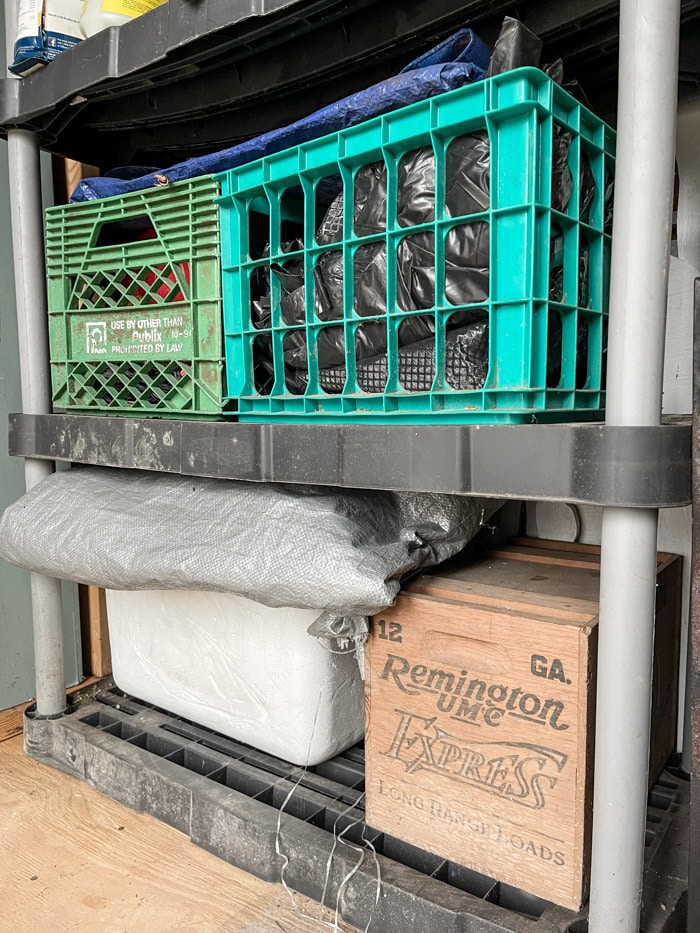
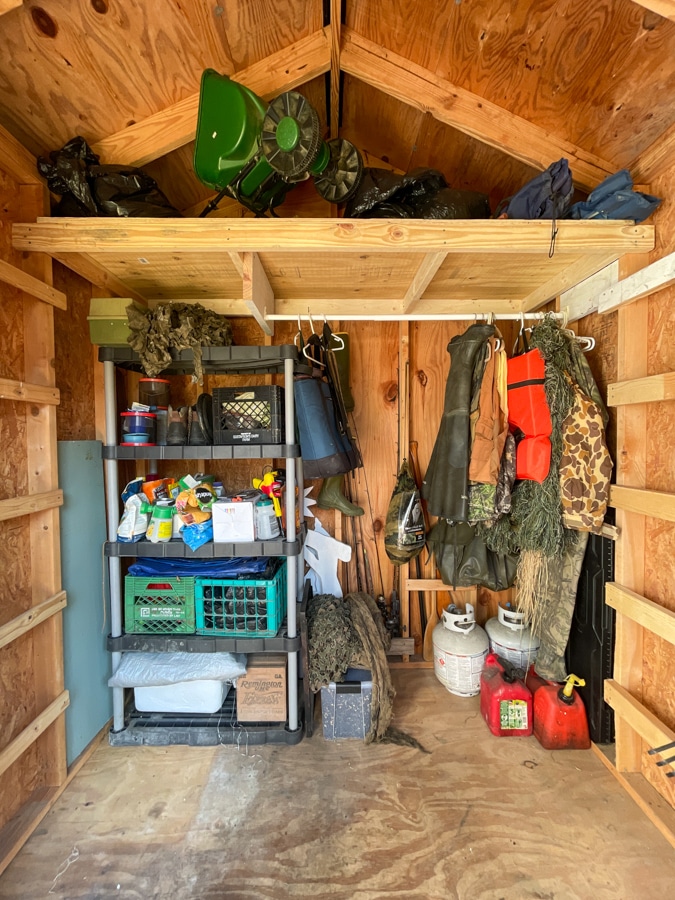
First, it appears the hunting and fishing stuff will take up the most space and then gardening next. We have one shelving unit in the room to work with so we decided to place it on the back wall. Three of the shelves are hunting and fishing and one shelf is for gardening supplies.

To the right of the shelf, we made a closet to hang all the hunting apparel. We found this to be the easiest way to store and access everything. If you need to hang any apparel in your shed, make sure to bring it out enough so the hanger has plenty of room. This is a great place to ensure items that may be damp, dry properly.
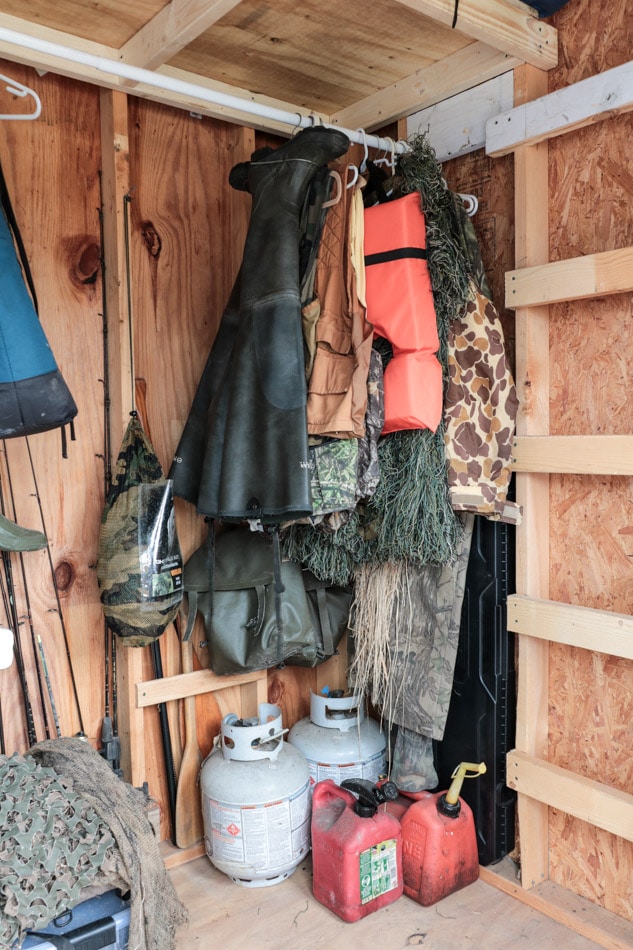

So far we have the biggest pieces solved. Shelves and closet. You don't see a closet in a shed very often. LOL! But this really works.
Now another big area is the tools. The side walls of the shed are the perfect place to keep them accessible. We moved the hooks to another wall and hung shovels and such. The racks were a different challenge. They don't fit on the gardening hooks but had the good idea to drill holes into the handles, put a long headless nail into the wall studs, and hung them that way.


We continued to place nails into the studs and hung other tools. Other tools we sat between the studs and nailed boards in front. This is a great way to ensure they wouldn't fall out.

Speaking of using the space between the studs as storage let's go back to the hunting section and use the space in between the studs there too. Because my husband has many rods and reels, we used the space between the studs to store them. Again, place a board at the bottom to help them be more secure.

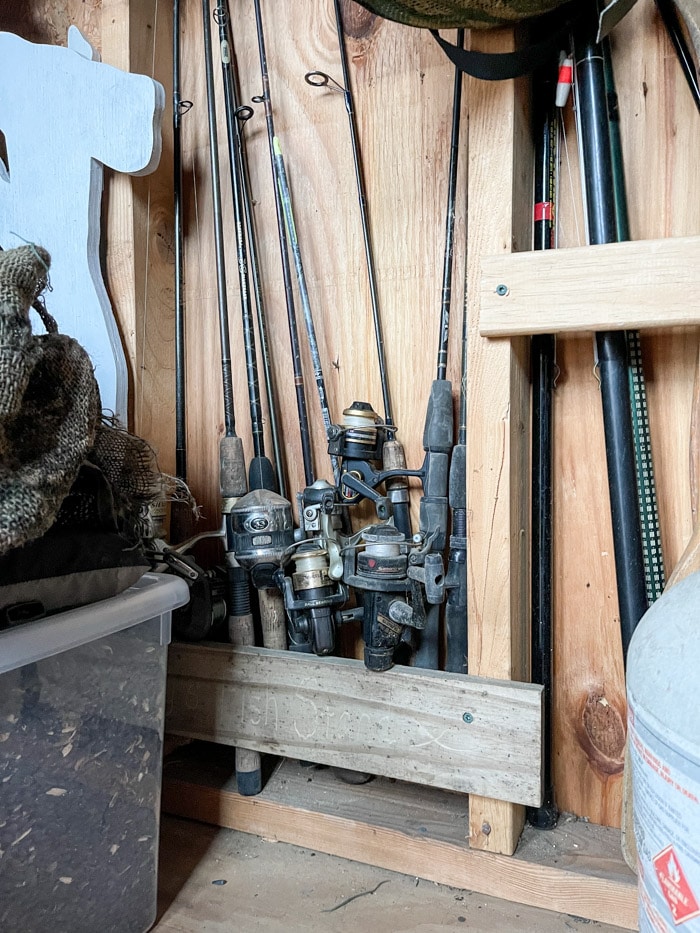
Next, we hung different bags on the wall with nails just like some of the tools. The main thing is to get stuff off the floor and give everything a home. Now when my husband comes back from hunting he will know where to place his items.
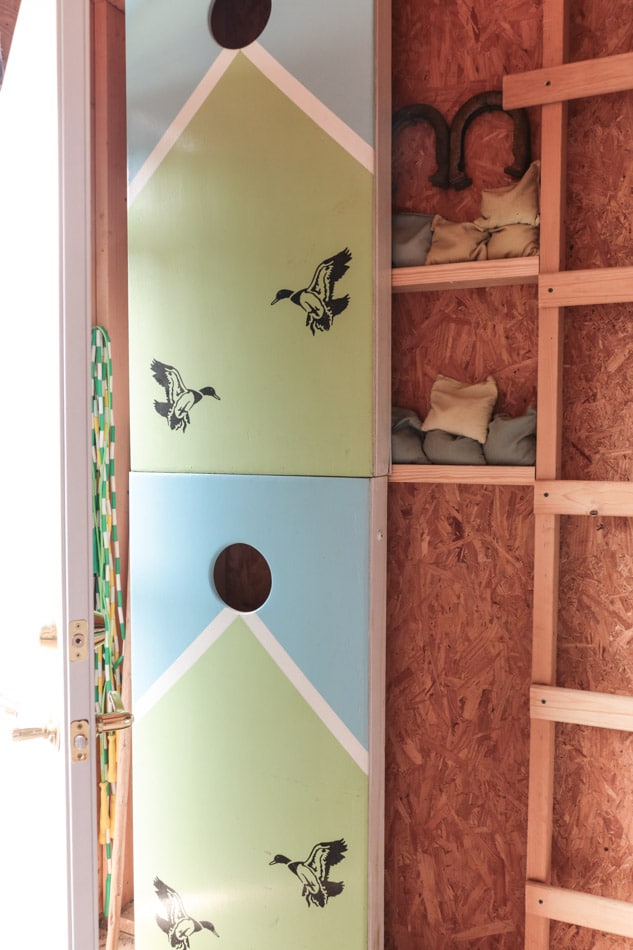
Last, let's talk about these outdoor games. The corn hole board takes up a lot of space so we used L-brackets to hang them behind the door. There was just enough space for them. We placed one on top of the other and added shelves between the studs for the bean bags.

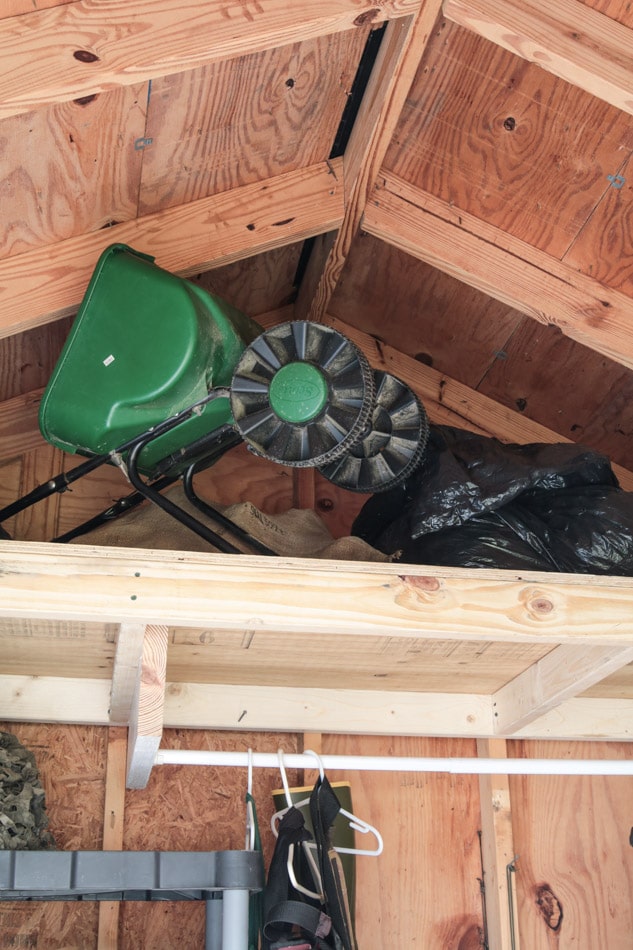
Next, we used more nails for other games. You're probably wondering what we put in the loft area. Well, anything that's not used but once or twice a year went into the loft space.
For example, the spreader went up there. You can see it easily in this photo. This loft space is especially useful if you do not have attic space. Whatever your storage shed plans, building this loft will, no doubt, be useful!

For more tips on organizing try my organizing 101 post. I share details on how to begin organizing and how to keep it organized.
Conclusion
What do you think? Are you going to try to build a loft in your shed? This DIY project took us a full day to build the loft, ladders, put on a new door, and organize the shed. We had all the tools and supplies ready and we began at 8 am and worked until about 6 pm with a short lunch break.

What a difference this has made. Before you couldn't open the door all the way and stuff was piled on top of each other. Now you can walk into the shed and even have floor space to walk around. It is so nice until I wish it was my she shed. LOL!
If you are thinking of getting a she-shed then you will like these cottage style she shed ideas. Let us know your loft plans. We would like to know how it went.
Happy Decorating!


If you enjoyed this post, sign up to receive new decor ideas each week. FREE EMAIL SUBSCRIPTION
Marty
Saturday 29th of January 2022
I like my redesigned shed! Great job!