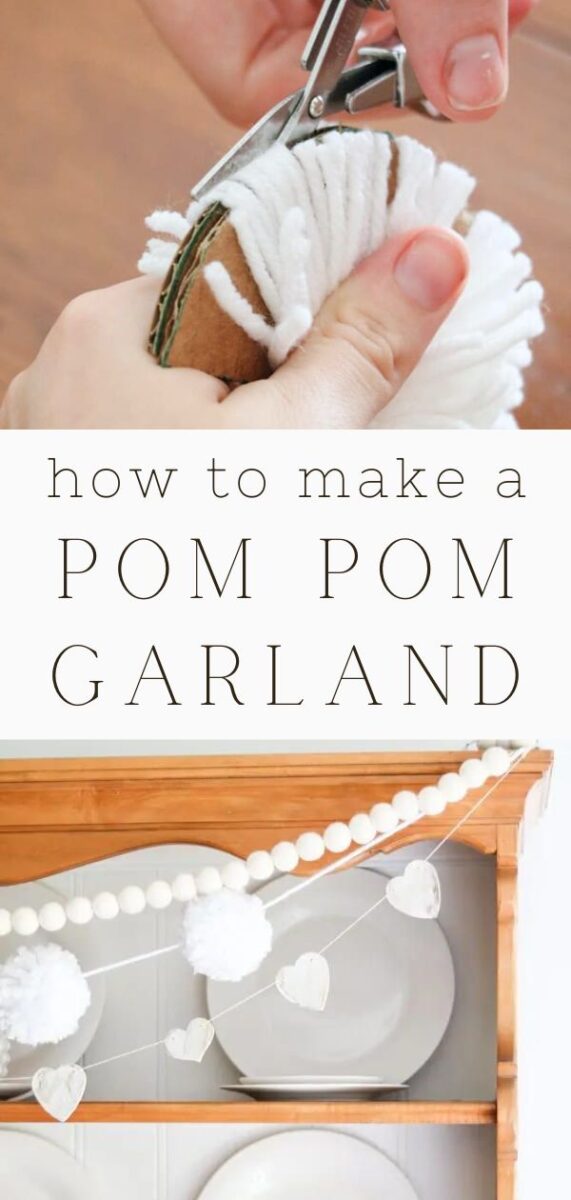
Here are directions on how to make a pom pom garland and how to make pom poms with your hand. Plus ideas on how to decorate with your pom garland at the end.
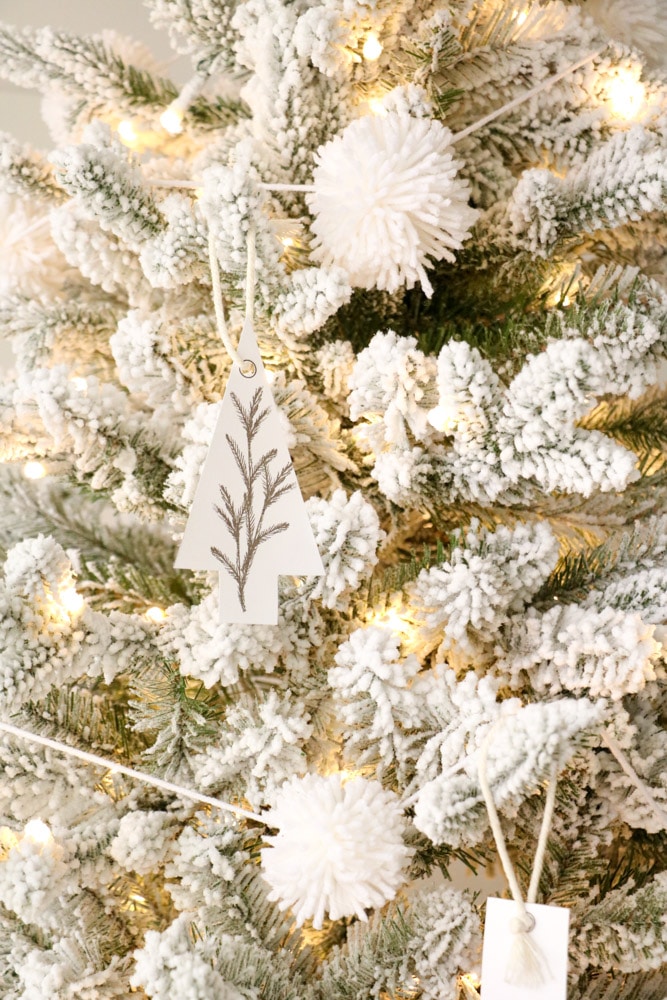
This easy how to make a pom pom garland DIY can be made with yarn or other kinds of materials. The garland can be kept out all year long but decorating with it at Christmas is probably my favorite.
I will show you two different ways how to make a pom pom then how to make the pom-poms into a garland. And last ideas on how to use them to decorate for holidays or any day.
This post contains affiliate links, meaning I receive a commission if you purchase using the links below at no extra cost to you. All opinions are all my own.
How to Make a Pom Pom Garland
Remember me saying there are two different ways to make a pom pom? Well, there are many different ways but how to make a pom pom by hand is my favorite because it is the cheapest and I think the easiest.
What supplies do you need to make a pom pom?
- Yarn
- Scissors
- Cardboard (if you plan to make a form)
- Marker (if you plan to make a form)
- Cup
- Quarter
Let's begin by making a form to wrap yarn around to make a pom pom.
How to Make a Pom Pom Form
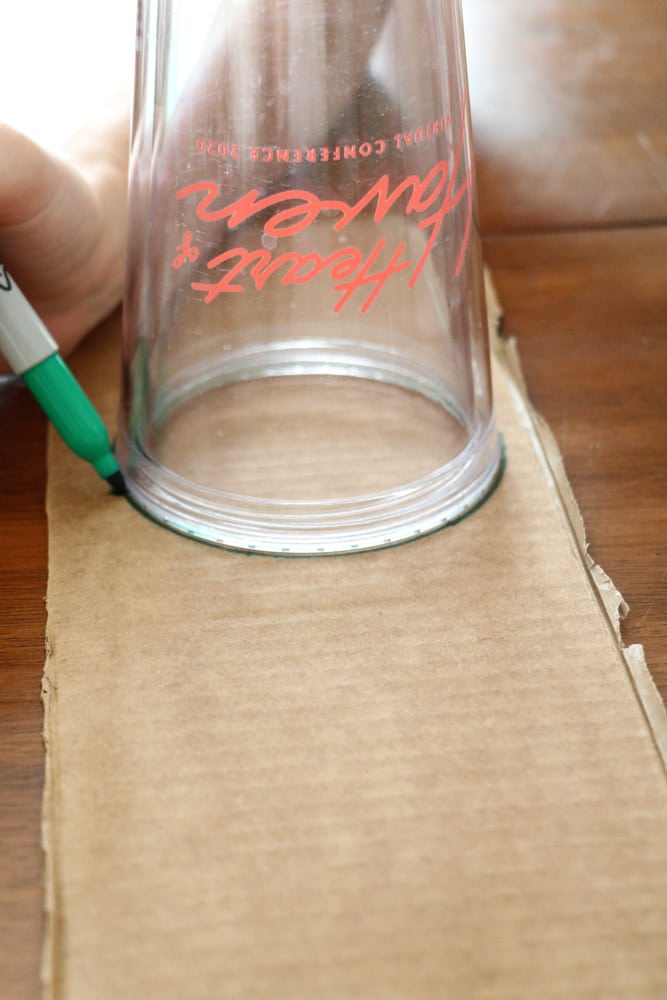
If you want to create a pom pom form to make your pom pom garland then start with a cup and a piece of cardboard. Sit the cup on the cardboard and trace around it. Follow these steps to make two cardboard circles.
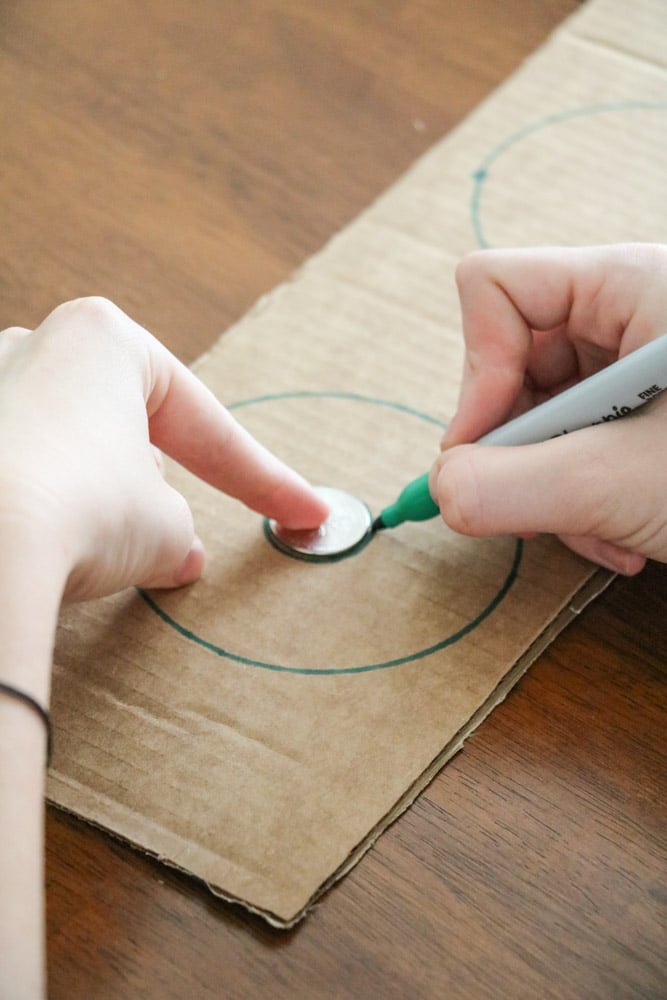
Next place a quarter in the middle and draw around the quarter.
Next use scissors to cut the two circles.
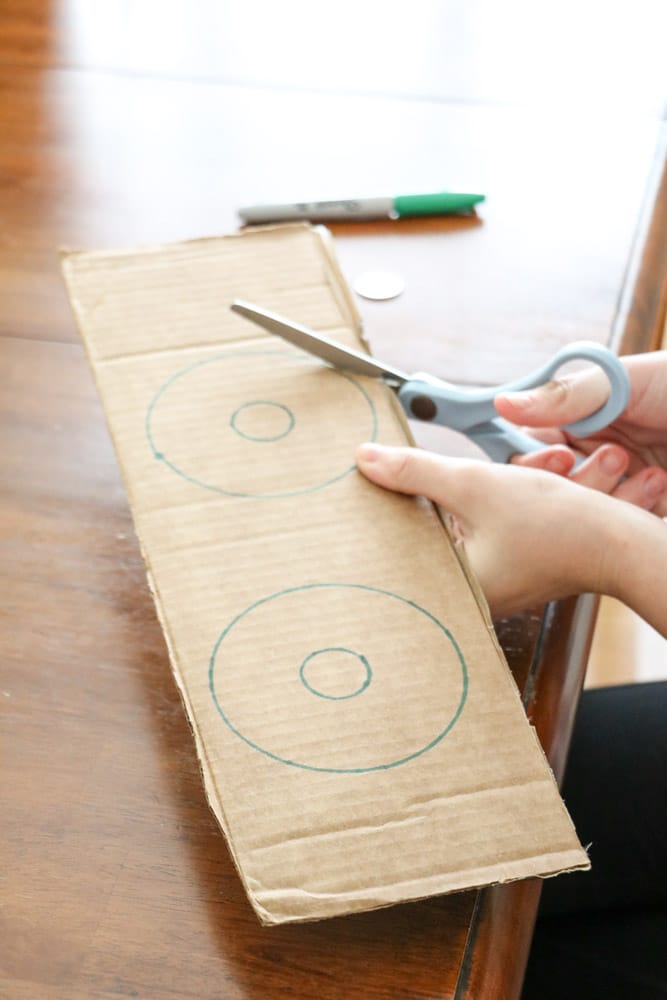
Now cut a piece of pie from the cardboard circle then sit the cardboard circle down on the other form and trace the piece of the pie.
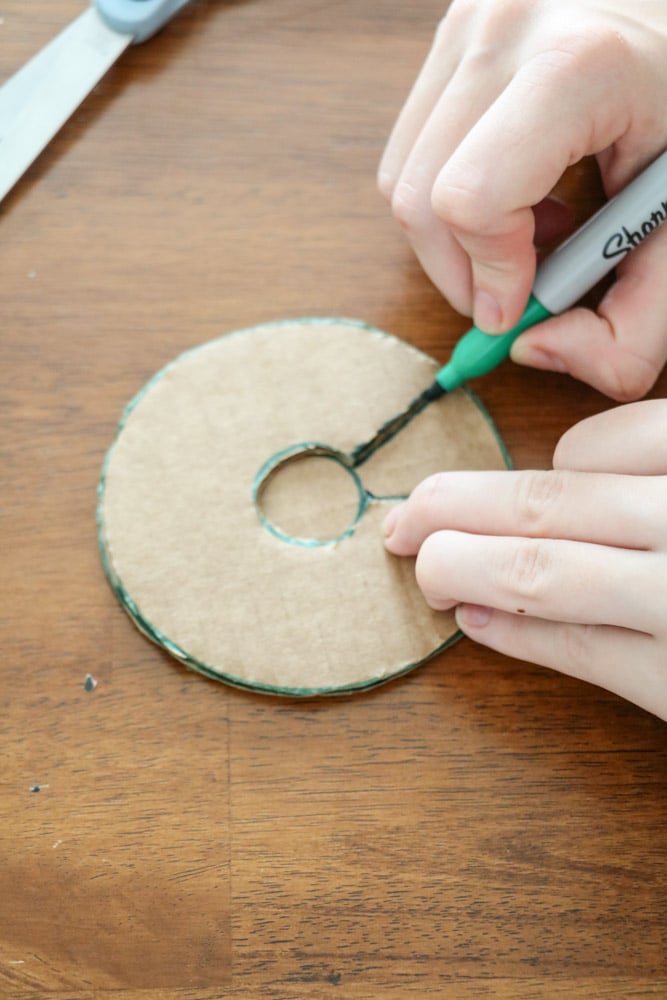
It is time to start wrapping the yarn.
How to Make a Yarn Ball
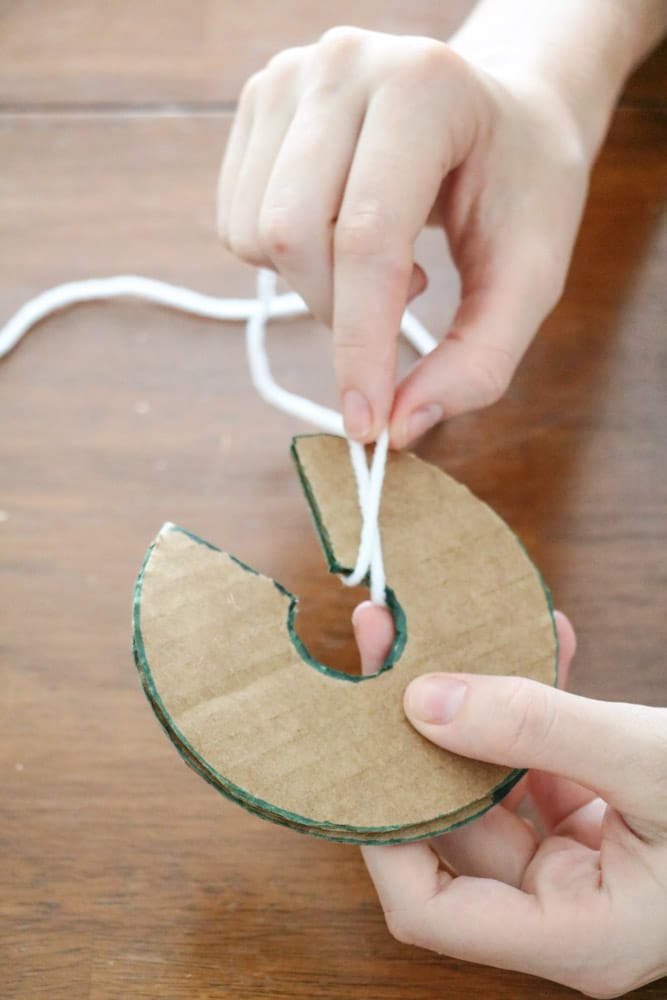
Now, begin wrapping the yarn around the two pieces of cardboard. Keep it as loose as possible and wrap it as full as you can. The more yarn you wrap onto the form the thicker the pom pom will be.
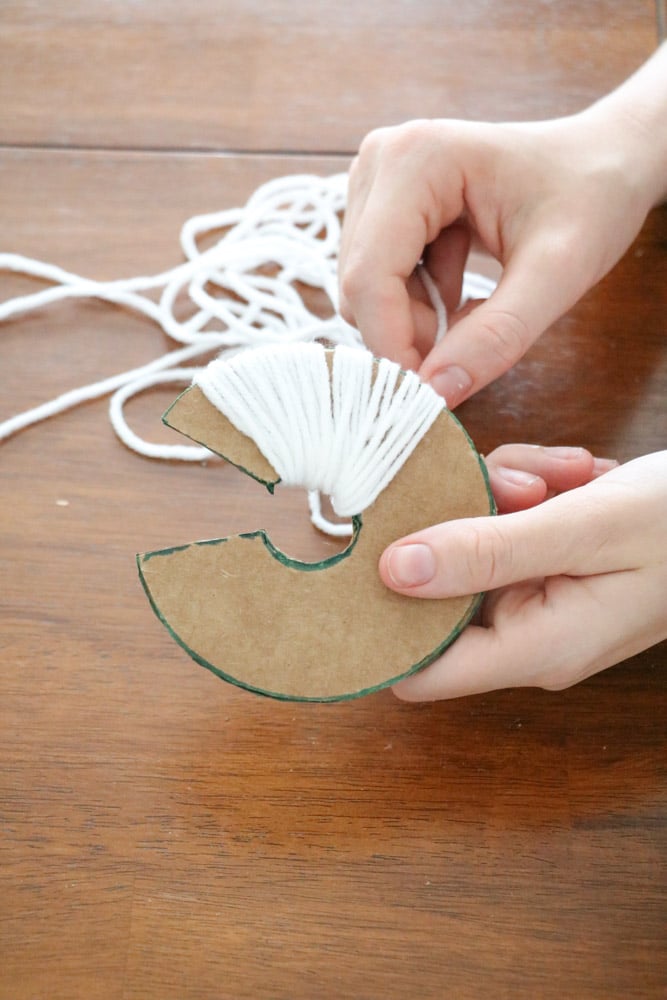
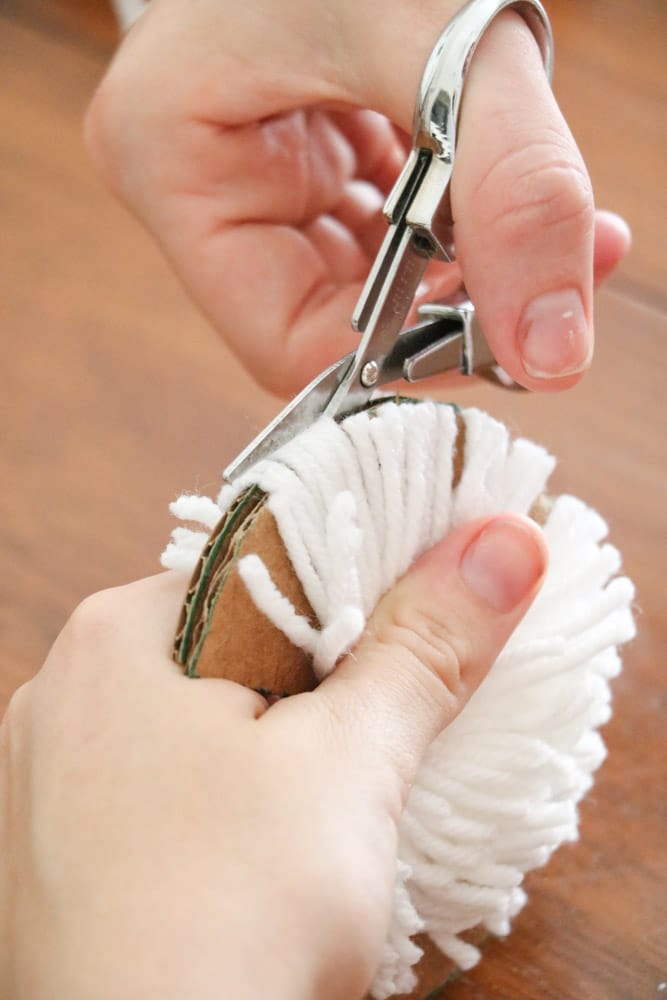
Grab your scissors and cut around the edge of the forms.
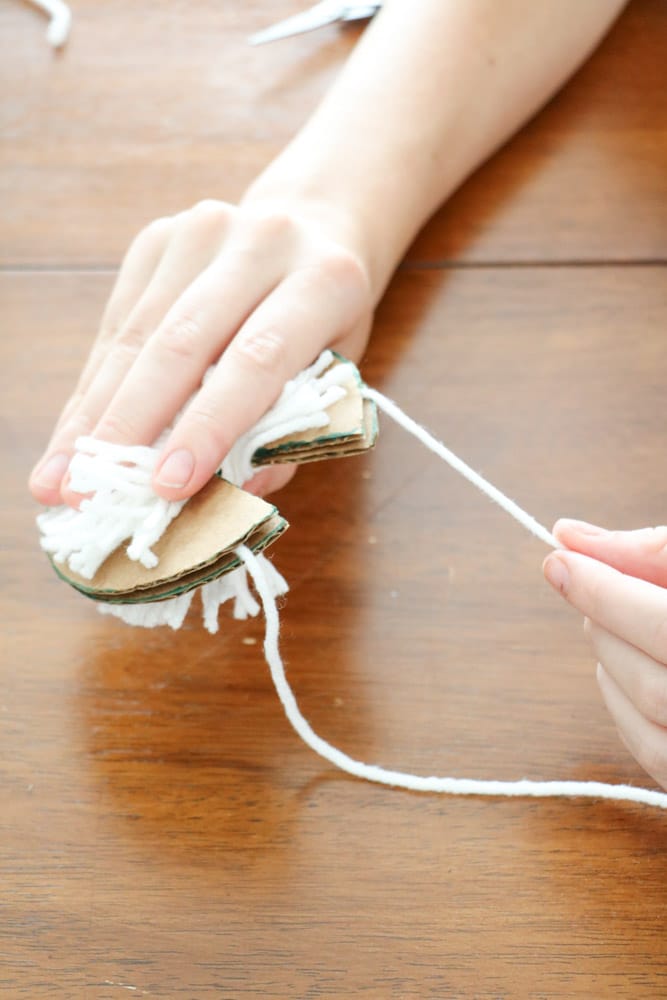
Then cut another piece of yarn about 20″ and wrap it around the outside of the form and in between the layers of the cardboard.
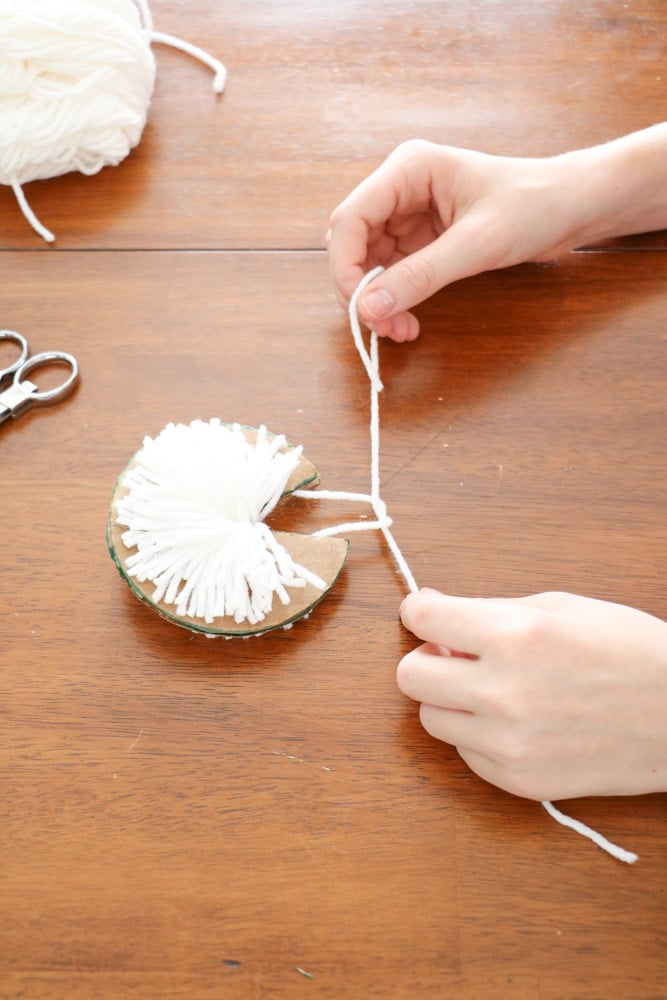
Tie it very tight and tie it in a knot. Then remove your pom pom from the form.
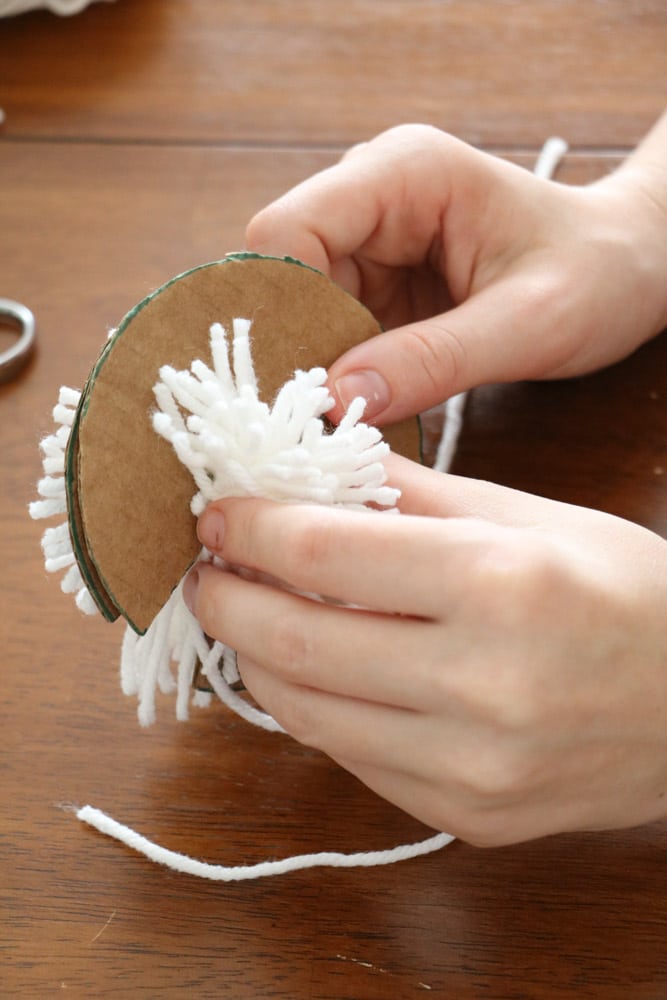
Our first pom-poms were thin. It took us several tries before we got a full pompom. Remember the more you wrap yarn around the form the thicker it will turn out.
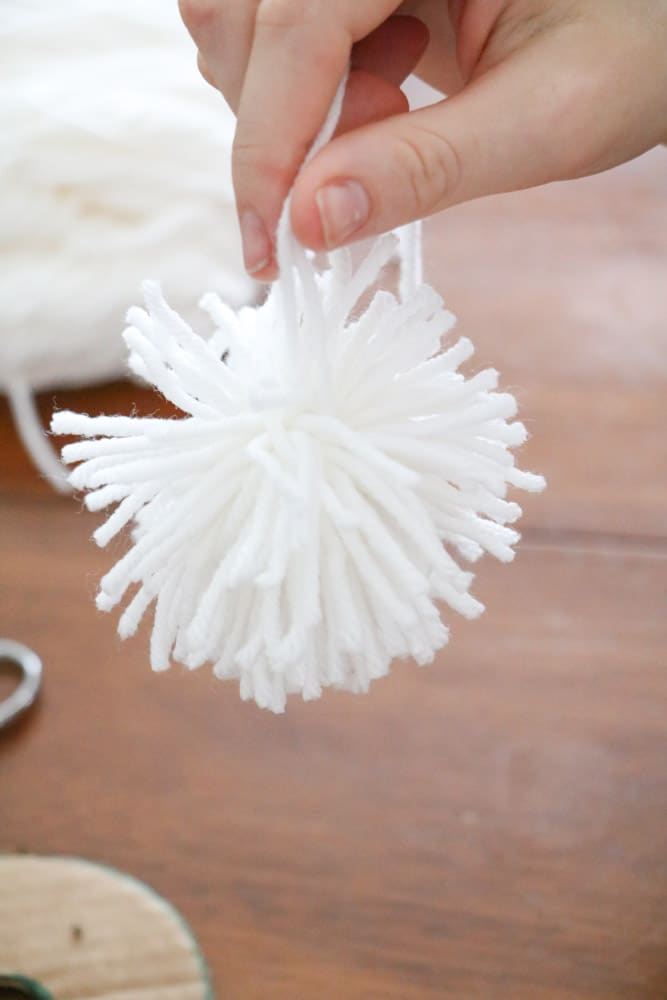
If your pompom is thin like ours take your scissors and trim the outside of the pom. The more you trim off the thicker the pompom will look.
Isn't this a fun project!! I love yarn projects like these yarn DIY bottle brush trees.
How to Make a Pom Pom with your Hand
This way of making a pom pom is my favorite because you do not need a form. I have been making pom pom this way for years. However, it is not as perfect when you take it off your hand as the form but trimming with the scissors will shape it up nicely.
Just like the cardboard pom pom you will wrap the yarn around your hand at least 50 times. Make sure to wind it around your hand loosely. Then trim the end and cut another piece of yarn at 20″.
Next, slip the 20″ piece of yarn down between your center fingers and then tie it into a knot.
Pull the wrapped yarn from your hand and slip some scissors in the loop on both sides and cut the yarn.
Now you have an easy handmade pom pom ball.
Trim it into shape and your pom pom is ready to make a garland.
How to turn Pom Poms into a Garland
After you have made all your pom-poms it is really simple to make a pom pom swag.
Simply figure out how long you want your garland to be and how far apart you want your pom poms to be. Then divide the length of your garland by how far apart your pom pom is going to be and that will give you how many pompoms you will need.
Now cut a piece of yarn the length of your garland then thread it through a yarn need.
Next, run the needle through one of the poms and pull it out on the other side. Then you can slide the yarn ball down the piece of yarn. Repeat threading the yarn through the ball until you have all of them on the long string of yarn.
You are all finished except for spacing them apart and decorating our tree.
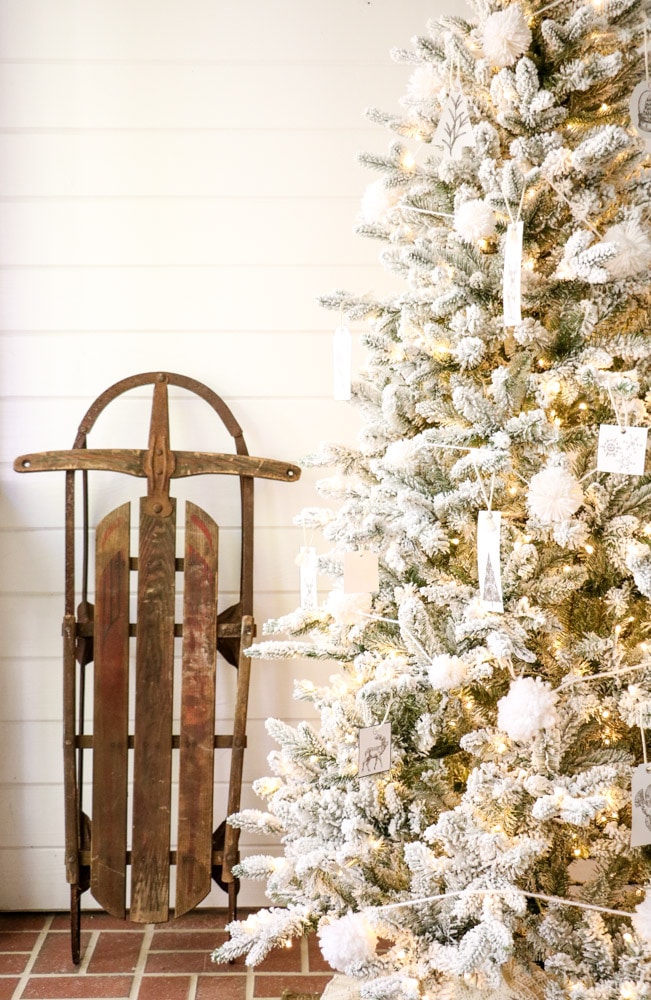
This is such a simple project that you can do with your whole family. Another fun idea is to thread wood beads between the pompom balls.
Conclusion
Now that you know how to make a pom pom garland here are a few more ideas for decorating with your garland.
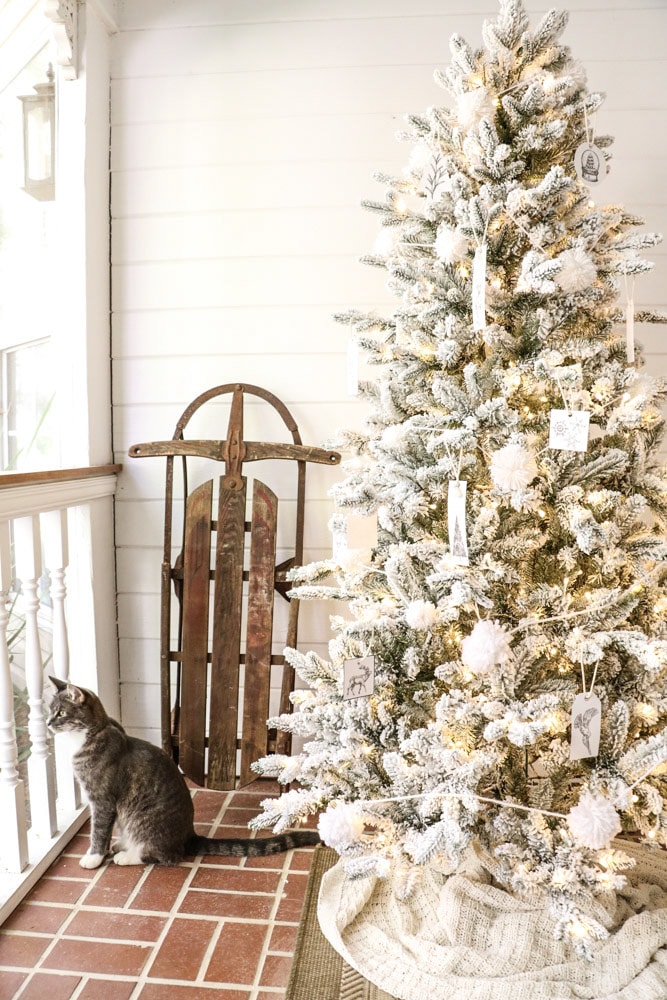
Add your garland to your Christmas tree by simply wrapping it around the trim from top to bottom.
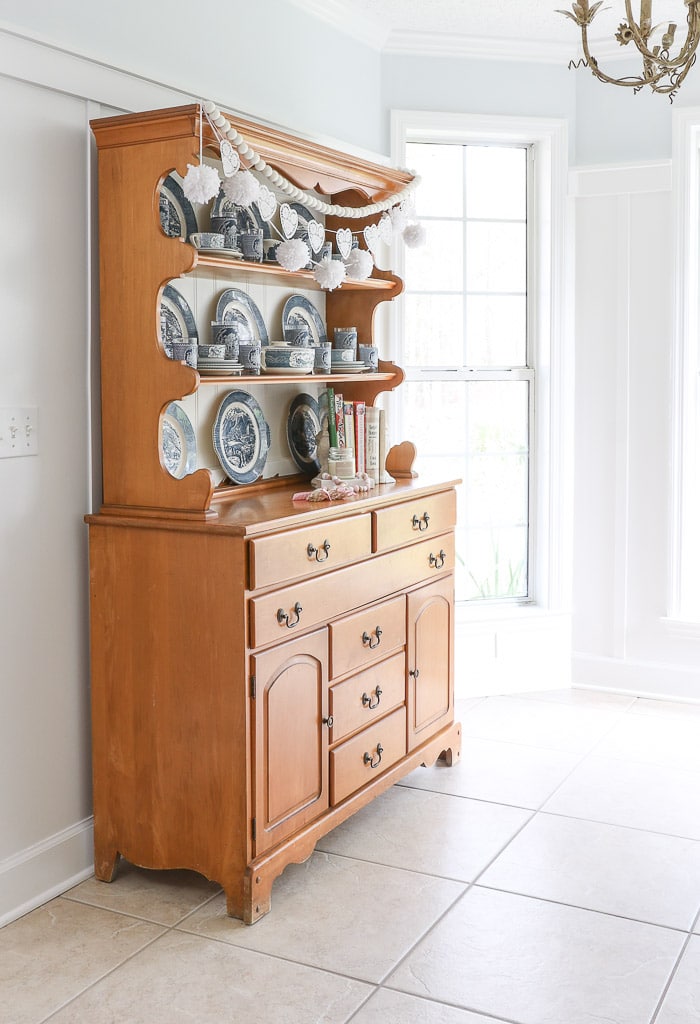
Or you can decorate a hutch with your garland and change out the other banners for different holidays like Valentine's day. I share how to make this vintage doily heart garland too.
Another cute pompom garland is my friend Carol's pompom and heart Valentine garland.
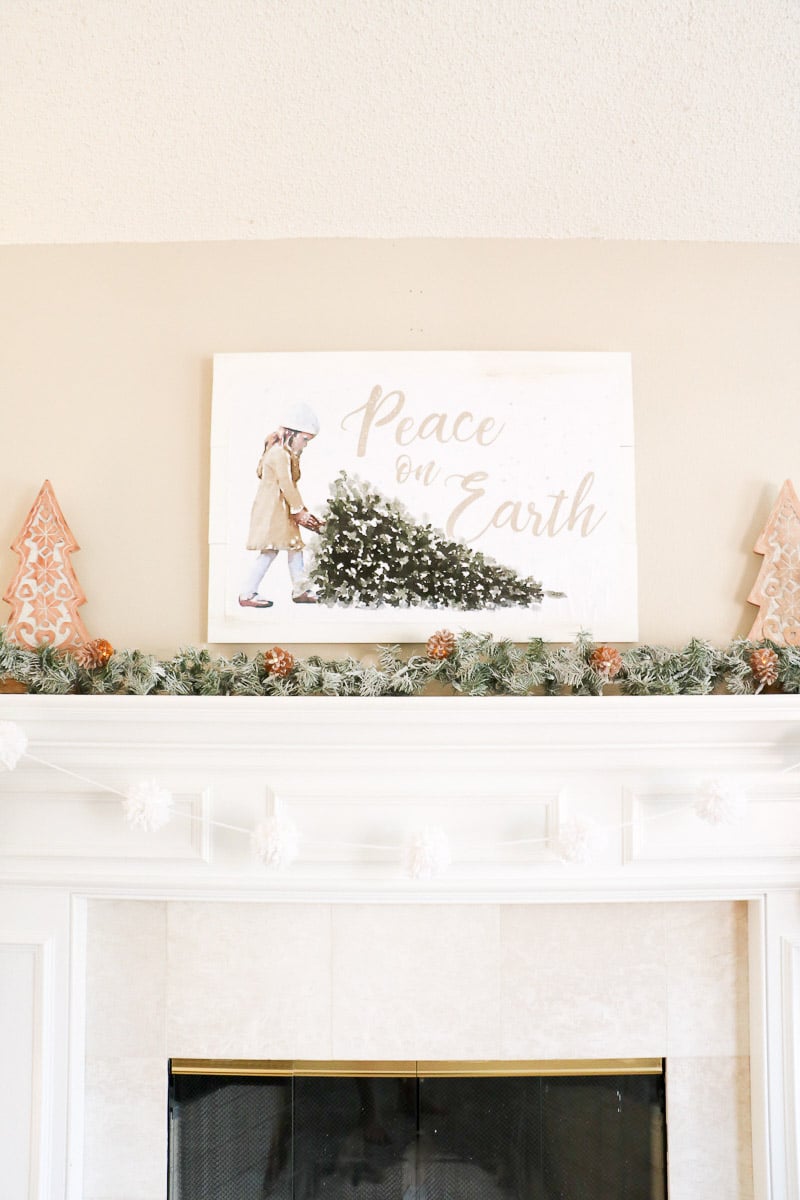
And last you can add your garland on your mantle and decorate it for other holidays like Christmas. Simply drape your pom garland across the front of your mantel, then lay Christmas garland on top with decorations on the ends. And then print out our peace on earth free printable and hang it over the mantle.
What other fun ways would you decorate with your garland?
Happy Decorating!


If you enjoyed this post, sign up to receive new decor ideas each week. FREE EMAIL SUBSCRIPTION

HOMEMADE DIY VALENTINE WOOD CRAFTS BANNER
Sunday 17th of January 2021
[…] Or you can add a cute pompom garland. I have more details on how to make a pom pom garland. […]
CHRISTMAS TIERED TRAY DECOR IDEAS FOR A JOLLY HOLIDAY
Monday 21st of December 2020
[…] If you love crafting your own tiered tray accessories try my DIY bottle brush trees or how to make a pom pom garland. […]
FARMHOUSE STYLE BUFFALO CHECK CHRISTMAS DECOR IDEAS
Friday 18th of December 2020
[…] We were thinking a garland would look adorable with our pom pom garland. Here is how to make a pom pom garland. […]
SIMPLE CHRISTMAS HOME TOUR IN A MINIMALIST STYLE | LIFE ON SUMMERHILL
Thursday 10th of December 2020
[…] is how to make a pom pom garland if you would like to make […]
EASY DIY BOTTLE BRUSH TREE | LIFE ON SUMMERHILL
Thursday 3rd of December 2020
[…] this fun! I love making things with yarn like this how to make a pom pom garland I shared […]